
Loading ...
Loading ...
Loading ...
17
EN
The storage tray (located behind the drip tray)
can be removed and cleaned with a soft, damp
cloth. Do not use abrasive cleansers, pads
or cloths which can scratch the surface.
NOTE
All parts should be cleaned by hand using warm
water and a gentle dish washing liquid. Do not
use abrasive cleansers, pads or cloths which
can scratch the surface. Do not clean any of the
parts or accessories in the dishwasher.
CLEANING THE OUTER HOUSING
& CUP WARMING TRAY
The outer housing and cup warming tray can
be cleaned with a soft, damp cloth. Polish with
a soft, dry cloth. Do not use abrasive cleansers,
pads or cloths which can scratch the surface.
STORING YOUR MACHINE
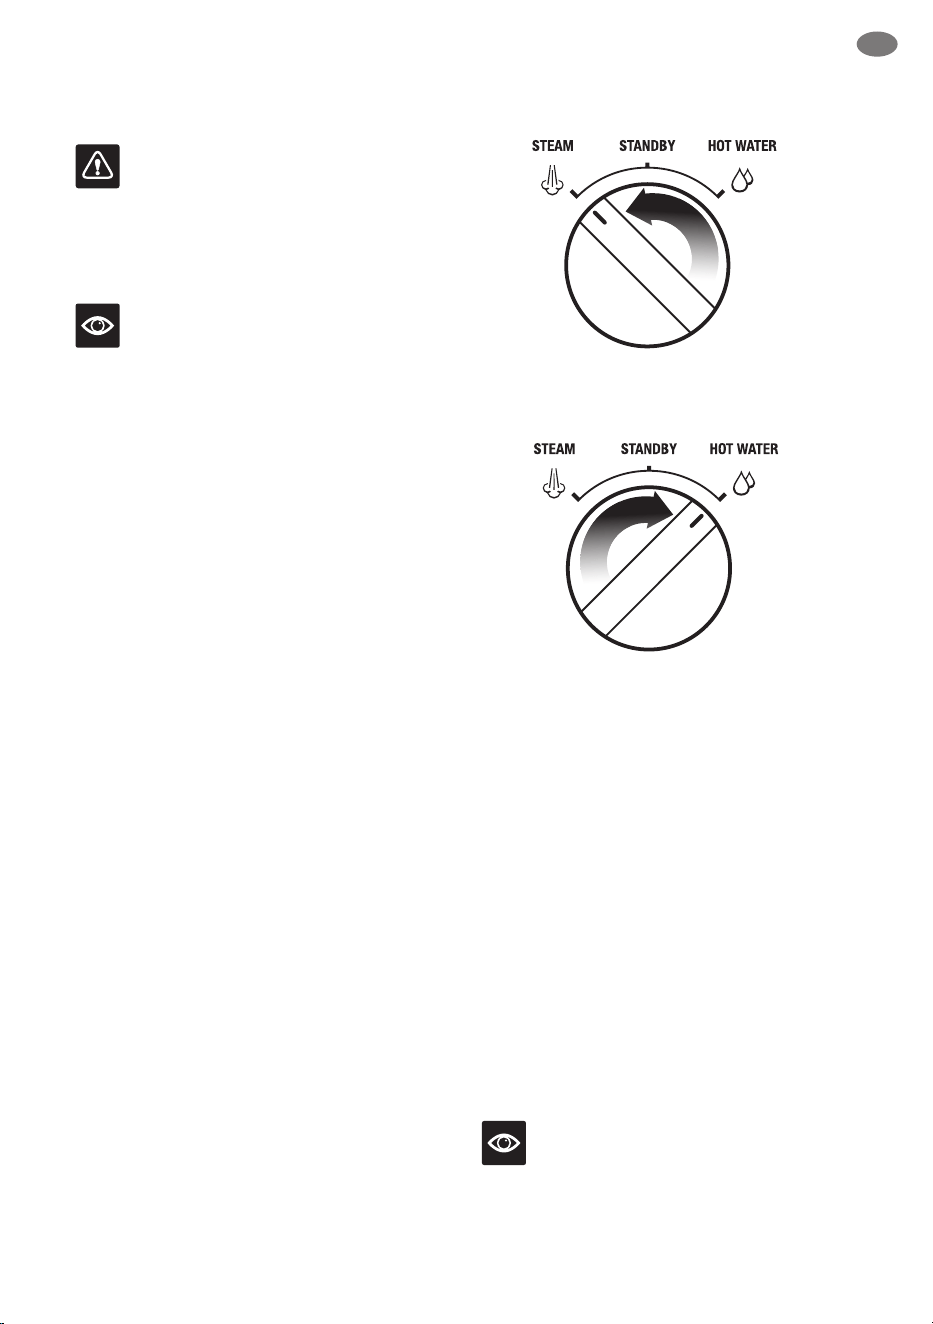
Before storing, ensure the STEAM / HOT
WATER dial is in the STANDBY position, press
the POWER button to switch the machine o
and remove the plug from the power outlet.
Remove unused beans from the hopper, clean
the grinder (see page 16), empty the water
tank and the drip tray.
USING THE ALLEN KEY
Over time, the silicone seal surrounding
the shower screen will need to be replaced
to ensure optimum brewing performance.
1. Press the POWER button to switch the
machine o and unplug the cord from the
power outlet.
2. Carefully remove the water tank and drip tray,
taking particular care if they are full.
3. Using a skewer or similar, clean the centre
of the screw of any residual coee.
4. Insert the shorter end of the Allen Key into
the centre of the screw. Turn counter-clockwise
to loosen the screw.
WARNING
Do not immerse power cord, power plug
or appliance in water or any other liquid.
5. Once loosened, carefully remove and retain the
screw and stainless steel shower screen. Make
note of the side of the shower screen that is
facing downwards. This will make re-assembly
easier. Wash the shower screen in warm soapy
water, then dry thoroughly.
6. Remove the silicone seal with your ngers
or a pair of long-nose pliers. Insert the new seal,
at side rst, so the ribbed side is facing you.
7. Re-insert the shower screen, then the screw.
With your ngers, turn the screw clockwise
for 2-3 revolutions then insert the Allen Key
to tighten until the screw is ush with the
shower screen.
8. Re-insert the drip tray and water tank.
Contact Sage Customer Service or visit
www.sageappliances.com for replacement
silicone seals or for advice.
Clean centre of screw
before inserting Allen Key
Loading ...
Loading ...
Loading ...