
Loading ...
Loading ...
Loading ...
6
Technical Data
Total connected load electric: 25 VA
Nozzle Table Wok Burner
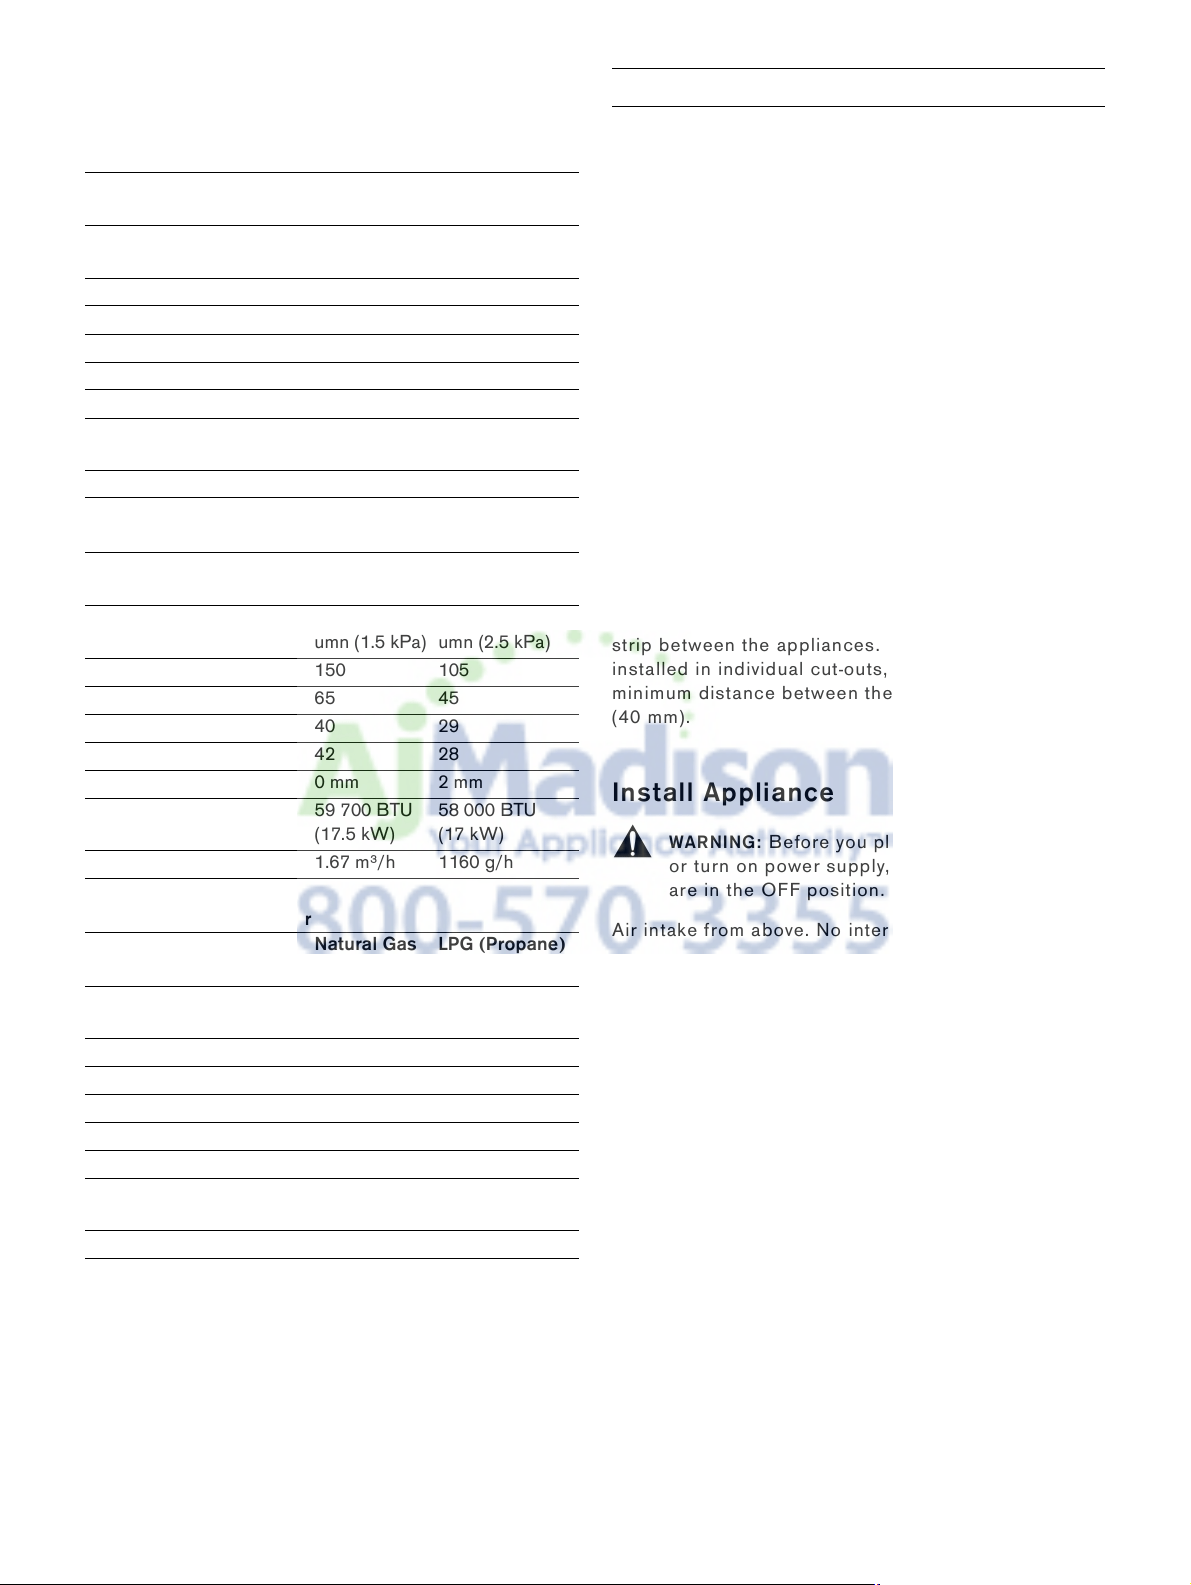
Nozzle Table Large Burner
Nozzle Table Small Burner
Installation Procedure
Prepare Installation Space
Create the cut-out in the countertop for one or several
Vario appliances according to the installation diagram.
The angle of of the cut surface to the countertop must
be 90°.
After creating cut-out, remove shavings. Seal cut
surfaces in a heat-resistant manner.
Some solid surface countertops require special
installations. For example, heat reflective tape and
rounded corners may be necessary. Contact the
countertop manufacturer for instructions specific to
your countertop.
Observe minimum distance between appliance
underside and furniture parts of
3
/
8
" (10 mm).
When installing multiple Vario appliances: Take into
account space requirement for VV 200 connection
strip between the appliances. Appliances can also be
installed in individual cut-outs, bearing in mind a
minimum distance between the appliances of 1
9
/
16
"
(40 mm).
Install Appliance
,
WARNING: Before you plug in an electrical cord
or turn on power supply, make sure all controls
are in the OFF position.
Air intake from above. No intermediate shelf required.
Stovetop clamping range: 30 - 50 mm.
1 Cut out an opening in the countertop according
to the installation drawing. Check the minimum
clearance from the rear wall and the sides of
kitchen units. Seal the edges of the cut-out.
2 Turn the clamp fasteners to the side. Place the
gas hotplate into the cut-out and align it evenly.
3 Tighten all clamp fasteners evenly. Check that the
whole frame lies evenly flat on the countertop.
4 Fit the burner rings, burner lids and pan supports.
5 Connect the appliance to the gas and electricity
supply. The appliance is not operable without
power supply.
6 Test the appliance for correct functioning. There
might be an air pocket in the gas supply line if the
appliance turns off and the indicator lights flash.
Turn all control knobs to 0 and ignite the burner
again.
Gas Natural Gas
Type N
LPG (Propane)
Type X
Pressure 6" water col-
umn (1.5 kPa)
10" water col-
umn (2.5 kPa)
Nozzle, full burn, outer 173 110 A
Nozzle, low burn, outer 75 56
Nozzle, full burn, inner 60 42
Nozzle, low burn, inner 48 34
Air gap adjustment, outer 0 mm 2 mm
Total connected load 59 700 BTU
(17.5 kW)
58 000 BTU
(17 kW)
Total consumption 1.67 m³/h 1160 g/h
Gas Natural Gas
Type N
LPG (Propane)
Type X
Pressure 6" water col-
umn (1.5 kPa)
10" water col-
umn (2.5 kPa)
Nozzle, full burn, outer 150 105
Nozzle, low burn, outer 65 45
Nozzle, full burn, inner 40 29
Nozzle, low burn, inner 42 28
Air gap adjustment, outer 0 mm 2 mm
Total connected load 59 700 BTU
(17.5 kW)
58 000 BTU
(17 kW)
Total consumption 1.67 m³/h 1160 g/h
Gas Natural Gas
Type N
LPG (Propane)
Type X
Pressure 6" water col-
umn (1.5 kPa)
10" water col-
umn (2.5 kPa)
Nozzle, full burn, outer 97 68
Nozzle, low burn, outer 48 34
Nozzle, full burn, inner 40 29
Nozzle, low burn, inner 42 28
Air gap adjustment, outer 0 mm open at MAX
Total connected load 59 7000 BTU
(17.5 kW)
58 000 BTU
(17 kW)
Total consumption 1.67 m³/h 1160 g/h
Loading ...
Loading ...
Loading ...