Loading ...
Loading ...
Loading ...
DANGER: To prevent fire or explosion hazard:
NO SMOKING. DO NOT use or permit sources of ignition in the area while doing a leak test.
Perform leak tests outdoors only. Never perform a leak test with fire or flame.
HOW TO PERFORM A LEAK TEST:
1. Create a soapy solution of equal parts mild dishwashing detergent and water.
2. Confirm that all control knobs are in the off position.
3. Turn on fuel supply. Turn cylinder valve knob counter clockwise (right to left) one
rotation.
4. Apply soap solution generously by paint brush or squirt bottle on all connections and
fittings.
5. If “growing” bubbles appear on any of the connection points, then you have detected a
gas leak. IMMEDIATELY close the LP cylinder valve by turning the handle clockwise.
FIXING A FUEL LEAK:
If you detect a leak:
1. Push in and turn on control knobs to release pressure in hose, then turn the control
knobs back to off.
2. Wash off soapy solutions with cold water and towel dry.
3. Stop a leak by tightening the loose joint, or by replacing the faulty part with a
replacement part recommended by the manufacturer. DO NOT attempt to repair the
cylinder valve if it should become damaged; the cylinder MUST BE REPLACED.
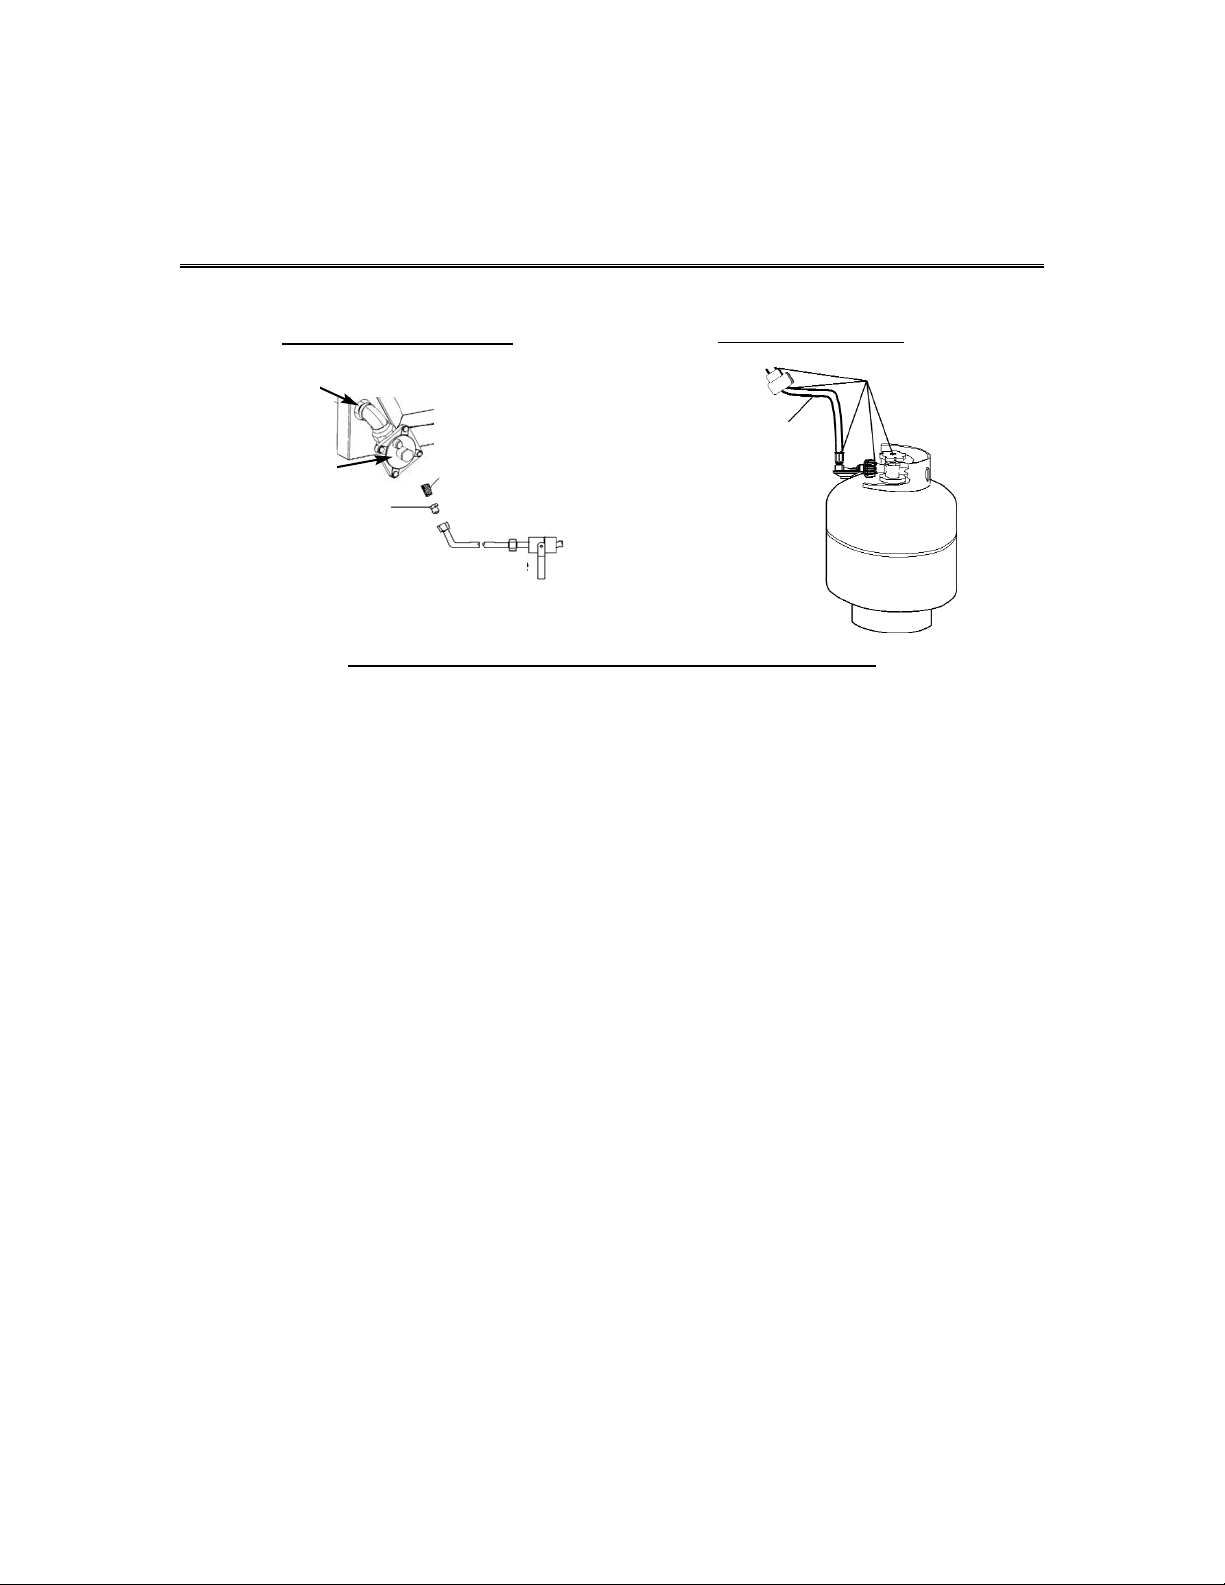
Leak Testing
6
Natural Gas Leak Check
LP Gas Leak Check
Check points
LP Tank
90°x1/2”
Street Elbow
Regulator
Adapter
(supplied by others)
Shut-off Valve
(supplied by others)
1/2” NPT Nipple
(
supplied by others)
Check hose for
signs of abrasion
cracks and leaks
Rev. 04/2005
Loading ...
Loading ...
Loading ...