Loading ...
Loading ...
Loading ...
10
SYSTEM SETUP
EnglishDeutschFrançais DanskEspañolItalianoSvenska Nederlands ItalianoSvenska DeutschNederlands Français Español
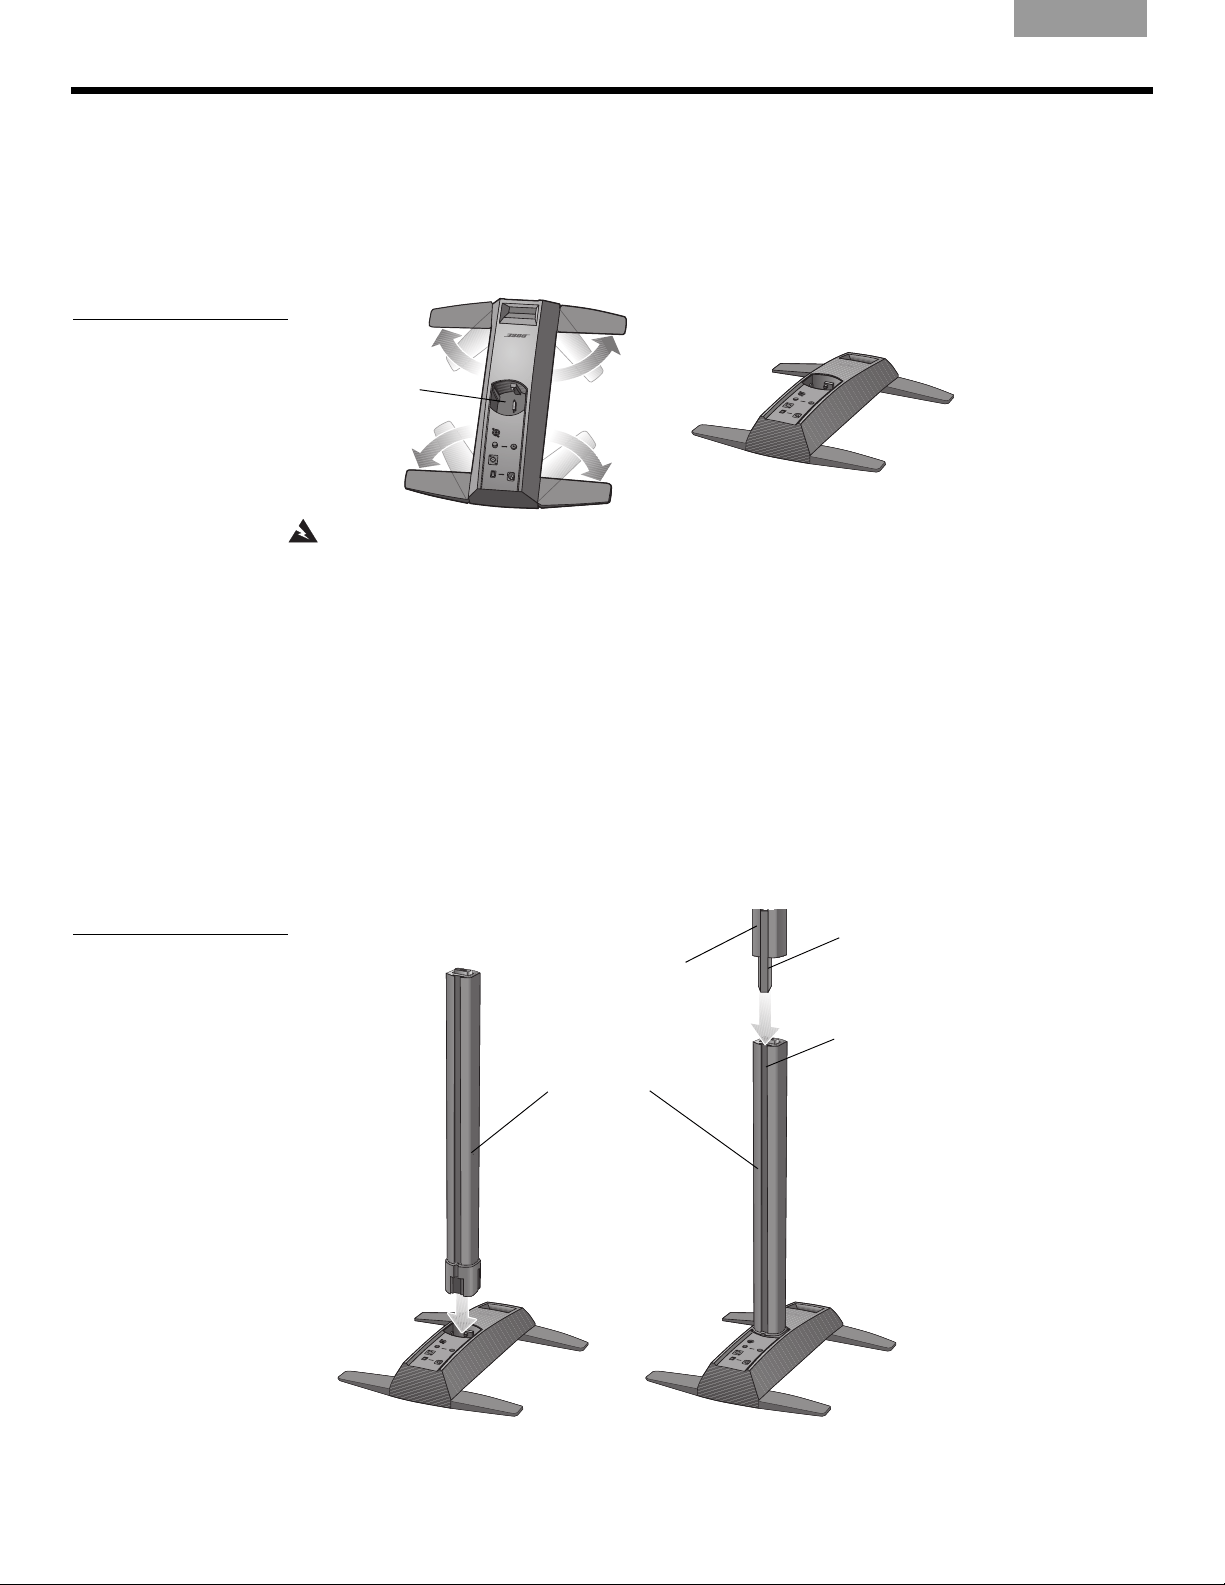
Setting up the power stand
1. Holding the power stand vertically on the foor (Figure 2A), grasp one leg and swing it out
as far as it will go. Notice that the other legs swing out automatically. The legs must be
fully open
before you can plug the extension into the power stand.
2. Lay the power stand flat on the floor in the desired position (Figure 2B).
Figure 2
Putting the power stand on
the floor
A
B
Socket for
L1 bottom
WARNING: DO NOT move the completely assembled system as a unit. This could result in
personal injury and/or damage to the product. Position the power stand on the floor in the
chosen location before assembling the system.
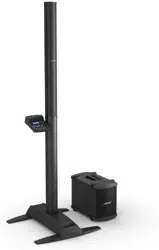
Assembling the L1
®
model 1S system
This procedure tells you how to set up the loudspeaker sections in the power stand. If you
plan to mount the T1 ToneMatch
®
audio engine on the L1 model 1S system, see “Adding a T1
ToneMatch
®
audio engine (optional)” on page 13 before installing the top array of the loud-
speaker.
1. Hold the bottom extension so that the cover faces front and plug it into the power stand
(Figure 3A). Be sure to fully insert it into the socket to assu
re stability and a good connec-
tion.
2. Align the bayonet on the top array with the channel on the back of the bottom, and lower
the top
onto the bottom until it is flush (Figure 3B).
Figure 3
Setting up the system
Top
array
Bottom
extension
Bayonet
Channel
A
B
Front of
system
VeniceOG.book Page 10 Monday, April 30, 2012 2:33 PM
Loading ...
Loading ...
Loading ...