Loading ...
Loading ...
Loading ...
14 15
Maintenance and Cleaning
NOTE:
Disconnect the power cable plug from the outlet as a precaution before
maintenance.
Turntable Body
Your turntable requires little of no regular maintenance. Remove dust with a slightly
damp antistatic cloth; never use a dry cloth as this will create static electricity and
attract more dust! Antistatic cleaning agents are available at specialist stores, but must
be applied sparingly to avoid damage to rubber parts. It is recommended to install the
needle cover before cleaning or maintenance is carried out to avoid damage.
If the turntable is not used over a long period of time, the drive belt should be
removed to prevent unequal stretching.
NOTE:
Always disconnect the record player from the power supply as a precaution
before maintenance!
Useful Tips
The turntable should be positioned on a low-resonance surface such as wood or
multiple layer ply board to avoid structural vibrations disturbing playback.
Stylus Tip
• If dirt and grime are stuck to the stylus tip, clean it
with a commercially-sold brush.
• We recommend using a stylus cleaner (not
included) if the stylus tip is considerably dirty.
Clean the stylus tip by moving the brush from the
rear to the front of the stylus tip.
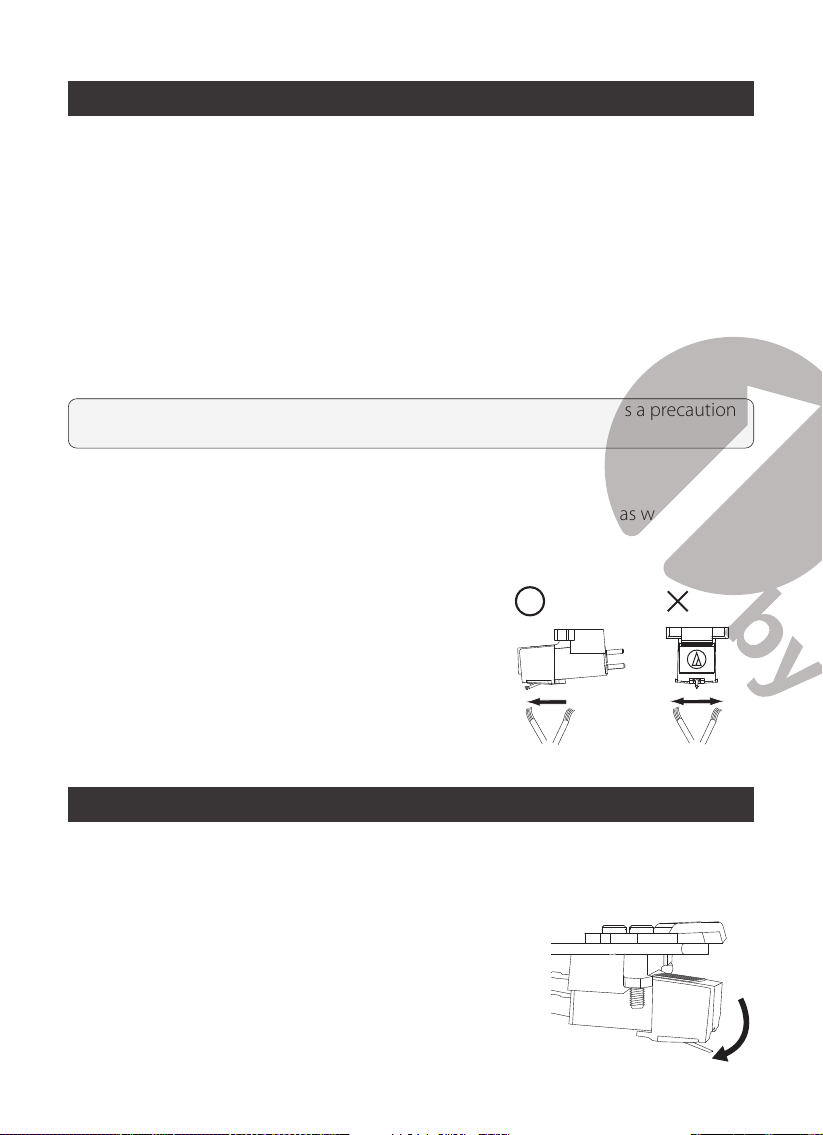
Replacing the Stylus
Removing the Stylus
• In addition to the deterioration of sound quality, records may also be damaged as
the cartridge’s stylus tip wears down.
• As a rule of thumb, replace the stylus after 300 to 500
hours of use.
• Be sure to disconnect the product’s power cable plug
from the outlet.
1. Remove the protector from the cartridge.
2. Remove the stylus by pulling in the direction of the arrow.
Installing a New Replacement Stylus
1. Grasp both sides of the stylus holder and insert the stylus grip into the rear tab of
the cartridge.
Stylus holder ②
Stylus grip ①
Engage the rear tab rst
2. Push up the stylus holder until it clicks and locks completely in place.
Do not leave any space
Cartridge Replacement
1. Before replacement, put the stylus protector back on the stylus to prevent damage
to the stylus during the replacement process.
2. Carefully remove the wire leads from the original cartridge.
3. Loosen the two screws on the headshell that are securing the cartridge and then
remove the original cartridge.
4. Mount the new cartridge to the headshell and tighten it lightly. Do not completely
tighten the screws at this moment.
5. Connect the wire leads to the new cartridge’s terminals .The wire lead color codes
are as below:
Wire Channel
White Left channel positive (L+)
Black Left channel negative (L–)
Red Right channel positive (R+)
Black Right channel negative (R-)
6. Adjust the cartridge’s position to make sure it is precisely aligned on the headshell
so that the stylus will be tracking the grooves in parallel perfectly.
To achieve this, place the included paper
cartridge alignment protractor
over
the turntable spindle, carefully lift the tone arm and place the tip of the stylus on the
points marked 130mm and 250mm respectively. Fine tune the cartridge’s position
on the headshell until the cartridge is perfectly in parallel with the reference lines at
both points.
Loading ...
Loading ...
Loading ...