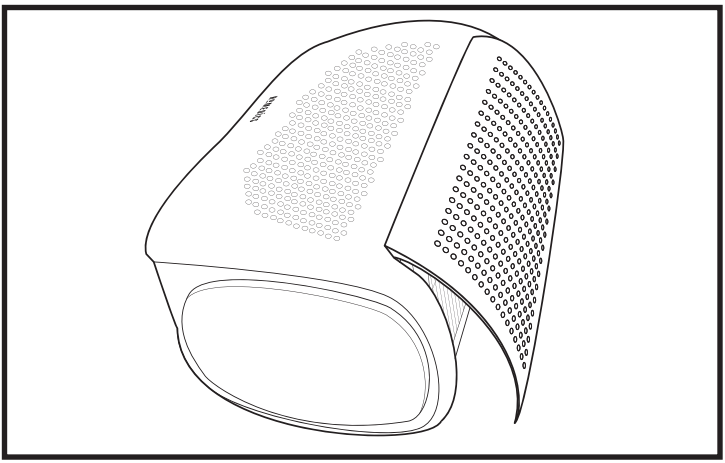
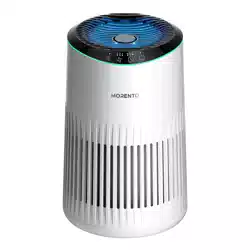
• HEPA-TYPE FILTRATION : Removes up to 99% of airborne particles as small as 0.3 microns, such as allergens, pollen, dust, germs, pet dander, odor, mold spores, and smoke from air that passes through the filter.
• CARBON ODOR FILTRATION : Reduces household odors and VOCs (volatile organic compounds)/gases as shown by independent laboratory testing.
• PRE-FILTER : Captures large particles.
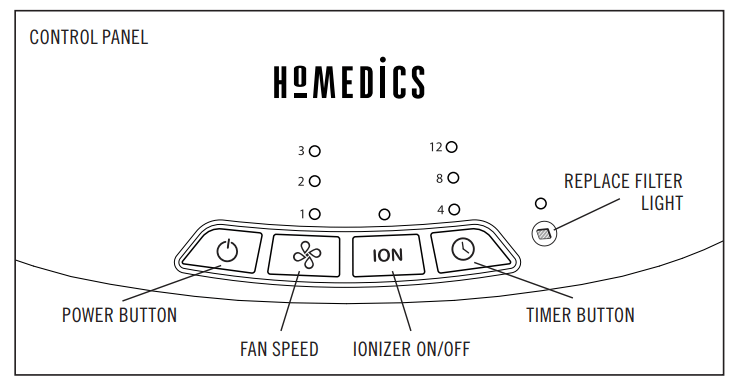
IONIZER WITH ON/OFF
When on, the ionizer assists in the air purification process.
3 SPEEDS
Low, medium, and high speeds.
BUILT-IN TIMER
Choose from 4, 8, or 12 hours.
REPLACE FILTER INDICATOR
Illuminates when it is time to replace the filter.
SUGGESTED ROOM SIZE
128 FT2 /11.9 M2 . Portable air purifiers will be more effective in rooms where all the doors and windows are closed.
AIR CHANGES PER HOUR
This air purifier will purify the air in a 128 FT2 /11.9 M2 room (assuming an 8 FT/2.43 M ceiling) 4.8 times per hour on high speed in a closed room.
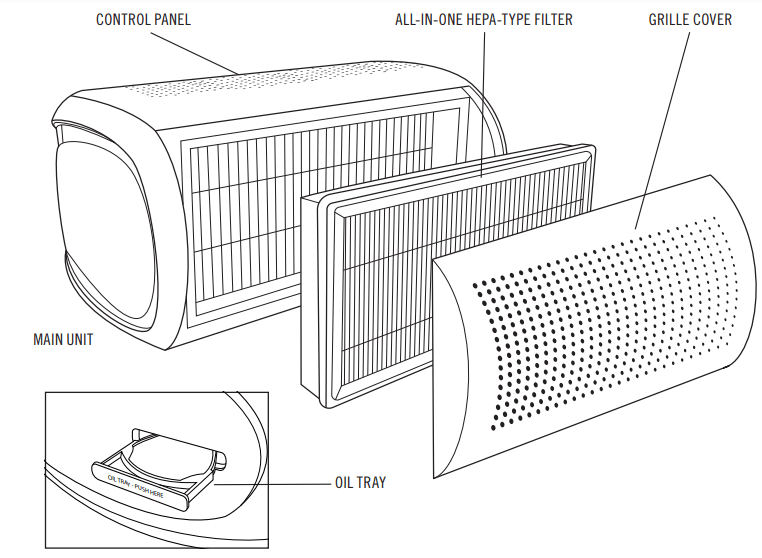
OIL TRAY
Includes 3 essential oil pads. Use with essential oil (not included) to deliver scent into the air.
HOW TO USE
BEFORE TURNING THE UNIT ON
• Take the air purifier out of the box and remove the clear protective plastic bag.
• Place the air purifier on a firm, level surface.
• Plug the power cord into a standard AC outlet.
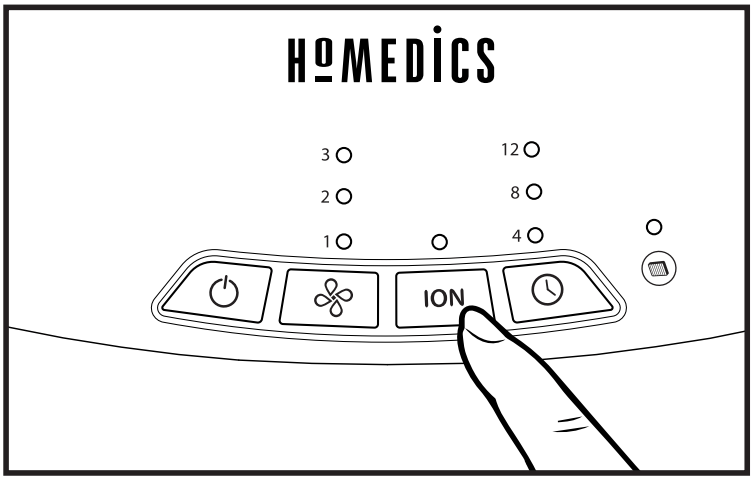
POWER BUTTON AND FAN SPEED SETTINGS
• To turn the air purifier on, press the power button.
• This air purifier has 3 fan speed settings: low (1), medium (2), and high (3). The higher the fan speed setting, the faster the air will be purified. To select or change fan speed, press the fan speed button until the desired setting is reached.
IONIZER SETTING WITH ON/OFF
Ion particles have a positive or negative charge that attach to airborne particles, making them easier to be captured by the filtration system.
Press the ionizer ION button to turn the ionizer on. The blue light will glow to indicate the ionizer is in use. Press the ionizer ION button again to turn the ionizer off.
TIMER
Press the timer button until the desired timer setting is lit on the display. The timer button will cycle through the following settings: 4 hours, 8 hours, 12 hours, and off. To cancel the timer at any time, press the timer button until all timer LEDs are off. The air purifier will run continuously when the timer function is off.
OIL TRAY
Use essential oil (not included) to deliver scent into the air.
ARE ESSENTIAL OILS SAFE TO USE AROUND PETS?
We should always exercise caution when using essential oils around our pets. Keep all essential oil and aromatherapy products (like diffusers) out of reach of pets. Keep open bottles away from pets to avoid internal consumption. We do not recommend the topical use of essential oils on pets, as they have a strong sense of smell and cannot get rid of the oil if they don’t like it or it is disturbing them. When diffusing essential oils around pets, always diffuse in a well-ventilated area and leave an option for them to remove themselves from the space, such as leaving a door open. Every animal is different, so carefully observe how each animal responds when introducing an essential oil for the first time. If irritation occurs, discontinue the use of the essential oil. We recommend seeking medical attention if ingestion of essential oil occurs.
ADDING ESSENTIAL OILS
WARNING: PUTTING OIL ANYWHERE BUT THE OIL TRAY WILL DAMAGE THE AIR PURIFIER.
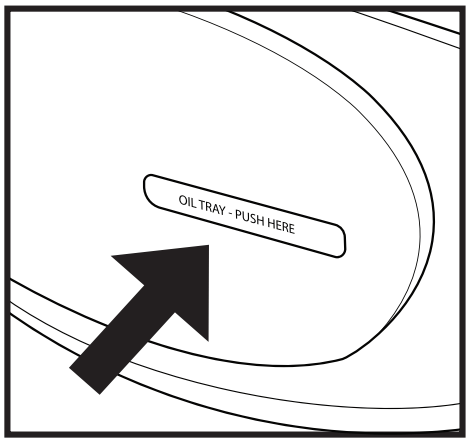
1. The oil tray is located on the left side of the air purifier.
2. Push to open and remove the tray. Place 1 aroma pad (3 included) into the oil tray
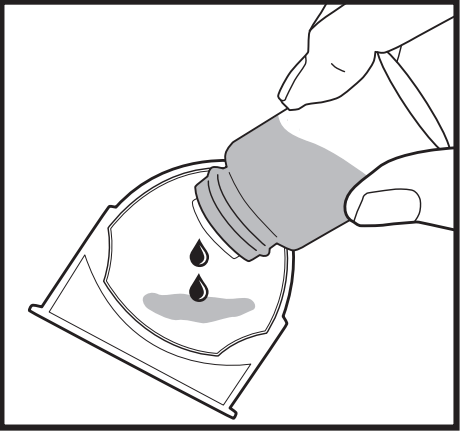
3. Add 5–7 drops of essential oil to the pad. You may use more or less depending on personal preference. WARNING: Only place essential oil on the pad and NOT directly into the tray
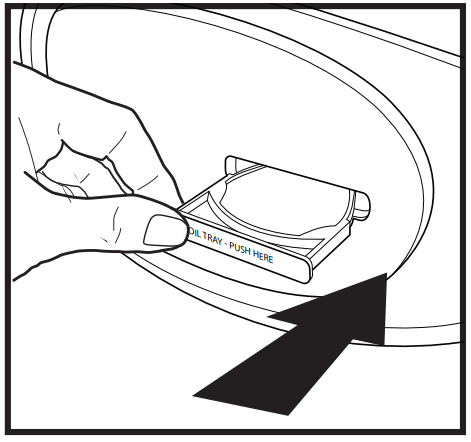
4. Place the oil tray back in its compartment and push to close. The scent will start automatically when the air purifier is turned on.
FILTER REPLACEMENT
REPLACE FILTER LIGHT
The replace filter light illuminates when it is time to replace the HEPA-type filter based on the air purifier’s hours of use.
REPLACING THE HEPA-TYPE FILTER
For optimal performance, replace every 12 months under normal usage conditions. Once the filter has been replaced, press and hold the ionizer ION button for 3 seconds to reset the indicator.
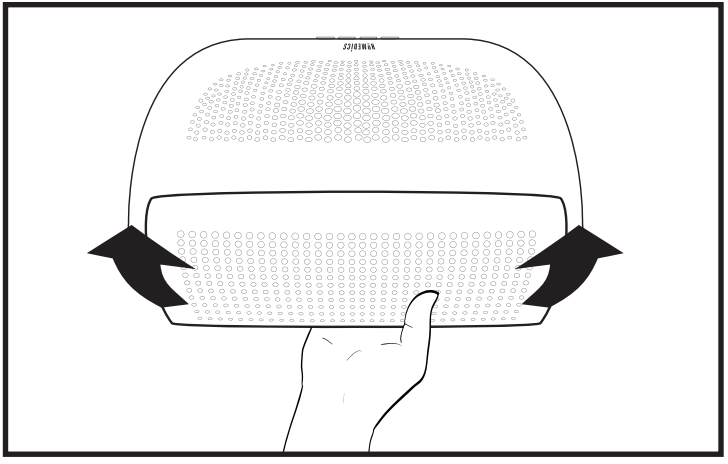
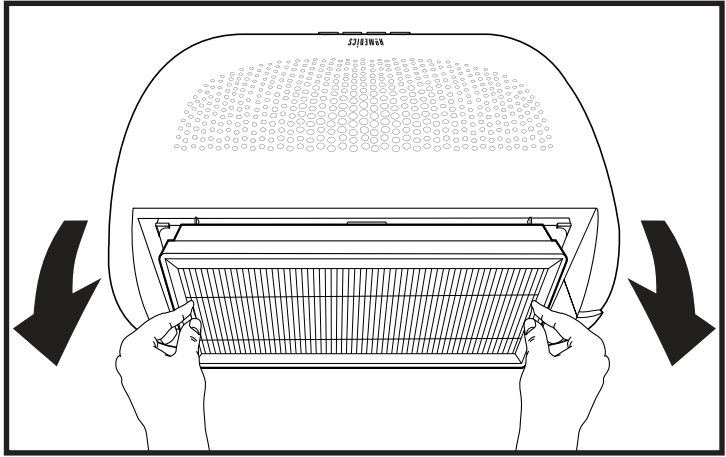
1. Unplug the air purifier. Open the filter grille cover on the back of the unit by pulling the tab located at the bottom of the cover.
2. Pull up until the grille easily slides away from the unit.
3. Pull the tabs to remove the old filter.
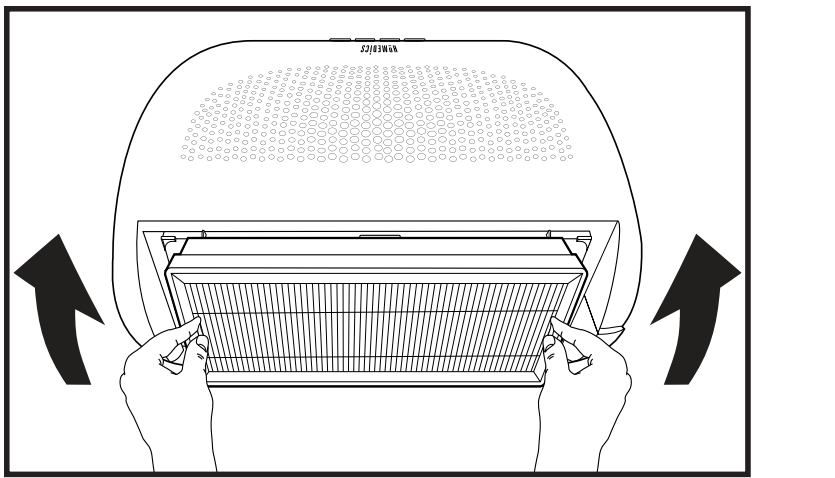
4. Install a new genuine HoMedics replacement filter with the white side facing out (tabs will be visible).
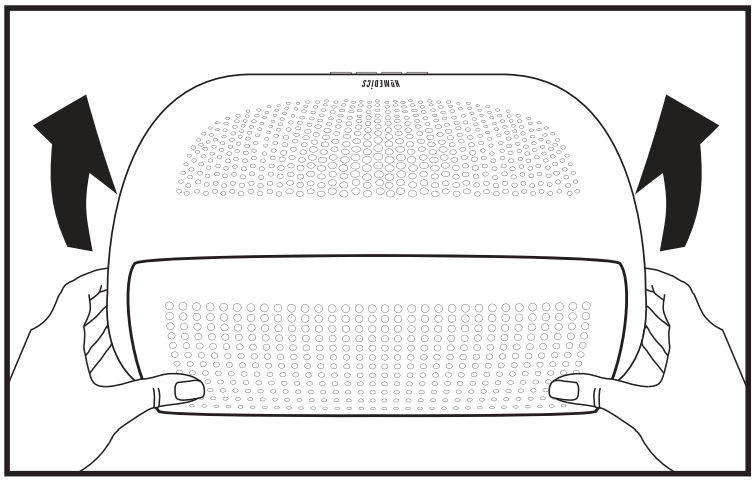
5. Align the tab at the top of the grille cover with the top of the unit. Gently push the grille cover until it snaps back into place.
6. Plug the power cord into a standard AC outlet. Press and hold the ionizer button for 3 seconds to reset the indicator.
CLEANING AND MAINTENANCE
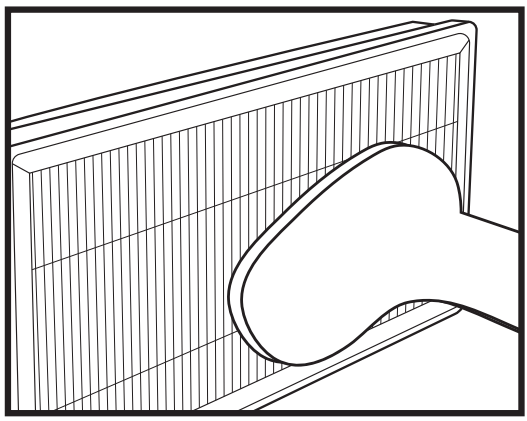
CLEANING THE PRE-FILTER
1. Unplug the air purifier.
2. Remove the HEPA-type filter as described in the Replacing the HEPAType Filter section.
3. Vacuum the white side of the HEPA-type filter using the brush attachment of your vacuum cleaner, cleaning it thoroughly.
4. Place the HEPA-type filter back into the air purifier and close grille.
5. Plug the power cord into a standard AC outlet.
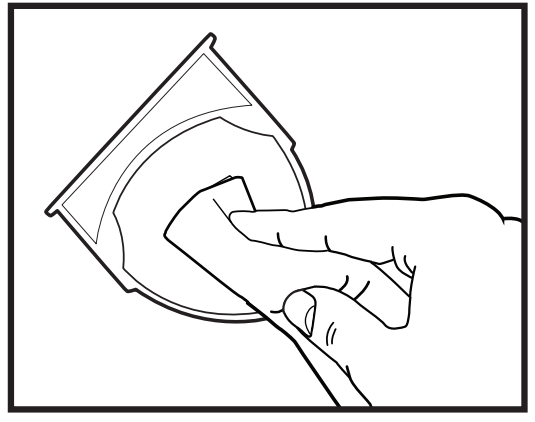
TO CLEAN THE OIL TRAY
Open the oil tray and remove the pad. Essential oil pads should be changed when switching to a different essential oil scent. If continuing to use the same scent, set the essential oil pad aside for reuse. Wipe down the inside of the oil tray with a soft cloth. Place the essential oil pad back in the tray and close.
FOR BEST PERFORMANCE:
• NEVER use water or any household cleaners or detergents to clean the HEPA-type filter.
• Clean off the outside of the unit with a dry cloth as needed.
• NEVER use water, wax, polish, or any chemical solution to clean the outside of the unit.
• Clean off the grille cover using a damp cloth or the brush attachment of your vacuum as needed.
• Vacuum the pre-filter monthly under normal usage conditions.
• Replace the HEPA-type filter every 12 months under normal usage conditions.
• Always use a genuine HoMedics replacement filter for optimal performance.
TROUBLESHOOTING
PROBLEM
POSSIBLE CAUSE
SOLUTION
Unit will not operate
• Unit is not plugged in
• Power button not pressed
• No power to unit
• Plug unit in
• Press the power button to turn the power on
• Check circuits, fuses, try a different outlet
Reduced airflow
• The back grille may be blocked
• Pre-filter needs vacuuming
• The filter needs to be replaced
• Check to make sure nothing is blocking the back grille and air outlet
• Vacuum the pre-filter with the brush attachment of your vacuum cleaner
• Replace the filter
Reduced odor removal
• The filter needs to be replaced
• Replace the filter
Excessive noise
• The unit is not level
• Place the unit on a flat, level surface
Replace filter light remains lit after filter replacement
• The replace filter indicator needs to be reset
• Press and hold the ionizer button for 3 seconds until the replace filter light turns off
 button.
 button until the desired setting is reached.
 button until the desired timer setting is lit on the display. The timer