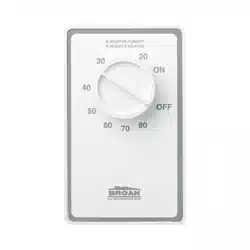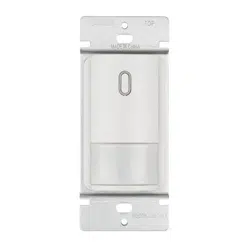

6 AMP / 120 VAC, ELECTRONIC SPEED CONTROL
INSTALLATION
1. Turn off power and lock out service panel before wiring the
control.
2. Install at least a 2½” deep switch box for 14 gauge wire or at
least a 2¾” deep switch box for 12 gauge wire. Can be installed
in either a metal outlet box or a plastic outlet box.
3. Connect cables to switch box and appliance using appropri-
ate connectors. Provide 6” leads inside box and appliance.
4. Make electrical connections following diagram on back. Use
wire nuts supplied. Make sure both the control and the ap-
pliance are properly grounded. IMPORTANT: The red wire is
intended to power accessories. It is controlled by the switch,
but not the speed control. It is a live wire – so insulate it ac-
cording to codes if not used.
5. Tuck wires into switch box and fasten the control to box using
attached screws supplied.
6. Turn on power and check operation of control and appliance.
(See low-end adjustment instructions on back.)
7. Remove protective plastic from face plate and slide plate into
grooves on control. Push knob onto shaft.
WARNING
All electrical work must be done in accordance with local
codes, ordinances, or National Electrical Code as applicable.
FOR SAFETY, THIS PRODUCT MUST BE GROUNDED. If you
are unfamiliar with methods of installing electrical wiring,
secure the services of a qualified electrician.
Turn off power and lock out service panel before installing,
wiring, or servicing this product.
To prevent serious injury from electrical shock or damage
to electrical components - DO NOT WIRE HOT!
Do not use with impedance protected motor unless specifi-
cally designed for use with electronic speed control.
This control may only be used with a thermally protected
shaded pole or permanent split capacitor motor with a name-
plate rating up to 6.0 AMPS @ 120 VAC.
Warranty void if miswired.
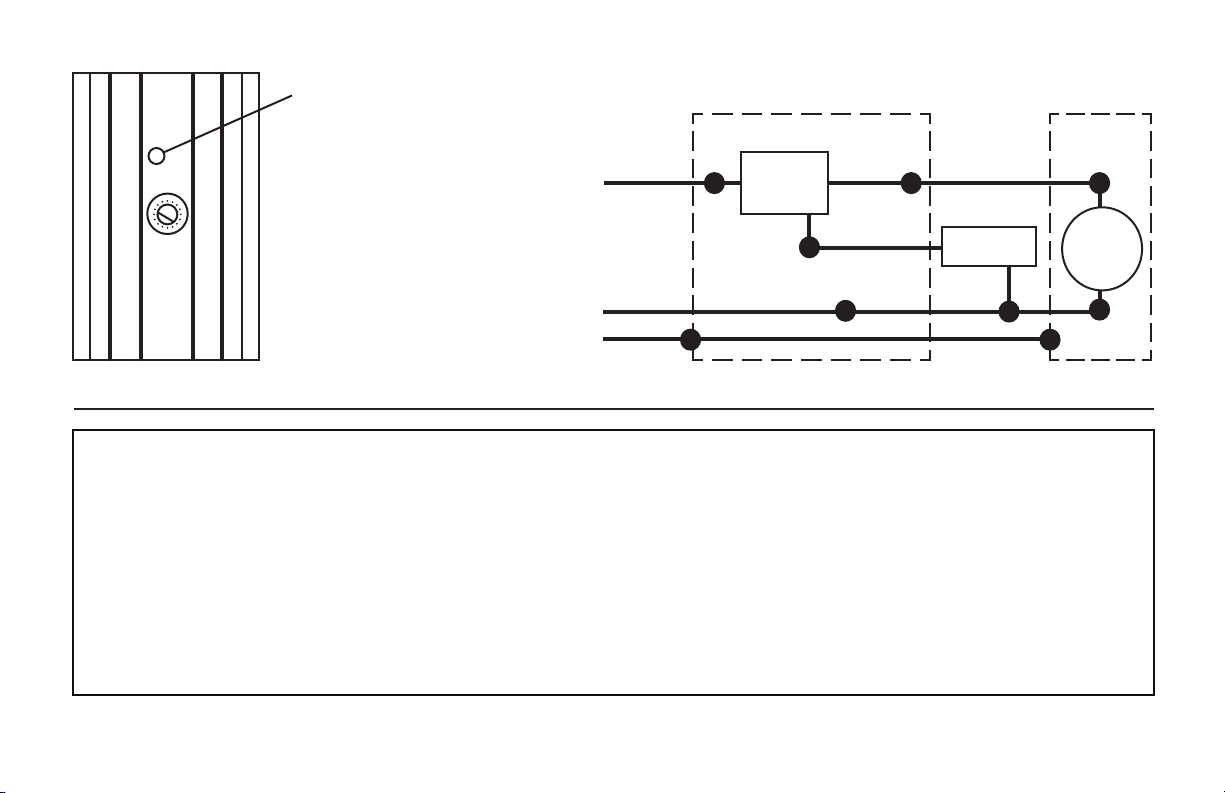
(WIRING DIAGRAM ON BACK)
WARRANTY
99041796C
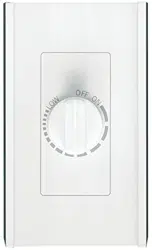
This control is provided with a low
speed adjustment. If your fan runs too
fast or stops at the low speed setting,
it can be corrected:
1. Rotate the control’s shaft fully
clockwise to the low speed
position.
2. Use a small screwdriver through
the low-end adjustment hole.
Turn adjustment screw clockwise
to decrease the low-end speed or
counterclockwise to increase low-
end speed.
BROAN-NUTONE ONE YEAR LIMITED WARRANTY
Broan-NuTone warrants to the original consumer purchaser of its products that such products will be free from defects in materials or workmanship for a period of one year from the date of original purchase.
THERE ARE NO OTHER WARRANTIES, EXPRESS OR IMPLIED, INCLUDING, BUT NOT LIMITED TO, IMPLIED WARRANTIES OF MERCHANTABILITY OR FITNESS FOR A PARTICULAR PURPOSE.
During this one-year period, Broan-NuTone will, at its option, repair or replace, without charge, any product or part which is found to be defective under normal use and service.
THIS WARRANTY DOES NOT EXTEND TO FLUORESCENT LAMP STARTERS AND TUBES. This warranty does not cover (a) normal maintenance and service or (b) any products or parts which have been
subject to misuse, negligence, accident, improper maintenance or repair (other than by Broan-NuTone), faulty installation or installation contrary to recommended installation instructions.
The duration of any implied warranty is limited to the one-year period as specied for the express warranty. Some states do not allow limitation on how long an implied warranty lasts, so the above limitation may
not apply to you.
BROAN-NUTONE’S OBLIGATION TO REPAIR OR REPLACE, AT BROAN-NUTONE’S OPTION, SHALL BE THE PURCHASER’S SOLE AND EXCLUSIVE REMEDY UNDER THIS WARRANTY. BROAN-NU-
TONE SHALL NOT BE LIABLE FOR INCIDENTAL, CONSEQUENTIAL OR SPECIAL DAMAGES ARISING OUT OF OR IN CONNECTION WITH PRODUCT USE OR PERFORMANCE. Some states do not allow
the exclusion or limitation of incidental or consequential damages, so the above limitation or exclusion may not apply to you.
This warranty gives you specic legal rights, and you may also have other rights, which vary from state to state. This warranty supersedes all prior warranties.
To qualify for warranty service, you must (a) notify Broan-NuTone at the address or telephone number below, (b) give the model number and part identication and (c) describe the nature of any defect in the
product or part. At the time of requesting warranty service, you must present evidence of the original purchase date.
Broan-NuTone LLC Hartford, Wisconsin www.broan.com 800-558-1711
Broan-NuTone Canada Mississauga, Ontario www.broan.ca 877-896-1119
BLACK
WHITE
GROUND
120 VAC
LINE IN
WHITE
GROUND
BLACK
SWITCH BOX APPLIANCE
SPEED
CONTROL
MOTOR
6 AMP ELECTRONIC SPEED CONTROL
YELLOW
RED
(INSULATE IF
NOT USED)
ACCESSORY
LOW END
ADJUSTMENT HOLE