CC CC
AA
BB
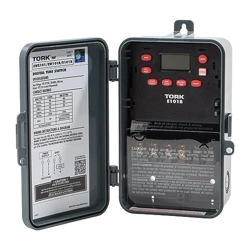
INSTALLATION GUIDE
www.focuslux-us.com[email protected]780 328 3064 2575 East Main ST Plainfield IN 46168
Luminaria LED Portátil
Modelos: SP-042T168UD-06
Clasificación: 120V-60Hz 42W
4 UNIDADES MÁXIMO
CONTENIDO DEL PAQUETE
LEA TODAS LAS INSTRUCCIONES Y GUARDE ESTA HOJA DE INSTRUCCIONES.
NO LEER LAS INSTRUCCIONES PUEDE PROVOCAR RIESGO DE INCENDIO O LESIONES PERSONALES
CAUTION: To reduce the risk of fire, electric shock or injury to people:
PRECAUCIÓN: Para reducir el riesgo de incendio, descarga eléctrica o lesiones personales:
Apagar el interruptor y el interruptor de circuito antes de instalar esta lámpara LED. Adecuado
para entornos secos.
No utilizar con atenuadores.
Instalar directamente bajo un receptáculo montado en el techo.
Usar únicamente grapas aisladas o abrazaderas de plástico para sujetar el cable.
No diseñado para instalación empotrada o en el techo.
No instalar directamente sobre una fuente de calor (estufa, etc.)
Sigas las precauciones de seguridad. Se recomienda usar gafas y guantes de seguridad.
No se debe instalar en un techo con calefacción radiante.
Si tira de la superficie de la lámpara podría provocar lesiones personales y dañar la lámpara
y/o la superficie de montaje. Para reducir el riesgo de lesiones o daños, montar únicamente en
una superficie segura mecánicamente.
No alterar el enchufe o el cable de corriente ni trate de instalar este producto con otro método
al indicado en estas instrucciones.
Luminaria LED Portátil
1. Este aplique cumple con la Parte 15 de las normas FCC. La operación está sujeta a las dos
condiciones siguientes: (1) este dispositivo no debe causar interferencias dañinas y (2) este
dispositivo debe aceptar cualquier interferencia recibida, incluidas las interferencias que puedan
provocar una operación no deseada.
2. Para instalar en una superficie de tablones de yeso, estos debe tener un grosor mínimo de 3/8”.
Luminaria LED Portátil
www.focuslux-us.com[email protected]780 328 3064 2575 East Main ST Plainfield IN 46168
INSTRUCCIONES DE INSTALACIÓN:
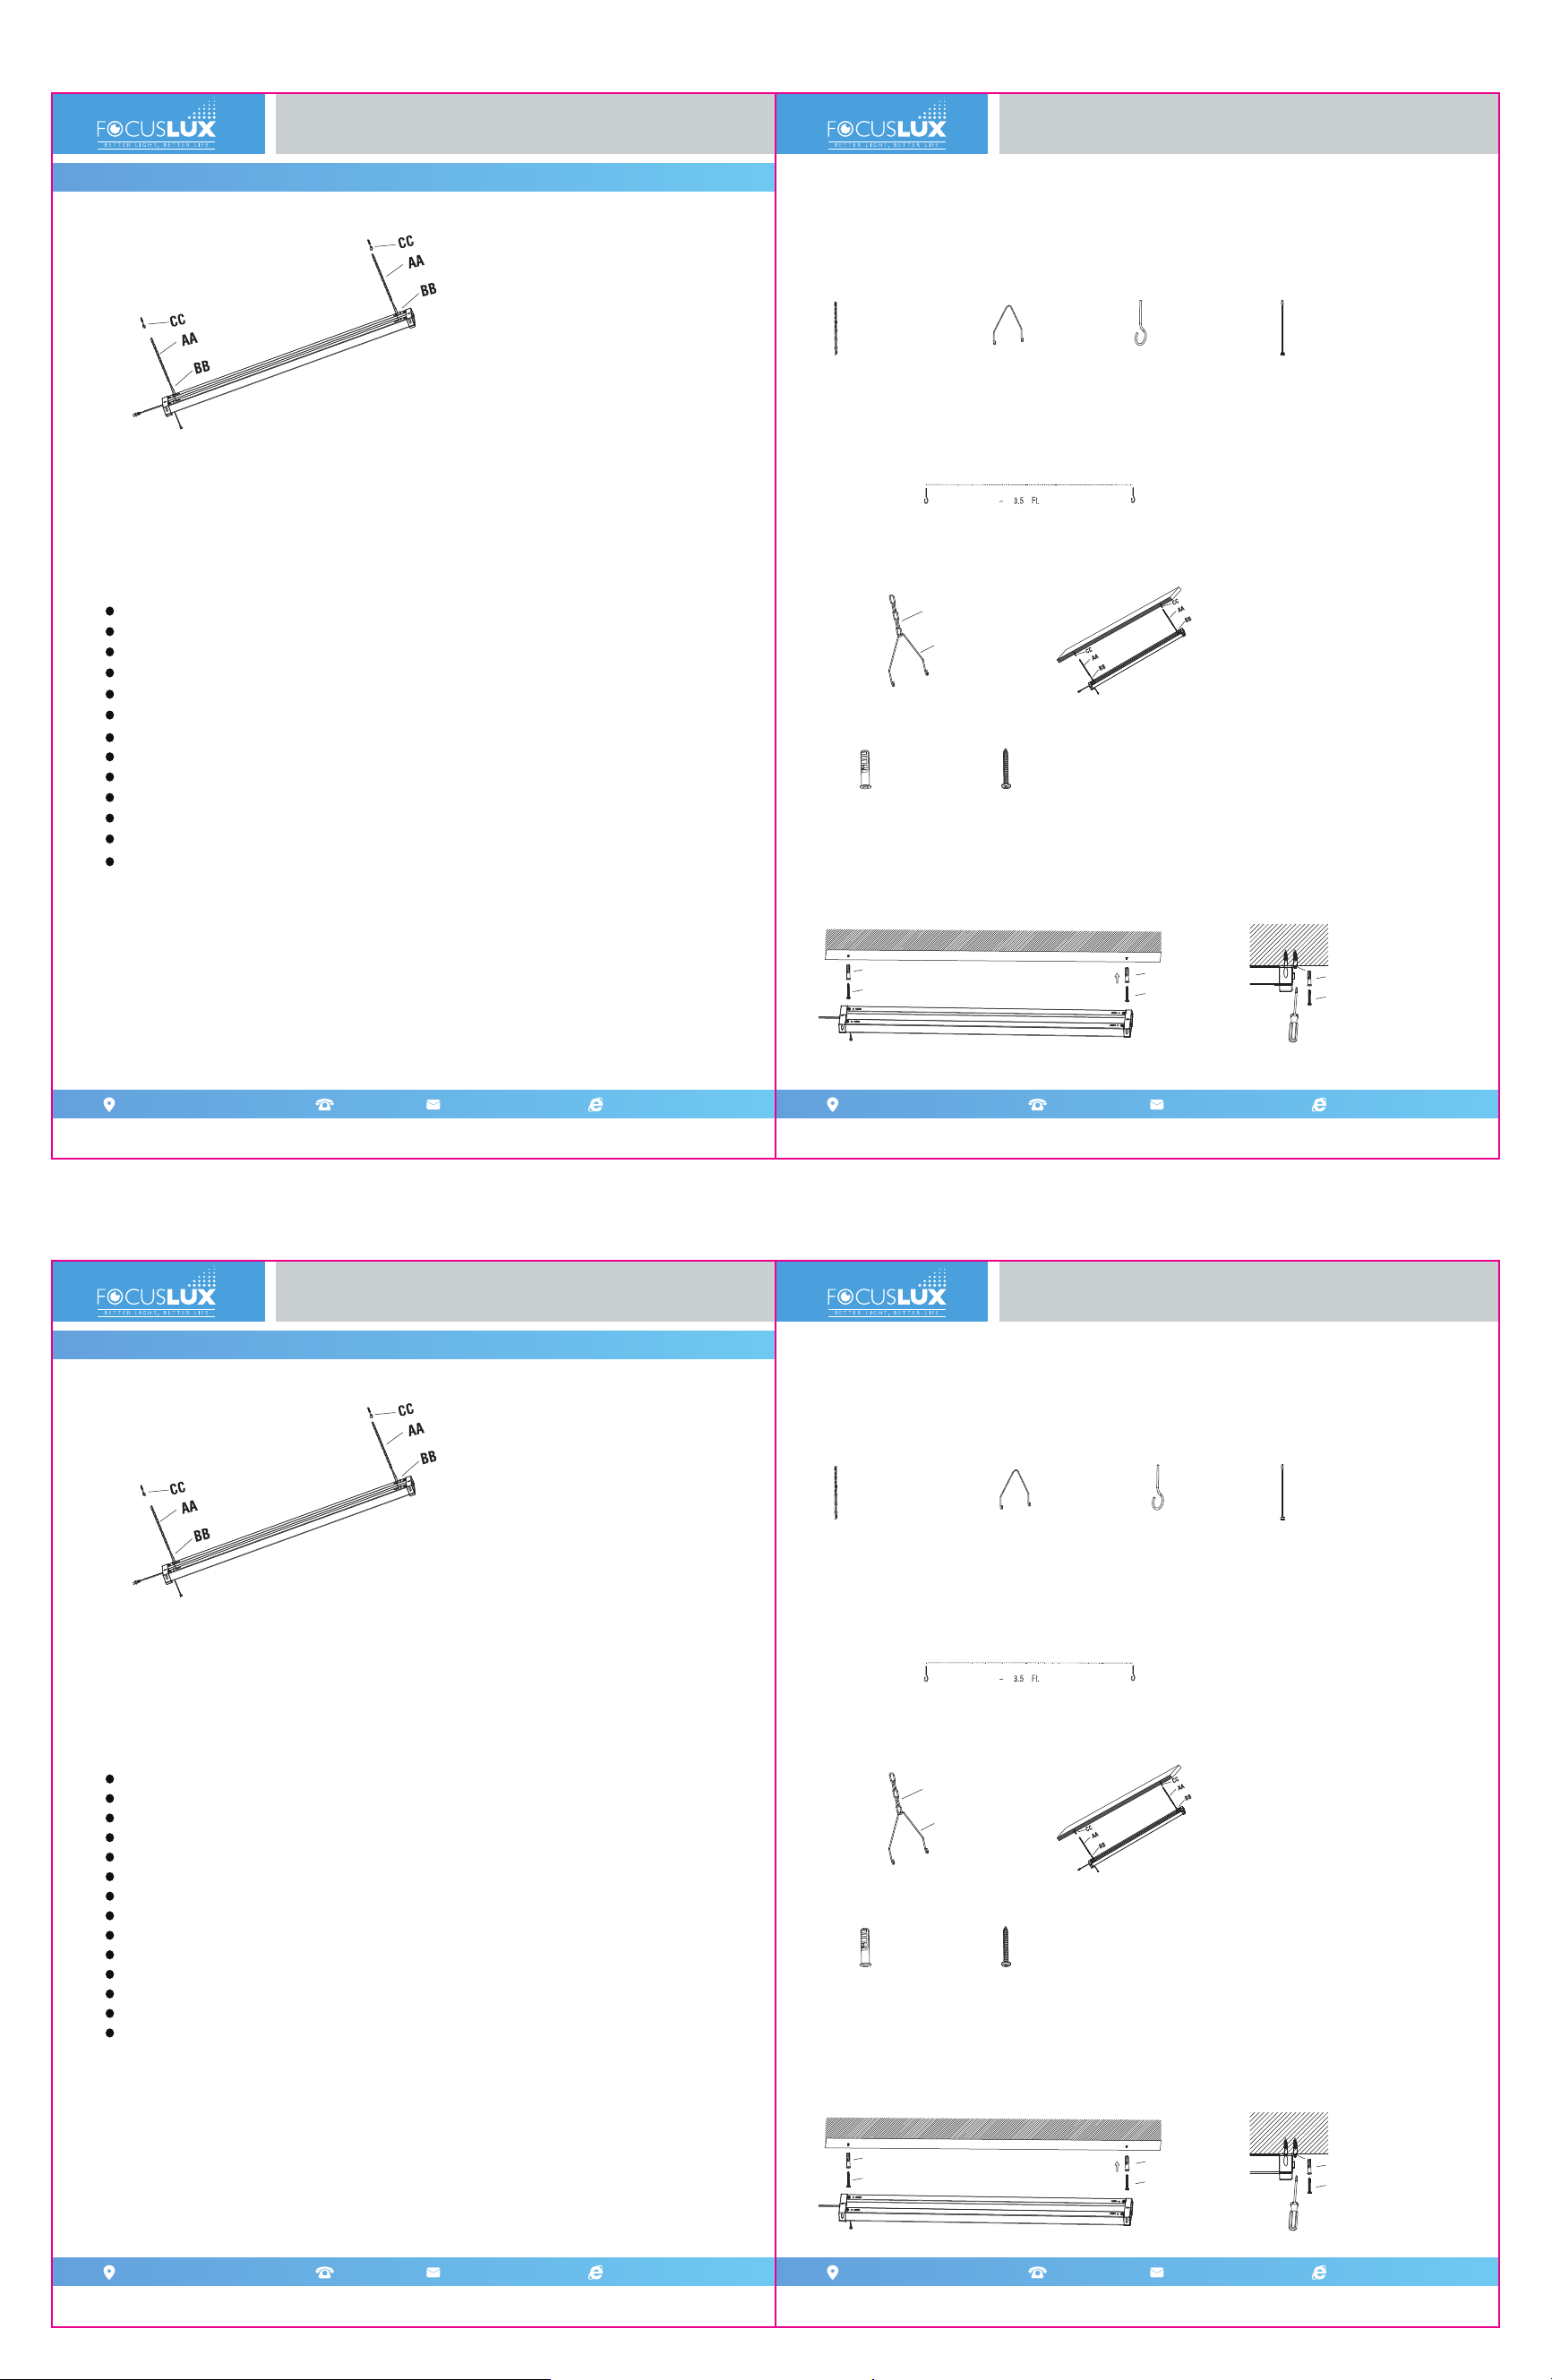
DD
EE
DD
EE
DD
EE
(Figure 1) (Figure 2)
(Figure 3) (Figure 4)
CC CC
AA
BB
INSTALLATION GUIDE
www.focuslux-us.com[email protected]780 328 3064 2575 East Main ST Plainfield IN 46168
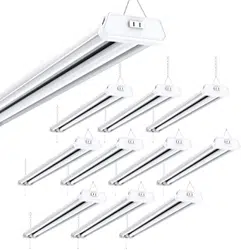
Led shop light
Models: SP-042T168UD-06
Rated: 120V~ 60Hz 42W
4 UNITS MAXIMUM
PACKAGE CONTENTS
READ ALL THE INSTRUCTIONS AND SAVE THIS INSTRUCTION SHEET.
NOT READING THE INSTRUCTIONS MAY CAUSE RISK OF FIRE OR PERSONAL INJURY
CAUTION: To reduce the risk of fire, electric shock or injury to people:
Turn off the switch and circuit breaker before installing this LED lamp.
Suitable for dry locations.
Not for use with dimmers.
Install directly beneath a ceiling-mounted receptacle.
Use only insulated staples or plastic ties to secure the cord.
Not intended for recessed installation or on ceiling.
Do not install directly over a heat source (stove, etc.)
Use safety precautions. Safety eye glasses and gloves are recommended.
Installation should not be made on a radiant-heating ceiling.
Injury to people and damage to the lamp and/or mounting surface may
result if the lamp is pulled from the surface. To reduce the likelihood of
such injury or damage, mount only on a mechanically sound surface.
Do not alter the plug or power supply cord in any way or try to install
this product in any other method besides method shown on this sheet.
Focuslux 4FT LED
Linkable Shop Light
*
1.This fixture complies with Part 15 of the FCC rules. Operation is subject to the following
two conditions: (1) this device may not cause harmful interference,and (2) this device must
accept any interference received, including interference that may cause undesired operation.
2.To install onto a plaster board surface, plaster board requires minimum 3/8” thick.
Focuslux 4FT LED
Linkable Shop Light
*
www.focuslux-us.com[email protected]780 328 3064 2575 East Main ST Plainfield IN 46168
INSTALLATION INSTRUCTIONS:
DD
EE
DD
EE
DD
EE
(Figure 1) (Figure 2)
(Figure 3) (Figure 4)
User Manual(English)
User Manual(Spanish)
1). Montaje Colgante:
2). Montaje en superficie:
Paso 1: Compruebe los accesorios de instalación:
AA:
Cadena colgante de 12 in
(2)
BB: gancho en “V” (2)
CC: Gancho de techo (2)
FF:
Bola de cuerda
(1)
DD: Anclaje de Pared (3)
EE: Tornillos para madera (3)
Paso 2: Fije los ganchos del techo
Elija la ubicación deseada para el aplique de luz asegurándose de que esté al alcance de una toma de corriente. Use un lápiz para
marcar en el techo donde colocará el gancho de techo (Parte CC). Atornille firmemente los ganchos en su sitio.
Paso 3: Suspender en el techo
Enganche los ganchos en “V” (Parte BB) en cada cadena colgante (Parte AA). (Figura 1)
Enganche lo ganchos en “V” (Parte BB) en cada agujero de ambos lados de la luz. (Figura 2) Enganche en las cadenas
colgantes (Parte AA) en cada gancho del techo (Parte CC). (Figura 2)
Paso 2: Instalación:
Acople los ganchos de techo (Figura 3)
1. Taladre un agujero de 1/4 in. en las marcas para los tornillos.
2. Inserte los anclajes de pared (Parte DD).
3. Atornille parcialmente los tornillos de madera (Parte EE).
4. Deslice el aplique hasta que las patas estrechas de las ranuras estén por debajo de las cabezas de los tornillos (Parte EE).
Paso 3: Fije el aplique con un tornillo más de fijación (Figura 4)
1. Taladre un agujero de 1/4 in. cerca del receptáculo del aplique. Inserte los anclajes de pared (Parte DD) y apriete los tornillos
para madera (Parte EE).
Preparación:
- Retire el aplique cuidadosamente de la caja y compruebe que todo el equipo está incluido.
- Tenga cuidado para no perder ninguna pieza necesaria para instalar el aplique.
- Prepare un lápiz o bolígrafo para marcar el lugar de los tornillos en el aplique.(¡Muy importante!)
Dos métodos de instalación:
Paso 1: Compruebe los artículos y accesorios:
AA: Cadena colgante de 12 in (2 unidades) BB: gancho en “V” (2 unidades) CC: Gancho de techo (2 unidades)
FF: Bola de cuerda (1 unidad)
NOTA: la unidad está diseñada para instalarse directamente bajo un receptáculo montado en el techo. Si hay exceso de cable,
átelo con un sujetacables y manténgalo alejado del espacio de trabajo.
1). Pendant Mounted Way:
2). Surface Mounted Way:
Step 1: Check the Installation accessories:
AA: 12 in. Hanging Chain (2) BB: “V” Hook (2)
CC: Ceiling Hook (2)
FF: Rope Bag (1)
DD: Wall Anchor (3)
EE: Wood Screws (3)
Step 2: Fix the ceiling hooks
Choose desired location of light fixture making sure it is within the reach of an outlet. Use a pencil to place a mark on the ceiling
where each ceiling hook (Part CC) should go. Screw hooks in place until secure.
Step 3: Suspended on to the ceiling
Hook on the “V” hooks (Part BB) into each of hanging chains (Part AA). (Figure 1)
Hook on the “V” hooks (Part BB) into each of the holes on both sides of the shop Light. (Figure 2)
Hook on the hanging chains (Part AA) into each of ceiling hooks (Part CC). (Figure 2)
Step 2: Installation:
Attach the ceiling hooks (Fugure 3)
1. Drill a 1/4 in. pilot hole into the marked screw locations.
2. Insert wall anchors (Parts DD).
3. Start the wood screws (Parts EE) but do not tighten fully.
4. Slide the fixture over until the narrow legs of the keyhole slots are under the heads of the screws (Part EE).
Step 3: Secure the fixture with one more screw fixing (Fugure 4)
1.Drill a 1/4 in. pilot hole nearby the fixure’ receptacle. Insert wall anchors (Parts DD) and tighten the wood screws (Parts EE).
Preparing issues:
- Carefully remove the fixture from the carton and check to make sure that all hardware is included.
- Be careful not to misplace any of the hardware needed for installing the fixture.
- Prepare a pencil or a pen, it could be used to mark the place to the screw fixing.(Very Important!)
Two kinds of Installation Ways:
Step 1: Checking the goods and accessories:
AA: 12 in. Hanging Chain (2 pieces) BB: “V” Hook (2 pieces ) CC: Ceiling Hook (2pieces) DD: Rope Bag ( 1 piece )
NOTE: The unit is intended to be installed directly beneath a ceiling-mounted receptacle. If there is excess cord, bind with string
or a cable tie to keep it out of work space.