Loading ...
WS-9611U-IT www.lacrossetechnology.com/support Page | 2
Get Started
Step 1: Insert 2 fresh AA, batteries into the TX29U-IT sensor according
to the polarity marked in the battery compartment.
Step 2: Insert 2 fresh AA, Alkaline batteries into the forecast station
according to the polarity markings.
Step 3: After 5 minutes place sensor outside in a shaded location.
Transmission range is 330 ft. (100 m).
Restart: If the outdoor temperature shows dashes, remove batteries
from the station & outdoor sensor. Press any button on the station 20
times. After 15 minutes, return to Step 1.
Set Time, Date, City Code, Temperature Units, Forecast Sensitivity
1. Hold the SET button to enter time set mode.
2. To adjust values press the CH/+ button.
3. Press the SET button to confirm adjustments and move to the next
item or exit setting menu.
Settings order:
1. Contrast (lcd 3)
2. Time Zone (0 to +/- 12)
3. Daylight Saving Indicator
4. Radio-controlled Time Signal (RCC ON/OFF)
5. 12/24 Hour Time Format (12h or 24h)
6. Hour
7. Minutes
8. Year (two digit)
9. Month
10. Date
11. City Code
12. Snooze Time
13. Fahrenheit/Celsius (ºF/ºC)
14. Forecast Sensitivity (2 and forecast icon flashes)
Note: The lowest number is used near the coastline, the highest number
is for the desert, and middle number is for everywhere else.
Press the SET button to exit, or wait 15 seconds without pressing
buttons to return to the normal time display.
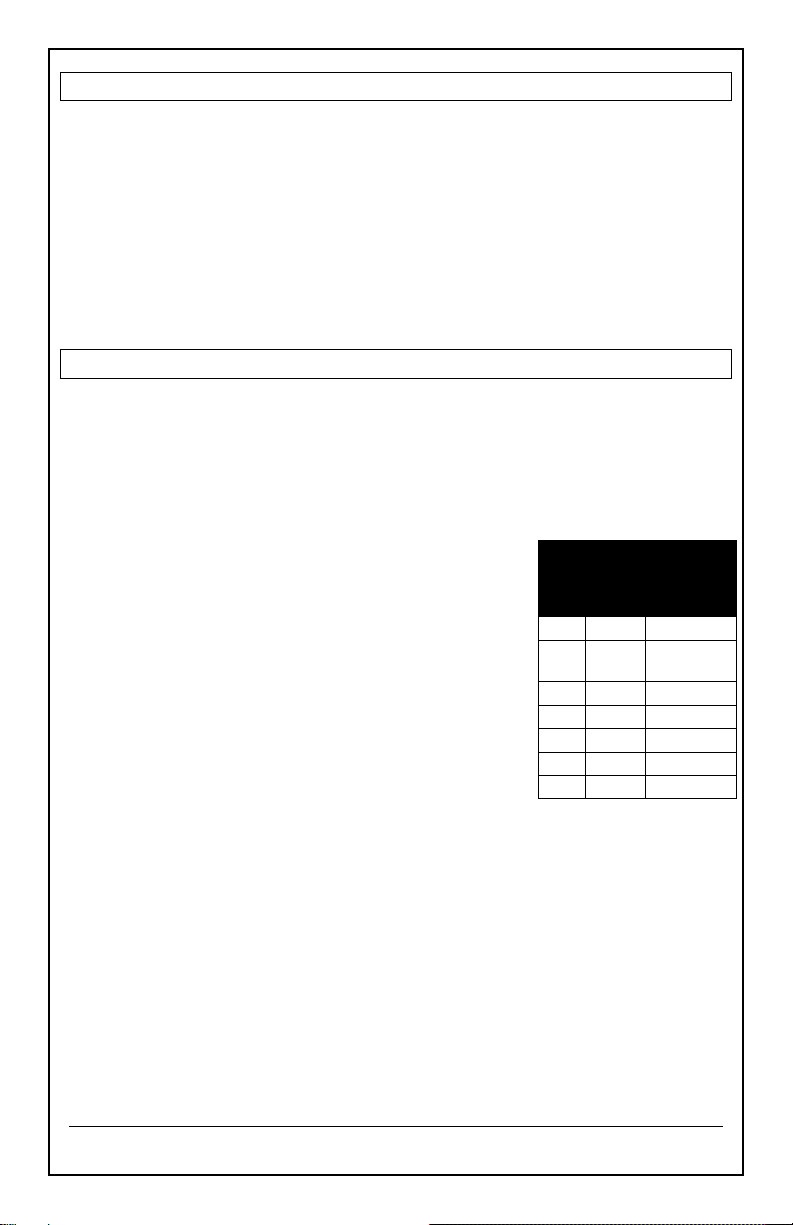
Time zones
GMT 0 to +/-12h
North American time
zones
-4
ATL
Atlantic
-5
EST
Eastern
(default)
-6
CST
Central
-7
MST
Mountain
-8
PST
Pacific
-9
ALA
Alaska
-10
HAW
Hawaiian
Loading ...
Loading ...
Loading ...