Loading ...
Loading ...
Loading ...
16 17USING THE COOKEROPERATING FOR THE FIRST TIME
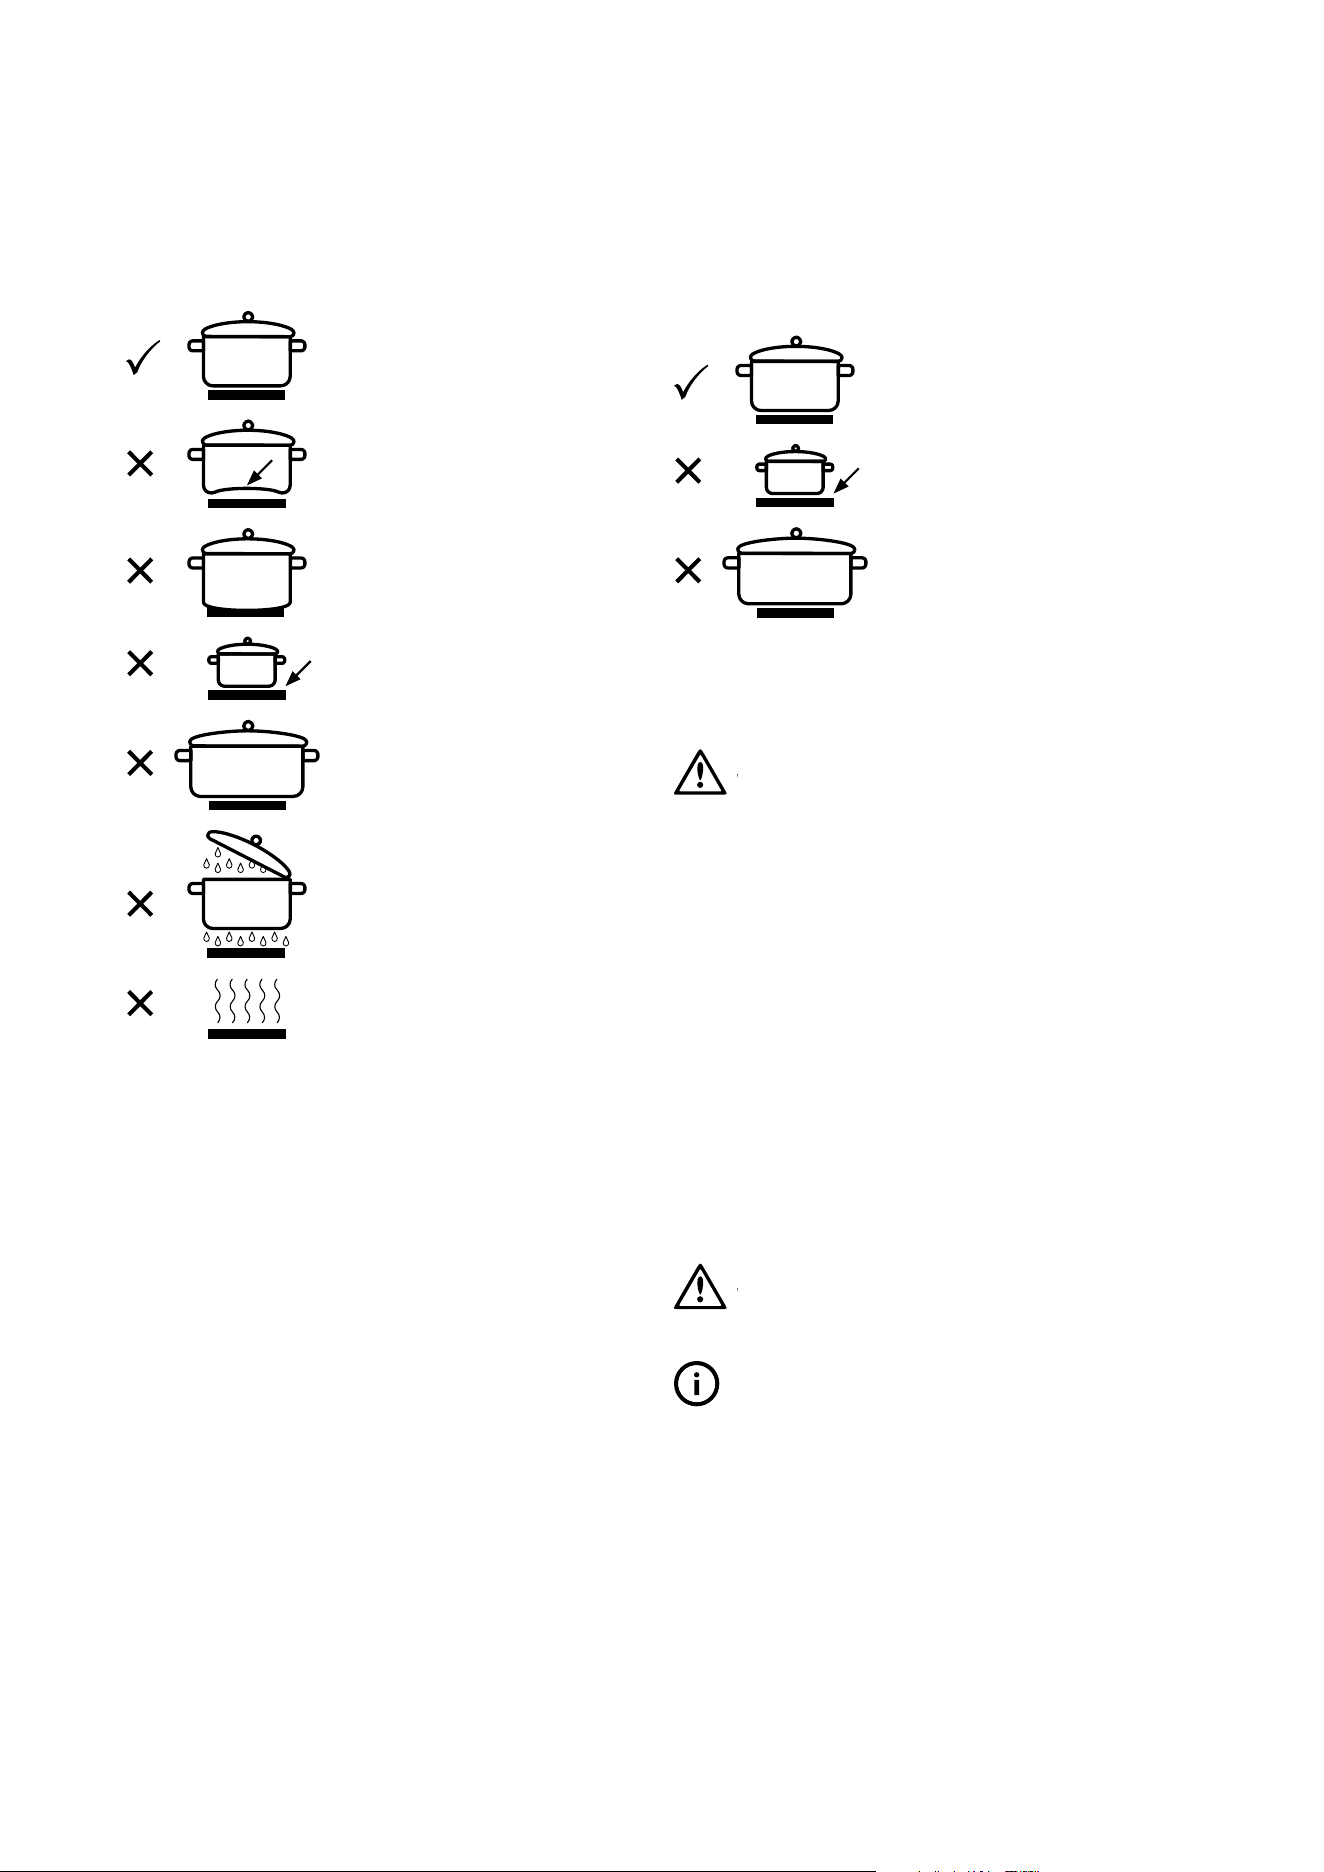
Choosing utensils for electric hotplates
Refer to the diagram below.
Good
Bad
(recessed base)
Bad
(convex base)
Bad
(undersize)
Bad
(oversize)
Bad
(moisture on hotplate)
Bad
(no cookware)
Choosing utensils for gas hotplates
Refer to the diagram below.
Good
Bad
(undersize)
Bad
(oversize)
Do not use utensils which are too large or too small.
Installation and service warning
WARNING
WARNING
• Only an authorised person must install and service
this appliance (Certificate of Compliance to be
retained).
• In order to avoid a hazard, the installation
instructions
MUST be followed.
• In order to avoid the appliance tipping, the anti-tilt
plate MUST be installed.
• Appliances requiring connection to 230 – 240V
MUST be earthed.
• An authorised person should inspect this appliance
every 5 years.
• This appliance must NOT be installed on a base,
box or in a closed cupboard.
• If the electrical supply cord is damaged, a qualified
person MUST replace the cord to avoid a hazard.
WARNING
WARNING
Surrounding kitchen cabinets MUST WITHSTAND 85°C.
TIPS & INFORMATION
BEFORE OPERATING FIRST TIME
1. Read all the Warning and Safety information.
2.
Remove all internal boxes and bags from oven.
3.
Clean out the oven interior with detergent and warm
water and polish with a soft cloth. DO NOT close
oven door until the oven is completely dry.
OPERATING FOR THE FIRST TIME
Lighting gas hotplate, grill and oven
Electronic ignition (For models WFE614, WFE612,
WFE616 and WFE512)
These hobs are fitted with mains powered electronic ignition.
When the appliance has been connected and the power is on,
depressing any knob will release sparks to all burners. To light
a burner, depress the corresponding knob and while continuing
to depress knob turn anticlockwise to ‘HI’ position. The knob
may be released once the flame is established, and turned
further anticlockwise to reduce the flame height as desired.
Push button Ignition (For models WFG612)
Turn appropriate burner control knob to maximum and at the
same time press the ignition switch.
Flame safeguard models (For models WFE614, WFE612,
WFG612, WFE512)
Models with flame safeguard have the same ignition procedure
as above but require the knob to continue to be depressed
after flame is established for approximately 5 seconds. If the
flame goes out when the knob is released, simply depress the
knob again, this time holding it down with slightly more force
for the same length of time.
WARNING
WARNING
• Keep hands clear of burners when lighting.
• If burner does not light within 5 seconds, turn knob to
‘Off’ position, allow gas to disperse, then try lighting
again.
• Burners MUST be operated between ‘HIGH’ and ‘LOW’
settings only.
ENVIRONMENTAL TIPS
ENVIRONMENT
To conserve gas, place the pan centrally over the burner and
adjust the flame so that it does not go past the edge of the
cookware.
NOTE: In the absence of electrical power, carry out the ignition
directly to the burner with a hand held ignition source.
Grill ignition (For models WFG612)
Turn Grill Control Knob onto maximum and at the same time
press Electronic Ignition Switch.
This burner also has flame
failure, so it is required to depress the knob approximately
5 seconds after the flame is established. If the flame goes out
when the knob is released, simply depress the knob again,
this time holding it down with slightly more force for the same
length of time.
Grill – in oven
Grill is electric and is operated by control knob only.
Oven ignition – electronic (For model WFG612)
Push and hold Oven Control Knob onto desired temperature
and at the same time press the Electronic Ignition Switch.
Hold control knob in for 5 seconds after ignition.
Gas hotplate
Ensure burner caps, crowns and trivets are properly assembled.
Burner Crown
Burner Cap
Spark Plug
Thermocouple
Burner Cap
Burner
Crown
Spark Plug
Thermocouple
Gas oven burner flame
From a cold start the oven burner flame will be higher on the
left hand-side. After reaching the set temperature, the flame
will become even. This does not affect cooking results.
USING THE GAS COOKER
Loading ...
Loading ...
Loading ...