Loading ...
Loading ...

3
3. INSTALLATION OF MOUNTING ASSEMBLY
LOWER MOUNT RING
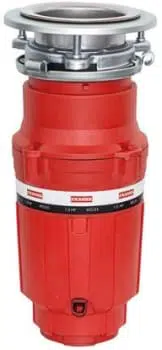
DISPOSER
DISHWASHER INLET
CUSHION RING
NOTE: Cushion Ring included between the Upper
Mount Ring and Lower Mounting Ring.
READ CAREFULLY AND COMPLETELY BEFORE STARTING
NOTE: The mounting components are assembled out of the box in the same order they will be
assembled on the sink, so please pay close attention to the order of the mounting system
components before you disassemble them.
a. The Cushion Ring and the Lower Mount Ring will remain attached to the disposer
during installation. Disassemble the other components of the mounting assembly by rotating
Lower Mount Ring clockwise until the Lower Mount Ring Tabs slide off from the Upper Mount Ring
ramp. This will allow you to separate the Upper Assembly from the remaining Lower Mount Assembly.
Unscrew the 3 Mount Screws until the Upper Mount Ring can be moved to the top of the Support
Flange. Remove the Retainer Ring with a screw driver.
b. Keep the remaining parts placed together in the order they were removed. Before you connect the
disposer to the mount assembly under the sink, make sure the Lower Mount Ring is in place and the
black Cushion Ring is still engaged properly to the top of the disposer opening. (Do not remove the
cushion ring.)
STOPPER
REMOVABLE SPLASH GUARD
SINK FLANGE
SUPPORT FLANGE
UPPER MOUNT RING
MOUNT SCREWS
RETAINER RING
CUSHION RING*
LOWER MOUNT RING*
FIBER GASKET
*
MOUNT TAB
The cushion ring and the lower mount ring will
remain attached to the disposer during
installation.
A
B
C
D
E
F
G
H
I
J
K
SILVER GUARD® (Included with advertised models only)
Loading ...
Loading ...
Loading ...
