Loading ...
Loading ...
Loading ...
10 31-5000500 Rev. 0
ENGLISH
This manual cannot completely illustrate all the properties of the products that were purchased. Please contact the local
Haier distribution center if you have any question or request.
Indoor Units:
1. The distance between air outlet and the ground should
not be more than 9ft (2.7m).
2. Select appropriate places for installation where the
airflow can be spread evenly throughout the space.
Arrange proper locations for connecting pipes and lines
as well as the drainpipe to the outdoor.
3. Ceiling construction must be sturdy enough to hold the
weight of the unit.
4. Make sure that the connecting pipe, the drainpipe and
connecting wiring line can be put into walls to connect
the outdoor units.
5. It is recommended to make the connecting pipe
between the outdoor and indoor units and the drainpipe
as short as possible.
6. Please read the attached installation instructions of the
outdoor unit for refrigerant charging if necessary.
7. The connecting flange should be checked by users.
8. Electrical appliances such as television, instruments,
devices, artwork, piano, wireless equipment and other
valuables should not be placed under the indoor unit as to avoid damage caused by condensate leaking from the indoor unit.
The following steps can be taken after selecting the installation location:
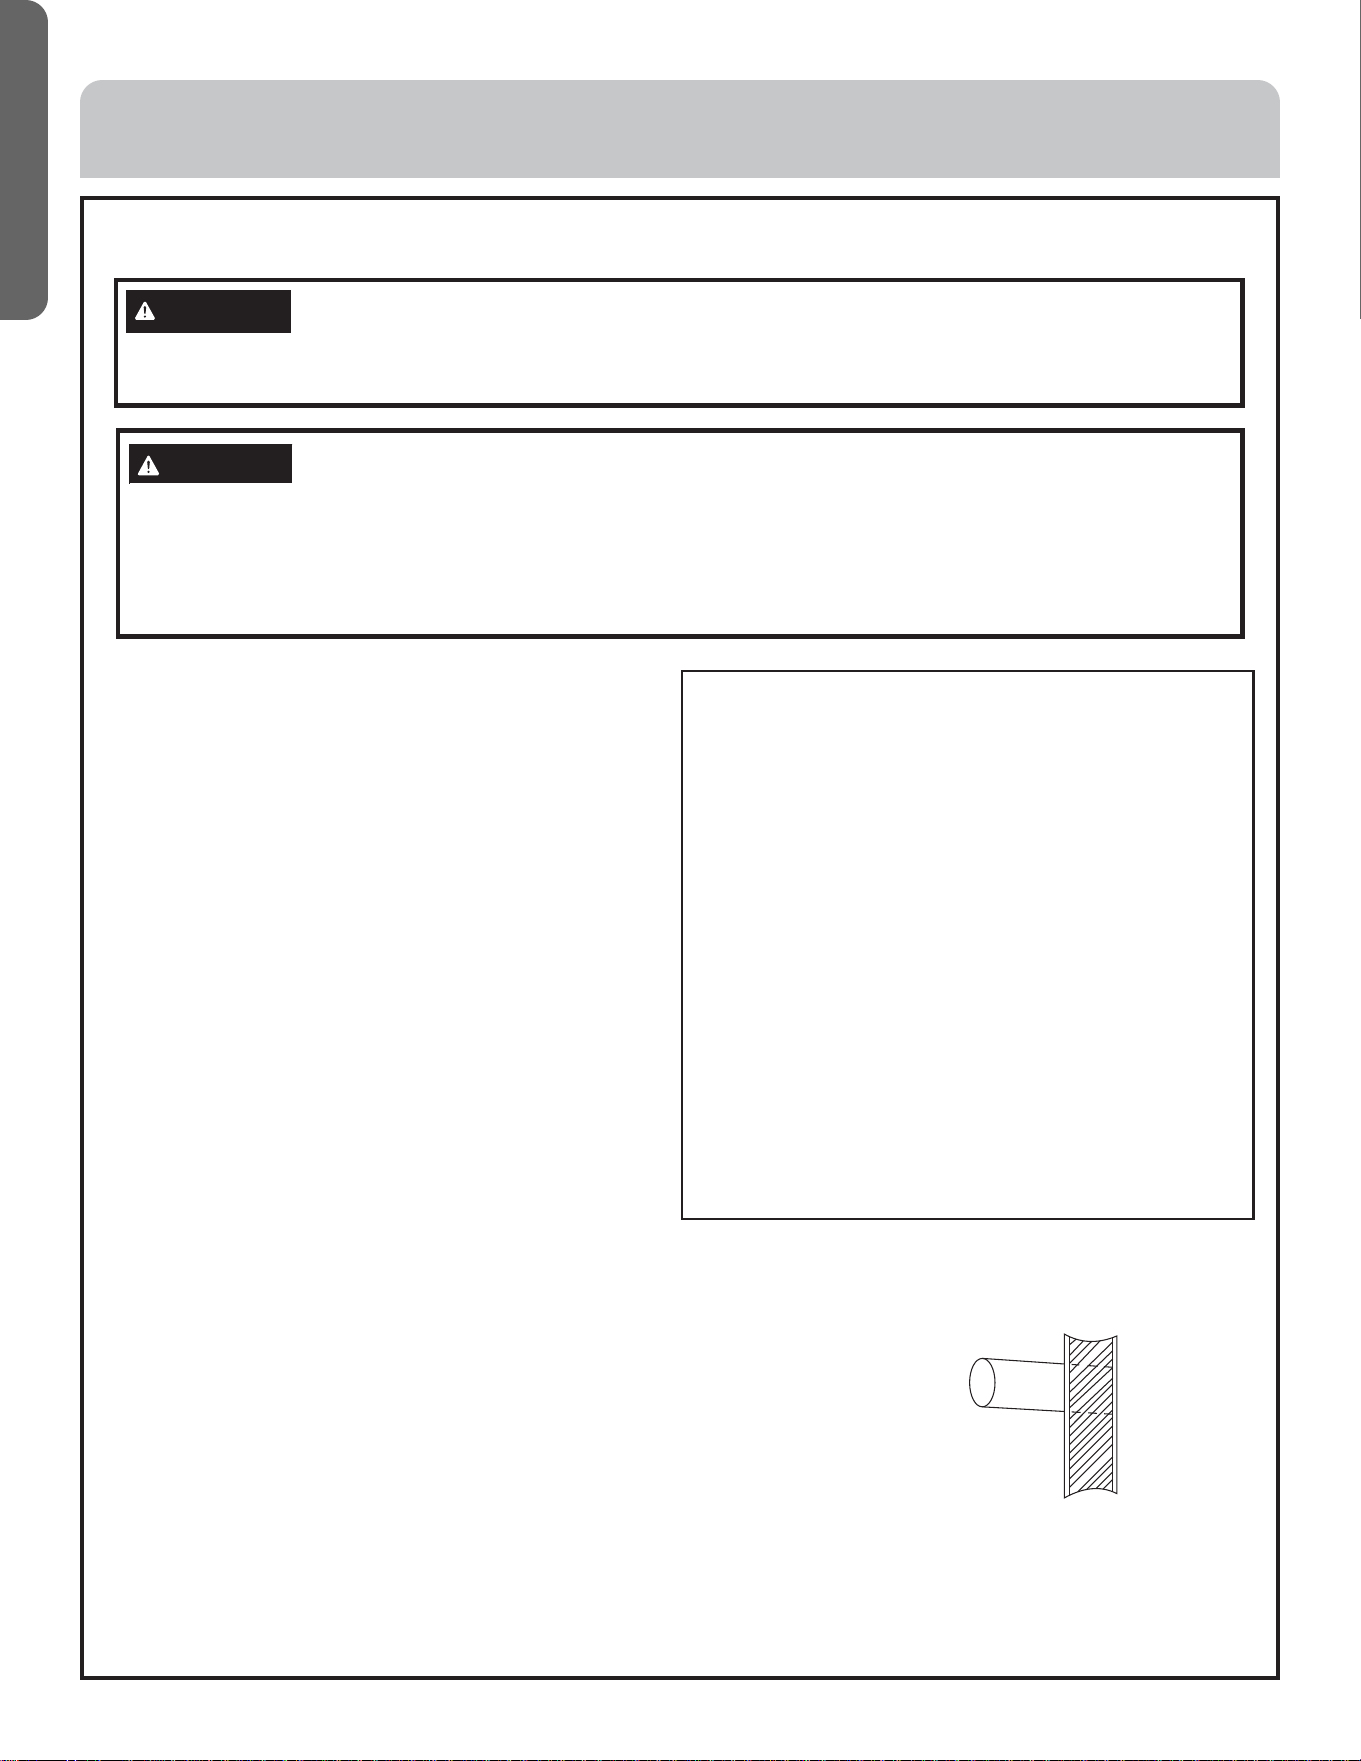
1. Cut a hole in the wall and insert connection pipe and connecting wires through a field
supplied PVC pipe. The hole should be inclined slightly downward with an inclination of
at least 1/100 (see Figure 1).
2. Before cutting the hole, ensure no pipe or rebar is placed behind the cutting position
Avoid cutting a hole near wires or connection pipes.
3. Hang the unit from rafters, joists or trusses capable of supporting the weight of the unit
Noise, vibration or leakage may result from unstable unit mounting.
4. Support the unit firmly and shape the connection pipe, connecting wires and drain pipe to allow them to easily
get through the opening.
WARNING
Protect the indoor unit from winds or earthquake, install according to local or national building codes. Improper
installation can cause personal injury and property damage.
CAUTION
• Choose a suitable installation location.
• Avoid places with high salinity (salt water) and high sulfur gas. Unit will corrode and damage will not be covered
by warranty.
• Avoid excess oil (including mechanical oil) and steam. This can reduce efficiencies and product performance.
• Avoid areas where machines generate high frequency electromagnetic waves; this can cause control issues.
Required Tools for Installation:
• Brazing torch
• 15% silver phosphorous copper brazing alloy
• Wire stripper
• Soap-and-water solution or gas leakage detector
• Torque wrench
• T17mm, 22mm, 26mm
• Tubing cutter
• Reaming tool
• Flaring tool
• Razor knife
• Measuring tape
• Level
• Vacuum pump
• Micron gauge
• Nitrogen
• Mini-Split AD-87 Adapter (1/4” to 5/16”)
• Non-adhesive Tape
• Adhesive Tape
• Electrical wiring
INSTALLATION INSTRUCTIONS
Figure 1
Loading ...
Loading ...
Loading ...