Loading ...
Loading ...
Loading ...

1. Overview: Location and Function of Parts
8
3 Insert the shoe spring in the direction of
the arrow so that the U-shaped portion
fits onto the end of the accessory shoe.
Shoe spring
Accessory shoe
2
3
2
3
Removing the accessory shoe
Remove the shoe spring as described in step1
in “Attaching the Accessory Shoe,” unscrew the
four screws, and remove the accessory shoe.
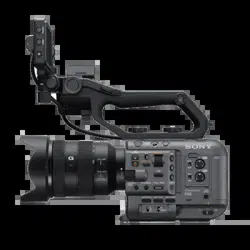
Attaching the handle
Position the handle so that the handle
connector and screw holes are aligned, push
in and turn the handle attachment screws
clockwise to attach the handle to the unit.
You can also tighten the handle attachment
screws by turning them clockwise using a hex
wrench (4mm).
[Note]
Make sure the two handle attachment screws are
securely tightened before using the handle. The handle
may fall off from the camcorder if the screws are not
tightened securely.
Removing the handle
Remove using the reverse of the attachment
procedure.
Attaching the handle connector
protective cap (supplied)
When using the camcorder with the handle
removed, protect the connector using the
supplied protective cap.
[Tip]
When attaching the handle, stow the supplied protective
cap on the bottom of the handle.
Protecting the connector terminals
Attach the cover to unused connectors to
protect the connector terminals.
Top Side
1
2
2
2
2
1. Handle connector
2. Accessory attachment screw holes
(1/4inch)
Compatible with 1/4-20 UNC screws (length of
6mm or less).
[Note]
Use of screws longer than 6mm may damage exterior
parts.
Loading ...
Loading ...
Loading ...