Loading ...
Loading ...
Loading ...
5
ASSEMBLY INSTRUCTIONS
We value your experience using Sunny Health and Fitness products. For assistance with parts or
troubleshooting, please contact us at [email protected] or 1-877-90SUNNY (877- 907-
8669).
#9 M10*25*S6 4PCS
#10 d10*Φ20*2.0 4PCS
9
10
9
10
1
S6
7
6
#79
#22 M5*16*Φ10 2PCS
#23 d5*Φ13*1 2PCS
1
41L
41R
21
23
22
11
36
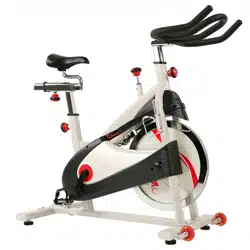
STEP 1:
Attach the Front and Rear Stabilizers (No. 6 & No. 7) to
the Main Frame (No. 1) using 4 Screws (No. 9) and 4 Flat
Washers (No. 10). Tighten and secure with Allen Wrench
(No. 79).
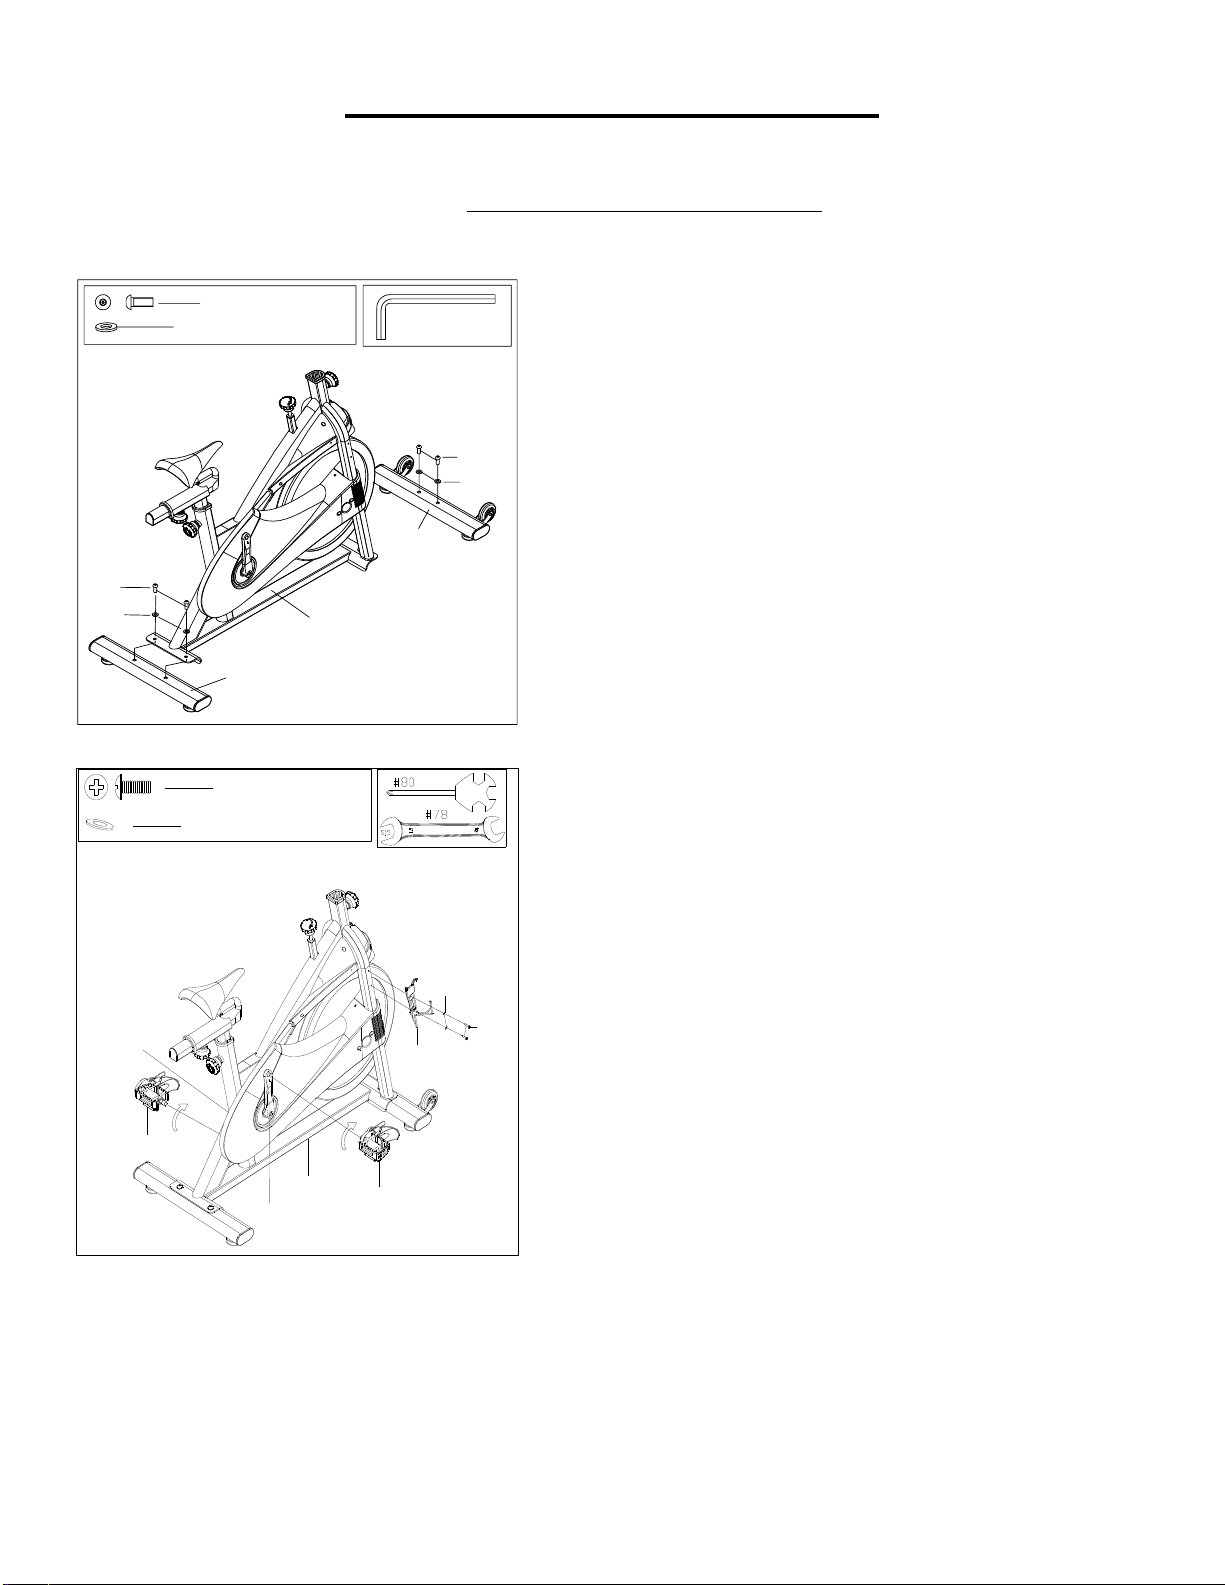
STEP 2:
Connect the Left and Right Pedals (No. 41L & No. 41R) to
the Left and Right Crank (No. 36 & No. 11). Before you
begin, immobilize the crank arms by turning the tension
knob all the way to the right.
The Left and Right Pedals (No. 41L & No. 41R) are
marked L for the left pedal and R for the right pedal.
Left Pedal: Align the Left Pedal (No. 41L) with the Left
Crank (No. 36) at 90 degrees. Gently insert the pedal into
the crank arm, turn the pedal counter-clockwise as tightly as
you can with your hand. Tighten and secure with Open End
Wrench (No. 78).
Right Pedal: Align the Right Pedal (No. 41R) with the
Right Crank (No. 11) at 90 degrees. Gently insert the pedal
into the crank arm, turn the pedal clockwise as tightly as you
can with your hand. Tighten and secure with Open End
Wrench (No. 78).
Remove 2 Screws (No. 22) and 2 Washers (No. 23) from
Main Frame (No. 1) with Spanner (No. 80). Attach the
Water Bottle Holder (No. 21) to the Main Frame (No. 1)
using 2 Screws (No. 22) and 2 Washers (No. 23) that were
removed. Tighten and secure with Spanner (No. 80).
Loading ...
Loading ...
Loading ...