Loading ...
Loading ...
Loading ...
English
44
Record to Hard Disk (continued)
TIPS: Setting an appropriate recording mode is important as it determines the picture quality and
recording time to the HDD or a recordable DVD, see page 38.
Timer recording (manually)
A Turn on the TV to the correct
programme number for the recorder
(e.g. ‘EXT’, ‘0’, ‘AV’).
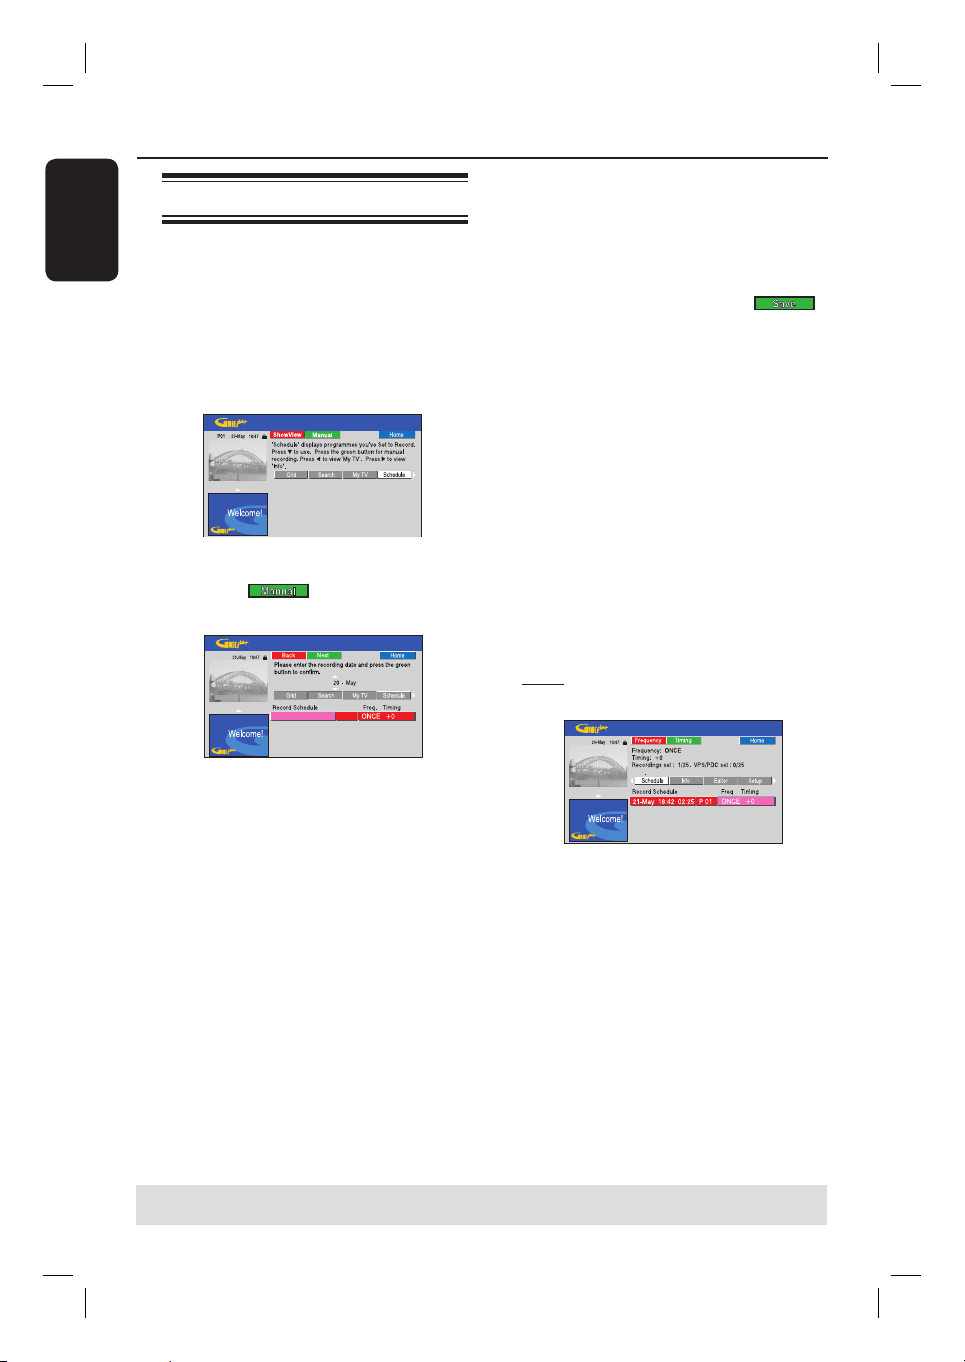
B Turn on the recorder and press TIMER
on the remote control.
The GUIDE Plus+ schedule screen
appears.
C Press the Green button on the remote
control for .
The recording date appears.
D Use keys or alphanumeric
keypad 0-9 to enter the recording
information (date, start time, end time)
and press the Green button to con rm
each entry and go to the next parameter.
E When ‘TUNER 01’ appears on the
display, select the input source and enter
the programme channel.
To select an external input channel,
highlight ‘TUNER” in the menu and use
keys to select { Digital Tuner },
{ EXT1 }, { EXT2 } or { CAM1 }.
To select a programme number,
highlight ‘01’ in the menu and use the
alphanumeric keypad 0-9 to enter the
programme channel.
F Press the Green button to con rm and
go to the next parameter.
A virtual keyboard appears on the TV
for entering the title name.
G Once complete, store the setting by
pressing the Green button for .
The scheduled manual recording will
be displayed.
H The default recording settings are
displayed in the pink tile. To make
changes, press the matching colour coded
button on the remote control.
{ Frequency }
Press the Red button on the remote control
repeatedly to select the repeat recording
setting (Once, Weekly, M-F [Monday to
Friday]).
{ Timing }
Press the Green button on the remote
control repeatedly to select adding extra time
(+0, +10, +20, +30) to the end of recording or
select VPS/PDC (V-P) function.
Note: VPS/PDC is not available for external
receiver.
I Press TIMER to con rm and exit the
menu.
The ‘TIMER’ icon will light up on the
display panel if a timer recording is set.
If the recorder is not in standby mode,
a noti cation message will appear before
the timer recording begins.
If you ignore the warning, the
recorder will automatically switch to the
respective channel and start recording.
Loading ...
Loading ...
Loading ...