Loading ...
Loading ...
Loading ...
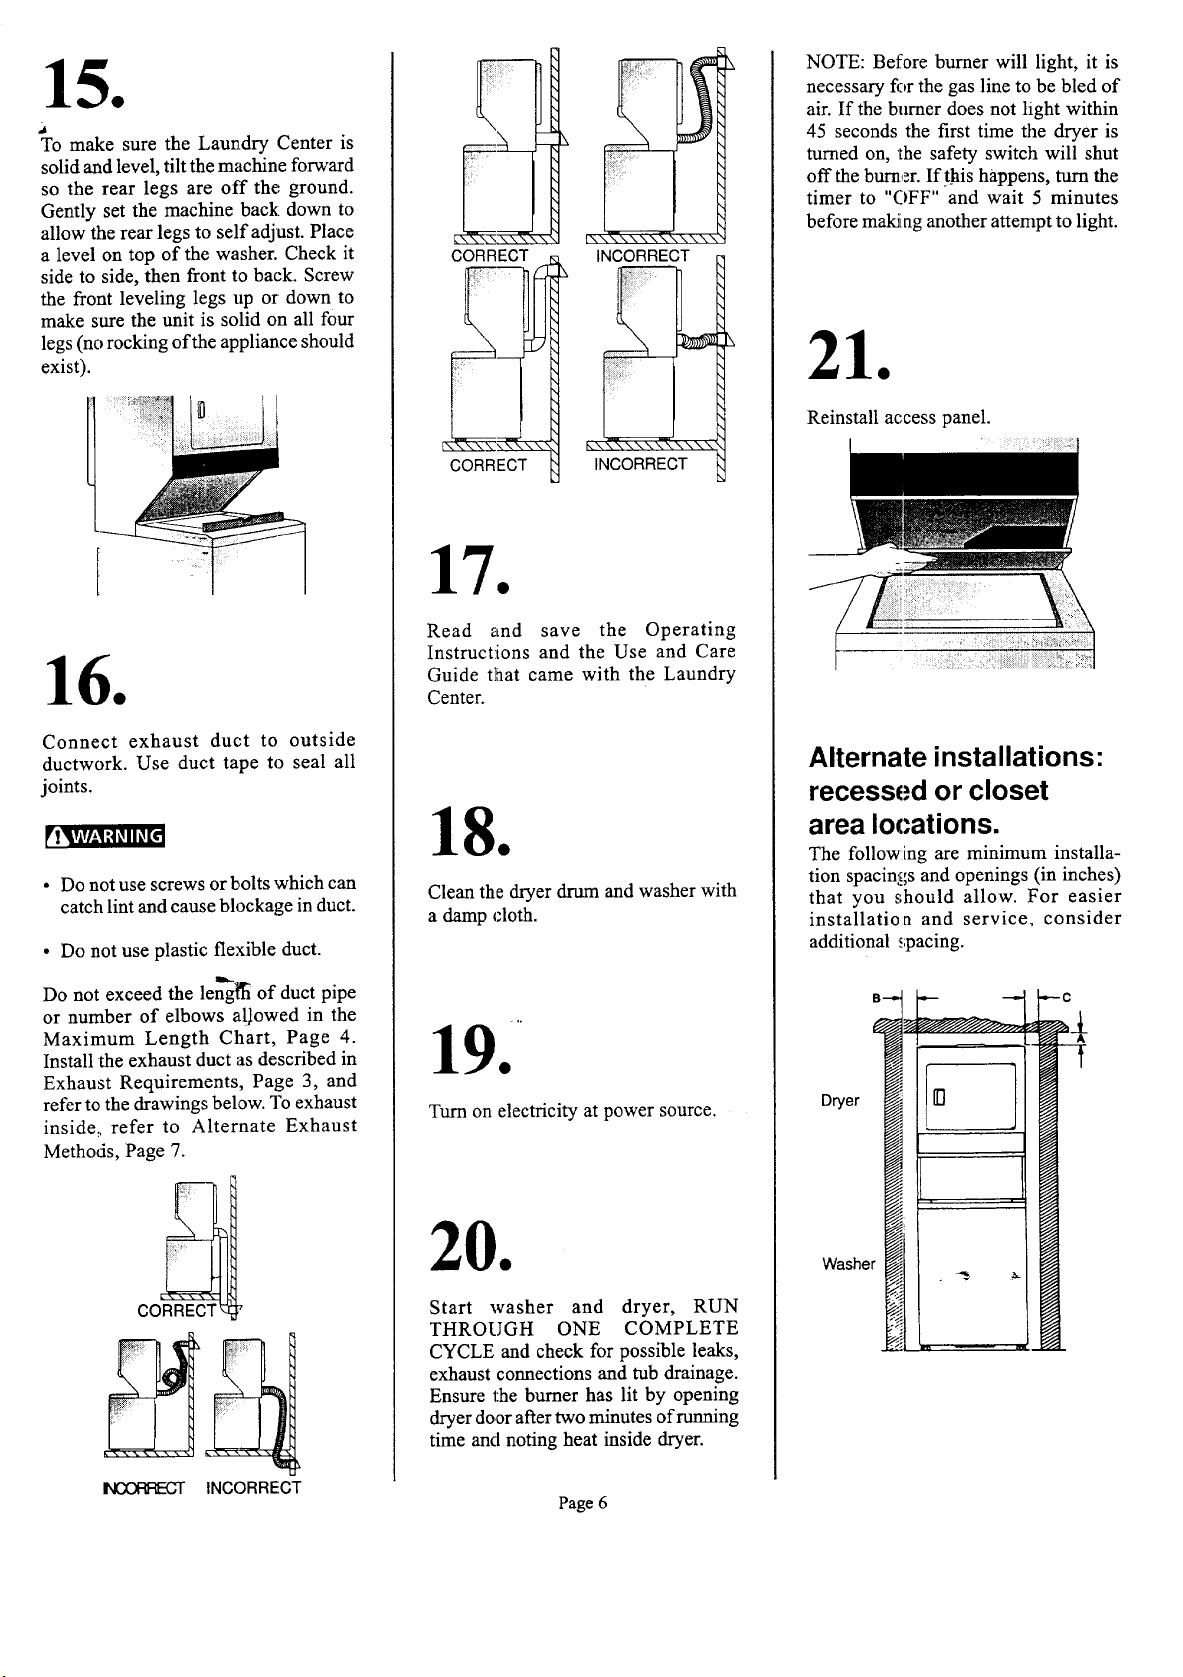
To make sure the Laundry Center is
solid and level, flit the machine forward
so the rear legs are off the ground.
Gently set the machine back: down to
allow the rear legs to self adjust. Place
a level on top of the washer. Check it
side to side, then front to back. Screw
the front leveling legs up or down to
make sure the unit is solid on all four
legs (no rocking of the appliance should
exist).
Connect exhaust duct to outside
ductwork. Use duct tape to seal all
joints.
• Do not use screws or bolts which can
catch lint and cause blockage in duct.
• Do not use plastic flexible duct.
Do not exceed the len"-g_of duct pipe
or number of elbows alJowed in the
Maximum Length Chart, Page 4.
Install the exhaust duct as described in
Exhaust Requirements, Page 3, and
refer to the drawings below. To exhaust
inside,, refer to Alternate Exhaust
Methods, Page 7.
CORRECT
IMCORFE-CT INCORRECT
CORRECT
[\\\\\ x.\\\\',
CORRECT
INCORRECT
_\\\\\\\\\\\\
INCORRECT
Read and save the Operating
Instructions and the Use and Care
Guide that came with the Laundry
Center.
Clean the dryer drum and washer with
a damp cloth.
Turn on electricity at power source.
Start washer and dryer, RUN
THROUGH ONE COMPLETE
CYCLE and check for possible leaks,
exhaust connections and tub drainage.
Ensure the burner has lit by opening
dryer door after two minutes of running
time and noting heat inside dryer.
Page 6
NOTE: Before burner will light, it is
necessary fi:_rthe gas line to be bled of
air. If the burner does not light within
45 seconds the first time the dryer is
turned on, the safety switch will shut
off the burner. If_this happens, turn the
timer to "()FF" and wait 5 minutes
before making another attempt to light.
Reinstall access panel.
Alternate installations:
recessed or closet
area locations.
The following are minimum installa-
tion spacings and openings (in inches)
that you should allow. For easier
installatioo and service, consider
additional ,;pacing.
Dryer
Washer
Loading ...
Loading ...
Loading ...