Loading ...
Loading ...
Loading ...
10
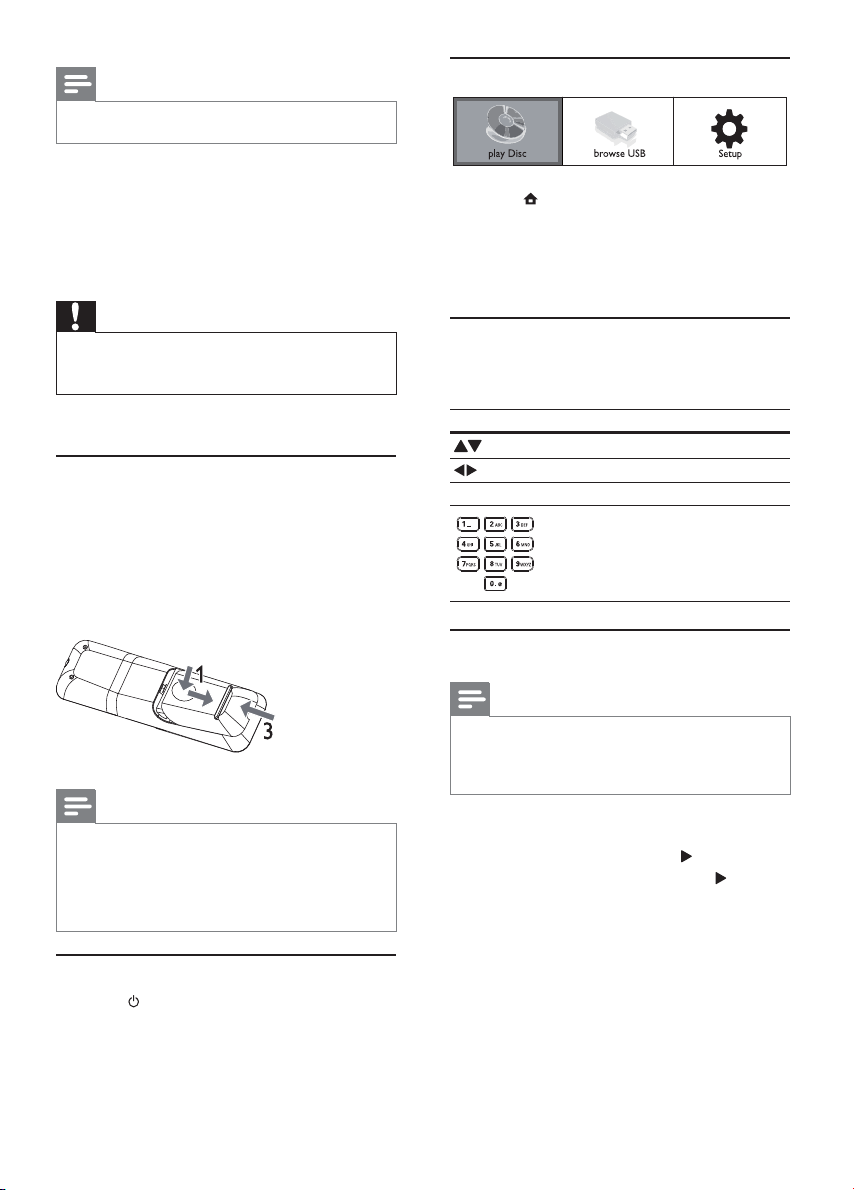
Use the Home menu
1 Press to display the home menu.
To start disc play, select • [play Disc].
To view the USB contents, select •
[browse USB].
To access the setup menus, select •
[Setup].
Navigate a menu
1 When a menu is displayed, press the buttons
on the remote control to navigate.
Button Action
Move up or down.
Move left or right.
OK Confirm a selection.
Enter numbers.
Select a menu display language
Note
If this player is connected to a HDMI CEC compliant •
TV, skip this setting. It switches automatically to the
same OSD menu language as per your TV setting (if the
language set on TV is supported by this player).
1 In the Home menu, select [Setup] and press
OK.
2 Select [Preference], and press .
3 Select [Menu Language], and press .
Note
The type plate is located on the back of this player. •
1 Connect the AC power cable to the wall
socket.
This player is ready to be set up for use. »
4 Get started
Caution
Use of controls or adjustments or performance of •
procedures other than herein may result in hazardous
radiation exposure or other unsafe operation.
Always follow the instructions in this chapter in
sequence.
Prepare the remote control
1 Press and push the battery compartment to
slide it open (see “1” in the illustration).
2 Insert two AAA batteries with correct
polarity (+/-) as indicated.
3 Push and slide back the battery compartment
(see “3” in the illustration).
Note
If you are not going to use the remote control for a long •
time, remove the batteries.
Do not mix batteries (old and new or carbon and
•
alkaline, etc.).
Batteries contain chemical substances, so they should be
•
disposed of properly.
Find the TV input
1 Press to turn on this player.
2 Turn on the TV and switch to the video input
(refer to the TV user manual on how to select
the A/V input).
EN
Loading ...
Loading ...
Loading ...