Loading ...
Loading ...
Loading ...
7
GB
PLEASE PHONE US TO REGISTER YOUR APPLIANCE AND ACTIVATE YOUR PARTS GUARANTEE ON 08448 24 24 24
remaining for each hotplate will be shown sequentially
in a clockwise order, starting from the front left hotplate.
Changing the programme
1. Press the
button repeatedly until
the duration you wish to change is shown.
2. Use the
buttons to set the new
duration.
3. Confirm by pressing the
button.
To cancel a programme, follow the above instructions.
At step 2, press the
- button: the duration decreases
progressively until it reaches 0 and switches off. The
programme resets and the display exits programming
mode.
Timer
The hob must be switched on.
The timer can be used to set a duration up to 99 minutes.
1. Press the
programming button until the timer
indicator light is illuminated
.
2. Set the desired duration using the
- and + buttons.
3. Confirm by pressing the
button.
The timer begins counting down immediately. When the
time has elapsed, a buzzer will sound (for one minute).
Control panel lock
When the hob is switched on, it is possible to lock the oven
controls in order to avoid accidental changes being made
to the settings (by children, during cleaning, etc.). Press
the
button to lock the control panel: the indicator
light above the button will switch on.
To use any of the controls (e.g. to stop cooking), you must
switch off this function. Press the
button for a few
moments, the indicator light will switch off and the lock
function will be removed.
Switching off the hob
Press the button to switch the appliance off.
If the control panel lock has been activated, the controls
will continue to be locked even after the hob is switched
on again. In order to switch the hob on again, you must
first remove the lock function.
“Demo” mode
It is possible to set the hob to a demonstration mode
where all the controls work normally but the heating
elements do not switch on. To activate the “demo” mode
the hob must be switched on, with all the hotplates
switched off.
• Press and hold the
+ and - buttons simultaneously
for 6 seconds. When the 6 seconds have elapsed, the
ON/OFF and CONTROLS LOCKED indicator lights will
flash for one second. Release the
+ and - buttons
and press the
button;
• The display will show the text DE and MO and the hob
will be switched off.
• When the hob is switched on again it will be set to the
“demo” mode.
To exit this mode, follow the procedure described above.
The display will show the text DE and OF and the hob
will be switched off. When it is next switched on, the hob
will function normally.
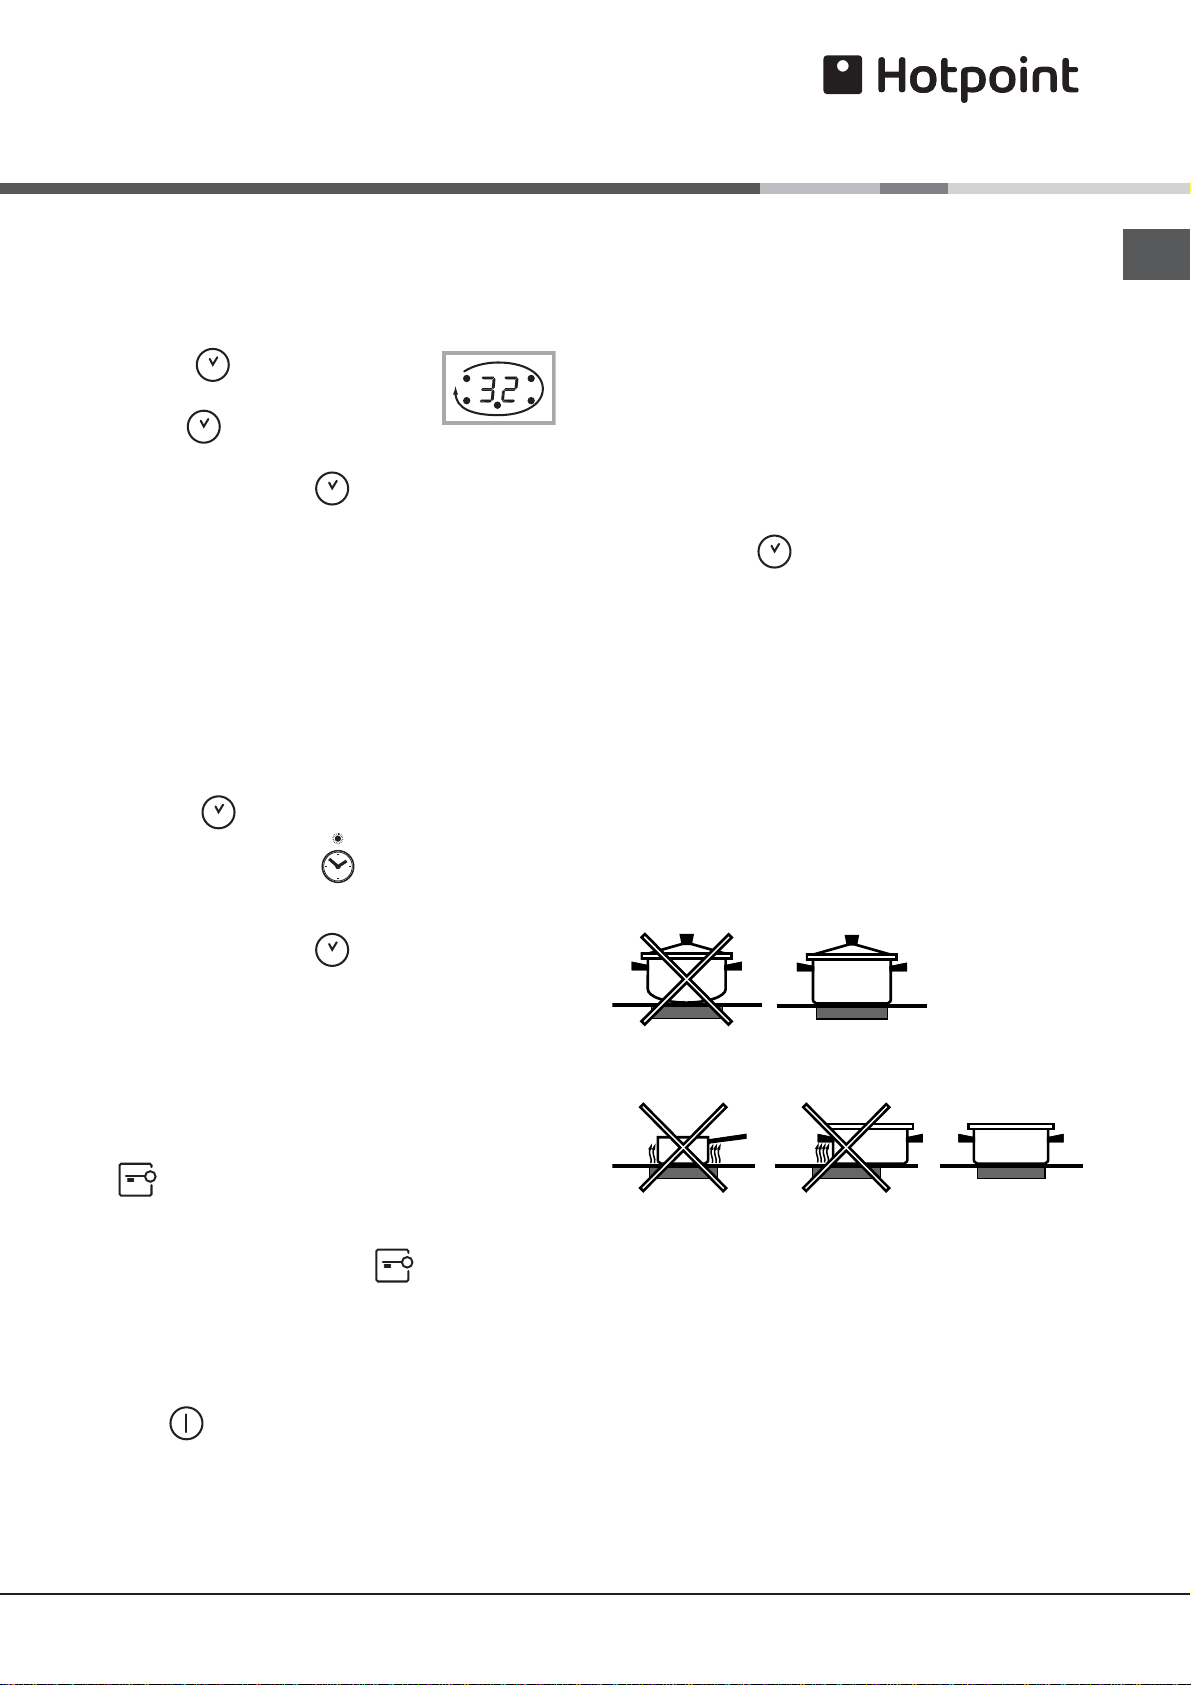
Practical advice on using the appliance
To obtain the best results from your hob:
• Use pans with a thick, flat base in order to fully utilise
the cooking zone.
• Always use pans with a diameter which is large
enough to cover the hotplate fully, in order to use all
the available heat.
• Make sure that the base of the cookware is always
clean and dry, in order to fully utilise and extend the
life of both the cooking zones and the cookware.
• Avoid using the same cookware which has been used
on gas burners: the heat concentration on gas burners
may distort the base of the pan, causing it not to adhere
correctly.
Loading ...
Loading ...
Loading ...