Loading ...
Loading ...
Loading ...
18
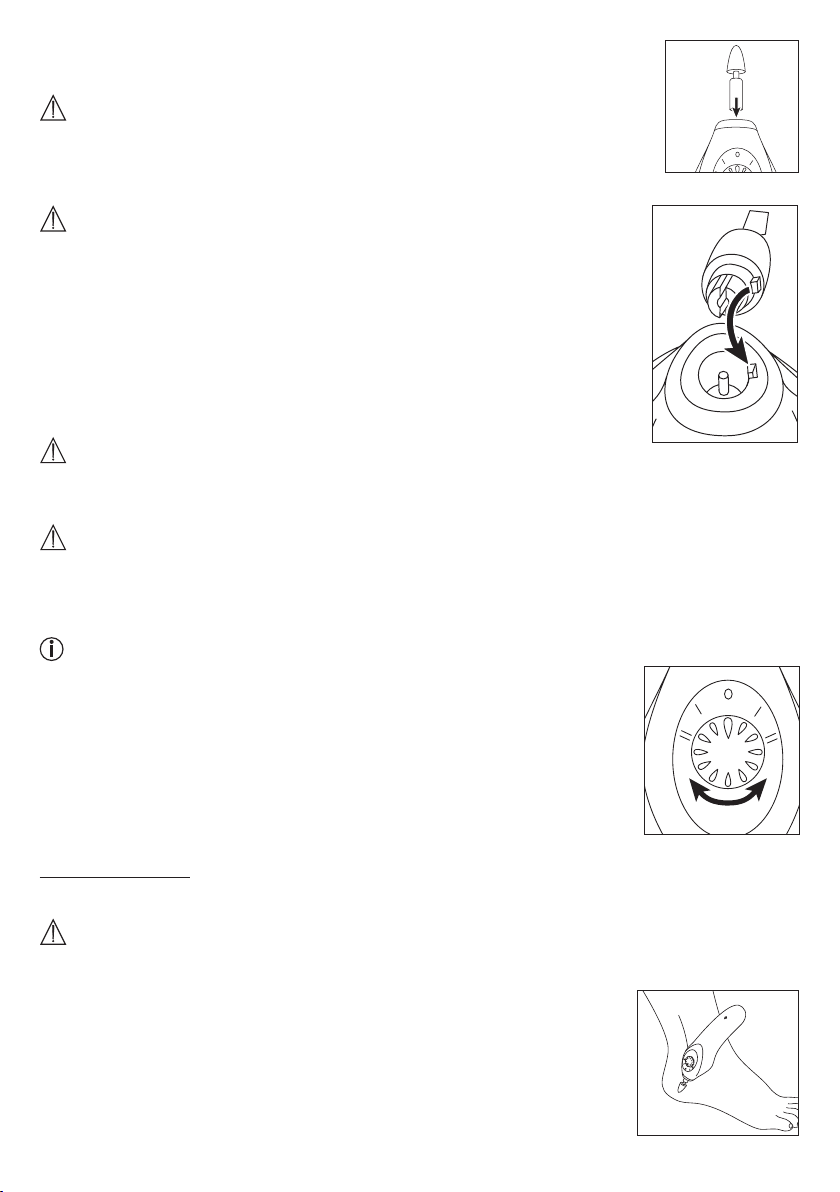
Insert nail care attachment
1
. Open the base station cover.
Important
Ensure that the rotary switch on the manicure device is set to 0.
2
. Insert the attachment you wish to use into the drive axle on the manicure
device from above.
Important
The electrical cuticle remover must be fitted perfectly into the drive axle. The
electrical cuticle remover therefore has a catch on the side for positioning.
Insert the side catch on the cuticle remover into the notch on the manicure
device as shown.
3
. When you have completed the treatment, set the rotary switch to 0 and
remove the attachment.
4. Operation
Warning
Check the results during the treatment. This applies in particular for diabetics as they have less
sensitive hands and feet. Stop treatment as soon as it becomes unpleasant.
Important
Ensure that the axle can always rotate freely and that the attachments are inserted securely.
The axle must not be permanently blocked as otherwise the manicure device may become hot
and may become damaged as a result.
When filing, always move from the outside of the nail towards the tip!
1
. To start the treatment, set the desired speed and direction of rotation
using the rotary switch.
2
. Do not press too hard and always carefully move the attachments to-
wards the area to be treated. Move the device towards the area to be
treated and apply slight pressure while slowly moving the device in cir-
cles.
Removing calluses
Attachments required: sapphire cone
Warning
Never remove all of a callus; leave a little hard skin to ensure that the skin retains its protection.
1
. If you have very tough and course calluses, first remove the top layer of
dead skin using a callus shaver (not included in delivery).
2
. Attach the sapphire cone to the manicure device and set the desired
speed and direction of rotation using the rotary switch.
3
. Work on the callus using the sapphire cone attachment.
Loading ...
Loading ...
Loading ...