Loading ...
Loading ...
Loading ...
17
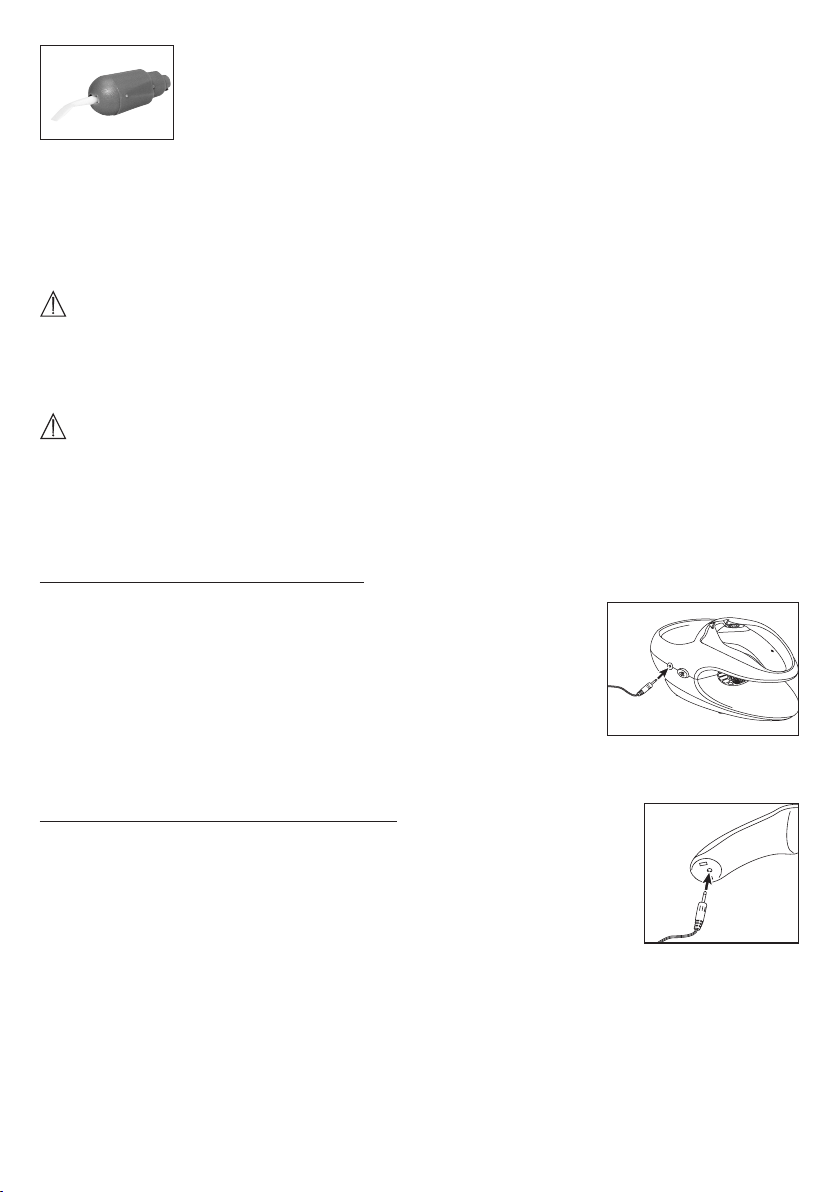
Electrical cuticle remover
Suitable for pushing back the edges of the cuticles.
3. Initial use
•
Check to ensure that the package contains all the parts that should be included in the delive-
ry. If any parts are missing or damaged, contact Customer Services.
•
Remove all packaging material.
Warning
•
Keep packaging material away from children! There is a choking hazard.
•
Place the device on a firm, level, clean and dry surface.
Charging the battery
Important
Before using the device for the first time, fully charge it (for approx. 2 hours) and then use it un-
til the battery is fully discharged.
You have the option of charging the battery for the manicure device via the base station or di-
rectly via the manicure device itself.
Charging the battery via the base station
1
. On the manicure device, turn the rotary switch to 0.
2
. Place the manicure device on the receptacle provided in the centre
of the base station.
3
. Insert the mains adapter TRS connector into the mains adapter
connection on the base station.
4
. Insert the mains adapter into the socket. During the charging pro-
cess, the charge light on the manicure device glows red.
5
. When the charging process is complete, pull the mains adapter out of the socket.
Charging the battery via the manicure device
1
. On the manicure device, turn the rotary switch to 0.
2
. Insert the mains adapter TRS connector into the mains adapter connec-
tion on the manicure device.
3
. Insert the mains adapter into the socket. During the charging process,
the charge light on the manicure device glows red.
4
. When the charging process is complete, pull the mains adapter out of
the socket.
Loading ...
Loading ...
Loading ...