Loading ...
Loading ...
Loading ...
17
Can Racks and Door Bins
(on some models)
NOTE:
Can racks may be purchased as an Accessory for some
models.
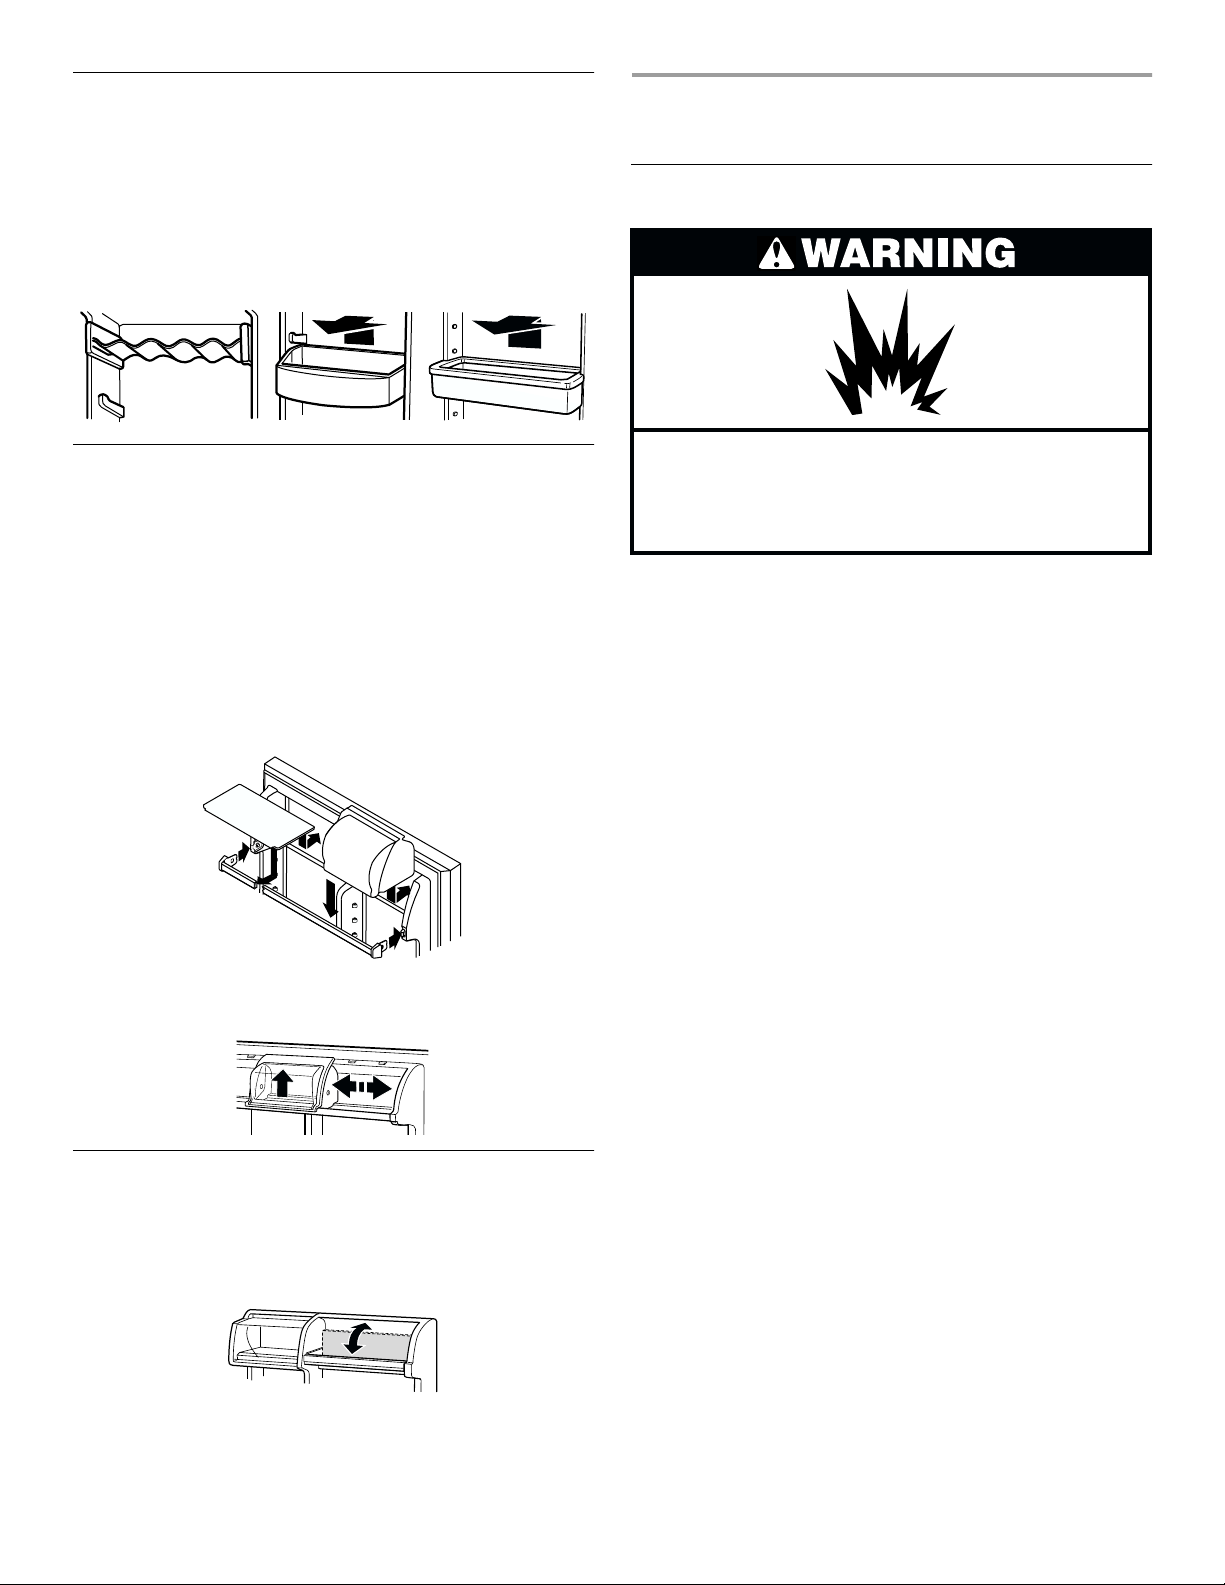
To remove and replace the racks/bins:
1.
Remove the rack/bin by
lifting it and pulling it straight out.
2.
Replace the rack/bin by
sliding it in above the desired
support and pushing it down until it stops.
Adjustable Utility Compartment & Tray
(on some models)
The utility compartment and tray slide from one side to the other
for more flexible storage. The tray fits on either side of the utility
compartment or partially underneath it. Try moving it to different
positions to find the option that works best for you.
To install and adjust the utility compartment and tray:
1.
Insert the front of the utility tray into the slot on the back of
the shelf rail. Lower the back of the tray into position.
2.
Place the front of the utility compartment on top of the shelf
rail. Lower the back of the compartment onto the ribs on the
refrigerator door.
3.
Adjust the utility compartment by lifting the front slightly and
sliding it to the desired position. Lower the front to lock it into
place.
Flip-up Door Shelf
(on some models)
The shelf bottom flips up so you can store taller items in the door
shelf below. When in the down position, the shelf is strong
enough to hold up to 10 lbs. (4.5 kg).
REFRIGERATOR CARE
Cleaning
Both the refrigerator and freezer sections defrost automatically.
However, clean both sections about once a month to prevent
odors from building up. Wipe up spills immediately.
Cleaning your refrigerator
1.
Unplug refrigerator or disconnect power.
2.
Remove all removable parts from inside, such as shelves,
crispers, etc.
3.
Hand wash, rinse, and dry removable parts and interior
surfaces thoroughly. Use a clean sponge or soft cloth and a
mild detergent in warm water.
■
Do not use abrasive or harsh cleaners such as window
sprays, scouring cleansers, flammable fluids, cleaning
waxes, concentrated detergents, bleaches or cleansers
containing petroleum products on plastic parts, interior
and door liners or gaskets. Do not use paper towels,
scouring pads, or other harsh cleaning tools. These can
scratch or damage materials.
■
To help remove odors, you can wash interior walls with a
mixture of warm water and baking soda (2 tbs. to 1 qt.
[26 g to .95 L] of water).
4.
Wash stainless steel and painted metal exteriors with a clean
sponge or soft cloth and a mild detergent in warm water. Do
not use abrasive or harsh cleaners. Dry thoroughly with a soft
cloth. For additional protection against damage to painted
metal exteriors, apply appliance wax (or auto paste wax) with
a clean, soft cloth. Do not wax plastic parts.
NOTE:
To keep your Stainless Steel refrigerator looking like
new and to remove minor scuffs or marks, it is suggested that
you use the manufacturer’s approved Stainless Steel Cleaner
& Polish.
IMPORTANT:
This cleaner is for Stainless Steel parts only!
Do not allow the Stainless Steel Cleaner & Polish to come into
contact with any plastic parts such as the trim pieces,
dispenser covers or door gaskets. If accidental contact does
occur, clean plastic part with a sponge and mild detergent in
warm water. Dry thoroughly with a soft cloth. To order the
cleaner, see the “Accessories” section.
Explosion Hazard
Use nonflammable cleaner.
Failure to do so can result in death, explosion,
or fire.
Loading ...
Loading ...
Loading ...