Loading ...
Loading ...
Loading ...
13
3.
Install the new interior water filter cartridge. You can run the
dispenser without a water filter cartridge, but your water will
not be filtered.
NOTE: Do not use with water that is microbiologically
unsafe or of unknown quality without adequate
disinfection before or after the system.
■
Carefully remove the interior water filter cartridge from its
packaging. Remove the red cap from the cartridge.
■
Apply the appropriate month sticker to the cartridge as a
reminder to replace the cartridge within six months. Then
apply the “Water Filter Replacement Reminder” sticker to
your calendar as a reminder to replace the cartridge in six
months.
4.
Line up the INSTALL mark on the water filter label with the
indicator line that is molded into the filter mounting bracket
cover. Push the cartridge into the filter mounting bracket.
Twist the cartridge
¹⁄₄
turn to the right to lock it into place. The
REMOVE mark should be lined up with the indicator line
located on the front cover.
5.
Use a sturdy container to depress the water dispenser bar
until the water begins to flow. Flush the water system by
dispensing and discarding 2 to 3 gal. (8 to 12 L) of water.
Cleaning the system will take approximately 6 to 7 minutes
and will help clear air from the line. Additional flushing may be
required in some households.
NOTE:
As air is cleared from the system, water may spurt out
of the dispenser.
6.
Inspect the filter system for water leaks. If you see water
leaks, see the “Troubleshooting” section.
Ice Maker
(on some models - Accessory)
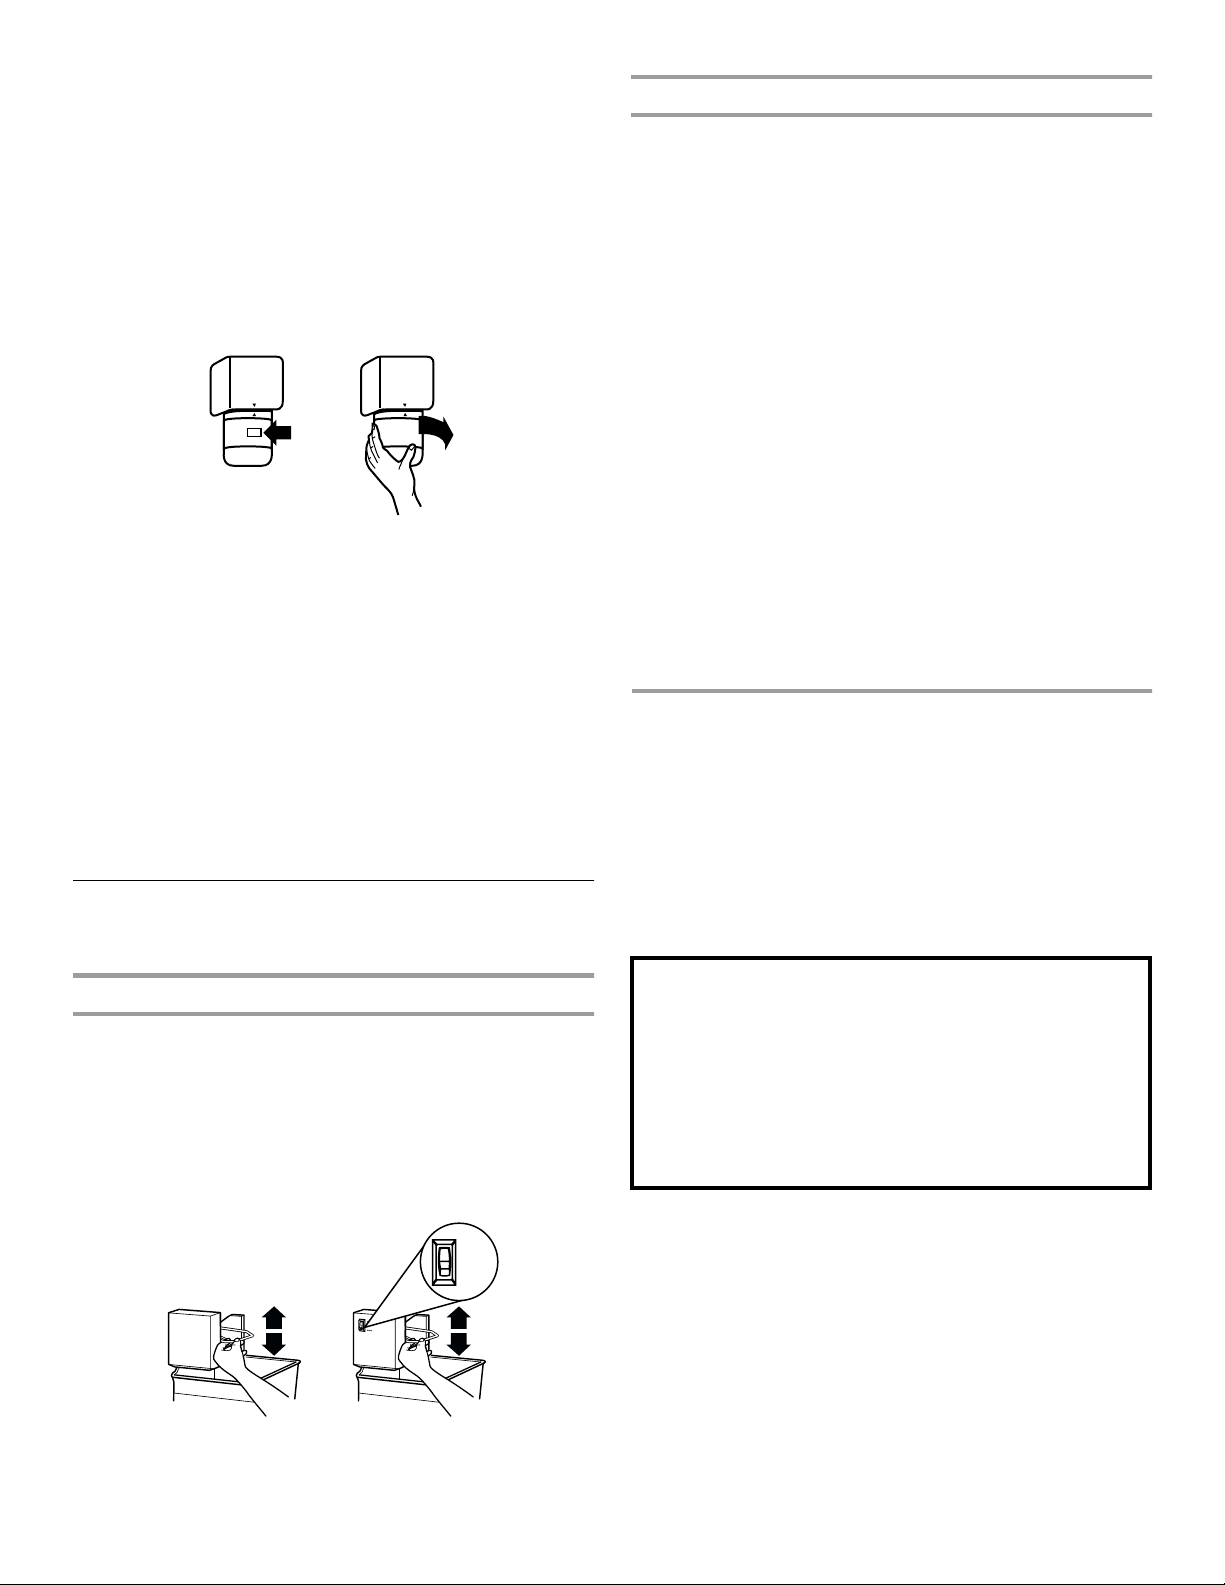
Turning the Ice Maker on/off
■
To turn the ice maker on, simply lower the wire shutoff arm.
NOTE:
Your ice maker has an automatic shutoff. As ice is
made, the ice cubes will fill the ice storage bin and the ice
cubes will raise the wire shutoff arm to the OFF (arm up)
position.
■
To manually turn the ice maker off, lift the wire shutoff arm to
the OFF (arm up) position and listen for the click to make sure
the ice maker will not continue to operate.
Increasing Ice Production Rate
■
NORMAL Ice Production: In Normal ice production mode, the
ice maker should produce approximately 8 to 12 batches of
ice in a 24-hour period. If ice is not being made fast enough,
turn the Freezer Control toward a higher (colder) number in
half number steps. (For example, if the control is at 3, move it
to between 3 and 4.) Wait 24 hours and, if necessary,
gradually turn the Freezer Control to the highest setting,
waiting 24 hours between each increase.
■
ICE PLUS Ice Production (on some models): In Ice Plus ice
production mode, the ice maker should produce
approximately 16 to 20 batches of ice in a 24-hour period. If
your refrigerator has the ice plus ice production feature, push
the switch to ICE PLUS.
REMEMBER:
■
Allow 24 hours to produce the first batch of ice. Discard the
first three batches of ice produced.
■
The quality of your ice will be only as good as the quality of
the water supplied to your ice maker. Avoid connecting the
ice maker to a softened water supply. Water softener
chemicals (such as salt) can damage parts of the ice maker
and lead to poor quality ice. If a softened water supply cannot
be avoided, make sure the water softener is operating
properly and is well maintained.
■
Do not store anything on top of the ice maker or in the ice
storage bin.
REFRIGERATOR
FEATURES
Your model may have some or all of these features. Features that
can be purchased separately as product accessories are labeled
with the word “Accessory.” Not all accessories will fit all models.
If you are interested in purchasing one of the accessories, please
call the toll-free number on the cover or in the “Assistance or
Service” section.
ICE PLUS
NORMAL
Important information to know about glass shelves
and covers:
Do not clean glass shelves or covers with warm water when
they are cold. Shelves and covers may break if exposed to
sudden temperature changes or impact, such as bumping.
For your protection, tempered glass is designed to shatter
into many small, pebble-size pieces. This is normal. Glass
shelves and covers are heavy. Use special care when re-
moving them to avoid impact from dropping.
Loading ...
Loading ...
Loading ...