Loading ...
Loading ...
Loading ...
ENGLISH
12
OPERATION
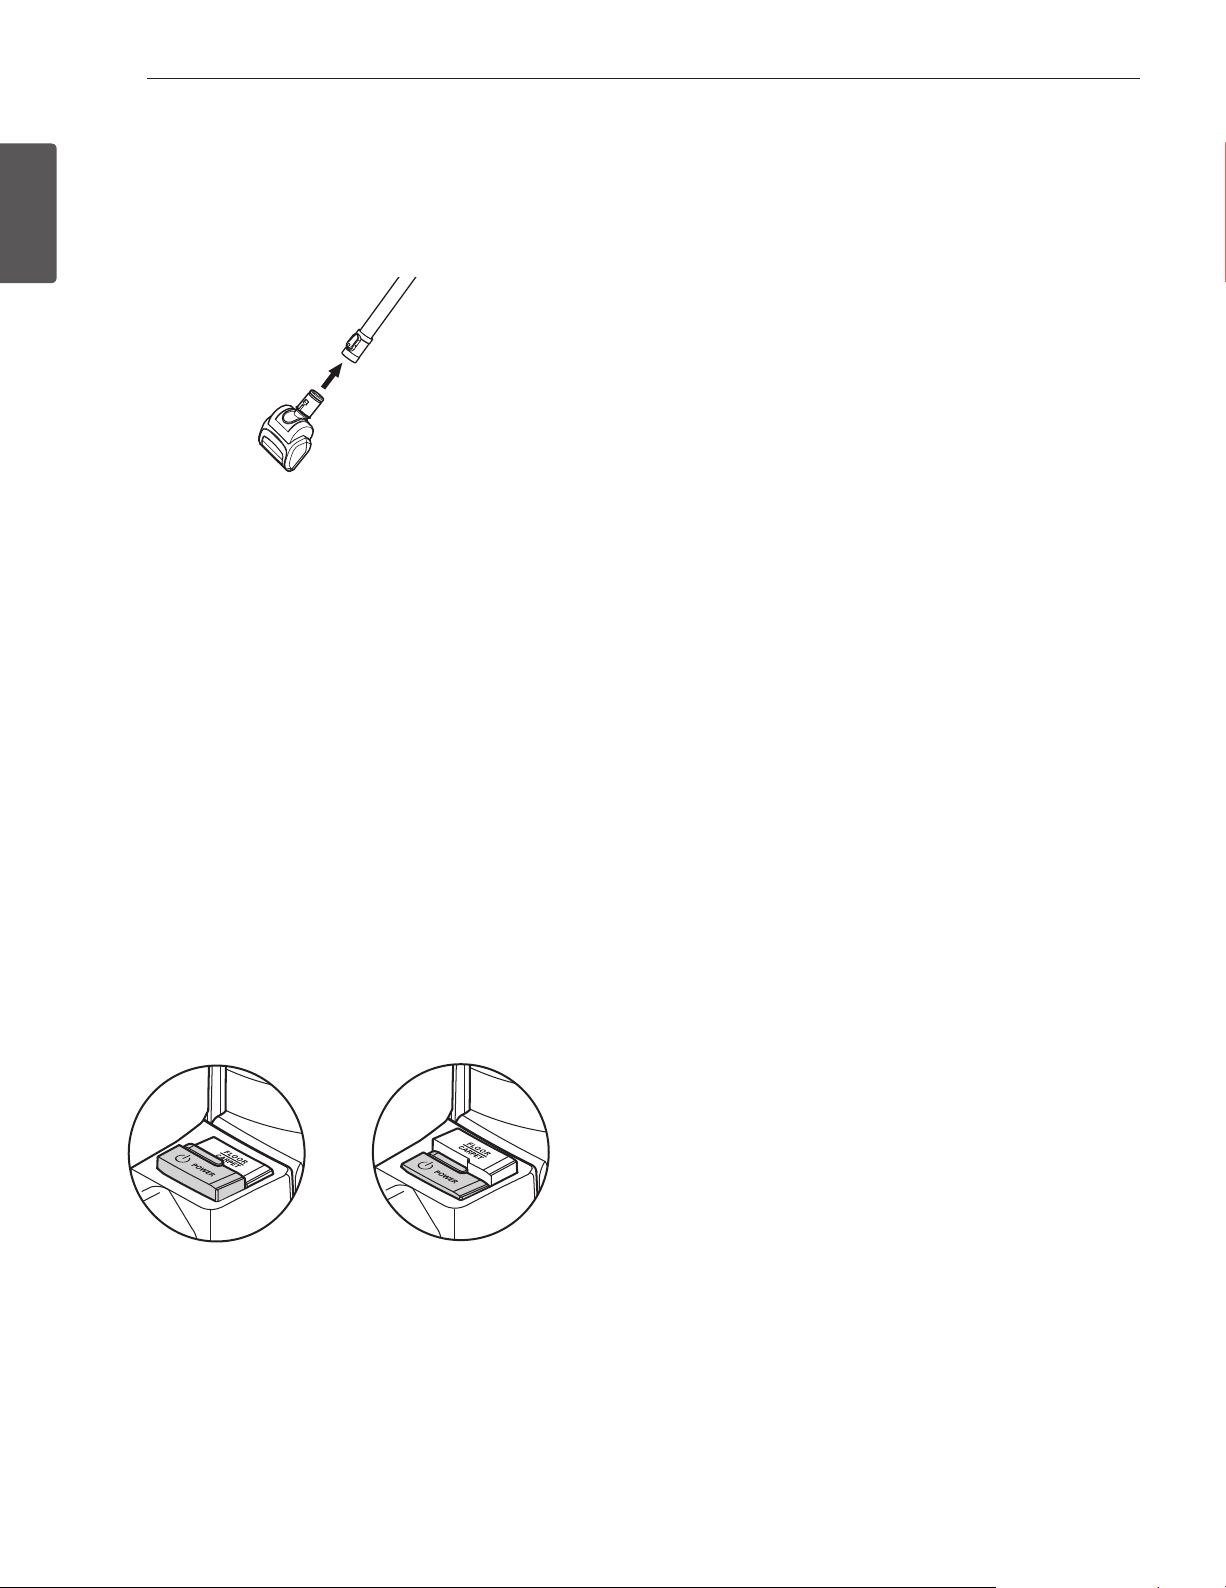
Using the Pet Hair Turbine Tool
The Pet Hair Turbine Tool features a turbine-powered agitator to provide
extra cleaning power on carpets and fabrics. It is great for cleaning stairs,
cushions and vehicle upholstery.
Thermal Overload Protection
This vacuum cleaner has a thermal overload protector that automatically
activates to protect the vacuum cleaner from overheating. If a clog
disturbs the normal ow of air to the motor, the thermal protector turns
the motor o automatically to allow the motor to cool in order to prevent
possible damage to the vacuum cleaner.
To correct the problem: Turn the vacuum cleaner o and unplug the
power cord. Check for and remove clogs, if necessary. Also check and
clean any dirty lters.
Wait approximately 30 minutes and then plug the vacuum cleaner in
and turn it back on to see if the motor protector has reset. The thermal
protector system will not reset until the vacuum cleaner has completely
cooled down.
When using the pet hair turbine tool, check the brush area frequently for
buildup of hair, bers, lint and other debris.
Excessive buildup can reduce performance and could damage the pet hair
turbine tool. See the Care and Cleaning section for cleaning instructions.
Stairways and Landings
Use the dusting brush or pet hair turbine tool on stairs and landings. Make
sure that the vacuum cleaner is placed so that it cannot tip or fall.
Agitator Motor Overload Protection
The agitator has a built-in protection against motor damage
should the agitator jam. If the agitator slows down or stops, the
agitator overload protector shuts o the agitator and suction
motor.
To correct problem: Turn o and unplug the vacuum cleaner. Remove
the obstruction and turn on the vacuum cleaner by pressing the Power
button, and then press the Floor/Carpet button.
ENGLISH
13
CARE & CLEANING
Always follow all safety precautions when cleaning and servicing the vacuum cleaner.
Storing the Vacuum Cleaner
When not in use, wrap the cord around the cord hanger as shown. The
hose can be wrapped around the handle/wand if the wand is being
stored un-extended. Store the dusting brush/crevice tool in its proper
place on the left of the vacuum cleaner.
Dust Tank Components
The dust tank consists of several key components. Always make sure that
all parts are properly reinstalled after emptying the dust tank.
NEVER operate the vacuum cleaner without all lters in place.
NEVER operate the vacuum cleaner with wet lters or components.
Key components:
1. Filter frame and foam lter:
Captures medium to ne particles. It consists of Filter frame &
Foam lter. These are washable.
2. Foam lter
3. Dust tank lid: Open to access the foam lter.
4. Dust separator: Separates dust from air coming in.
5. Side door: Open to remove dirt from the dust separator.
6. Prevention tab: Prevents the lid from closing without a foam lter
installed.
7. Dust tank: Where dirt is collected.
8. Bottom plate: Open to empty the dust tank.
y Electrical shock and personal injury hazard.
y Take care when wrapping the cord. Wrapping the cord too tightly
puts stress on the cord and can cause cord damage. Do not
crisscross when wrapping the cord. A damaged cord could cause
an electrical shock hazard, personal injury or damage.
WARNING
1. Filter frame
2. Foam lter
3. Dust tank
lid
4. Dust separator
5. Side door
6. Prevention
Tab
7. Dust tank
8. Bottom plate
Loading ...
Loading ...
Loading ...