Loading ...
Loading ...
Loading ...
4
|
ENGLISH
MICROSCOPE OPERATION
Follow these instructions to turn on the LCD and adjust the
microscope’s stage and illumination before you begin observing.
Remove the protective film from the LCD screen.
LCD MODULE
This digital microscope is different than traditional microscopes
because it uses an LCD instead of eyepeices with an LCD, you can
view specimens on the screen by yourself or share them with others.
To begin turn on the LCD monitor by pushing the power button (see
Figure 1). You will see “Celestron Digital Microscope” on the screen.
The touch screen functions on the LCD module are mainly used for
taking images (snapshots and video) and performing other functions
that will be discussed later in this manual.
ILLUMINATION
To get the sharpest and best views. You’ll need to choose the proper
illumination (lighting):
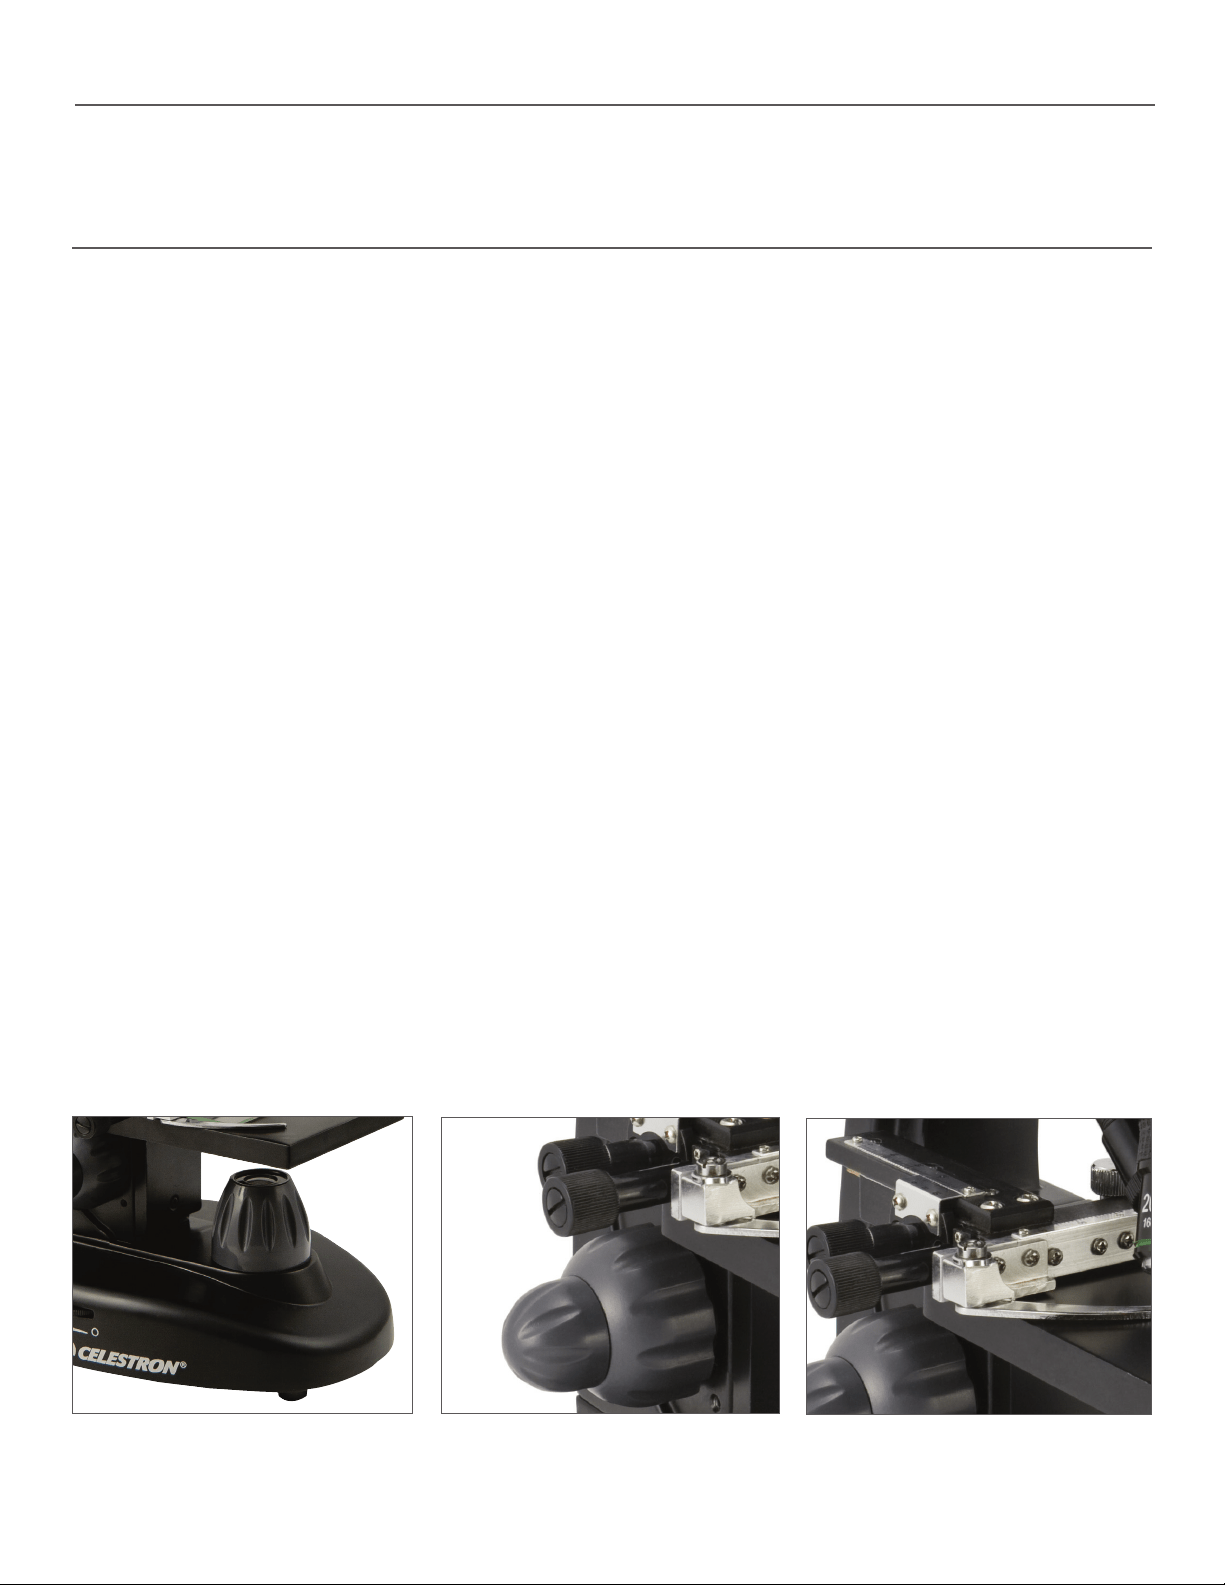
1. To turn the illuminator on, see Figures 5 & 6 and turn one of the
switches as shown.
2. The illuminator (Figure 1) is used mainly for specimen slides
where the light shines up through the hole in the stage through
the slide.
ADJUSTING THE LIGHTING
Specimens of different sizes, widths, and color variations will require
different levels of illumination. Normally, you adjust the brightness by
turning the switches shown in Figure 5 & 6. Another way to adjust
brightness is by changing the EV function on the touch screen. The
EV (exposure value) function increases or decreases the brightness
level by using the (+) or (-) buttons on the screen.
When viewing a dark colored specimen, you may need to increase
the amount of light to resolve certain features or details. This is best
done by increasing the brightness of the illuminator by rotating the
brightness control dial to its highest setting.
Experiment with adjustments to nd optimum lighting settings. Each
specimen and magnification may require slightly different illumination.
VIEWING A SPECIMEN
Your instrument is provided with a mechanical stage with a stage
holder clamp and directional knobs (see Figure 7).
1. Use the clamp lever to open the clamping arm of the stage holder
clamp.
2. Place a specimen slide (1in x 3 in / 25.4 mm x 76.2 mm size)
inside the holder and gently close the clamping arm against the
slide.
3. Use the stage movement knobs to position the specimen over the
opening in the stage. The rear stage movement knob moves the X
axis (forward and backward), while the front stage movement knob
moves the Y axis (side to side). For rst time microscope users, it
will take some time to get used to the movements, but soon you will
be able to center objects easily.
NOTE: A vernier scale on both axes allows the exact marking and replication of an object
in the field of view.
4. Use the objective nosepiece (Figure 1) to rotate the objective
lenses (Figure 1) until the 4x objective lens is directly over the
specimen. Always start with the lowest power objective (4x with
this microscope), which gives you 40 power, and work your way
up to higher powers. At 40 power, you will have the widest field
of view and the brightest image.
The TetraView
TM
comes with a 2 GB SD card, which you can use to capture images (snapshot or video).
SD cards are inserted into the SD card slot in the LCD monitor (Figure 1).
USING AN SD CARD
Fig 6Fig 5 Fig 7
Loading ...
Loading ...
Loading ...