Loading ...
Loading ...
Loading ...
8 remote control features Kelvinator Air Conditioning
Energy Saver: (only available in "COOLING" and
"DRY" mode)
Press the ENERGY SAVER button to activate or deactivate the
"ENERGY SAVER" function. In this mode, the fan will continue
to run for 1 minute after the compressor shuts off.
Light:
Press this button at start up and the light on the air
conditioner will be turned on or off. Light On is the default at
start up.
Clock:
Press this button, the clock can be set up, icon (image of
clock face required) blinks. Within 5 seconds, the time can be
adjusted by pressing the
+ or – buttons, if you continuously
press oneof these buttons, after 2 seconds , for every 1/2
second, the time will be increased or decreased by one
minute. If you are still pressing the button after the time
has changed by 10 minutes, the time value will increase or
decrease in 10 minutes steps. While the icon continues to
blink, repressing the clock button will stop the blinking and
the clock will be set.
Special Locking Function:
Press the
+ or – button simultaneously to lock or unlock
the keypad. If the remote control is locked, the (insert
padlock icon) will be displayed on it, in that case, press any
button, the icon will flicker 3 times. Repress the two buttons
simultaneously to unlock.
To change Celcius to Farenheit
With the air conditoner switched off, press the "MODE" and
– buttons simultaneously to switch °C and °F.
caution
NEVER operate the air conditioner without the air filter,
as dust/dirt particles can contribute to equipment failure.
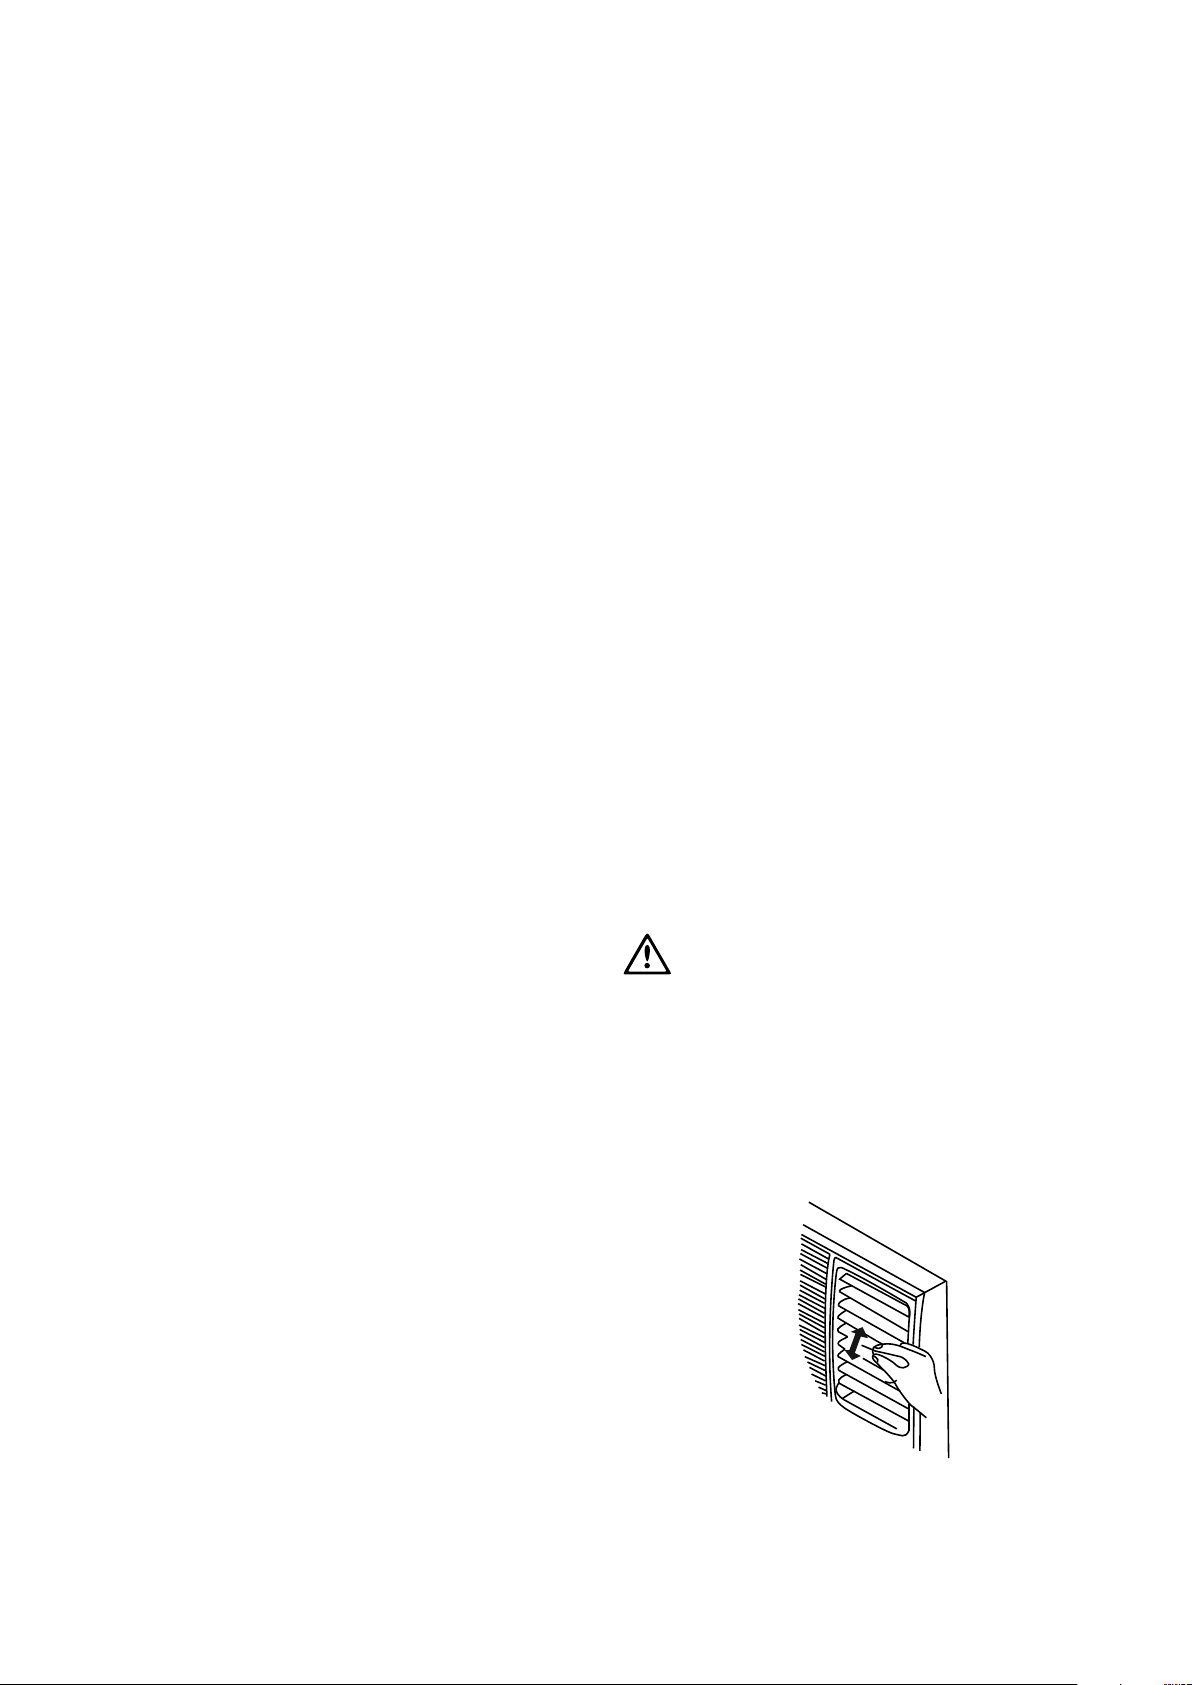
Vertical air flow adjustment (manually)
To adjust the vertical air flow direction, adjust any one of the
horizontal louvre blades. When adjusting the horizontal
louver blades up or down, always keep the top or bottom
blades horizontal. This can effectively prevent water droplets
condensing on the front panel of the unit.
SEAL
DRAIN
JOINT
RUBBER
PLUG
Remote Control Operating Instructions:
The hand held remote control unit operates within a range
of 7 metres (23ft) from the receiver located inside the unit.
Any obstruction between the receiver and the hand held
remote may cause signal interference, limiting the ability
to program the main unit.
Each time a remote control button is pressed, a beep will
sound indicating a command (signal) is transmitted and
received on the unit. When the command is received,
the appropriate function will be displayed (temporarily)
in the LED display window and the green indicator light
corresponding to the selection mode will illuminate on
the main control panel.
Note: The LED display will default to show the ambient
room temperature within 10 seconds of all
program commands.
Power:
To turn the (air conditioner) power on/off, aim the remote
control at the receiver (window) on the unit and press the
"POWER" button.
Mode:
Press the "MODE" button to select either "AUTO",
"HEATING", "COOLING", "FAN" or "DRY" mode (Cooling
& Heating model) or "COOLING", "FAN" or "DRY" mode
(Cooling only model).
Set cooling/heating/auto temperature:
Press the "TEMP" (up/down) buttons to select (increase/
decrease) the required operating temperature, the selected
temperature will appear (temporarily) in the LED display.
The temperature settings are adjustable between 16
O
C
and 31
O
C.
Fan:
Press the "FAN" button to select the required operating fan
speed (HIGH, MED or LOW).
Swing:
Press the "SWING" button to activate the swing feature (the
vertical louvres will oscillate automatically from side to side).
Press the "SWING" button again to deactivate the
"SWING" feature.
Timer:
Press the "TIMER" button to activate the "auto start/auto
stop" timer function.
Timer OFF :(only available when the unit is on)
Press the "TIMER OFF" button to activate the auto stop timer
function. THe method of setting is the same as above for
"TIMER ON".
Sleep:
Press the "SLEEP" button to activate the "SLEEP" feature.
Press the "SLEEP" button to deactivate the "SLEEP" feature.
In Cooling mode, the cooling temperature set point will
increase 1 (degree symbol) C per hour after the "SLEEP"
mode is selected. After two hours, the set temperature will
remain constant. In Heating mode, the heating temperature
set point will decrease 1 (degree symbol)C per hour after the
sleep button is pressed and then remain constant.
Operating instructions
Loading ...
Loading ...
Loading ...