1
EN
Quick Setup Guide
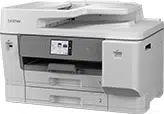
MFC-J6560DW / MFC-J6960DW / MFC-J6975DW D03BJZ001-00
USA/CAN
Version 0
The latest manuals are available at the
Brother support website:
support.brother.com/manuals
Continue to the next column
Read the Product Safety Guide first, then read this Quick Setup
Guide for the correct installation procedure.
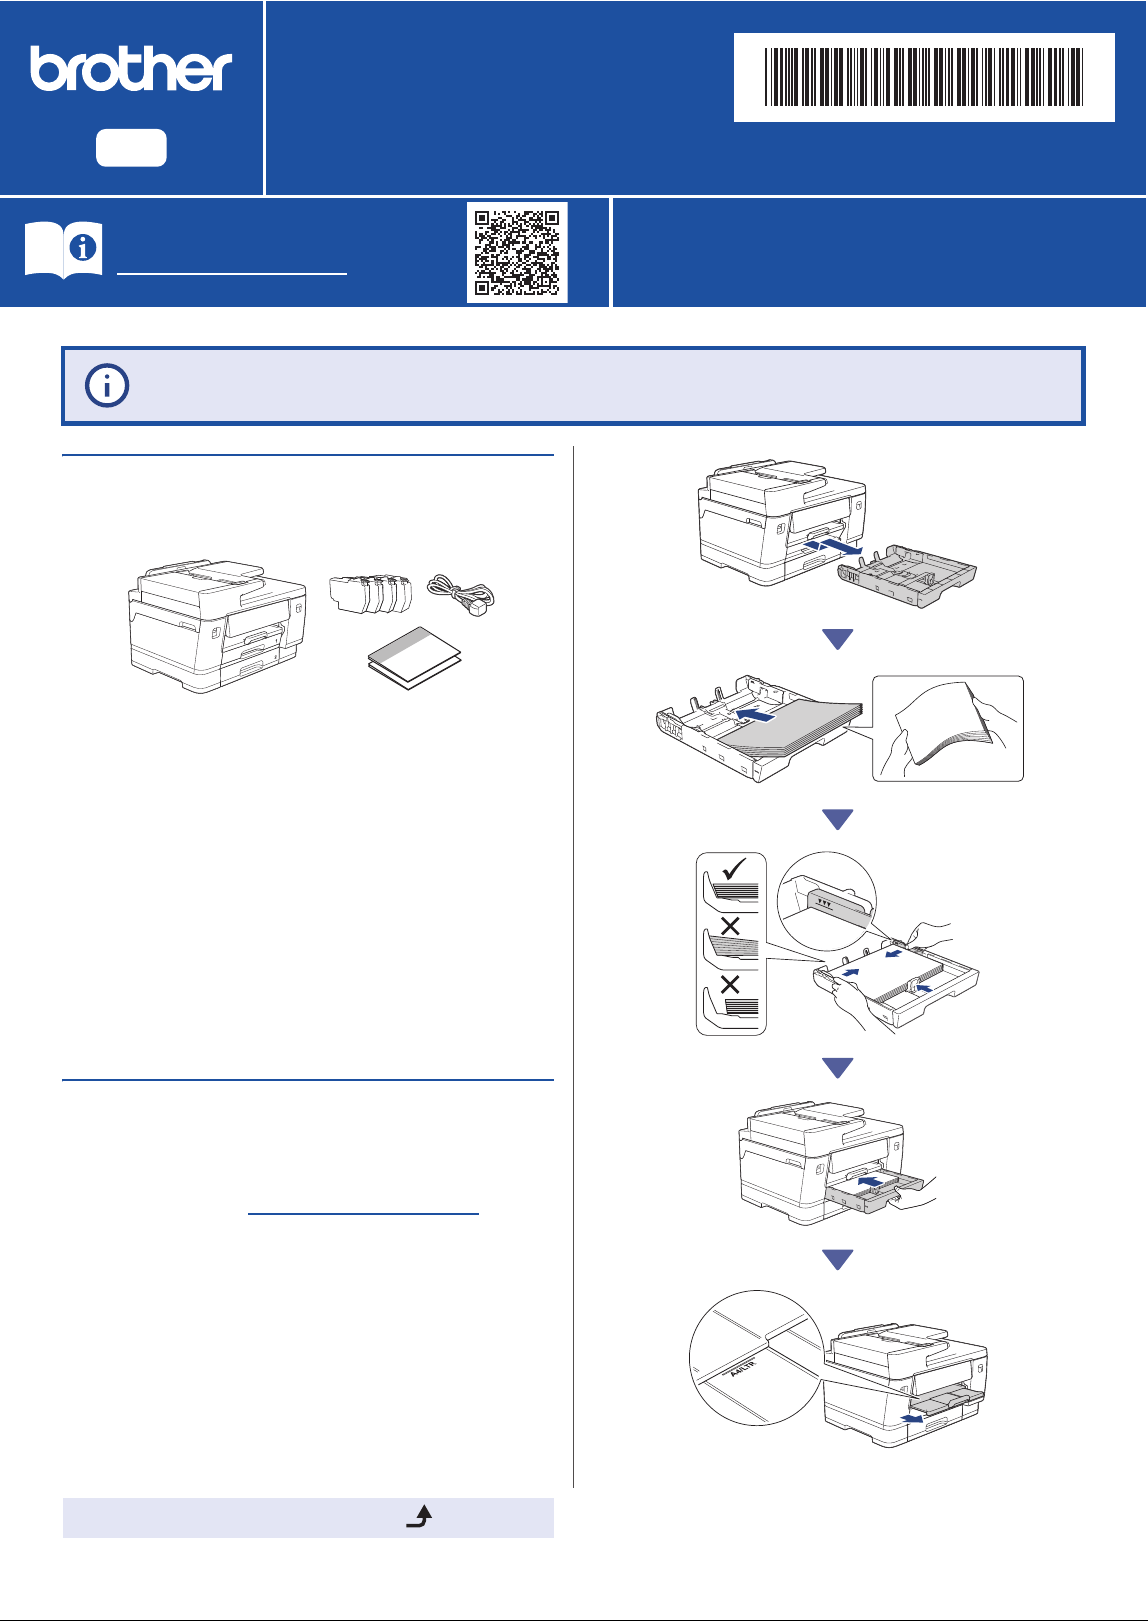
a
Unpack the machine and
check the components
Remove the protective tape or film covering the
machine and the supplies.
b
Load plain Letter paper
If you have followed the instructions in the printed Quick Setup Guide included with your
machine and completed steps 1 to 4, go directly to step 5-B.
NOTE
• The illustrations in this guide may not match your model
exactly, but the steps are the same for each model.
• The components may differ depending on your country.
• Save all packing materials and the box in case you need to
ship your machine.
• If you use a wired connection, you must purchase the correct
interface cable for the interface you want to use.
USB cable: Use a USB 2.0 cable (Type A/B) that is no more
than 16 feet (5 meters) long.
Ethernet (Network) cable: Use a straight-through Category
5e (or greater) twisted-pair cable for 10Base-T/100Base-TX/
1000Base-T.
NOTE
For more information on loading different media, see the
Online User's Guide at
support.brother.com/manuals.
Do not exceed
this mark (▼▼▼).
2
Continue to the next column
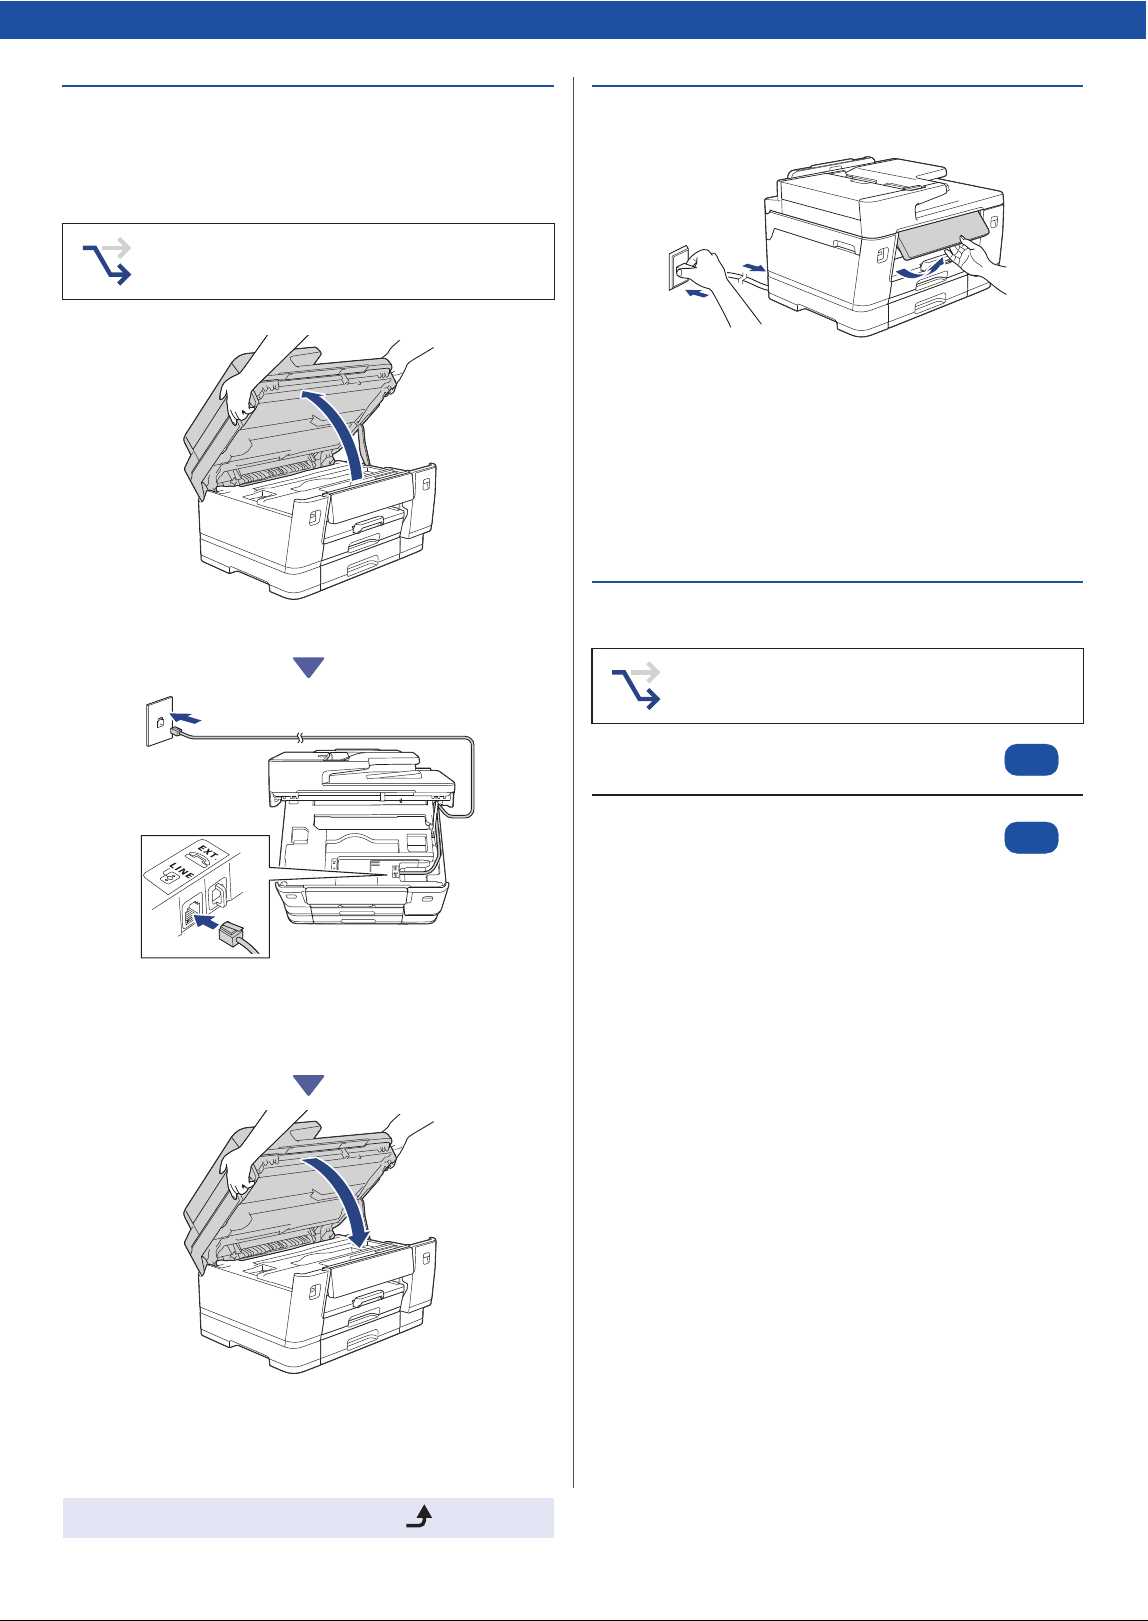
c
Connect the telephone line
cord (models with the fax
function only)
Lift the scanner cover.
Insert the telephone line cord into the jack marked
LINE and guide the cord out of the back of the
machine.
Close the scanner cover.
d
Connect the power cord
The machine powers on automatically.
(For certain models only) If you are prompted to
select your country or language, follow the LCD
instructions.
e
Choose your setup method
Follow this step only if you are using this
machine as a fax machine.
NOTE
You can adjust the control panel angle to read the LCD more
easily.
Choose the setup method according to your
environment.
Set up using mobile app or computer software
(Recommended)
«
Set up from the machine's control panel
(Mac users who cannot use a mobile device for
setup should select this method.)
«
5-A
5-B
3
Continue to the next column
1. Press [Setup without app/software]
when the QR Code screen appears.
2. Read the LCD information, and then press
[Yes].
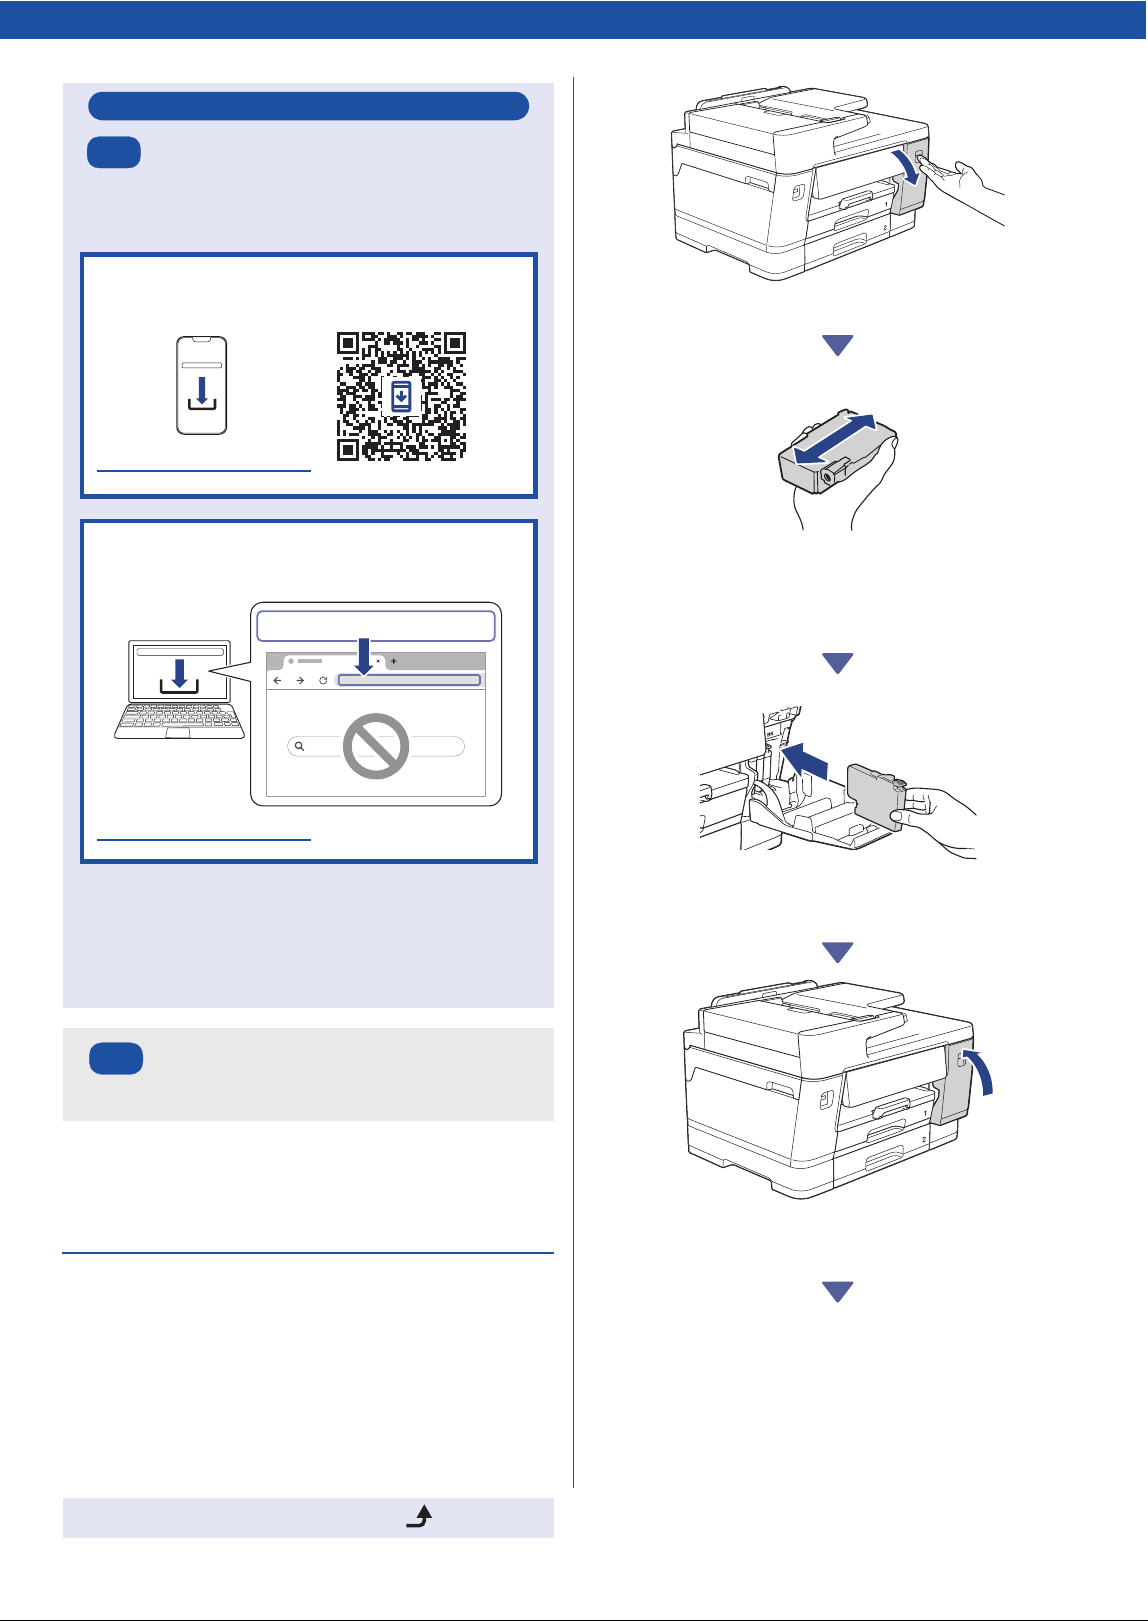
f
Install the starter ink
cartridges
Open the ink cartridge cover.
Quickly shake just the black ink cartridge
horizontally 15 times as shown, before inserting it
into the machine.
Follow the LCD instructions to install the ink
cartridges.
After installing all of the four ink cartridges, close
the ink cartridge cover.
Check the LCD messages to continue the setup.
When the ink preparation message appears,
follow the LCD instructions to perform the initial
ink system cleaning.
Cleaning can take a few minutes, and you can
perform the next step during this time.
Set up using mobile app or
computer software
Go to the website applicable to your setup method:
NOTE
You can use your machine with multiple devices. Use one
of the setup methods in this step to download the
machine's software onto other devices that you want to
use.
Set up from the machine's
control panel
Recommended
5-A
setup.brother.com
Set up with your mobile device
* The mobile device must be connected to Wi-Fi
®
.
Set up with your computer
(Windows only)
https://setup.brother.com
setup.brother.com
5-B
4
Continue to the next column
g
Set the date and time
Follow the LCD instructions to set the date and
time.
h
Set the internet connection
for some functions or
firmware update
Follow the LCD instructions. When you press
[Yes], standard Internet connection rates will
apply.
i
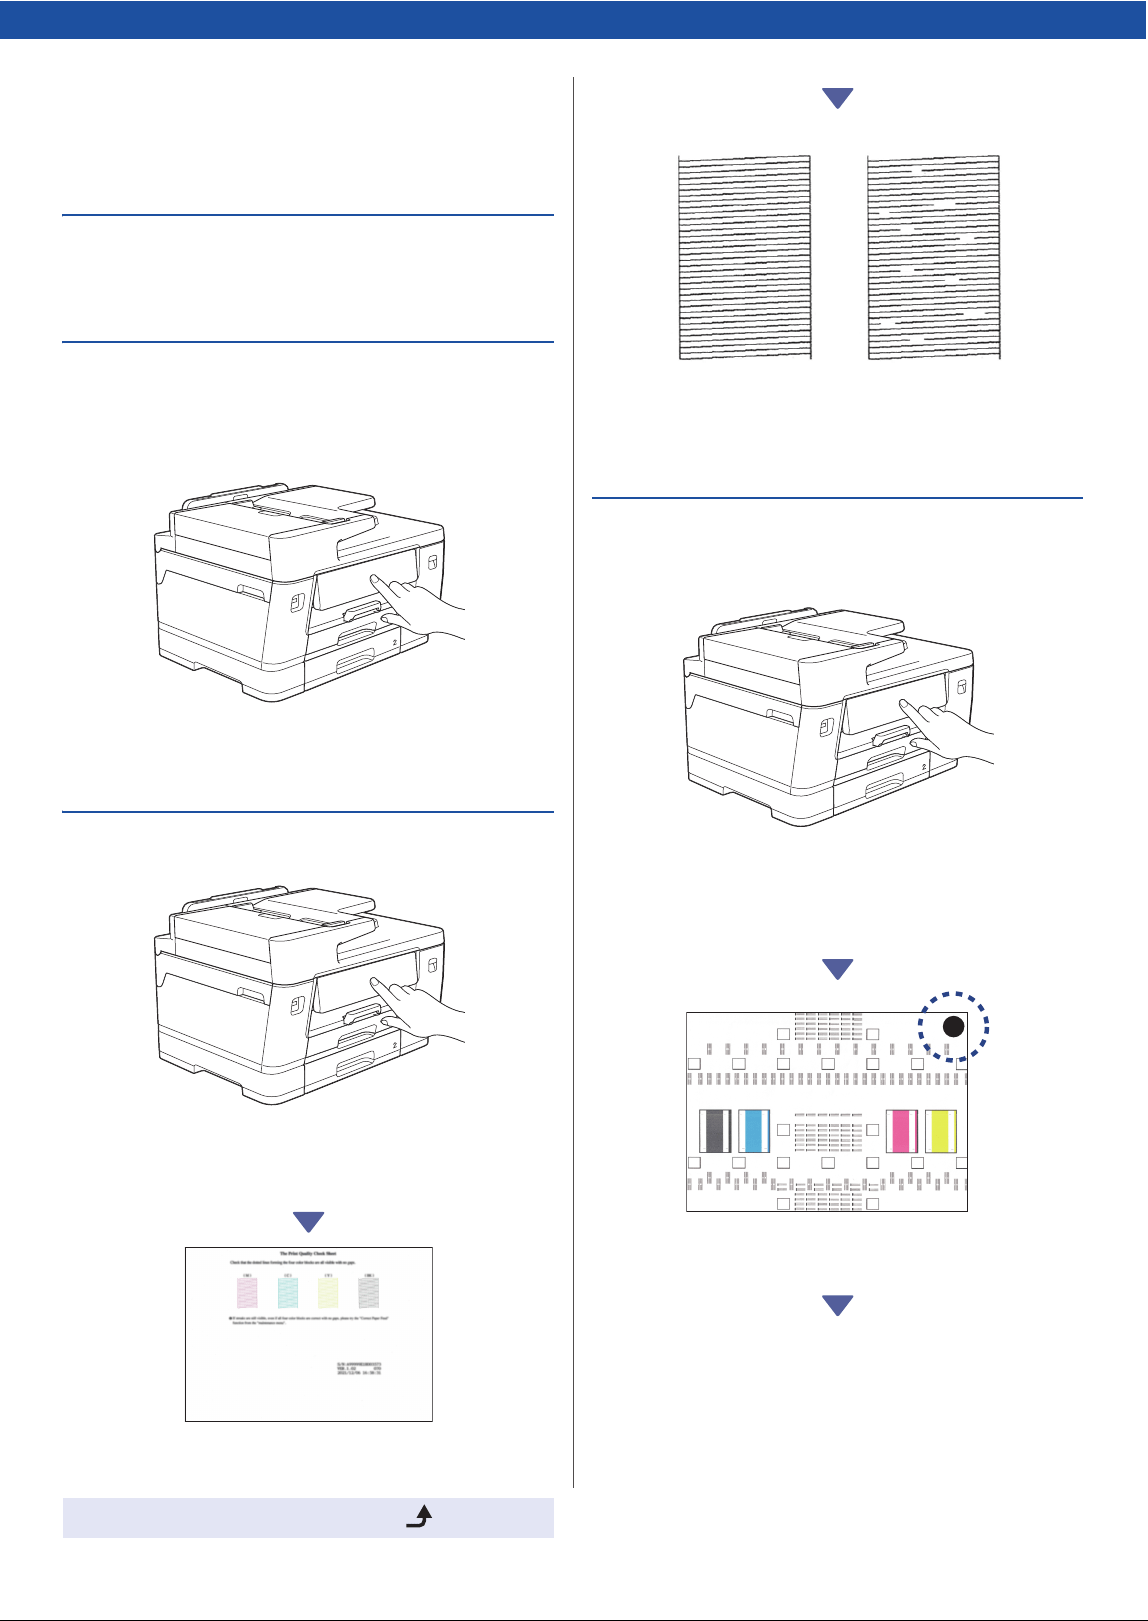
Check the print quality
When the initial ink system cleaning has finished,
print the Print Quality Check Sheet:
Press [Start].
The machine prints the Print Quality Check Sheet.
On the machine's LCD, select the images that
closely match the image for each color on the
Print Quality Check Sheet, and then restart the
cleaning procedure, if required.
j
Adjust the print alignment
(recommended)
To adjust the print alignment before using your
machine, print the Adjustment Sheet:
When the adjustment message appears, press
[Start] and follow the LCD instructions.
There is a black circle located in the top right
corner of the sheet.
NOTE
The first time you install the ink cartridges, the machine will use
extra ink to fill the ink delivery tubes. This is a one-time process
that enables high-quality printing.
OK Poor
5
Continue to the next column
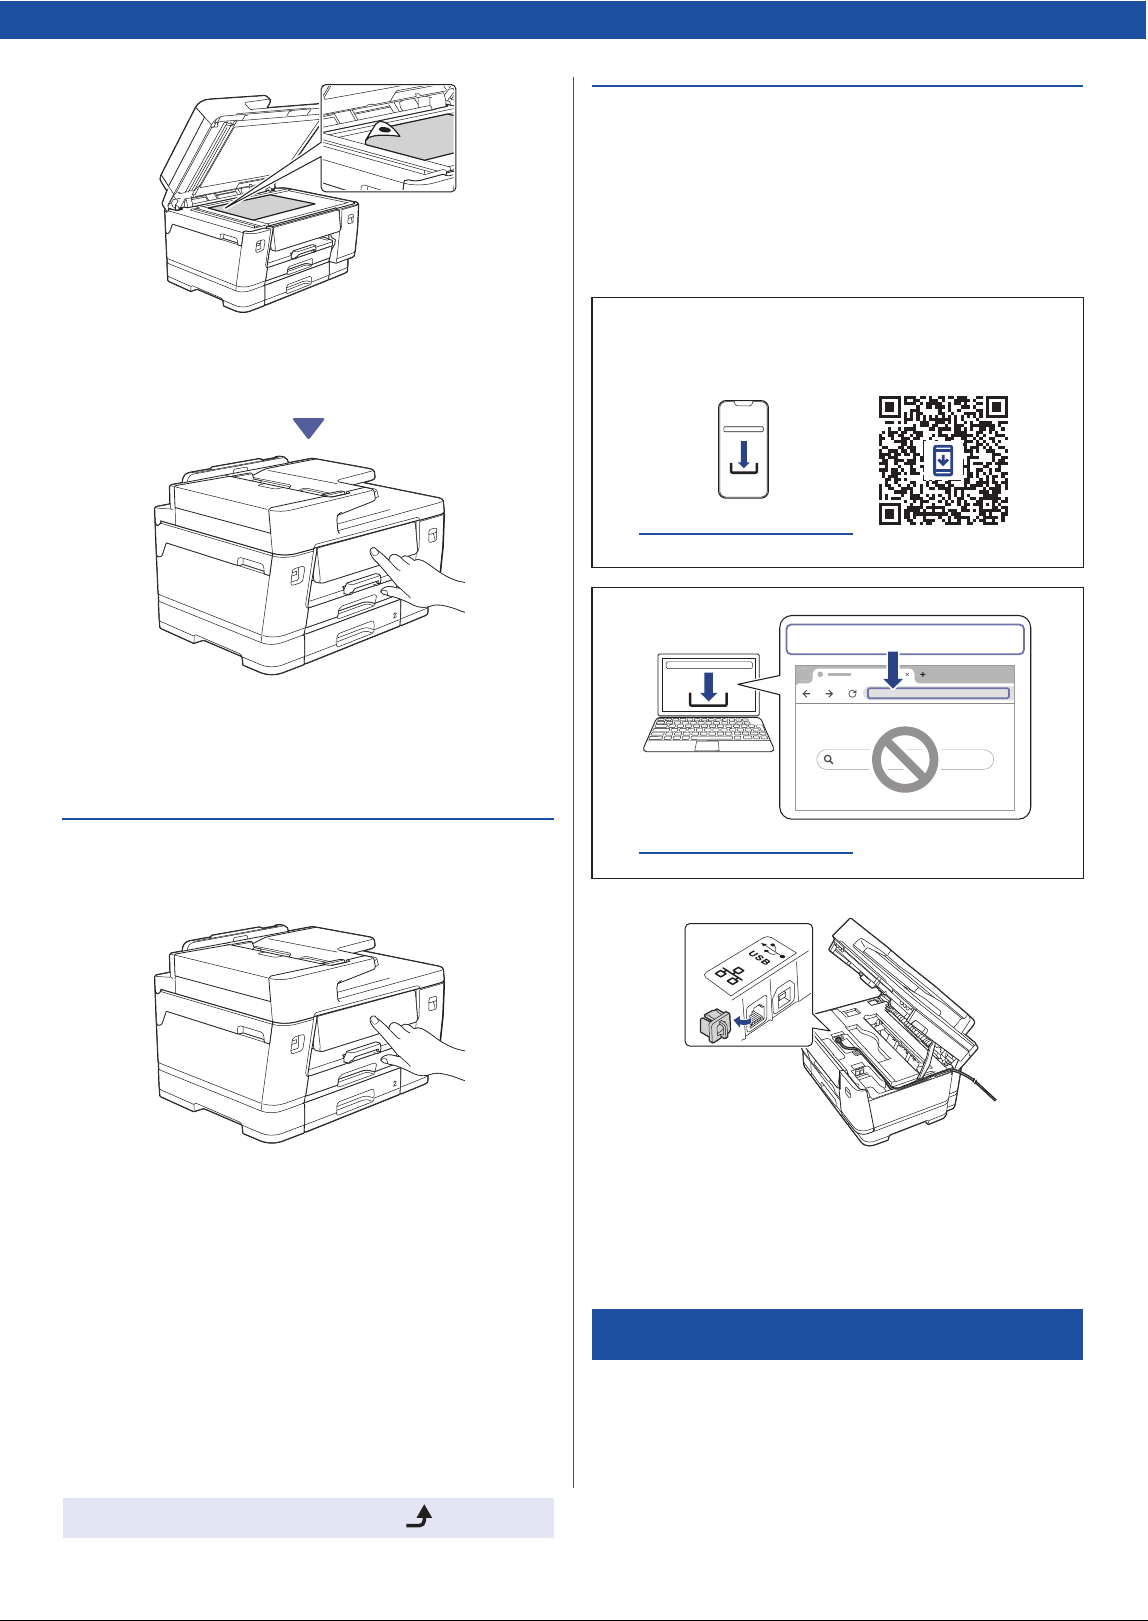
Place the Adjustment Sheet face down on the
scanner glass, making sure the black circle is in
the top left corner of the scanner glass, as shown.
Follow the LCD instructions to adjust the
alignment.
When finished, remove the Adjustment Sheet
from the scanner glass.
k
Confirm the machine setup
completion
Follow the LCD instructions if displayed, and then
confirm the machine setup completion.
l
Connect your computer or
mobile device to your
machine (if needed)
Visit the following website from your computer or
mobile device, or scan the code below to install
the software:
Now you are ready to print or scan from your machine.
Complete the steps in the "Manual wireless setup"
section, if necessary.
Make sure your machine and mobile device are
connected to the same network.
NOTE
For USB or wired network connection, locate the correct port
(based on the cable you are using) inside the machine, as
shown.
Setup Finished
setup.brother.com
https://setup.brother.com
setup.brother.com
6
© 2025 Brother Industries, Ltd. All rights reserved.
For detailed machine information and product specifications, see the Online User's Guide at support.brother.com/manuals.
D03BJZ001-00
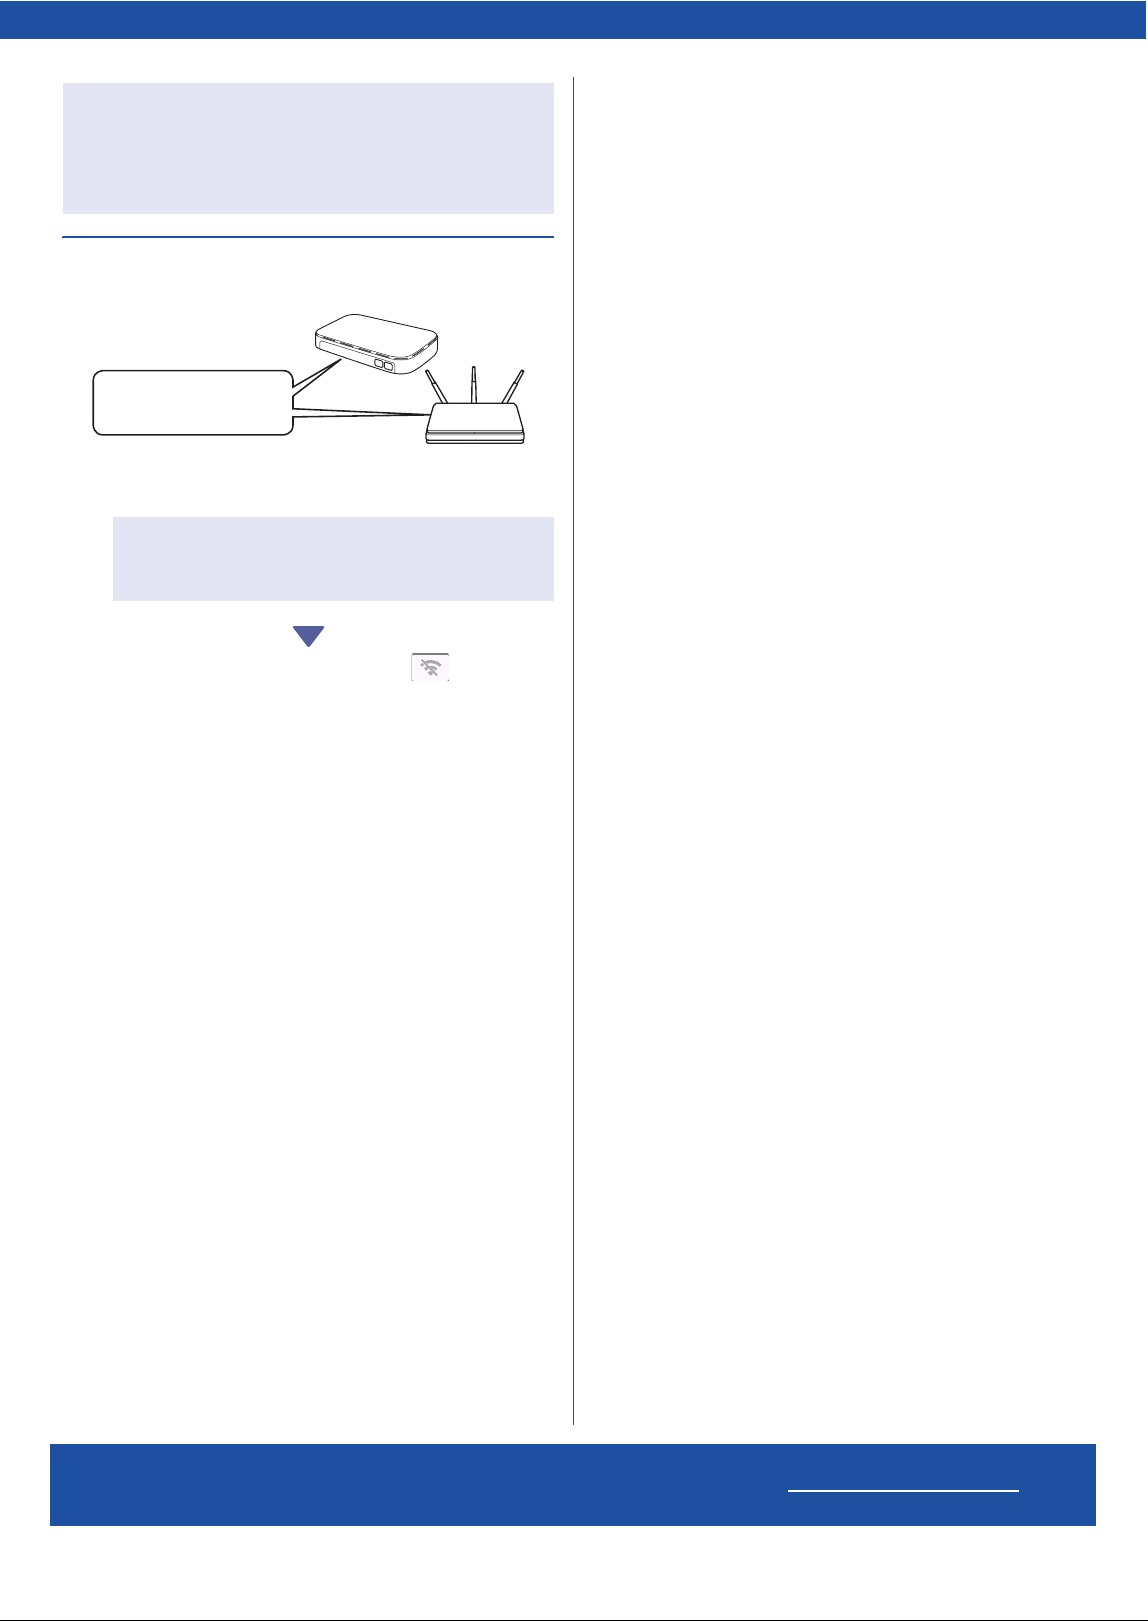
Manual wireless setup
Find the SSID (Network Name) and Network Key
(Password) on your wireless access point/router.
1. Go to your machine and press > [Find
Wi-Fi Network] > [Yes].
2. Select the SSID (Network Name) for your
access point/router and enter the Network Key
(Password).
When the wireless setup is successful, the LCD displays
[Connected].
Important Notice for Network Security:
The default password to manage this machine's settings is
located on the back of the machine and marked “Pwd”. We
recommend immediately changing the default password to
protect your machine from unauthorized access.
If you cannot find this information, ask your network
administrator or wireless access point/router
manufacturer.
SSID: ●●●●●
Network Key: ●●●●●