1 YEAR
WARRANTY
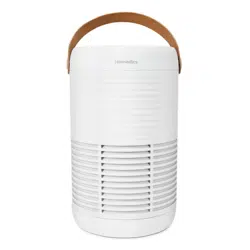
AP-T30WT-AU
instruction manual

READ ALL INSTRUCTIONS BEFORE
USE. SAVE THESE INSTRUCTIONS FOR
FUTURE REFERENCE.
• ALWAYS unplug the appliance from the
electrical outlet immediately after using
and before cleaning. To disconnect, turn all
controls to the ‘OFF’ position, then remove
plug from outlet.
• Unplug from the mains outlet when not in
use and before putting on or taking o parts
or attachments.
• This appliance can be used by children
aged from 8 years and above and persons
with reduced physical, sensory or mental
capabilities or lack of experience and
knowledge if they have been given
supervision or instruction concerning use of
the appliance in a safe way and understand
the hazards involved. Children shall not
play with the appliance. Cleaning and user
maintenance shall not be made by children
without supervision.
• DO NOT reach for an appliance that has fallen
in water or other liquids. Switch o at the
mains and unplug it immediately. Keep dry
– DO NOT operate in wet or moist conditions.
• NEVER insert pins or other metallic fasteners
into the appliance.
• Use this appliance for the intended use
as described in this booklet. DO NOT
use attachments not recommended by
HoMedics.
• NEVER operate the appliance if it has a
damaged cord or plug, if it is not working
properly, if it has been dropped or damaged,
or dropped into water. Return it to the
HoMedics Service Centre for examination
and repair.
• Keep cord away from heated surfaces.
• Excessive use could lead to the product’s
excessive heating and shorter life. Should
this occur, discontinue use and allow the unit
to cool before operating.
• NEVER drop or insert any object into any
opening.
• DO NOT operate where aerosol (spray)
products are being used or where oxygen is
being administered.
• DO NOT operate under a blanket or pillow.
Excessive heating can occur and cause re,
electrocution or injury to persons.
• DO NOT carry this appliance by the cord or
use cord as a handle.
• DO NOT use outdoors.
• This product requires a 240 V AC power
supply.
• DO NOT attempt to repair the appliance.
There are no user serviceable parts. For
service, send to a HoMedics Service Centre.
All servicing of this appliance must be
performed by authorised HoMedics service
personnel only.
• Never block the air openings of the appliance
or place it on a soft surface, such as a bed or
couch. Keep air openings free of lint, hair etc.
• Do not place or store appliance where it can
fall or be pulled into a bath or sink. Do not
place in or drop into water or other liquid.
• Failure to follow the above may result in the
risk of re or injury.
• This appliance should NEVER be used by
any individual suering from any physical
ailment that would limit the user’s capacity
to operate the controls.
• If the product feels excessively hot, switch o
at mains and contact the HoMedics Service
Centre.
• Do not run cord under carpeting. Do not
cover cord with throw rugs, runners or
similar coverings. Do not route cord under
furniture or appliances. Arrange cord away
from trac areas where it can be tripped
over.
• This appliance is not intended for use by
persons (including children) with reduced
physical, sensory or mental capabilities,
or lack of experience and knowledge,
unless they have been given supervision or
instruction concerning use of the appliance
by a person responsible for their safety.
• Children should be supervised to ensure that
they do not play with the appliance.
• If the supply cord is damaged, it must be
replaced by the manufacturer, its service
agent or similarly qualied persons in order
to avoid a hazard.
OPERATING INSTRUCTIONS
BEFORE TURNING THE UNIT ON
• Take the air purier out of the box and remove the clear
protective plastic bag.
• Place the air purier on a rm, level surface.
• Plug the power cord into a standard AC outlet.
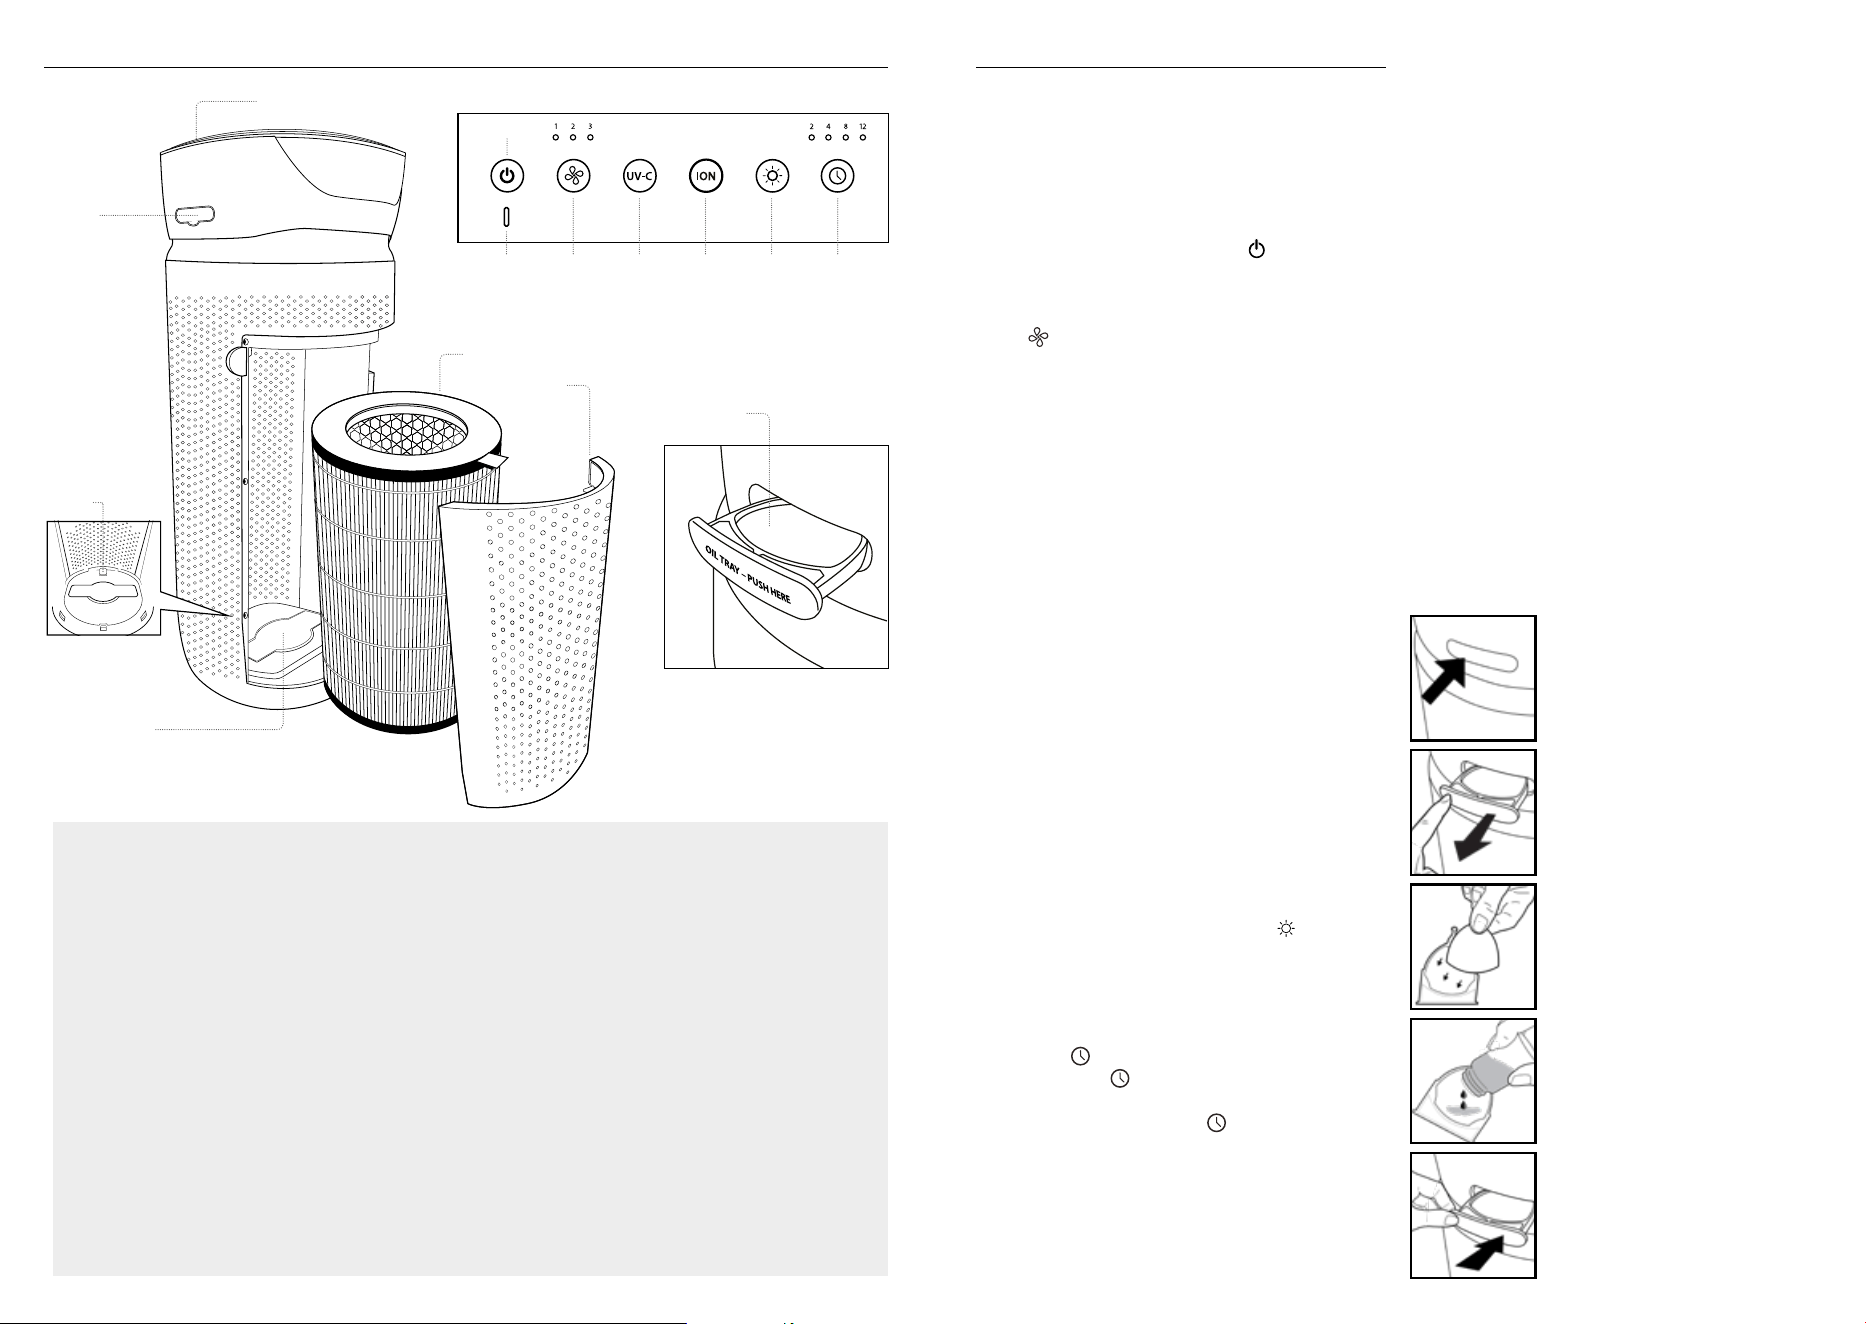
POWER BUTTON AND FAN SPEED SETTINGS
• To turn the air purier on, press the power
button.
• This air purier has 3 fan speed settings: low (1), medium (2),
and high (3). The higher the fan speed setting, the faster the
air will be puried. To select or change fan speed, press the fan
speed
button until the desired setting is reached.
UV-C TECHNOLOGY WITH ON/OFF
The optional UV-C technology kills germs, viruses, and bacteria
by penetrating its DNA, resulting in the microorganism’s death or
the inability to reproduce. Press the
UV-C button to turn the UV-C
technology on. The blue LED will glow. Press the
UV-C button
again to turn the UV-C technology o.
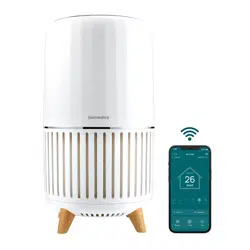
IONISER SETTING WITH ON/OFF
Ion particles have a positive or negative charge that attach to
airborne particles, making them easier to be captured by the
ltration system. Press the ioniser ION button to turn the ioniser
on. The blue light will glow to indicate the ioniser is in use. Press
the ioniser ION button again to turn the ioniser o.
NOTE: Dust particles may accumulate on surfaces around the
air purier when the ioniser is in use. These dust particles can be
vacuumed or wiped away with a soft, damp cloth.
NOTE: You may hear occasional popping sounds when the ioniser
is used. This is normal.
NOTE: The ioniser produces less ozone than the UL-established
limits of 0.05 ppm. Ozone may be harmful around birds and
small pets. To prevent ozone buildup, use the ioniser feature in a
well-ventilated area.
NIGHTLIGHT
The nightlight has 3 options. Press the nightlight
button
once to turn the blue nightlight on. Press again to turn the blue
nightlight ring and the display lights o. Press a third time to turn
the display lights on.
TIMER
Press the timer
button until the desired timer setting is lit on
the display. The timer
button will cycle through the following
settings: 2 hours, 4 hours, 8 hours, 12 hours, and o. To cancel
the timer at any time, press the timer
button until all timer
LEDs are o. The air purier will run continuously when the timer
function is
o.
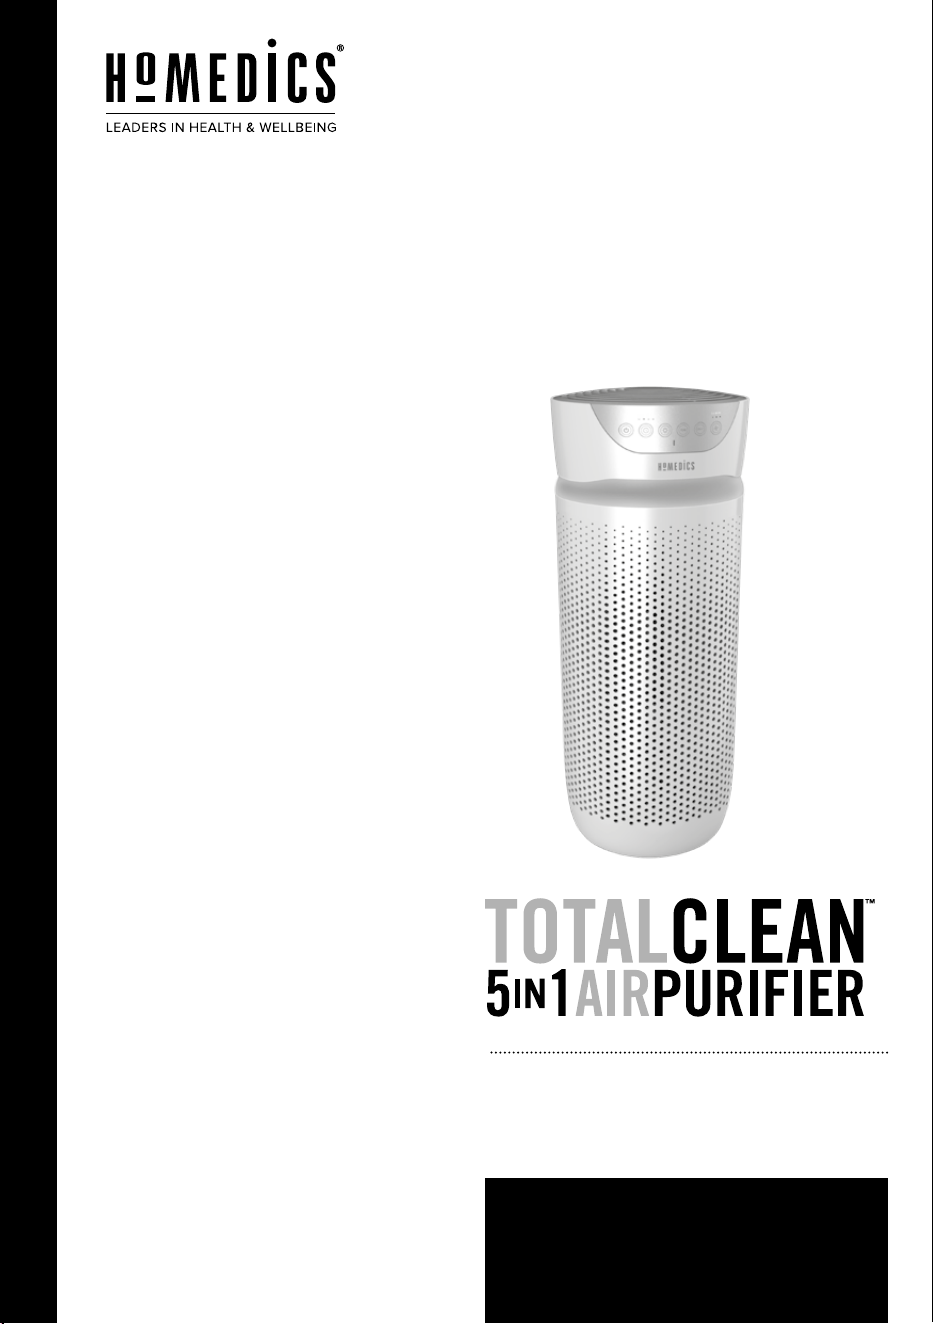
OIL TRAY
Use essential oil (not included) to deliver scent into the air.
NOTE: For use with the included HoMedics essential oil pads only.
Do not add essential oils anywhere else in the unit as it may cause
damage.
NOTE: Do not leave a lled essential oil pad in the air purier if it
will be out of use for a long period of time.
ARE ESSENTIAL OILS SAFE TO USE AROUND PETS?
We should always exercise caution when using essential oils
around our pets. Keep all essential oil and aromatherapy
products (like diusers) out of reach of pets. Keep open bottles
away from pets to avoid internal consumption. We do not
recommend the topical use of essential oils on pets, as they have
a strong sense of smell and cannot get rid of the oil if they don’t
like it or it is disturbing them. When diusing essential oils around
pets, always diuse in a well-ventilated area and leave an option
for them to remove themselves from the space, such as leaving a
door open. Every animal is dierent, so carefully observe how each
animal responds when introducing an essential oil for the rst
time. If irritation occurs, discontinue the use of the essential oil.
We recommend seeking medical attention if ingestion of essential
oil occurs.
ADDING ESSENTIAL OILS
WARNING: Putting oil anywhere but the oil tray will damage the
air purier.
1. The oil tray is located on the side
of the air purier above the nightlight
ring.
2. Push to open and remove the tray.
3. Place 1 aroma pad (3 included) into
the oil tray.
4. Add 5–7 drops of essential oil to the
pad. You may use more or less
depending on personal preference.
WARNING: Only place essential oil
on the pad and NOT directly into the tray.
5. Place the oil tray back in its
compartment and push to close.
The scent will start automatically
when the air purier is turned on.
ALL-IN-ONE TRUE HEPA FILTRATION SYSTEM
TRUE HEPA FILTRATION
Removes up to 99.97% of airborne particles as small as 0.3
microns, such as allergens, pollen, dust, germs, pet dander,
odour, mould spores, and smoke from air that passes through
the lter.
CARBON ODOUR FILTRATION
Reduces household odours and VOCs (volatile organic
compounds)/gases as shown by independent laboratory
testing.
PRE-FILTER
Captures large particles.
UV-C TECHNOLOGY WITH ON/OFF
When on, the UV-C technology light kills germs, viruses, and
bacteria.
IONISER WITH ON/OFF
When on, the ioniser assists in the air purication process.
3 SPEEDS
Low, medium, and high.
BUILT-IN TIMER
Choose from 2, 4, 8, or 12 hours.
REPLACE FILTER INDICATOR
Illuminates when it is time to replace the lter.
SUGGESTED ROOM SIZE
84 M
2
/H / 888 FT
2
/H. Portable air puriers will be more
eective in rooms where all the doors and windows are closed.
AIR CHANGES PER HOUR
This air purier will purify the air in a 84 M
2
/888 FT
2
room
(assuming an 2.43 M/8 FT ceiling) once per hour on high
speed in a closed room. The airow rate is 204.1M
3
/H /
7140FT
3
/H.
OIL TRAY
Includes 3 essential oil pads. Use with essential oil (not
included) to deliver scent into the air.
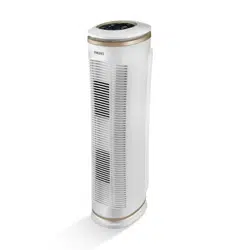
PRODUCT FEATURES
CONTROL PANEL
ALL-IN-ONE TRUE HEPA FILTER
GRILLE COVER
OIL TRAY
POWER
FAN SPEED
IONISER
ON/OFF
TIMER
CONTROL PANEL
UV-C BULB COVER
OIL TRAY
NIGHTLIGHTUV-CREPLACE
FILTER
LIGHT
INTERNAL FILTER
SWITCH
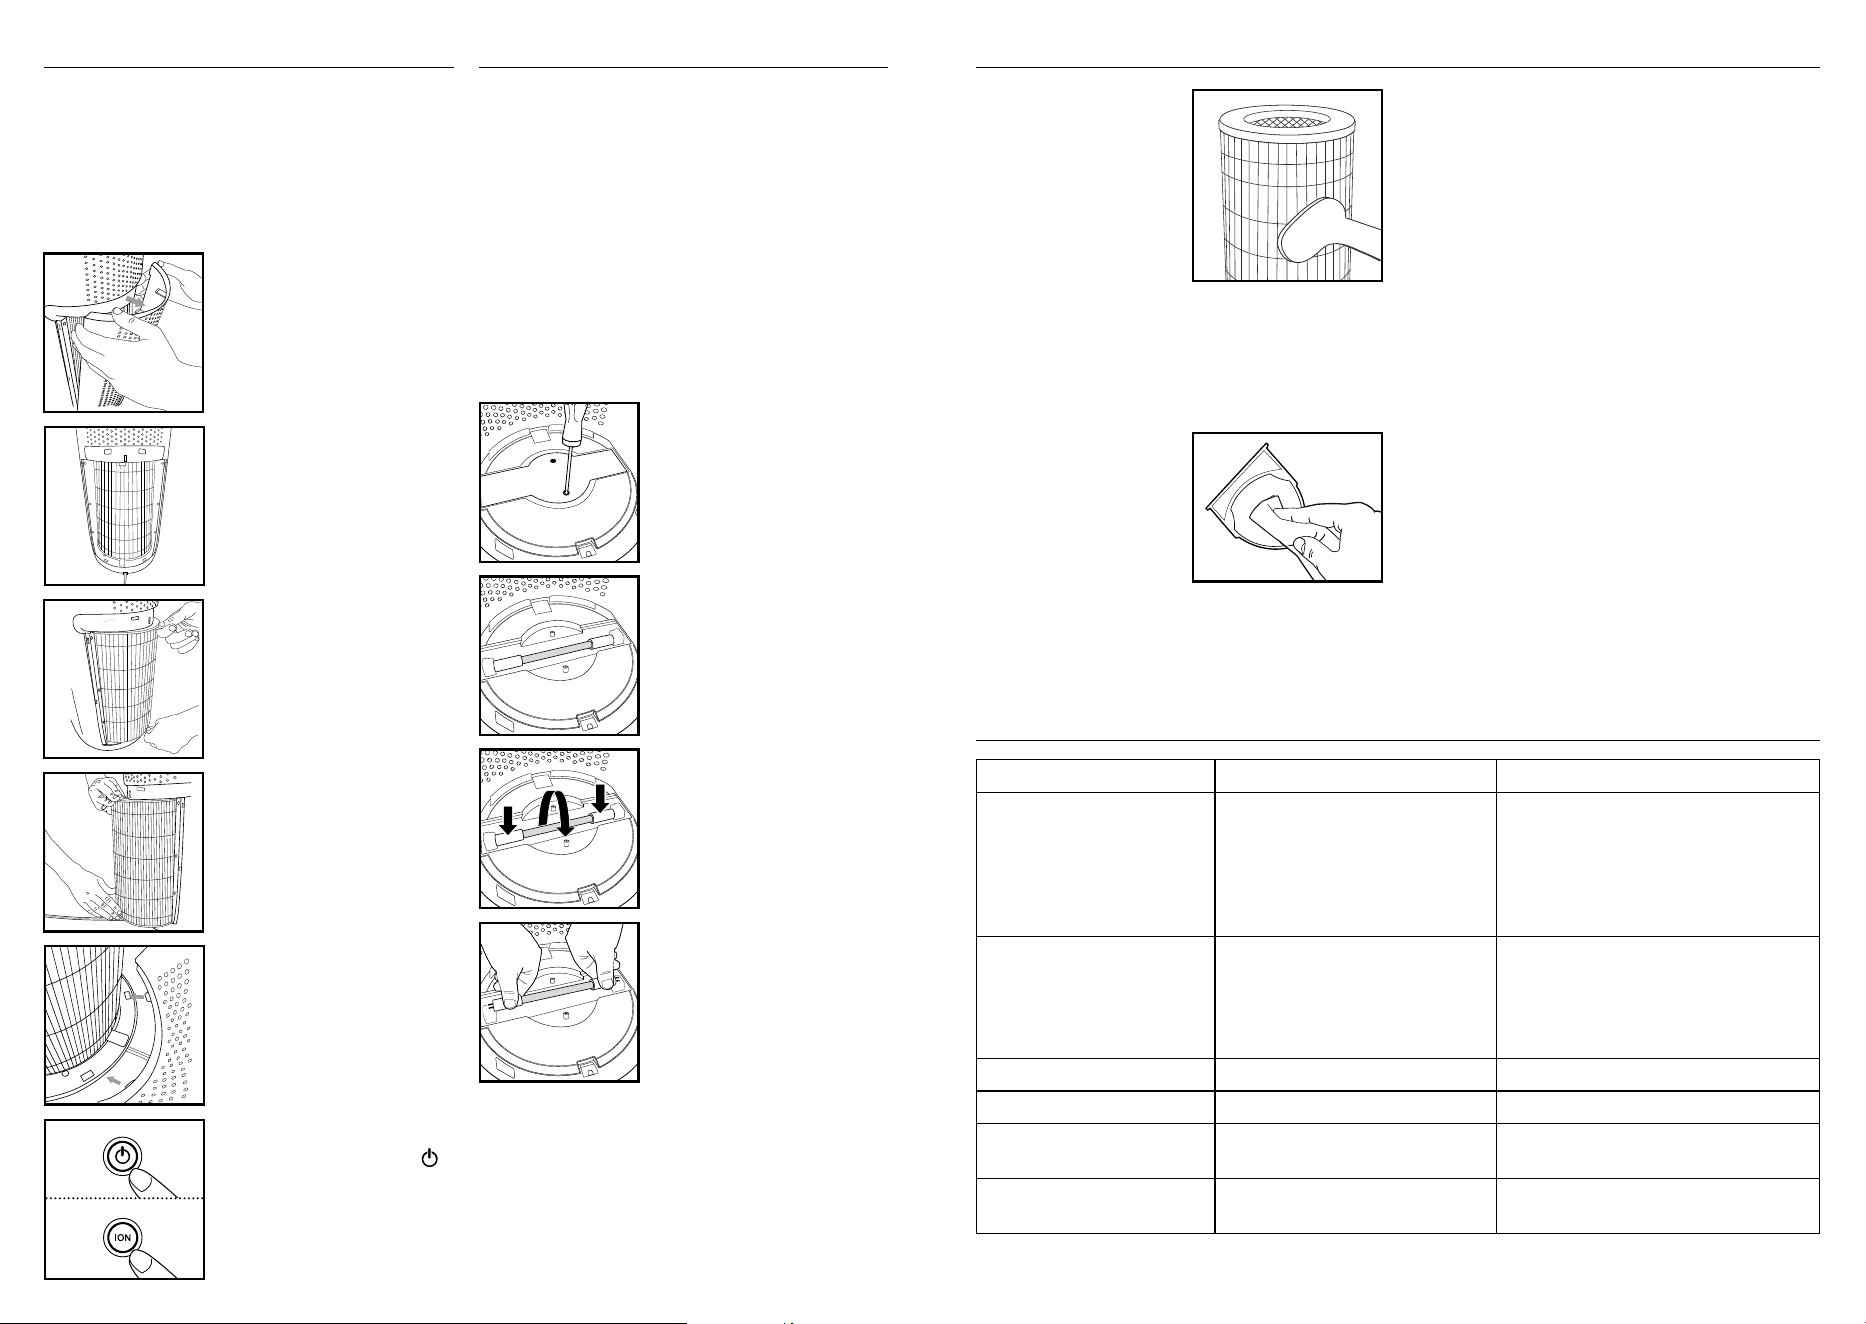
CLEANING THE PRE-FILTER
NOTE: For best performance,
vacuum the pre-lter once a
month under normal usage.
1. Unplug the air purier.
2. Remove the True HEPA lter
as described in the Replacing
the True HEPA Filter section.
3. Vacuum the outside of the
True HEPA lter using the brush attachment of your vacuum
cleaner, cleaning it thoroughly.
4. Place the True HEPA lter back into the air purier and close
grille.
5. Plug the power cord into a standard AC outlet.
TO CLEAN THE OIL TRAY
Open the oil tray and remove the
pad. Essential oil pads should be
changed when switching to a
dierent essential oil scent. If
continuing to use the same scent,
set the essential oil pad aside for
reuse. Wipe down the inside of
the oil tray with a soft cloth. Place the essential oil pad back in the
tray and close.
NOTE: Leave the essential oil pad out of the oil tray when storing.
FOR BEST PERFORMANCE
• NEVER use water or any household cleaners or detergents to
clean the True HEPA lter.
• Clean o the outside of the unit with a dry cloth as needed.
• NEVER use water, wax, polish, or any chemical solution to clean
the outside of the unit.
• Clean o the grille cover using a damp cloth or the brush
attachment of your vacuum as needed.
• Vacuum the pre-lter monthly under normal usage conditions.
• Replace the True HEPA lter every 12 months under normal
usage conditions.
• Always use a genuine HoMedics replacement lter for optimal
performance.
To purchase genuine HoMedics replacement/spare parts please
visit www.homedics.com.au
3 Pack of aroma pads - ARM-PAD3
Aroma tray - AP-T30WTARM
HEPA lter - AP-T30FL
UV-C Bulb – AP-UVC1
Cover & screws - APUVCCV
CLEANING & MAINTENANCE
PROBLEM POSSIBLE CAUSE SOLUTION
Unit will not operate • Unit is not plugged in
• Power button not pressed
• No power to unit
• True HEPA lter is not installed correctly
• Grille cover is not installed correctly
• Plug unit in
• Press the power button to turn the power on
• Check fuses, try a dierent outlet
• Reinstall the True HEPA lter
• Reinstall the grille cover
Reduced airow • The back grille may be blocked
• Pre-lter needs vacuuming
• The True HEPA lter needs to be replaced
• Check to make sure nothing is blocking the back
grille and air outlet
• Vacuum the pre-lter with the brush
attachment of your vacuum cleaner
• Replace the True HEPA lter
Reduced odour removal • The True HEPA lter needs to be replaced • Replace the True HEPA lter
Excessive noise • The unit is not level • Place the unit on a at, level surface
Replace lter light remains lit
after lter replacement
• The replace lter indicator needs to be
reset
• Press and hold the ioniser button for 3 seconds
until the replace lter light turns o
Display lights are o • Nightlight setting • Press the nightlight button until the desired
lights are on/o
TROUBLESHOOTING
FILTER REPLACEMENT
REPLACE FILTER LIGHT
The replace lter light illuminates when it is time to replace the
True HEPA lter based on the air purier’s hours of use.
REPLACING THE TRUE HEPA FILTER
For optimal performance, replace every 12 months under normal
usage conditions.
1. Unplug the air purier. Pull the
indents on each side of the grille
cover.
2. Remove the grille cover and set
aside.
3. Pull the tabs to remove the old
lter.
4. With the lter tabs facing outward,
insert the new True HEPA lter.
5. Place the tabs at the bottom
of the grille cover into the
base of the air purier. Gently
push the grille cover until it
snaps into place.
6. Plug the power cord into a standard
AC outlet and press the power
button Press and hold the ioniser
ION button for 3 seconds to reset
the indicator.
UV-C BULB REPLACEMENT
REPLACING THE UV-C BULB
The UV-C bulb is designed to last for approximately 10,000
hours of use. The UV-C button on the control panel will flash
RED when the UV-C bulb burns out and needs to be replaced.
The UV-C button will change to blue once the bulb has been
replaced.
NOTE: The air purier will continue to operate without the UV-C
function when the UV-C bulb burns out.
CAUTION: Do not operate the air purier without the
protective UV-C bulb cover.
CAUTION: Unplug the power cord before servicing or
replacing the UV-C bulb.
1. Unplug the air purier and remove
the True HEPA lter. Using a
Phillips-head screwdriver (not
included), unscrew the 2 screws
located on the UV-C bulb cover.
2. Remove the cover to expose the
UV-C bulb.
3. Gently push from the sides and
rotate the UV-C bulb to remove.
4. Remove and replace the UV-C bulb.
Re-install the UV-C bulb cover, True
HEPA lter, and grille cover.
NOTE: The UV-C bulb contains mercury (Hg).
8
Distributed by
One year limited warranty
We or us means HoMedics Australia Pty Ltd ABN 31 103 985 717 and our contact details are set out at the end of this warranty;
You
Supplier means the authorised distributor or retailer of the Goods that sold you the Goods in Australia and New Zealand; and
Goods means the product or equipment which was accompanied by this warranty and purchased in Australia and New Zealand.
For Australia:
to be of acceptable quality and the failure does not amount to a major failure. This is not a complete statement of your legal rights as a consumer.
For New Zealand:
The Warranty
HoMedics sells its products with the intent that they are free of defects in manufacture and workmanship under normal use and service. In the
unlikely event that your HoMedics product proves to be faulty within 1 year from the date of purchase due to workmanship or materials only,
date of purchase for products used commercially/professionally.
Te
other applicable law and withou
t excluding such rights and remedies warranty against defects:
1. The Goods are designed to withstand the rigors of normal household use and are manufactured to the highest standards using the highest
2.
whatsoever that are beyond the control of HoMedics.
3. This Warranty does not extend to the purchase of used, repaired or second-hand products or to products not imported or supplied by
4. This Warranty extends only to consumers and does not extend to Suppliers.
5.
6.
Warranty Period (or three months, whichever is the longest).
7.
8.
damages.
9. This warranty is only valid and enforceable in Australia and New Zealand.
Making a Claim:
In order to claim under this Warranty you must return the Goods to the Supplier (place of purchase) for replacement. If this is not possible,
please contact our customer service department at the address below.
•All r
•
Contact: HoMedics Australia Pty Ltd, 14 Kingsley Close, Rowville, VIC 3178 | Phone: (03) 8756 6500
Phoenix Distribution NZ Ltd, 4 Lovell Court, Albany, North Shore 0632, Auckland, New Zealand | Phone: (09) 917 7106