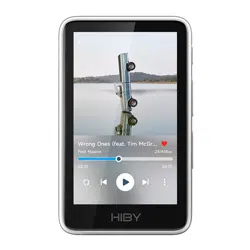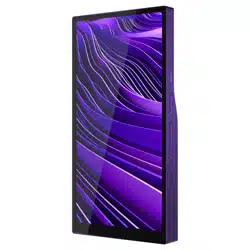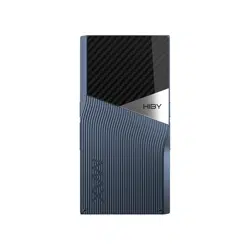
Player HiBy R1 HiBy R1 User Manual
HiBy R1 User Manual
1. Product introduction
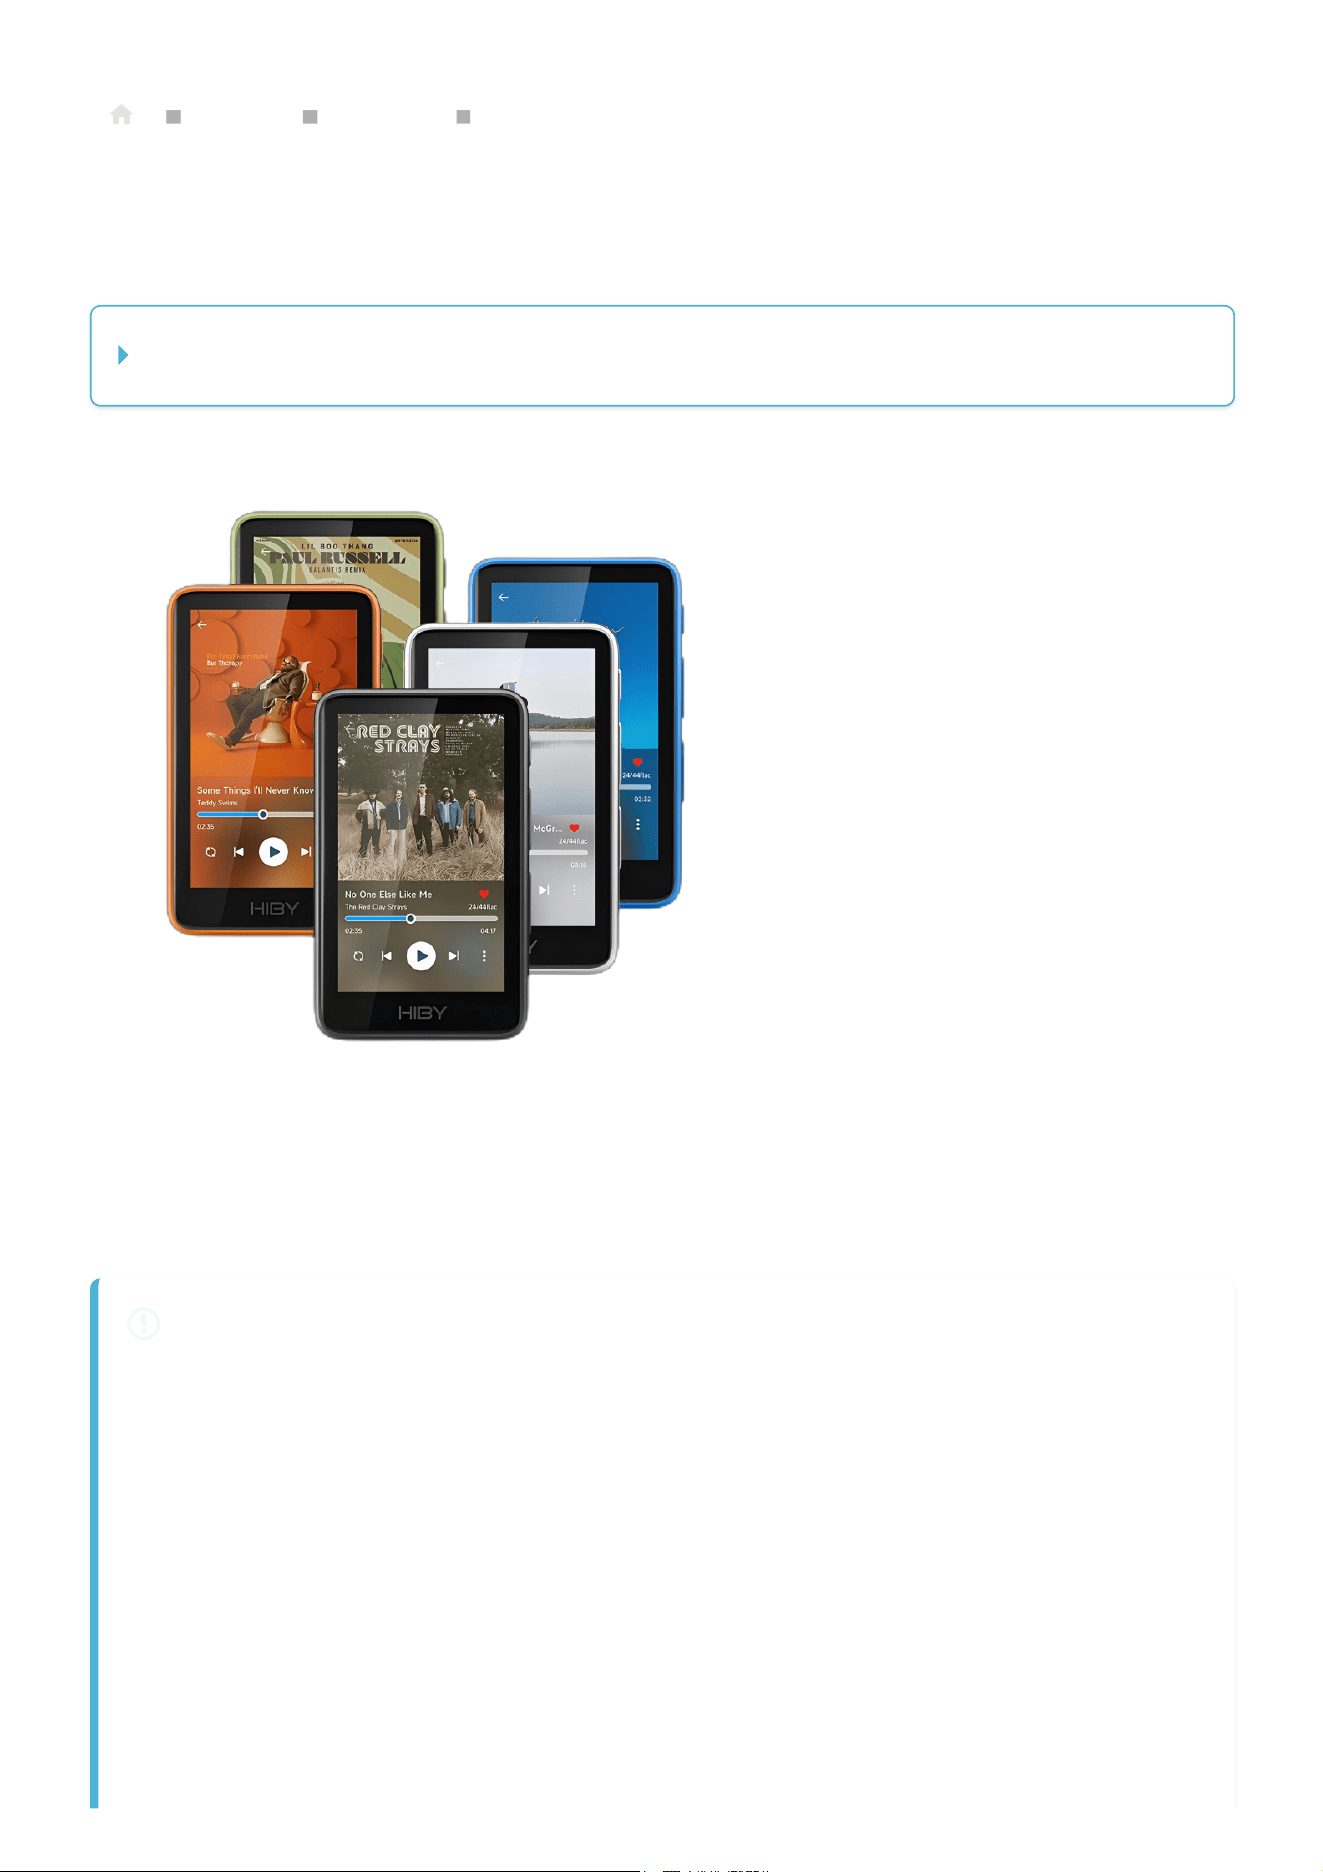
R1 IS A PORTABLE HIFI HD LOSSLESS MUSIC PLAYER
1. Based on HiBy OS (Linux 4.4.94) system, the Junzheng X1600E main control is
adopted
2. Adopt CS43131 decoding architecture, up to support DSD256\PCM384kHz
decoding
3. Supports PhoneOut(PO) output
4. Supports Bluetooth audio output (supports LDAC, aptX, AAC, SBC, etc.
encoding)
5. Supports USB audio (USB Audio) output
6. Supports external MicroSD(TF) cards up to 2TB
Welcome to use HiBy's products
2025/9/19 12:00
HiBy R1 User Manual | HiBy WiKi
https://guide.hiby.com/en/docs/products/audio_player/hiby_r1/guide
1/21
7. Supports Bluetooth 5.0 and 2.4G WiFi
8. Support local playback, AirPlay, DLNA, network radio, etc.
APPEARANCE INTRODUCTION
The following introduction is the front view of the player screen as reference:
1. From top to bottom on the right are: Power key, LED indicator, Volume Up,
Volume Down, Playback Pause, Next Song
2. On the left is: Lanyard Interface
3. The bottom is from left to right: PO, Type-C, MicroSD(TF) card slot
2. Button usage instructions
BUTTON DISTRIBUTION
The following introduction is the front view of the player screen as reference:
1. From top to bottom on the right are: Power key, LED indicator, Volume Up,
Volume Down, Playback Pause, Next Song
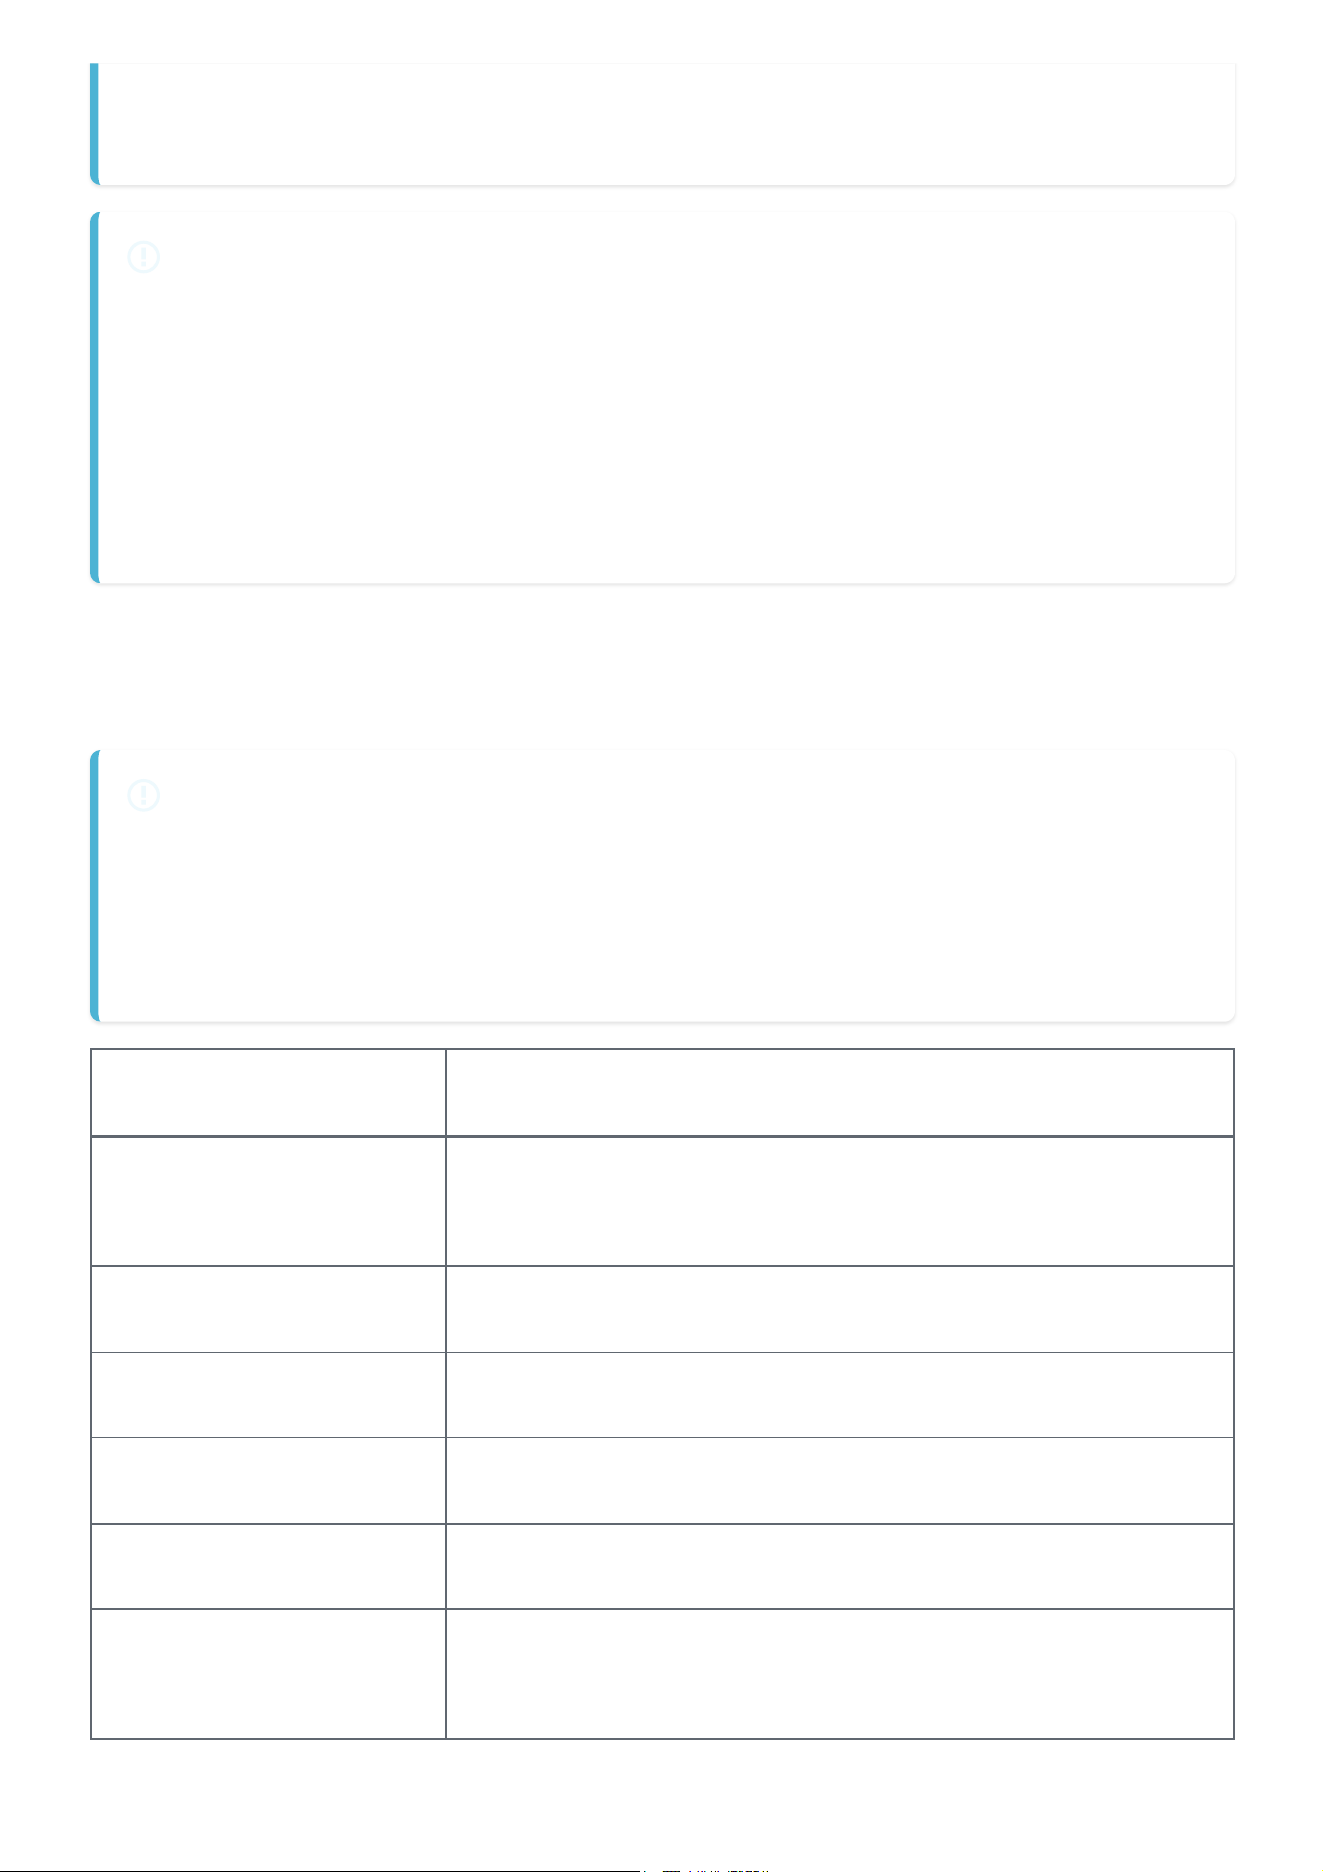
Button Function
Power button
Long press: power switch; short press: switch screen; long
press for 10s or more: hardware reset
Volume Up Short Press: Increase the volume
Volume down Short press: reduce volume
Play Pause Short button: Play Pause
Next song Short button: Next song
Press and hold the next
song to turn on
Used to enter the burn mode, mainly for production
2025/9/19 12:00
HiBy R1 User Manual | HiBy WiKi
https://guide.hiby.com/en/docs/products/audio_player/hiby_r1/guide
2/21
Button Function
Press and hold
音量加
Start up
Used to force the upgrade mode, see the specific
operation
upgrade mode
[UPGRADE MODE]
1. Make sure there is a MicroSD(TF) card inserted
2. Make sure there is an upt file for upgrade in the inserted MicroSD(TF) card
3. The system detects the upgrade file and will automatically upgrade it.
3. Interface usage instructions
INTERFACE DISTRIBUTION
The following introduction is the front view of the player screen as reference:
1. The bottom is from left to right: PO, Type-C, MicroSD (TF) card slot,
Audio output interface
AUDIO OUTPUT INTERFACE
The audio output interface can be provided to different audio devices for use, such
as headphones with 3.5mm interface, etc.
1. PO: 3.5mm single-ended interface headphone output
USB port
The physical interface used by the USB interface is the Type-C interface, through which
the following functions can be provided. The player allows USB to work in two different
modes:
USB OTG
and
USB Device
。
USB OTG
2025/9/19 12:00
HiBy R1 User Manual | HiBy WiKi
https://guide.hiby.com/en/docs/products/audio_player/hiby_r1/guide
3/21
When the player as
USB OTG
When using it (can be understood as USB on the
computer):
1. Connecting a USB or mobile hard drive: Read data from a USB or mobile hard
drive;
2. Connect to a USB decoder or USB small tail: output high-definition audio data;
USB DEVICE
When the player as
USB Device
When using:
1. USB MassStorage (USB file management), some questions about the use of USB
MassStorage can be foundHere 。
Charging interface
CHARGING INTERFACE
The physical interface used by the charging interface is the Type-C interface,
through which the charger can be connected to the charger.
1. Charging supports ordinary charging heads, which can reach a charging current
of 5V@1A.
MicroSD(TF) card interface
MICROSD(TF) CARD INTERFACE
The MicroSD(TF) card interface is used to insert a MicroSD(TF) card, mainly to
expand storage capacity. The HiBy player can support MicroSD(TF) cards up to 2TB,
and the player supports file systems including FAT32\exFAT\NTFS.
LED Indicator
Status Color
Normal Light blue ■
2025/9/19 12:00
HiBy R1 User Manual | HiBy WiKi
https://guide.hiby.com/en/docs/products/audio_player/hiby_r1/guide
4/21

Status Color
Normal charging Red breathing effect (normal)■
4. Get started
GET STARTED
Since the player does not have storage itself, the user needs to prepare a
MicroSD(TF) card, or you can purchase a package product with a MicroSD(TF) card.
First boot
FIRST BOOT
1. Press and hold the boot key for 2s, and the player enters the boot state
2. After the startup animation is completed, the system enters the boot settings
interface
3. Select the corresponding language
4. Complete the setup
5. The first startup is completed
Status bar
STATUS BAR
At the top is some information in the status bar, showing some common system
information.
1. Volume value Display the volume value of the current output port. The volume
value in red indicates that the current volume value is too high. Users need to be
careful not to use it for a long time at high volume, otherwise it may cause
hearing loss.
2. Output port status LineOut PhoneOut Balance Balance LineOut
2025/9/19 12:00
HiBy R1 User Manual | HiBy WiKi
https://guide.hiby.com/en/docs/products/audio_player/hiby_r1/guide
5/21

3. Play status If it is currently in playback, the playback status or the pause status
will be displayed, otherwise it will not be displayed.
4. time Show current time
5. Bluetooth status information Displays Bluetooth information, including signal
strength, connection status, etc.
6. WiFi status information Displays WiFi information, including signal strength,
connection status, etc.
7. Battery level information Displays battery icon, charging status, percentage and
other information. Power percentage switch: Settings -》 Battery -》 Battery
percentage.
8. HiByLink Status Information Showcases HiByLink connection information.
Main interface
Introduce the relevant functions of the main interface and some common operations. The
main interface contains a series of entrances to quickly use related functions.
GESTURE OPERATION
1. Swipe left Quickly enter the playback interface.
2. Swipe down from outside the screen Enter the quick operation interface.
MAIN INTERFACE
1. music
2. Streaming media
3. wireless
4. E-book
5. System
6. About
Quick operation
2025/9/19 12:00
HiBy R1 User Manual | HiBy WiKi
https://guide.hiby.com/en/docs/products/audio_player/hiby_r1/guide
6/21

GESTURE OPERATION
1. Any interface, swipe down from outside the screen to enter the quick operation
interface.
2. Follow the following operations: System -》 Shortcut menu, you can enter the
shortcut menu setting interface
Modify quick operation pull-up trigger and pull-down trigger
Modify the default operation of the quick operation and place the quick
operation that is more suitable for you in this position
OPERATION INTRODUCTION
The following shortcut buttons are included by default: Bluetooth, WiFi, Sleep
Shutdown, Gain, Brightness Adjustment, and the currently playing song name and
media buttons. You can use the following operations: System -》 Shortcut menu, you
can enter the shortcut menu settings, and then replace the shortcut action with the
shortcut action supported by other systems.
1. Bluetooth Click the Bluetooth icon and switch Bluetooth. Press and hold the
Bluetooth icon to enter the Bluetooth settings interface.
2. WiFi Click the WiFi icon toggle on and on. Press and hold the WiFi icon to enter
the WiFi settings interface.
3. Sleep shutdown Click the Sleep Shutdown icon toggle on and off, and start
countdown synchronously. If you need to set different times of sleep shutdown,
you need to enter the System -> Sleep shutdown adjustment.
4. Gain Click the gain icon to adjust the gain.
5. DLNA Click the DLNA icon to switch DLNA.
6. AirPlay Click the AirPlay icon toggle on and on AirPlay.
7. MSEB Click the MSEB icon, switch MSEB Press and hold the MSEB icon to enter
the MSEB settings interface.
8. Fade in and out Click the fade icon to fade in and fade in and out
9. Gapless playback Click the seamless play icon, switch play seamlessly
2025/9/19 12:00
HiBy R1 User Manual | HiBy WiKi
https://guide.hiby.com/en/docs/products/audio_player/hiby_r1/guide
7/21
5. Music
Music interface
1. The tops are: return to the previous interface, music search, collection classification,
playback settings
2. Click the corresponding icon to enter the corresponding function.
3. Music module, including a list entry according to songs, folders, albums, singers,
styles, album singers, etc.;
Import local music
[IMPORT LOCAL MUSIC]
Since the player itself does not have storage, the user needs to prepare a
MicroSD(TF) card, or you can purchase a package product with a MicroSD(TF) card.
Import music via MicroSD(TF) card
MICROSD(TF) CARD
Insert the MicroSD(TF) card containing the song into the player's MicroSD(TF) card
slot. The player supports FAT32\exFAT\NTFS and other file formats.
Import music via USB
The player supports connecting to the computer via USB and then using the MassStorage
protocol to transfer files. Here is a brief introduction. For more information about the use
of MassStorage, please refer toHere 。
The following is
MacOS
and
Windows
Make a brief description:
MACOS
MacOS supports FAT and exFAT, but does not support NTFS. Therefore, if you are
using a NTFS file system, you need to install a third-party driver to use it. The
following two methods are available:
app
2025/9/19 12:00
HiBy R1 User Manual | HiBy WiKi
https://guide.hiby.com/en/docs/products/audio_player/hiby_r1/guide
8/21

Paragon:https://www.paragon-software.com/home/ntfs-mac//
Western Data:https://support-
eu.wd.com/app/answers/detailweb/a_id/34871/~/external-drive%3A-paragon-
ntfs-driver-for-mac
MACOS
If you are a MacOS user, it is recommended that you back up your disk files and
format the disk to exFAT for use, which can provide a better file compatibility
experience.
MASSSTORAGE USAGE PROBLEM
You can try it as follows:
Make sure the USB cable connection is normal
After confirming that the USB cable is connected, make sure that USB is
currently using the USB storage protocol;
Restart the computer and try again
Restart the player and try again
Playback settings
PLAY SETTINGS
1. MSEB The top areas are reset MSEB, MSEB setting entry, and MSEB switch
respectively
Swipe up and down to show more adjustments
Slide left and right to adjust the settings of corresponding items
MSEB is only valid for songs not higher than 96kHz
Invalid for DSD and MQA songs
2. EQ (EQ) The top areas are reset equalizers, select the preset equalizer menu
entry, and equalizer switch
By sliding left and right, different equalizer bands are displayed
2025/9/19 12:00
HiBy R1 User Manual | HiBy WiKi
https://guide.hiby.com/en/docs/products/audio_player/hiby_r1/guide
9/21

Slide up and down the slider of different frequency bands to adjust the
gain/attenuation dB value of the corresponding frequency bands
Draw the corresponding curve according to the position adjusted by
different frequency bands
Equalizer is only valid for songs not higher than 48kHz
Invalid for DSD and MQA songs
3. Update database Start scanning songs manually
4. Music update mode
Manually, the user needs to manually update the song library
Automatically, if the MicroSD(TF) card is detected or the USB is plugged in,
the system will automatically rescan the song library.
5. Playback mode
List playback: Starts from the selected track until the current list playback is
completed and plays stop.
Single loop: The same song is repeated until it is manually cut or shut down
and the playback stops.
Shuffle: Randomly select the next song in the current list to start playing
until it stops manually or shuts down, and stops playback.
List loop: Starting from the selected track, continuously looping the songs in
the current list until they are manually stopped or shut down, and the
playback is stopped.
6. DSD output mode
When the audio output is balanced (BAL)\single-ended (PO)\LineOut(LO),
the DSD output mode selection cannot be performed. This function is
invalid and output according to the actual situation;
When the audio output is Bluetooth, DSD output mode cannot be selected.
This function is invalid and is converted to PCM output;
When the audio output is SPDIF, DSD output mode selection can be
performed Select PCM and output according to the sampling rate 88.2kHz
Select DoP or Native. When playing DSD64, it will be output in DoP mode,
and the output sampling rate is 2.8 MHz; Select DoP or Native. When
playing DSD128 and DSD256, they are converted to PCM output, with an
output sampling rate of 88.2 kHz.
2025/9/19 12:00
HiBy R1 User Manual | HiBy WiKi
https://guide.hiby.com/en/docs/products/audio_player/hiby_r1/guide
10/21

When the audio output is USB Audio Out, DSD output mode selection can
be performed Select PCM, press PCM to output, the maximum support
sampling rate is 384kHz Select DoP, press DoP to output, and support
DSD256 (11.2MHz) at most (condition: The decoding device that needs to
be accessed supports DSD decoding. If the device does not support it, the
playback fails) Select Native, press Native to output, and support DSD256
(11.2MHz) at most (condition: The decoding and decoding device that
needs to be accessed supports DSD decoding. If the device does not
support it, the playback fails)
7. DSD Gain Compensation Since DSD audio is lower than PCM, you can adjust
certain compensations yourself as needed to keep DSD and PCM at the same
output level.
8. Power-off memory playback After turning on, shut down the power while
playing. After the next time the next time the song played will be automatically
recorded and the automatic playback will continue.
9. Gapless playback The two songs are seamlessly connected.
10. Sound field Sound field plug-in
11. Maximum digital volume output When setting digital output (S/PDIF\USB Audio
Out\Bluetooth Audio Output), limit the maximum value of digital volume.
12. Maximum volume limit When setting the local output port output (single-ended
and balanced output), limit the maximum output volume.
13. Default volume on power Sets the volume of the local output (single-ended and
balanced output) outputs each time it is powered on.
14. Fade in and out When the song starts and stops playing, the sound goes from
small to normal, or from normal to none.
15. Gain settings Sets the player's high and low gain.
16. ReplayGain This option is valid if the song's information contains ReplayGain
information. If you select the audio track or album ReplayGain, each song or
album will be adjusted according to the ReplayGain parameters of the song, so
that the actual volume of different songs is maintained at the same level without
changing the system volume.
2025/9/19 12:00
HiBy R1 User Manual | HiBy WiKi
https://guide.hiby.com/en/docs/products/audio_player/hiby_r1/guide
11/21

Close: Ignore ReplayGain information in the song
Audio track: Make gain adjustments according to the ReplayGain
information of the audio track in the song
Album: Make gain adjustments according to the ReplayGain information of
the album in the song
17. Balance Set the volume of left and right channels.
18. Play through folders
Play through folderss can prevent users from listening to repeated catalog
songs all the time;
The song playback ends. If the song is the last song in the current directory
list, the previous directory will be returned to the previous level directory
when cutting the song. If the parent directory has another directory, it will
enter the next directory of the current directory and play it according to the
list. Otherwise, continue to look for the next directory in the parent
directory;
How to find other directories or songs, continue to return to the previous
directory and repeat the process until the last song in the root directory is
found;
The folder jump function can be performed by list playback, random
playback, and sequential playback. When the folder jumps, the playback
mode logic is invalid;
When the playback mode is a single loop and automatically cuts the song,
the function is invalid;
19. Play through albums
When the album list is played, after one album is played, it will jump to
another album to play;
When the playback mode is a single loop and the song is automatically cut,
the function is invalid;
20. Repeat function
After turning on the switch, the A-B icon will be displayed on the playback
interface.
After setting point A B, the player will repeatedly play music or other
language materials between A-B.
2025/9/19 12:00
HiBy R1 User Manual | HiBy WiKi
https://guide.hiby.com/en/docs/products/audio_player/hiby_r1/guide
12/21

21. Speed play
After turning on the switch, the speed icon will be displayed on the playback
interface.
After setting the speed of the time, music or other language materials will
be played
22. Automatically slide to playlist
After turning on the switch, click on the song in the list and you will directly
enter the playlist interface.
Playback interface
Swipe the entire interface to the right to exit the playback interface and return to the
song list interface or the main interface.
ALBUM COVER
Supported formats are: png, jpg, jpeg, bmp
Supports resolution, in principle, no more than 1024*1024 (unit pixels)
Supports embedded song covers
Support external covers
Priority: Pictures with the same name as the song file > Pictures with the file
name folder > Pictures with the file name cover > Pictures with the file name
front > Pictures with the song built-in.
LYRICS
Click the upper half of the screen to switch to the lyrics display
Lyrics only support lrc format
The lyrics should be in the same directory as the song
The lyrics file name should be the same as the song file name
Support embedded lyrics
Lyrics encoding format supports UTF-8, UTF-16 and other encodings
For locally encoded lyrics, there will be compatibility issues. You can try to switch
the same machine language as the lyrics encoding.
2025/9/19 12:00
HiBy R1 User Manual | HiBy WiKi
https://guide.hiby.com/en/docs/products/audio_player/hiby_r1/guide
13/21

PLAY STATUS
The current song playback status is displayed at the bottom and in the middle of the
screen, including the playback progress and status
PLAY OPERATION
The progress bar at the bottom and middle of the screen are playback operation
buttons. Click or slide to perform functions such as play/pause, previous/next song,
fast forward/fast rewind.
FUNCTION BUTTON
The play mode button is on the far left:
List playback: Starts from the selected track until the current list playback is
completed and plays stop.
Single loop: The same song is repeated until it is manually cut or shut down and
the playback stops.
Shuffle: Randomly select the next song in the current list to start playing until it
stops manually or shuts down, and stops playback.
List loop: Starting from the selected track, continuously looping the songs in the
current list until they are manually stopped or shut down, and the playback is
stopped.
FUNCTION MENU
Including the current playlist, adding to the playlist, jumping to the equalizer,
viewing albums, viewing song details, deleting, etc.;
6. Streaming media
Tidal
::: Info [Tidal] Click the icon to enter the login interface, open the mobile browser (such as
Chrome\Edge) and scan the QR code to log in.
2025/9/19 12:00
HiBy R1 User Manual | HiBy WiKi
https://guide.hiby.com/en/docs/products/audio_player/hiby_r1/guide
14/21

1. Login is completed within 10 minutes, otherwise the QR code will be invalid. If you
need to go back, click Tidal again to log in.
2. Login is successful. If the power is shut down, if Tidal is not used for more than 24
hours, you will have to log in again (Tidal security requirements). :::
Qobuz
QOBUZ
Click the icon to enter the login interface and enter the Qobuz username and
password to log in.
Internet radio
NETWORK RADIO
Internet radio is only displayed in Simplified Chinese.
The columns are divided into: China National Radio, Provincial and Municipal,
Collection, Customization.
On the Internet radio interface, swipe left to enter the playback interface, you can
perform actions such as collection, front and rear radio switching.
For more details about the use of custom radio stations, please refer toHere. The
following brief introduction:
METHOD 1
Create new text with UTF8 encoding in the root directory of MicroSD(TF)
card
radio.txt
Open text Fill in the station name and URL, name and URL in English
characters
,
Split, one radio station per line, for example:
METHOD 2
中国之声, http://ngcdn001.cnr.cn/live/zgzs/index.m3u8
音乐之声, http://ngcdn003.cnr.cn/live/yyzs/index.m3u8
2025/9/19 12:00
HiBy R1 User Manual | HiBy WiKi
https://guide.hiby.com/en/docs/products/audio_player/hiby_r1/guide
15/21
Thanks to the reddit user
dough10
, original introduction referenceHere
1. Select the desired radio station on (https://customradio.dough10.me)
2. Click Download, and the browser will download a radio.txt file
3. Copy radio.txt to the MicroSD(TF) card root directory. If there are already some
radio stations, you can append the downloaded radio.txt content to the original
radio.txt)
7. Wireless
Bluetooth
BLUETOOTH
1. Bluetooth switch Click the Bluetooth switch to perform Bluetooth switch
operation
2. Sound quality (Bluetooth encoding) LDAC 、 、 APTX 、 AAC 、 SBC。 Among
them, UAT is the HiBy Bluetooth encoding protocol and is only valid for HiBy
audio devices. The default connection order UAT > LDAC > aptX > AAC > SBC
will be selected step by step based on the highest supported format of the
connected device. For more information about Bluetooth encoding, please refer
toHere。
3. Bluetooth volume adjustment The adjusted volume of Bluetooth devices is
mainly used to solve the problem that some Bluetooth headsets or Bluetooth
speakers do not take effect by adjusting the volume through the player buttons.
4. Bluetooth search Click Bluetooth Search to search for Bluetooth devices.
5. Matched devices Display the paired device: Click the device name to reconnect
the device; press the device name to delete the device.
6. Available equipment Shows all searched devices.
Wi-Fi
2025/9/19 12:00
HiBy R1 User Manual | HiBy WiKi
https://guide.hiby.com/en/docs/products/audio_player/hiby_r1/guide
16/21

::: Info [Wi-Fi]
1. Wi-Fi switch Click the Wi-Fi switch to perform Wi-Fi switching operation
2. Wi-Fi information After clicking, you can see the displayed host name, Wi-Fi physical
address, and IP address.
3. Add a network Adding a network is mainly used to add hidden SSID to users. The
user manually enters the Wi-Fi name and password to connect.
4. Wi-Fi Scan Click Bluetooth Search to search for Bluetooth devices.
5. DNS settings When modifying the DNS of the current network, sometimes you can't
access the Internet. You can try to modify this part of the content. Here are some
commonly used DNS:
6. Matched devices Shows the connected network Click the network name to reconnect
to the network; press the network name to delete the network.
7. Available networks Shows all searched networks. :::
HiBy Link
Wi-Fi song
WI-FI SONG
Click to enter the interface, follow the prompts on the interface, swipe left or click
the upper left corner to return to the icon to exit.
DLNA
::: info [DLNA] Click to enter the interface, follow the prompts on the interface, swipe left
or click the upper left corner to return to the icon to exit. For details on the use of DLNA,
please refer toHere, if you are using QQ music, you can refer to itHere。 :::
China:114.114.114.114 or 114.114.115.115
Google: 8.8.8.8 or 8.8.4.4
Microsoft:4.2.2.1 或者 4.2.2.2
2025/9/19 12:00
HiBy R1 User Manual | HiBy WiKi
https://guide.hiby.com/en/docs/products/audio_player/hiby_r1/guide
17/21

AirPlay
AIRPLAY
Click to enter the interface, follow the prompts on the interface, swipe left or click
the upper left corner to return to the icon to exit. For details on the use of AirPlay,
please refer toHere。
8. E-books
E-BOOK
1. Only the txt format is supported.
2. Press and hold the menu long to bring up.
3. Click the percentage to call up the progress bar and adjust it.
4. Slide left and right to turn the page.
5. Click the icon on the setting interface to set the font size and background color.
9. System
SYSTEM
1. Language
2. Backlight settings Set different backlight brightness and the time to
automatically turn off the backlight.
3. Theme color After opening, you can select a different color to serve as the main
color of the device.
4. Font size Set the font size. If you feel that the current font is not suitable, you
can select different font size options to adapt to your needs.
5. UI themes The overall UI style setting and Theme color will only modify the
color and may make some adjustments to the icons.
2025/9/19 12:00
HiBy R1 User Manual | HiBy WiKi
https://guide.hiby.com/en/docs/products/audio_player/hiby_r1/guide
18/21

6. USB working mode Since the USB interface uses TypeC interface, some devices
are not implemented in standard protocols, which leads to compatibility issues,
so this option is specially added.
Automatic: The system will automatically identify whether it is a peripheral
or a host based on the inserted device, and then operate in the
corresponding mode.
Device: The player will act as a device that can be connected to a computer
or a mobile phone. Use scenario: Use the player as a USB drive and a USB
decoder.
OTG: The player will act as a host and can be connected to an external
device. Use scenario: Connect a USB drive and connect a USB decoder.
7. Time settings
8. Power saving shutdown After turning on the switch, the player is in an unplayed
state, there is no audio data transmission on HiByLink, Bluetooth and Wi-Fi, and
the USB is not connected, saving power-saving shutdown time to save power.
9. Sleep shutdown
After turning on the switch, after the sleep time has come, if the USB is not
inserted, the power will be shut down unconditionally. If the USB is inserted,
the charging interface will be entered.
This function is effective at one time. After the next time you turn on the
computer, the sleep shutdown function will fail and you need to turn on the
switch again.
10. Power percentage display After setting, the battery percentage will be displayed
next to the battery icon.
11. Wire control Whether to support the wire-control function, due to the
differences in the headphone interface, add the wire-control switch to avoid
some headphones causing the wire-control function to be incorrect during use.
12. LED indicators
The LED indicators switch can be turned off at night to avoid light pollution.
When charging, breathe on the red light.
When not charging, the blue light indicates work.
2025/9/19 12:00
HiBy R1 User Manual | HiBy WiKi
https://guide.hiby.com/en/docs/products/audio_player/hiby_r1/guide
19/21
13. Button operation when screen off Whether it supports shutdown operation,
avoid misoperation caused by putting it in your pocket or other places.
14. Shortcut menu Set the shortcut menu function.
15. Screensaver settings
Set the display mode of the screensaver, you can choose to close, album
cover, and dynamic cover.
Album cover: Shows the currently playing song cover.
Dynamic Cover: Create a new one under the root directory of Micro
SD(TF)
screensavers
Folder and place the pictures in this directory. Support
jpg, png and other formats Recommended resolution not exceeding
1024*1024 It is recommended that the number of pictures should not
exceed 16
16. Restore factory settings
17. Firmware update
TF card upgrade Will download
*.upt
Copy the upgrade package to the
Micro SD (TF) card root directory and select TF card upgrade.
Network upgrade After clicking, the system will automatically detect
whether the server has the latest firmware, and then follow the prompts to
operate.
How to upgrade the player if it cannot be turned on?
Through a card reader or other device that can read the card, the
download will be
*.upt
Copy the upgrade package to the Micro SD (TF)
card root directory.
When the power is turned off, press the play pause key and the power
start button at the same time. When the system is powered on, it will
automatically enter the upgrade mode.
18. Certification information Display information related to equipment certification.
19. Developer Options The default hidden option is required in [About]-》【Model,
Firmware Version】-》【Click multiple version number】
Volume lock
2025/9/19 12:00
HiBy R1 User Manual | HiBy WiKi
https://guide.hiby.com/en/docs/products/audio_player/hiby_r1/guide
20/21

screenshot
10. About
ABOUT
1. brand Showcase the HiBy brand logo.
2. Model, firmware version Displays player version information. Click the version
number multiple times to open the System - Developer Options switch, which
contains some hidden or debugging functions, and ordinary users do not need
to pay attention to this part.
3. Storage capacity Displays current storage capacity information, including used
capacity and total capacity.
4. Additional Information The product supports contact information, official
website, serial number and other platform contact information. Click to pop up
the QR code and you can scan the code directly.
5. Firmware compilation time Displays the compile time of the current firmware.
11. Frequently Asked Questions
FAQs can be foundHere
2025/9/19 12:00
HiBy R1 User Manual | HiBy WiKi
https://guide.hiby.com/en/docs/products/audio_player/hiby_r1/guide
21/21