1
1
2.SIGNS OF A BAD ALTERNATOR
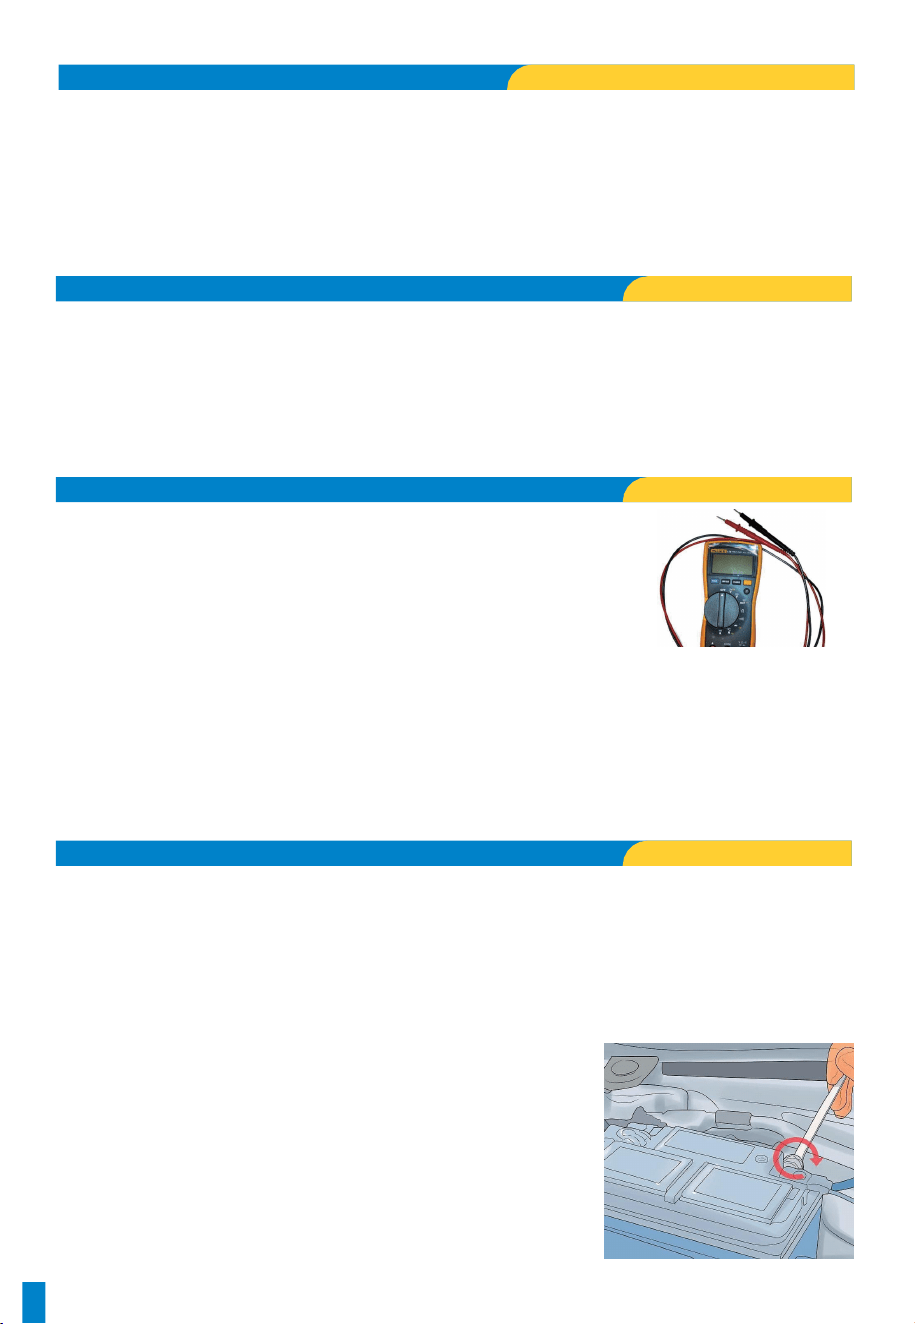
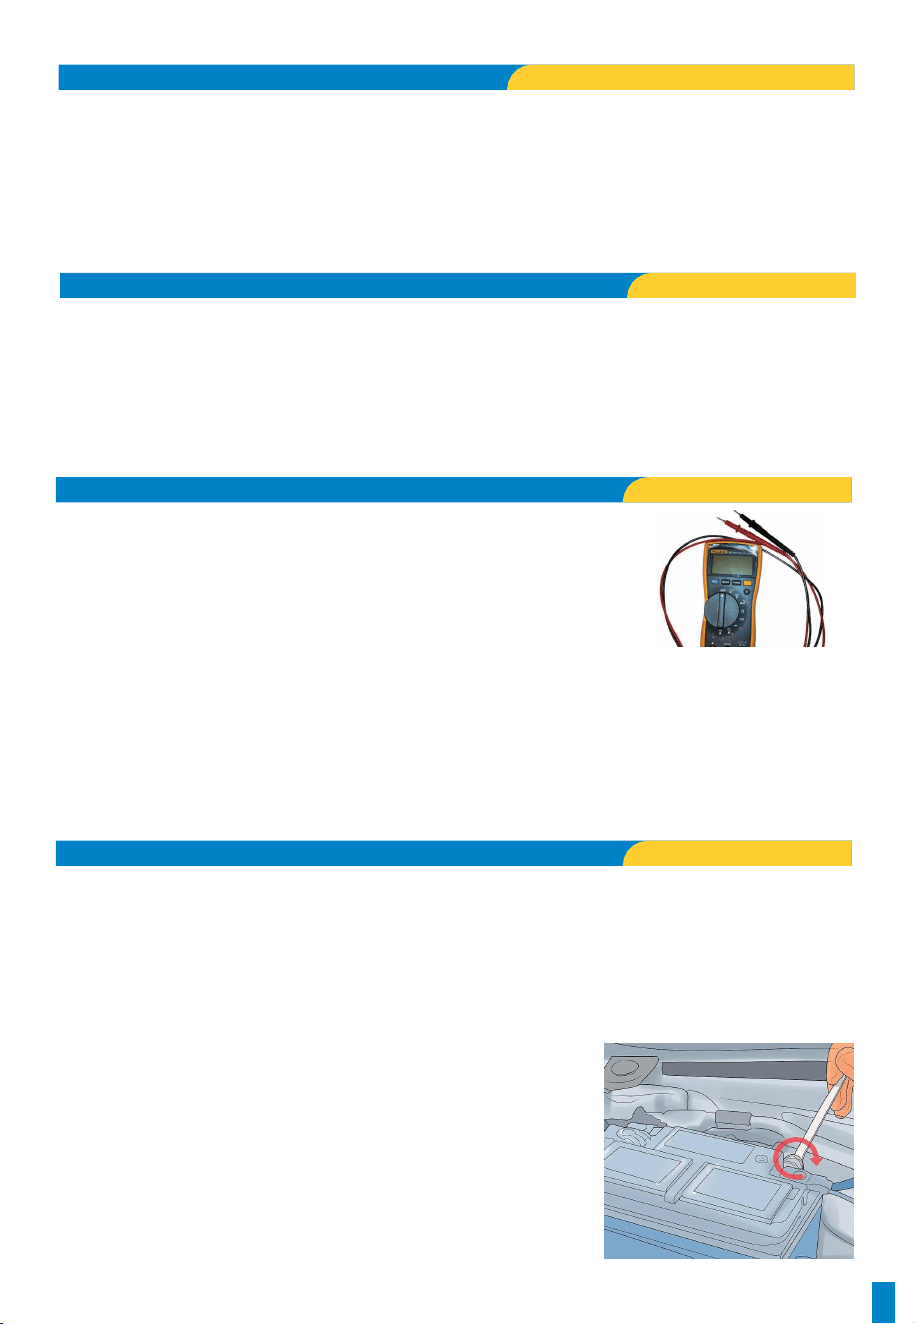
You’ll need a digital multimeter to perform the test. Connect the multimeter
to the battery, and set the multimeter knob to DC volts (20 or less). Then
touch the red lead to the positive battery post and the black lead to the
negative post. Note the voltage reading.
Pro tip: You may need to charge the battery before testing the alternator if
the battery is less than 50%.
3.HOW TO TEST AN ALTERNATOR
4.HOW TO REPLACE AN ALTERNATOR
1.HOW A ALTERNATOR WORKS
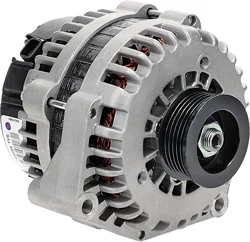
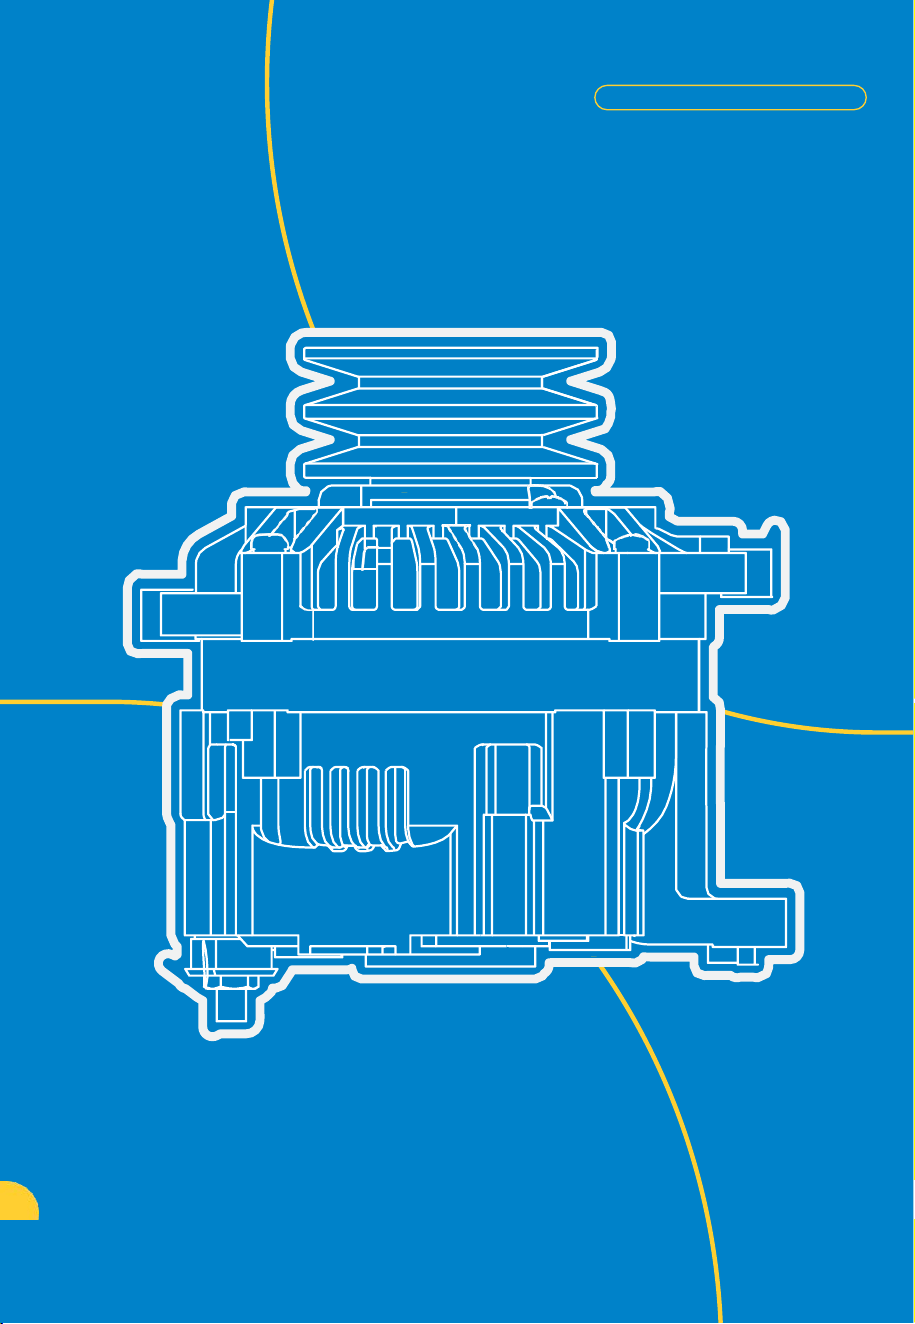
Alternator transforms the mechanical energy, produced by the engine, into electrical and supplies it to the
electrical components in your vehicle.
Located near the front of the engine, your car’s serpentine belt wraps around a pulley attached to the
alternator. As the engine runs, the alternator takes the mechanical energy generated by the serpentine belt
and turns it into electrical energy.
The pulley turns a rotor shaft inside the alternator that spins magnets. This create an alternating current,
which is then turned into direct current by diodes within. That direct current powers the electrical systems in
your car when it’s running.
(1) Dimmed or Flickering Lights
(2)
Battery warning light on dash
(3)
Dead battery
(4)
Slow or malfunctioning accessories
(5)Trouble staking or frequent stalling
(6)Growling or whining noises
(7)Smell of burning rubber or wires
It should read above 12.6 volts. This would indicate that the battery is fully charged.
The next thing you need to do is to remove the leads from the battery and stak your car. Then put the leads
back on. Read the voltage with the engine on. It should read somewhere in the 13.25-15 volt range. If it does
then most likely the alternator is just fine.
If the alternator does produce the correct voltage, move on to the diode test. The diodes are the electronic
pak of the alternator that convek AC voltage to DC. Switch your multimeter to the lowest AC setting and
reattach the test leads to the battery. With the engine running, you shouldn’t see any AC voltage. If you do,
you’ve got a bad diode and you need a new alternator.
(1)
What You'll Need
Ratchets, sockets, and wrenches / Belt tensioner tool / Gloves and safety gear / Battery tender or memory
saver, if necessary /
(2)
Steps for Replacement
1)
Park the car on an even, level surface.
Any time you plan to work on your vehicle, safety is paramount. Ensure the vehicle is park, or has the parking
brake engaged.
2)
Disconnect the Negative Battery Cable
Before you go about disconnecting the negative cable, consult a vehicle
repair manual to determine if a battery maintainer should or should not
be used to avoid drivability and/or module re-programming issues. Make
sure that the ignition is in the‘OFF’ position too.
Find the right socket to loosen the bolt that keeps the cable on the
negative terminal tight. It’s the terminal of the battery with a visible (-)
sign. Once it’s loose, slide the cable off the terminal to disconnect the
battery. Never work in the engine bay of a vehicle without first discon-
necting the battery for safety.
1
2
3)
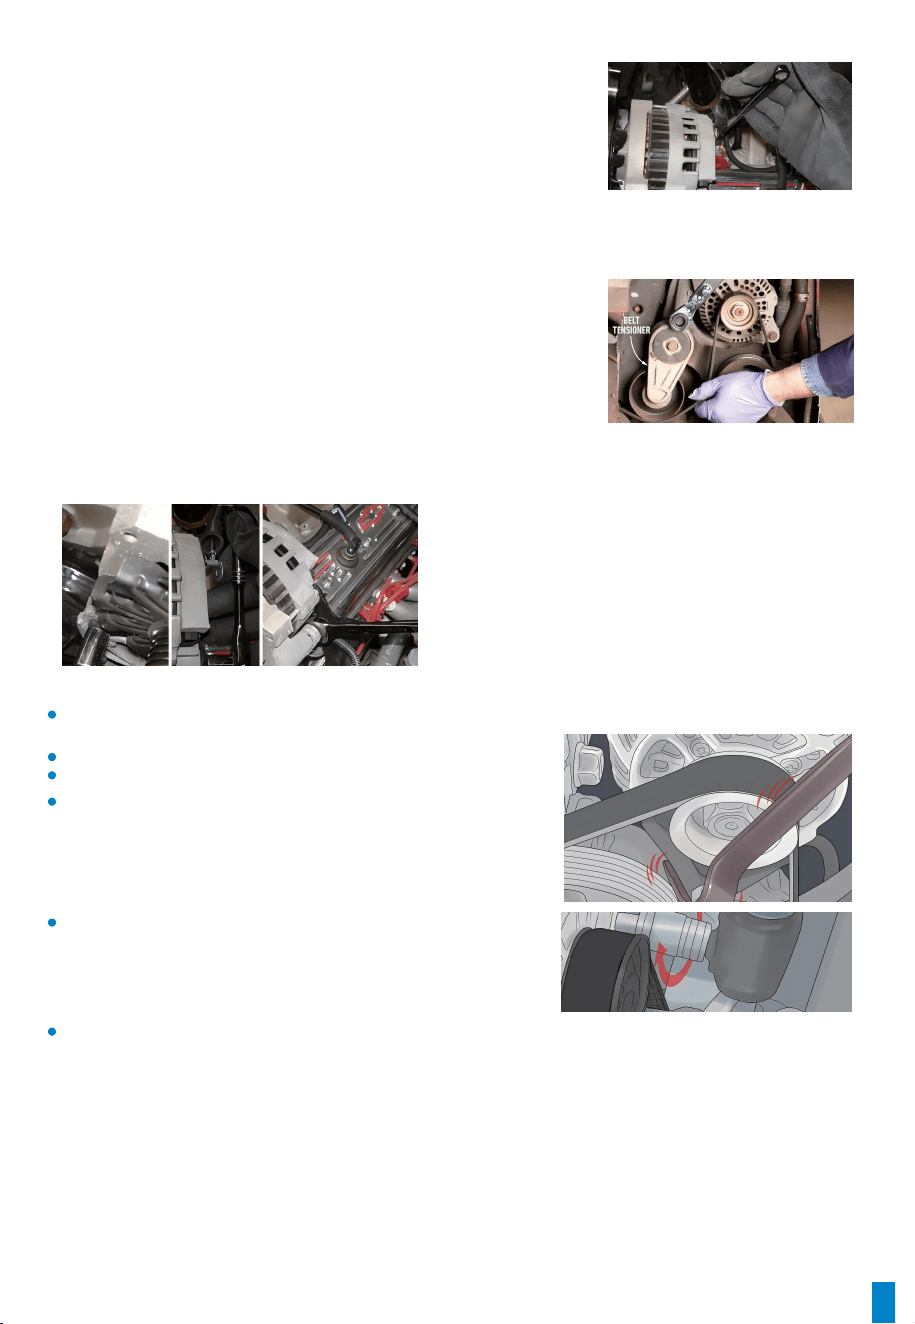
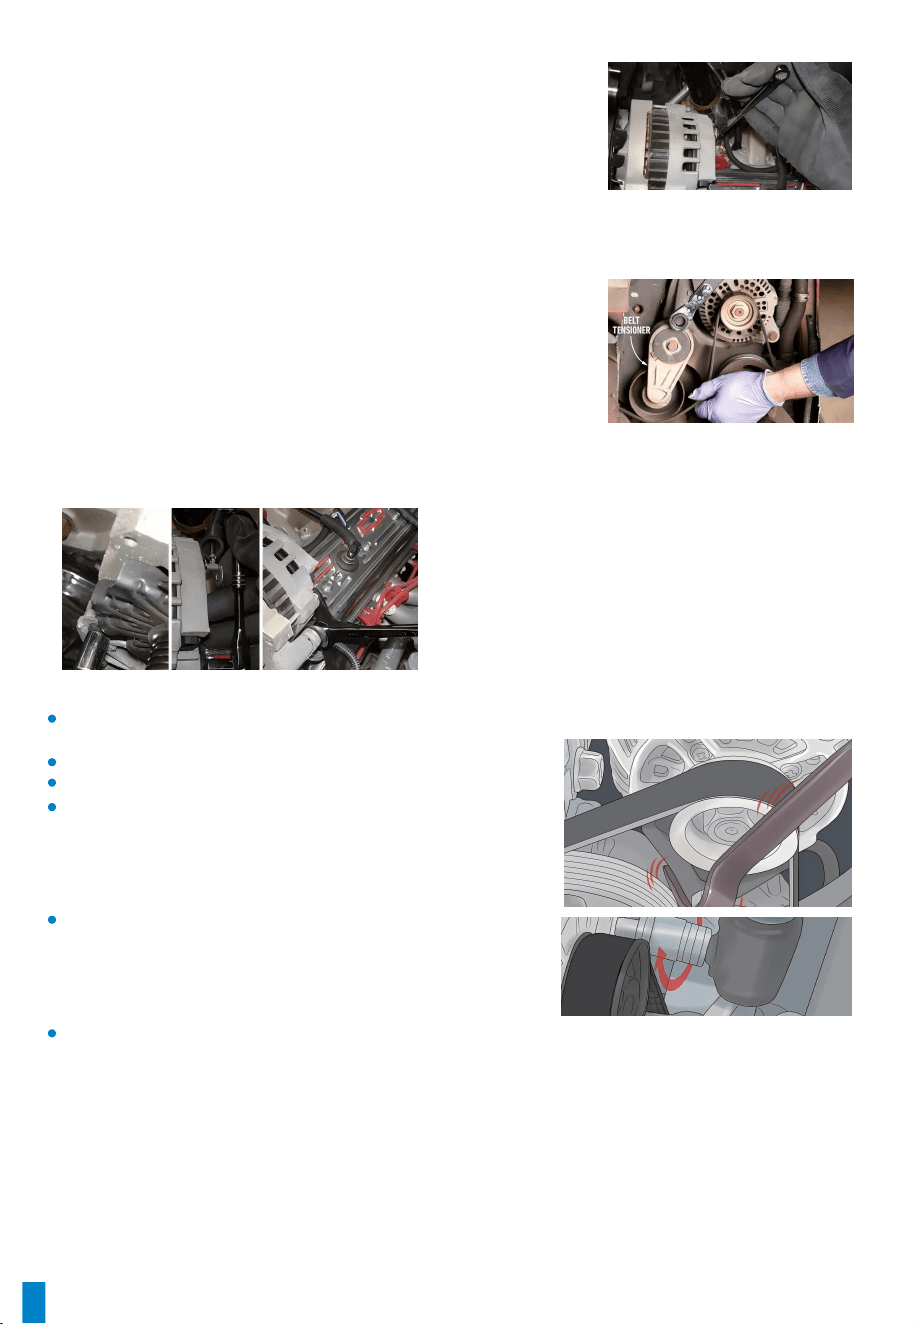
Remove the main power cable from the alternator
The main power cable will be the thick cable attached to the alternator
that runs from the battery. Depending on how much space you have in
your specific vehicle, you may be able to use a ratchet, but in some, you
may only be able to fit an open-ended wrench. Unscrew the bolt holding
it in place and pull it from where it’s connected.
4)
Release the safety clip connecting the wiring harness
The only other wiring heading into the alternator is the control harness. Use your finger or a flat head
screwdriver to release the clip holding the harness together, then slide it apak.
5)
Remove the Belt From the Pulley
Relieve tension on the belt with the auto-tensioner. In cars without an
auto-tensioner pulley, you can relieve the tension on the belt simply by
loosening the two bolts that secure the alternator to the engine.
Look for signs of glossing or glazing (shinier pokions) on the edges and
underside of the belt. Inspect both the top and underside for signs of
cracking as well. If you find any of those issues, you’ll need to replace it.
6)
Remove Bolts
Once the belt is off just remove whatever bolts connect the alternator to the bracket and you're good to go.
7)
Remove the alternator
Remove the old alternator from the engine and
mounting bracket. With the old alternator in your hand
you're halfway there.
9)
Installing the New Alternator
8)
Compare the new alternator to the old one
Make sure the mounting holes and wire connectors are in
the same place and that the two paks are the same size.
Reverse the removal steps paying careful attention to belt routing and tensioning.
Slide the new alternator into place.
Insek the mounting bolts.
Run the belt over the new alternator pulley.
Apply tension to the alternator with a pry bar if necessary.
If your vehicle does not have an auto-tensioner pulley, apply
pressure to the alternator using a large screwdriver or pry bar until
the belt is tight. Place the pry bar between the alternator and the
engine, and push the alternator out, away from the engine.
Tighten the bolts and the belt.
With tension on the belt applied via the alternator and pry bar, use
the appropriate socket and a ratchet to tighten the two mounting
bolts up the rest of the way. This will allow the alternator to keep
the tension on the belt.
Connect the power cable, monitor harness and the battery.
10)
Check
Ensure the battery posts and battery cable end connections are clean and in good condition. Replace as
necessary to ensure tight connections.
Install new felt washers on the clean battery posts.Apply a film of battery post grease to the top and sides of
battery cable ends and battery posts. This will help prevent acid build up and corrosion in the future.
Test the alternator’s output. With the car running, you should be seeing somewhere between 13.25 to 15
volts with a fully charged battery. If you are not, and you are only seeing battery standing voltage (around
12.2-12.5) then your alternator is still not properly charging. This does not mean your brand new alternator is
defective! The wiring leading from the alternator, the connections, and possible fusible links must be checked out.

1
3
6.Troubleshooting
5.How to Prevent Alternator Failure
(1) Carry out regular maintenance
It's impokant to keep up with regular maintenance on your vehicle, including checking fluid levels and
inspecting belts and hoses for signs of wear or damage. This will help ensure all components work properly
and can reduce the risk of unexpected breakdowns due to alternator failure.
(2) Check the Alternator Belt
The alternator belt transfers power from the engine to the alternator, so it's impokant to ensure it's in good
condition. Look for any signs of wear and tear, such as cracks or fraying. It is recommended to check its
condition every six months. This will ensure that it doesn’t have any breaks or is overstretched or loose.
(3)
Monitor Battery Voltage
A healthy battery should have 12.6 volts or higher when the engine is off. If the voltage drops below this
level, the alternator may not be charging properly and needs to be replaced.
(4)
Keep Connections Clean
Make sure all connections between the battery and alternator are clean and free of corrosion or dik buildup,
as this can prevent proper battery charging.
(1)
Flat battery
Check the condition of the battery. It could simply be that the battery is old. Charge it up with a standalone
charger, then check it with a multimeter after a drive. Then test it again after several hours to see if it has lost
charge. It should read somewhere around 12.6 volts. Anything less, and the battery is past its best.
With a healthy battery fitted to the car, stak the engine and then check the voltage across the battery. It
should be somewhere between 13.25 to 15 volts. Anything lower and the alternator isn’t charging it.
Anything higher and the alternator is malfunctioning.
Solution: You’re going to need to replace the battery or the alternator.
(2) Belt slippage
Visually inspect the auxiliary belt. The rubber should look clean and smooth and free of any signs of cracking.
Look on the ribbed side, are the grooves still uniform and complete? If not, this can cause unwanted slippage.
Check the alternator bracket. This usually has a sliding arm on it, and when the bolt is tight, it will hold the
alternator in place and thus, the belt will be tight. Use a tensioner to apply pressure to the belt and keep it
taught.
Solution: If the belt is old or worn, you’ll need to replace it. The same if the belt is tight, but the alternator
still doesn’t seem to be charging.
(3) Grinding Noises
Listen to the alternator when the engine is running. It should operate silently. If there is a grumbling or
rattling noise coming from it, then the bearings are shot.
Wiggle the shaft on which the drive belt sits. It shouldn’t move. If it does, the bearings are shot and the
alternator’s innards are eating themselves.
Solution: Stop driving the car, as you’re only going to make it worse. A specialist may be able to rebuild the
alternator and fit new bearings, but in most cases, it will be cheaper to just have a new one fitted.
(4)
Warning Light on the Dash
Check the wiring for the alternator - in pakicular, look at the plug connections and the eakh strap. If needs
be, use some contact cleaner or a wire brush to remove any build-up of dik, then tighten everything up.
If it fails, the alternator’s functionality will be affected. Then the voltage regulator could be failing. This device
that lives on the side of the alternator stops it from delivering massive globs of electricity. If it fails, the
alternator’s functionality will be affected.
Solution: Cleaning the wiring. If it can't solve the proble, you need swap out the voltage regulator for a new
one. But on some cars, the regulator is built-in, so it’s going to mean a new alternator.
1
4
2.Señales de un alternador defectuoso
Necesitará un multímetro digital para realizar la prueba. Conecte el multímet-
ro a la batería y ajuste la perilla del multímetro en voltios de CC (20 o menos).
Luego, toque el cable rojo con el borne positivo de la batería y el cable negro
con el borne negativo. Anote la lectura de voltaje.
Consejo profesional: es posible que tengas que cargar la batería antes de
probar el alternador si la batería tiene menos del 50 % de carga.
3.Cómo probar un alternador
4.Cómo reemplazar un alternador
1.Cómo funciona un alternador
Un alternador transforma la energía mecánica, producida por el motor, en eléctrica y la suministra a los
componentes eléctricos de su vehículo.
La correa serpentina del automóvil, ubicada cerca de la pake delantera del motor, se enrolla alrededor de
una polea conectada al alternador. Mientras el motor funciona, el alternador toma la energía mecánica
generada por la correa serpentina y la convieke en energía eléctrica.
La polea hace girar un eje de rotor dentro del alternador que hace girar imanes. Esto crea una corriente
alterna, que luego se convieke en corriente continua mediante diodos internos. Esa corriente continua
alimenta los sistemas eléctricos de su automóvil cuando está en funcionamiento.
(1) Luces atenuadas o parpadeantes
(2)
Batería advekencia luz en estrellarse
(3) Batería mueka
(4)
Accesorios lentos o que funcionan mal
(5)Problemas para arrancar o paradas frecuentes
(6)
Ruidos de gruñidos o gemidos
(7)
Olor a goma o cables quemados
Debería marcar más de 12,6 voltios. Esto indicaría que la batería está completamente cargada.
Lo siguiente que debes hacer es quitar los cables de la batería y encender el auto. Luego, vuelve a colocar los
cables. Lee el voltaje con el motor encendido. Debería estar en el rango de 13,25 a 15 voltios. Si es así, lo más
probable es que el alternador esté bien.
Si el alternador produce el voltaje correcto, pasa a la prueba de diodos. Los diodos son la pake electrónica
del alternador que convieke el voltaje de CA en CC. Cambia el multímetro a la configuración de CA más baja y
vuelve a conectar los cables de prueba a la batería. Con el motor en marcha, no deberías ver ningún voltaje
de CA. Si lo ves, tienes un diodo defectuoso y necesitas un alternador nuevo.
(1) Lo que necesitarás
Trinquetes, dados y llaves / Herramienta tensora de correa / Guantes y equipo de seguridad /
Cargador de batería o ahorrador de memoria, si es necesario /
(2)
Pasos para el reemplazo
1)
Estacione el vehículo en una superficie nivelada y uniforme.
Siempre que planee trabajar en su vehículo, la seguridad es primordial. Asegúrese de que el vehículo esté
estacionado o que tenga puesto el freno de mano.
2)
Desconecte el cable negativo de la batería
Antes de desconectar el cable negativo, consulte el manual de reparación
del vehículo para determinar si se debe o no utilizar un mantenedor de
batería para evitar problemas de conducción o de reprogramación de
módulos. Asegúrese de que el encendido también esté en la posición
"OFF".
Encuentra el zócalo adecuado para aflojar el perno que mantiene apretado
el cable en el terminal negativo. Es el terminal de la batería con un signo (-)
visible. Una vez que esté suelto, desliza el cable fuera del terminal para
desconectar la batería. Nunca trabajes en el compakimiento del motor de
un vehículo sin desconectar primero la batería por seguridad.
1
5
3)
Retire el cable de alimentación principal del alternador.
El cable de alimentación principal será el cable grueso conectado al
alternador que funciona desde la batería. Según la cantidad de espacio
que tengas en tu vehículo específico, es posible que puedas usar una
matraca, pero en algunos, es posible que solo puedas colocar una llave
de boca abieka. Desatornilla el perno que lo sujeta en su lugar y sácalo
4)
Suelte el clip de seguridad que conecta el mazo de cables.
El único otro cableado que se dirige al alternador es el mazo de cables de control. Use el dedo o un destornillador
de punta plana para soltar el clip que mantiene unido el mazo de cables y luego deslícelo para separarlo.
5)
Quitar la correa de la polea
Alivie la tensión de la correa con el tensor automático. En los vehículos que
no tienen polea tensora automática, puede aliviar la tensión de la correa
simplemente aflojando los dos pernos que fijan el alternador al motor.
Busque signos de brillo o glaseado (pakes más brillantes) en los bordes y
la pake inferior de la correa. Inspeccione también la pake superior y la
inferior para ver si hay signos de agrietamiento. Si encuentra alguno de
esos problemas, deberá reemplazarla.
6)
Quitar los pernos
Una vez que la correa esté quitada, simplemente retire los pernos que conectan el alternador al sopoke y listo.
7)
Quitar el alternador
Retire el alternador viejo del motor y del sopoke de
montaje. Con el alternador viejo en la mano, ya está a
medio camino de conseguirlo.
8)
Compare el alternador nuevo con el antiguo
Asegúrese de que los orificios de montaje y los
conectores de cables estén en el mismo lugar y que las
dos pakes sean del mismo tamaño.
9)
Installing the New Alternator
Reverse the removal steps paying careful attention to belt routing and tensioning.
Slide the new alternator into place.
Insek the mounting bolts.
Run the belt over the new alternator pulley.
Aplique tensión al alternador con una palanca si es necesario.
Si su vehículo no tiene una polea tensora automática, aplique presión
al alternador con un destornillador grande o una palanca hasta que la
correa quede tensa. Coloque la palanca entre el alternador y el motor
y empuje el alternador hacia afuera, alejándolo del motor.
Apriete los tornillos y la correa.
Con la correa tensada a través del alternador y la palanca, utilice el
dado adecuado y un trinquete para apretar los dos pernos de
montaje hasta el final. Esto permitirá que el alternador mantenga la
correa tensada.
Conecte el cable de alimentación, el arnés del monitor y la batería.
10)
Controlar
Asegúrese de que los bornes de la batería y las conexiones de los extremos de los cables de la batería estén
limpios y en buenas condiciones. Reemplácelos según sea necesario para garantizar conexiones firmes.
Coloque nuevas arandelas de fieltro en los bornes limpios de la batería. Aplique una película de grasa para bornes
de batería en la pake superior y los costados de los extremos de los cables y los bornes de la batería. Esto
ayudará a prevenir la acumulación de ácido y la corrosión en el futuro.
Pruebe la salida del alternador. Con el automóvil en marcha, debería ver entre 13,25 y 15 voltios con una batería
completamente cargada. Si no es así y solo ve el voltaje de la batería en reposo (alrededor de 12,2 a 12,5),
entonces su alternador aún no se está cargando correctamente. ¡Esto no significa que su nuevo alternador esté
defectuoso! Se deben verificar el cableado que sale del alternador, las conexiones y los posibles enlaces fusibles.

1
6
6.Solución de problemas
5.Cómo prevenir fallas del alternador
(1) Realizar un mantenimiento regular
Es impokante realizar un mantenimiento regular de su vehículo, lo que incluye controlar los niveles de líquido e
inspeccionar las correas y las mangueras para detectar signos de desgaste o daños. Esto ayudará a garantizar que
todos los componentes funcionen correctamente y puede reducir el riesgo de averías inesperadas debido a fallas
del alternador.
(2) Compruebe la correa del alternador
La correa del alternador transfiere potencia del motor al alternador, por lo que es impokante asegurarse de que
esté en buenas condiciones. Busque signos de desgaste, como grietas o desgaste. Se recomienda verificar su
estado cada seis meses. Esto garantizará que no tenga roturas ni esté demasiado estirada o suelta.
(3) Monitorizar el voltaje de la batería
Una batería en buen estado debe tener 12,6 voltios o más cuando el motor está apagado. Si el voltaje cae por
debajo de este nivel, es posible que el alternador no esté cargando correctamente y deba reemplazarse.
(4) Mantenga las conexiones limpias
Asegúrese de que todas las conexiones entre la batería y el alternador estén limpias y libres de corrosión o
acumulación de suciedad, ya que esto puede impedir la carga adecuada de la batería.
(1) Batería descargada
Comprueba el estado de la batería. Puede ser simplemente que la batería esté vieja. Cárgala con un cargador
independiente y luego compruébala con un multímetro después de conducir. Luego, vuelve a probarla después de
varias horas para ver si ha perdido carga. Debería leer alrededor de 12,6 voltios. Si es menor, la batería ya no está
en su mejor estado.
Con una batería en buen estado instalada en el automóvil, encienda el motor y luego verifique el voltaje en la
batería. Debería estar entre 13,25 y 15 voltios. Si es menor, el alternador no la carga. Si es mayor, el alternador no
funciona correctamente.
Solución: Vas a necesitar reemplazar la batería o el alternador.
(2)
Deslizamiento de la correa
Inspeccione visualmente la correa auxiliar. La goma debe verse limpia y lisa y libre de cualquier signo de
agrietamiento. Mire el lado acanalado, ¿las ranuras aún son uniformes y completas? Si no es así, esto puede causar
un deslizamiento no deseado.
Revise el sopoke del alternador. Generalmente, tiene un brazo deslizante y, cuando el perno está apretado,
mantendrá el alternador en su lugar y, por lo tanto, la correa estará tensa. Use un tensor para aplicar presión a la
correa y mantenerla tensa.
Solución: si la correa está vieja o desgastada, deberá reemplazarla. Lo mismo ocurre si la correa está tensa, pero el
alternador aún no parece estar cargando.
(3) Ruidos de rechinamiento
Escuche el alternador cuando el motor esté en marcha. Debería funcionar en silencio. Si emite un ruido como de
gruñido o traqueteo, los cojinetes están averiados.
Mueva el eje donde se asienta la correa de transmisión. No debería moverse. Si lo hace, los cojinetes están
dañados y las entrañas del alternador se están carcomiendo.
Solución: deja de conducir el coche, ya que solo conseguirás empeorar la situación. Es posible que un especialista
pueda reparar el alternador y colocar cojinetes nuevos, pero en la mayoría de los casos, será más económico
instalar uno nuevo.
(4) Luz de advekencia en el tablero
Compruebe el cableado del alternador, en pakicular, observe las conexiones de los enchufes y la cinta de conexión a
tierra.Si es necesario, utilice un limpiador de contactos o un cepillo de alambre para eliminar la suciedad acumulada y, a
continuación, apriete todo.
Si falla, la funcionalidad del alternador se verá afectada. Entonces, podría estar fallando el regulador de voltaje. Este
dispositivo que se encuentra en el costado del alternador evita que entregue grandes cantidades de electricidad. Si
falla, la funcionalidad del alternador se verá afectada.
Solución: Limpiar el cableado. Si no se soluciona el problema, es necesario cambiar el regulador de voltaje por uno
nuevo. Sin embargo, en algunos autos, el regulador está incorporado, por lo que será necesario cambiar el alternador.

WARRANTY TERMS:
Free repair: During the warranty period, if the product fails due to manufacturing defects, component failure or Process
issues, please contact us to provide corresponding handling methods.
Warranty period: The warranty period is usually calculated from the date of purchase, and the specific period may vary
depending on the product type and brand.
Warranty terms: The repairer needs to use components and spare paks that meet the technical requirements of the
product, carefully record the failure and the quality of the product after repair, and ensure that the repaired product can be
used normally for more than 30 days.
Extended warranty: Some manufacturers may provide additional extended warranty services, which usually require
additional fees and may extend the original warranty period or provide a wider warranty coverage
Note: If there are any problems with the product received, please provide all relevant videos, pictures and other clues to
facilitate our connection and processing. Thank you for your suppok
CONTACT EMAIL: WARRANTY04@OUTLOOK.COM , THANK YOU FOR YOUR SUPPORT