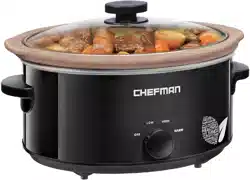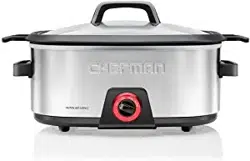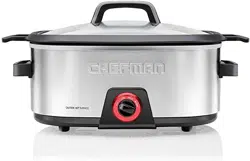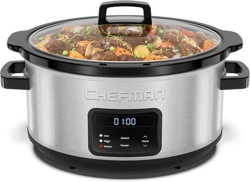
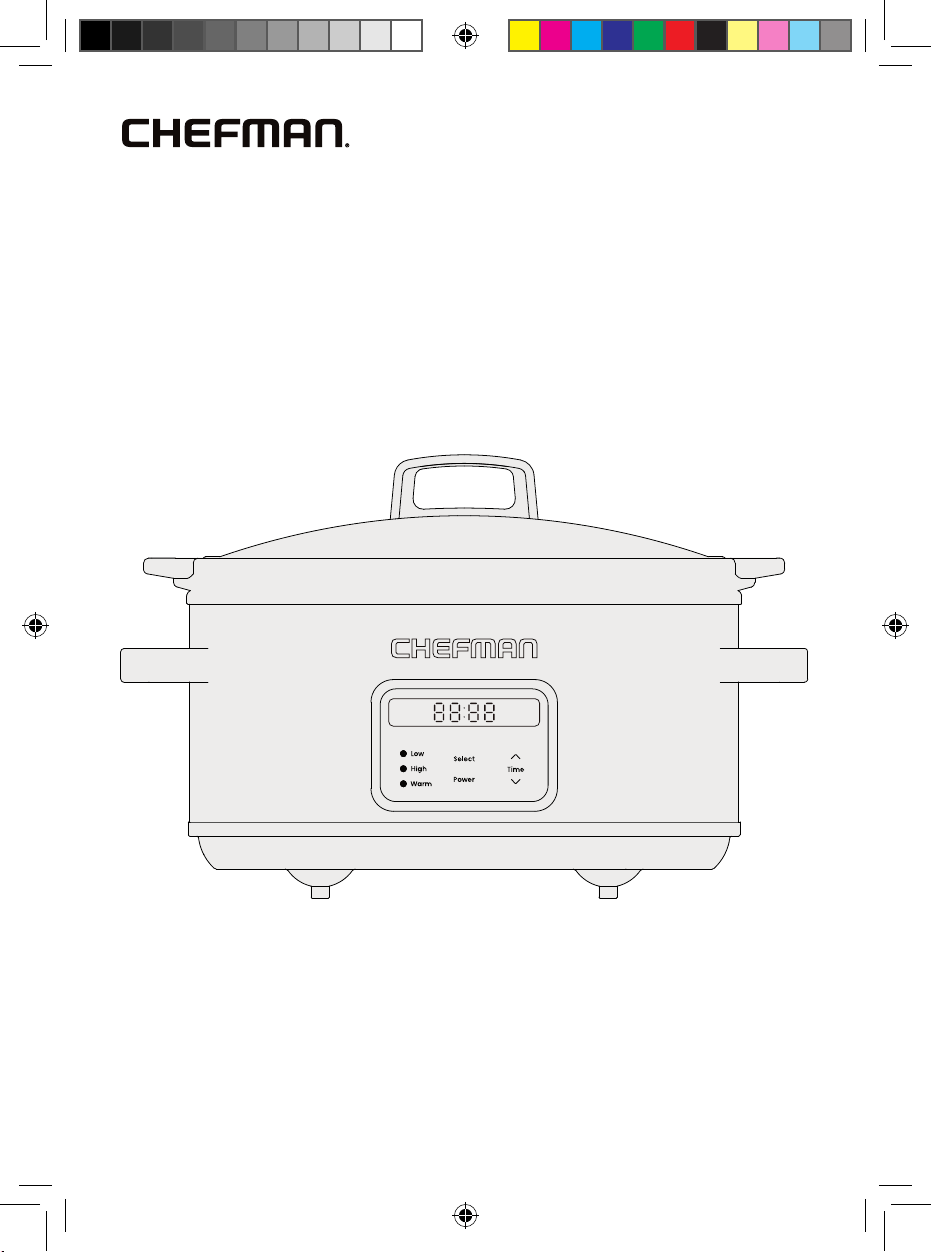
7-Quart
Digital
Slow Cooker
RJ15-7-SS-D
Cover
RJ15-7-SS-D_UG_LIVE_021226.indd 1RJ15-7-SS-D_UG_LIVE_021226.indd 1 2/12/26 5:10 PM2/12/26 5:10 PM
2
Features
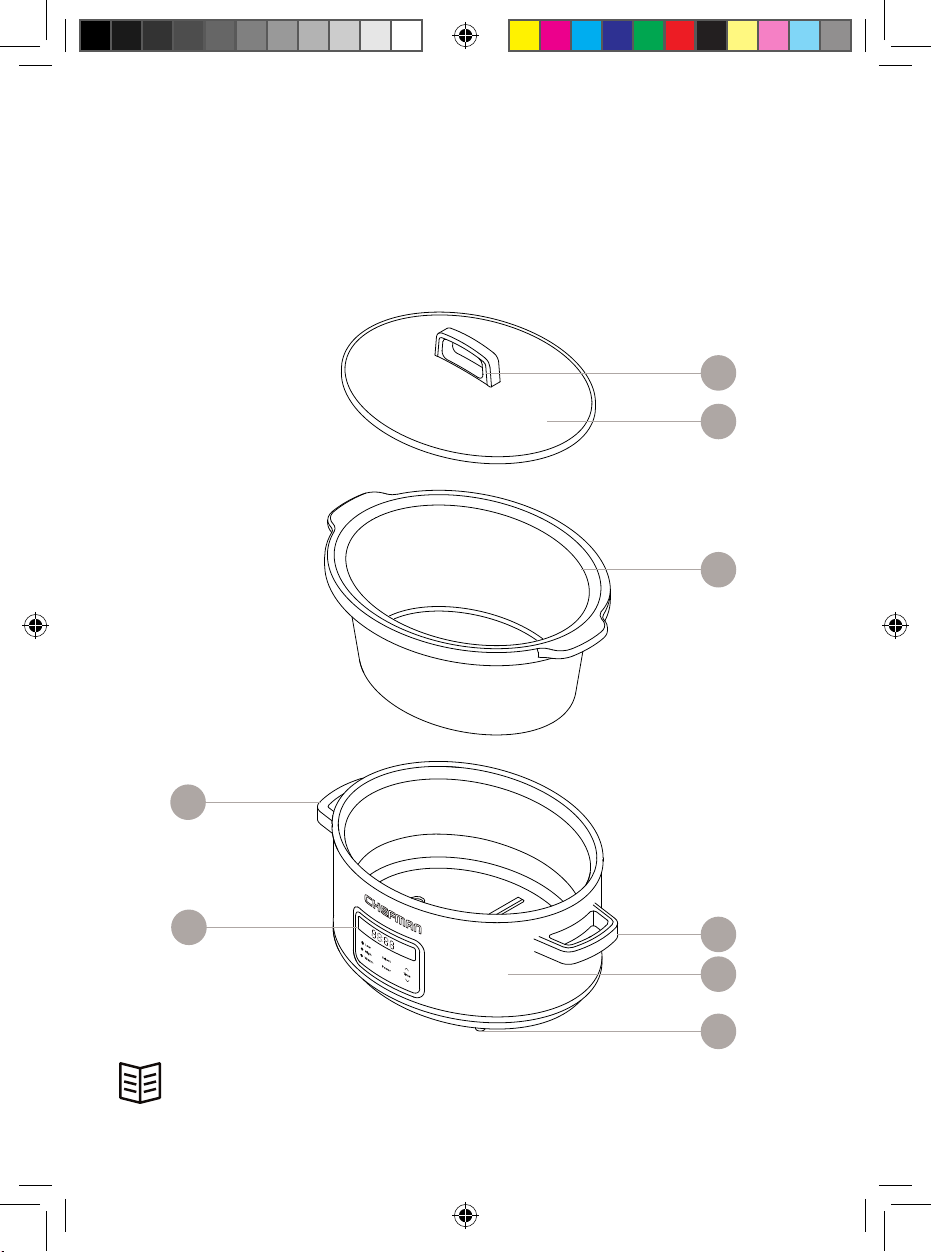
Get to Know Your Slow Cooker
1. Lid handle
2. Tempered glass lid
3. Ceramic cooking insert
4. Base handles (2)
5. Base
6. Nonskid feet (partially shown)
7. Control panel
READ ALL INSTRUCTIONS BEFORE USE
For your safety and continued enjoyment of this product,
always read the instruction manual before using.
1
2
3
7
4
5
6
4
RJ15-7-SS-D_UG_LIVE_021226.indd 2RJ15-7-SS-D_UG_LIVE_021226.indd 2 2/12/26 5:10 PM2/12/26 5:10 PM
3
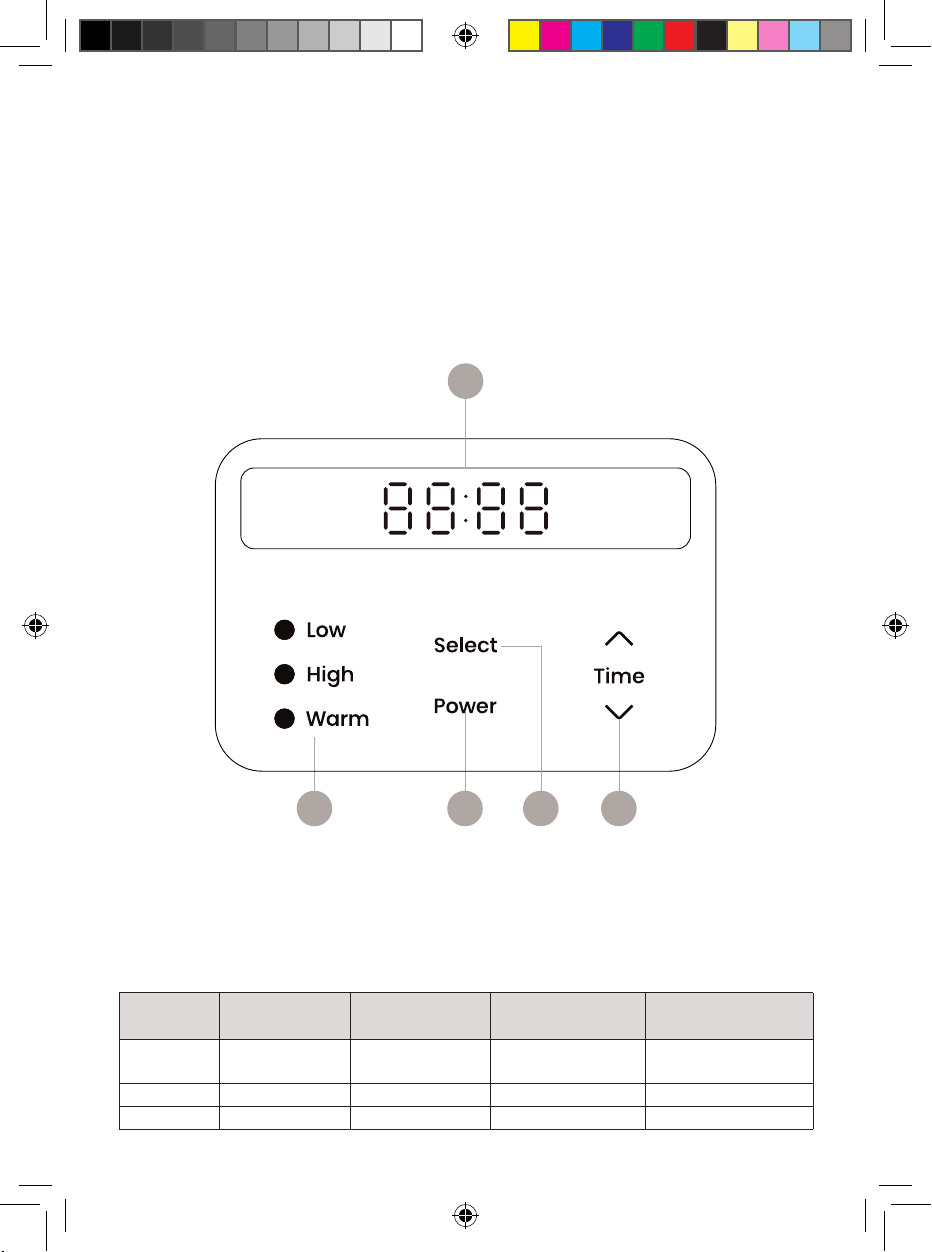
Control Panel
1. Time display
2. Time adjustment buttons
3. Cooking mode Select button
4. Power button
5. Cooking mode indicator lights
4 25
1
Part Stovetop Safe Oven Safe Microwave Safe Dishwasher Safe
Cooking
Insert
No Yes, but not in
the broiler
Yes Yes
Lid No No No Yes
Base No No No No
Handling of Slow Cooker Parts
Like any stoneware, the cooking insert may break or crack if not properly
handled. Refer to the chart below for proper handling of the cooking insert
and other slow cooker parts.
3
RJ15-7-SS-D_UG_LIVE_021226.indd 3RJ15-7-SS-D_UG_LIVE_021226.indd 3 2/12/26 5:10 PM2/12/26 5:10 PM
44
SAFETY INSTRUCTIONS &
IMPORTANT SAFEGUARDS
WARNING: When using electrical appliances, basic safety precautions should
always be followed, including:
1. Read all instructions.
2. Do NOT touch hot surfaces. Use handles or knobs.
3. To protect against electric shock do NOT immerse cord, plugs, or unit
body in water or other liquid.
4. Close supervision is necessary when any appliance is used by or
near children.
5. Unplug from outlet when not in use and before cleaning. Allow to cool
before putting on or taking off parts, and before cleaning the appliance.
6. Do NOT operate any appliance with a damaged cord or plug, or after the
appliance malfunctions or has been damaged in any manner. Contact
Chefman Customer Support for examination, repair, or adjustment.
7. The use of accessory attachments not recommended by Chefman may
cause injuries.
8. Do NOT use outdoors.
9. Do NOT let cord hang over edge of table or counter, or touch hot surfaces.
10. Do NOT place on or near a hot gas or electric burner, or in a heated oven.
11. Extreme caution must be used when moving an appliance containing hot
oil or other hot liquids.
12. Always attach plug to appliance first, then plug cord in the wall outlet.
To disconnect, turn any control to OFF, then remove plug from wall outlet.
13. Do NOT use appliance for other than intended use.
14. Avoid sudden temperature changes, such as adding refrigerated foods
into a heated pot.
15. Intended for countertop use only.
16. WARNING: Spilled food can cause serious burns. Keep appliance and
cord away from children. Never drape cord over edge of counter, never
use outlet below counter, and do NOT use any long, detachable power-
supply cord or extension cord.
RJ15-7-SS-D_UG_LIVE_021226.indd 4RJ15-7-SS-D_UG_LIVE_021226.indd 4 2/12/26 5:10 PM2/12/26 5:10 PM
55
SAFETY INSTRUCTIONS &
IMPORTANT SAFEGUARDS
17. The manufacturer does not recommend using this machine in countries
that do not support 120V AC even if a voltage adapter, transformer, or
converter is in use.
SAVE THESE INSTRUCTIONS
FOR HOUSEHOLD USE ONLY
WARNING: This appliance has a polarized plug (one blade is wider than the
other). To reduce the risk of electric shock, this plug will fit in a polarized outlet
only one way. If the plug does not fit the outlet perfectly, reverse the plug. If it
should still not fit, contact a qualified electrician. Do not modify the plug in
any way.
Short Cord Instructions
1. A short, detachable power cord is provided to reduce the risk resulting
from becoming entangled in or tripping over a longer cord.
2. WARNING: Do not use an extension cord with this product. Serious burns
may result from the slow cooker being pulled off a countertop. Do not
allow the cord to hang over the edge of the counter where it may be
grabbed by children or become entangled with the user.
RJ15-7-SS-D_UG_LIVE_021226.indd 5RJ15-7-SS-D_UG_LIVE_021226.indd 5 2/12/26 5:10 PM2/12/26 5:10 PM
66
California Proposition 65:
(Applicable for California Residents only)
WARNING: Cancer and Reproductive Harm
www.P65Warnings.ca.gov
Do not place the appliance on a
stovetop or any other heatable surface,
even if stovetop is not on.
Doing so is a fire hazard.
SAFETY INSTRUCTIONS &
IMPORTANT SAFEGUARDS
Power Cord Safety Tips
1. Never pull or yank on the cord or the appliance.
2. To insert the plug, grasp it firmly and guide it into the outlet.
3. To disconnect the appliance, grasp the plug and remove it from the outlet.
4. Never use the product if the power cord shows signs of abrasion or
excessive wear. Contact Chefman Customer Support for additional
guidance and support.
5. Never wrap the cord tightly around the appliance, as this could place
undue stress on the cord where it enters the appliance and cause it to
fray and break.
DO NOT OPERATE THE APPLIANCE IF THE POWER CORD SHOWS ANY DAMAGE
OR IF THE APPLIANCE WORKS INTERMITTENTLY OR STOPS WORKING ENTIRELY.
RJ15-7-SS-D_UG_LIVE_021226.indd 6RJ15-7-SS-D_UG_LIVE_021226.indd 6 2/12/26 5:10 PM2/12/26 5:10 PM
77
How to Use the Slow Cooker
Before First Use
1. Remove all packaging materials from inside and outside the unit, and
check to ensure that all parts are accounted for.
2. Read and remove any stickers on the slow cooker except for the rating
label, which should remain on the unit.
3. Wipe down the interior and exterior of the base with a damp cloth. Wash
the cooking insert and lid with warm, soapy water and dry thoroughly.
IMPORTANT: During the first few minutes of initial use, you may notice smoke
and/or a slight odor. This is normal and should quickly dissapear. It will not
recur after the unit has been used a few more times.
How to Cook in the Slow Cooker
The slow cooker allows for true hands-off cooking. Just add your ingredients,
set the temperature, and come back in a few hours to a ready-to-eat meal.
1. Prepare your ingredients for cooking.
2. Place the slow cooker on a hard, flat surface away from other sources of
heat. Lower the cooking insert into the base.
3. Add the food to the cooking insert. Make sure the insert is at least one-
quarter full and no more than three-quarters full. (See “Cooking Tips”
starting on p. 9 for more information on how to arrange foods in the
insert and when to add certain ingredients for optimal results.) Place the
lid on the slow cooker.
4. Plug in the unit and press Power to turn it on. Use the Select button to
choose your desired cooking cycle: High or Low. For most foods, the end
result will be the same whether cooked on Low or High (Low just takes
longer). Alternatively, you can select Warm if you are adding hot, already-
cooked food to the pot and just want to keep it warm, for instance, for
serving on a buffet.
5. If desired, use the Time adjustment buttons to increase or reduce
the time, from 30 minutes to 24 hours. The unit will begin cooking
automatically.
6. Let the unit cook for the duration of the selected cycle. When the cycle
is complete, the unit will automatically switch to Warm mode. Always
check foods for doneness according to current food safety guidelines
before serving.
RJ15-7-SS-D_UG_LIVE_021226.indd 7RJ15-7-SS-D_UG_LIVE_021226.indd 7 2/12/26 5:10 PM2/12/26 5:10 PM
8
How to Use the Slow Cooker
8
7. To serve, carefully lift the lid. You may leave the cooking insert in the base
or remove it. Use potholders when handling the insert, and place it on a
heatproof surface.
8. CAUTION: Hot steam will escape when the lid is removed and can
potentially cause burns. Keep away from the steam.
9. When the slow cooker enters Warm mode (whether automatically after
a cooking cycle, or manually selected by you), it will stay in Warm mode
for 1 hour, or until turned off. However, the duration of Warm mode can be
adjusted just like the cooking modes.
10. When finished, press Power to turn the slow cooker off, unplug it, and let it
cool completely before cleaning.
RJ15-7-SS-D_UG_LIVE_021226.indd 8RJ15-7-SS-D_UG_LIVE_021226.indd 8 2/12/26 5:10 PM2/12/26 5:10 PM
9
Cooking Tips
• The important difference between High modes and Low modes is how
long they take to bring food to a simmer. Choose one of the Low cycles to
cook all day (for example, during a workday). Choose a High cycle to cook
in either 4 or 6 hours.
• For best results, avoid lifting the lid during cooking except to quickly add
ingredients, as this causes heat to escape.
• If the cooking insert has been in the fridge, let it come to room
temperature before cooking.
• For more depth and flavor, sear or brown foods in a separate pan on the
stovetop before slow cooking. Ground meats should always be browned
before slow cooking.
• Cut onions, potatoes, and other root vegetables into pieces no larger
than 2 inches to ensure they cook through at the same rate as other
ingredients. It’s best to position them at the bottom and sides of the
cooking insert and to place meats on top for thorough cooking.
• Liquid doesn’t evaporate from a slow cooker as in a regular pot, so add
only enough liquid to cover the ingredients for soups and stews. You can
always add more liquid at the end of cooking if the soup or stew seems
too thick.
• To decrease the amount of fat in recipes, trim as much of the visible fat
as possible from meats or poultry before cooking (including poultry skin),
and drain any fat after browning meat and before slow cooking.
• If using quick-cooking vegetables, such as green beans, add them
during the last 30 minutes of cooking so they don’t become too soft.
• If using dairy products (such as milk or sour cream), add them during
the last 30 minutes of cooking, as they can break down and curdle
during slow cooking.
• If adding pasta or rice, partially cook them in a separate pot of boiling
water until not quite tender, then add them to the slow cooker during
the last 30 minutes of cooking.
• If cooking fish, slow cook its sauce first, then add the fish and cook for
15 to 30 minutes to avoid overcooking.
RJ15-7-SS-D_UG_LIVE_021226.indd 9RJ15-7-SS-D_UG_LIVE_021226.indd 9 2/12/26 5:10 PM2/12/26 5:10 PM
10
Cooking Tips
• Add dried herbs and spices at the beginning of cooking and fresh herbs
when cooking is complete.
• Thaw frozen foods completely before adding to the slow cooker.
• Dried beans should be soaked overnight, drained, and rinsed before
slow cooking.
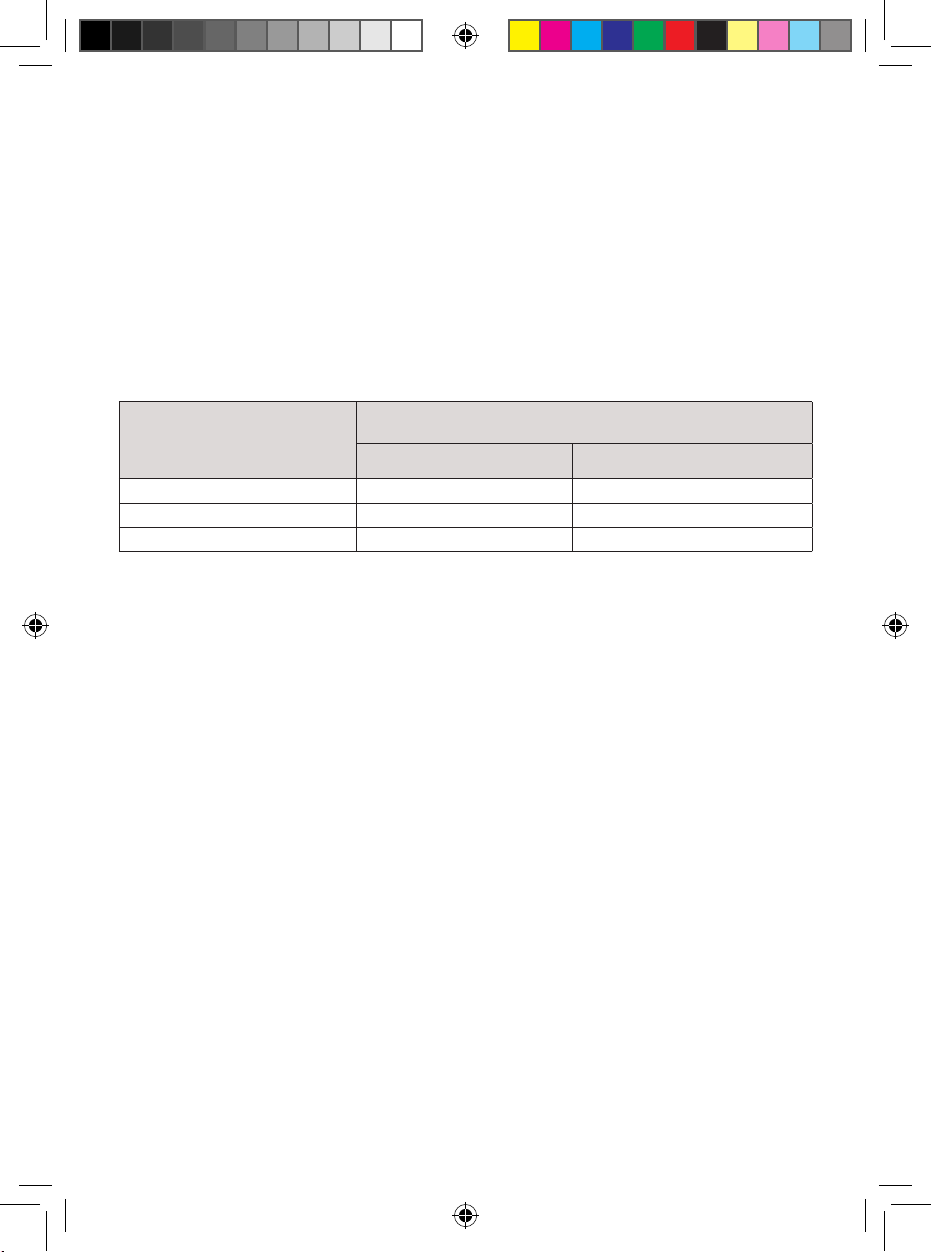
• Conventional cooking recipes may be adapted for the slow cooker.
While individual recipes may require some experimentation, the chart
below can be used as a general cooking guideline. (NOTE: The times
listed in the chart are approximate and should only serve as a guide.)
Regular Cooking Time
Slow Cooker Cooking Time
Low High
30 minutes 6-8 hours 3-4 hours
30-60 minutes 8-10 hours 5-6 hours
1-3 hours 10-12 hours 7-8 hours
RJ15-7-SS-D_UG_LIVE_021226.indd 10RJ15-7-SS-D_UG_LIVE_021226.indd 10 2/12/26 5:10 PM2/12/26 5:10 PM
11
Keep It Clean
1. Unplug the slow cooker and let it cool completely.
2. Wash the cooking insert and lid with a sponge and warm, soapy water.
Dry thoroughly. If food residue sticks to the insert, fill it with warm, soapy
water and let it soak before cleaning. Do not use abrasive cleansers or a
scouring pad, as these can damage the finish. The lid and insert are also
top-rack dishwasher safe.
3. To remove water spots or mineral deposits from the cooking insert, wipe
with distilled white vinegar or pour a small amount into the insert and let it
soak. Then wash the pot in warm, soapy water, rinse, and dry.
4. Wipe down the base with a damp cloth if necessary. Never immerse the
base or plug in water or any other liquid. The base is not dishwasher safe.
5. Make sure all parts are dry before storing. To store, place the cooking
insert inside the base and place the lid over the insert. Never wrap the
cord tightly around the appliance; keep it loosely coiled instead.
RJ15-7-SS-D_UG_LIVE_021226.indd 11RJ15-7-SS-D_UG_LIVE_021226.indd 11 2/12/26 5:10 PM2/12/26 5:10 PM
12
Terms & Conditions
Limited Warranty
RJ Brands, LLC d/b/a Chefman® offers a limited 1-year Warranty (the
“Warranty”) available on sales through authorized distributors and retailers
only. Please note that this Warranty becomes valid from the date of delivery
and that the Warranty is nontransferable and applies only to the
original purchaser.
This Warranty is void without proof of purchase within the United States and
Canada. Please be aware that this Warranty supersedes all other warranties
and constitutes the entire agreement between the consumer and Chefman®.
Any changes to the Terms and Conditions of this Warranty must be in writing,
signed by a representative of Chefman®. No other party has the right or ability
to alter or change the Terms and Conditions of this Warranty.
We may ask you to please submit, via email, photos and/or video of the issue
you are experiencing. This is to help us better assess the matter and possibly
offer a quick fix. Photos and/or video may also be required to determine
Warranty eligibility.
We encourage you to register your product. Registering can make the Warranty
process easier and can keep you informed of any updates or recalls on
your product. To register, follow the directions on the Chefman® Warranty
Registration page in the Chefman® User Guide. Please retain your proof of
purchase even after registering. In the event that you do not have proof of
your purchase date, we may declare your Warranty void or we may, at our sole
discretion, apply the date of manufacture as the purchase date for purposes of
this Warranty.
RJ15-7-SS-D_UG_LIVE_021226.indd 12RJ15-7-SS-D_UG_LIVE_021226.indd 12 2/12/26 5:10 PM2/12/26 5:10 PM
13
Terms & Conditions
What the Warranty Covers
• Manufacturer Defects
Chefman® products are warranted against defects in material and
workmanship, under normal household use, for a period of 1 year from the
date of delivery when used in accordance with the directions listed in the
Chefman® User Guide. If your product does not work as it should, please
contact Customer Support at support@chefman.com so that we may
assist you.
This Warranty Does Not Cover
• Misuse
Damage that occurs from neglectful or improper use of products, including,
but not limited to, damage that occurs as a result of usage with incompatible
voltage, regardless of whether the product was used with a converter or
adapter. See Safety Instructions in the Chefman® User Guide for information
on proper use of product;
• Poor Maintenance
General lack of proper care. We encourage you to take care of your
Chefman® products so that you may continue to enjoy them. Please
see Keep It Clean in this Chefman® User Guide for information on
proper maintenance;
• Commercial Use
Damage that occurs from commercial use;
• Normal Wear and Tear
Damage or degradation expected to occur due to normal use over time;
• Altered Products
Damage that occurs from alterations or modifications by any entity
other than Chefman® such as the removal of the rating label affixed to
the product;
• Catastrophic Events
Damage that occurs from fire, floods, or natural disasters; or
• Loss of Interest
Claims of loss of interest or enjoyment.
RJ15-7-SS-D_UG_LIVE_021226.indd 13RJ15-7-SS-D_UG_LIVE_021226.indd 13 2/12/26 5:10 PM2/12/26 5:10 PM
14
Terms & Conditions
For product information, please visit us at Chefman.com.
EXCEPT WHERE SUCH LIABILITY IS REQUIRED BY LAW, THIS WARRANTY DOES NOT
COVER, AND CHEFMAN® SHALL NOT BE LIABLE FOR, INCIDENTAL, INDIRECT, SPECIAL,
OR CONSEQUENTIAL DAMAGES, INCLUDING WITHOUT LIMITATION, DAMAGE TO, OR
LOSS OF USE OF THE PRODUCT, OR LOST SALES OR PROFITS OR DELAY OR FAILURE TO
PERFORM THIS WARRANTY OBLIGATION. THE REMEDIES PROVIDED HEREIN ARE THE
EXCLUSIVE REMEDIES UNDER THIS WARRANTY, WHETHER BASED ON CONTRACT,
TORT OR OTHERWISE.
RJ15-7-SS-D_UG_LIVE_021226.indd 14RJ15-7-SS-D_UG_LIVE_021226.indd 14 2/12/26 5:10 PM2/12/26 5:10 PM
15
How do I register my product?
All you need to do is fill out a simple Chefman® registration form.
You can easily access the form in one of the two ways listed below:
• Visit Chefman.com/register.
• Scan the QR code to the right to access site.
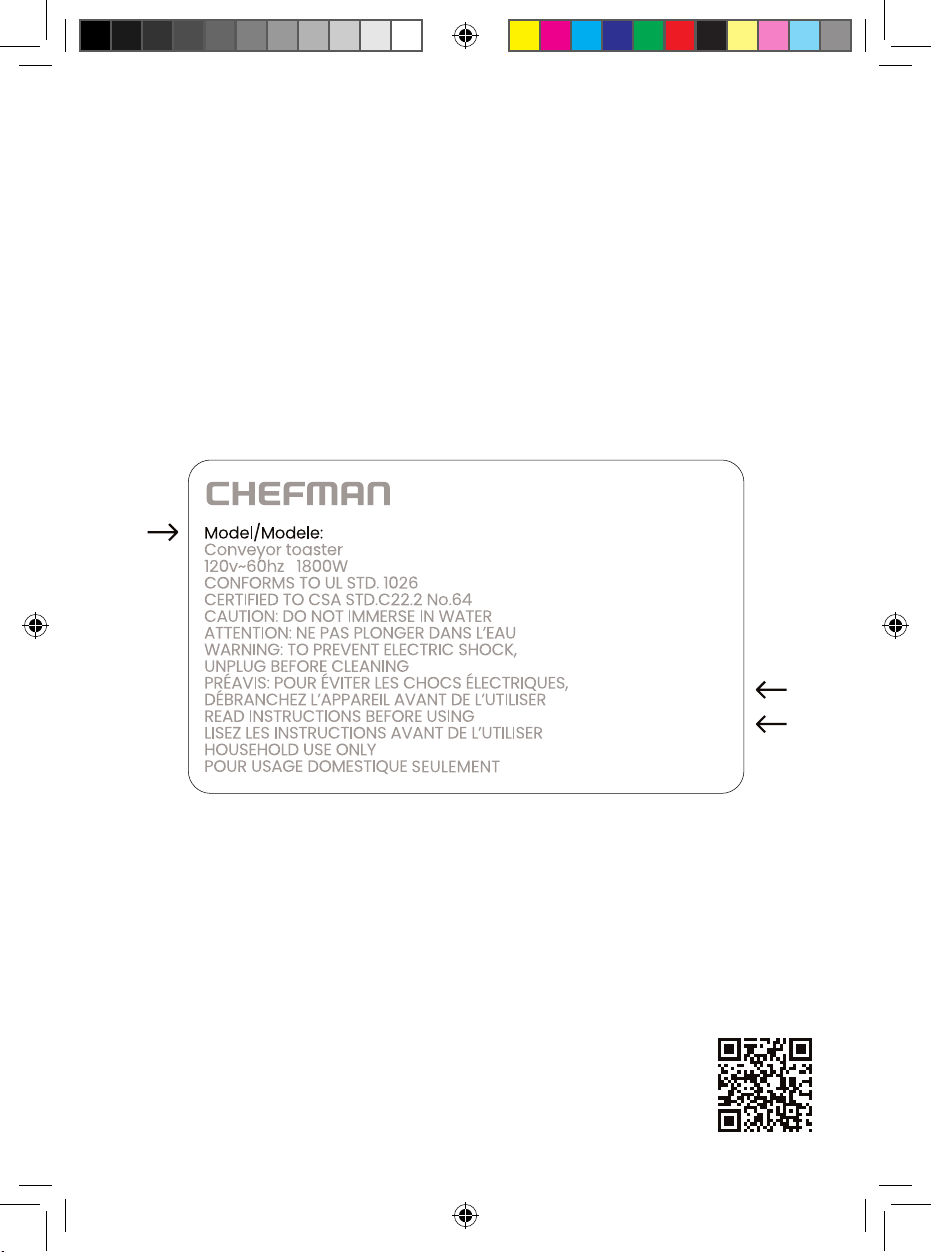
NOTE: Label depicted here is an example.
Please see label on your product for actual model/date code/access code.
Warranty Registration
What do I need to register my product?
• Contact Information
• Model Number (see example below)
• Proof of Purchase (online confirmation, receipt, gift receipt)
• Date Code (see example below)
• Access Code (see example below)
Date Code:
0000
Access Code:
Xxxxxxxx
XXXXX
RJ15-7-SS-D_UG_LIVE_021226.indd 15RJ15-7-SS-D_UG_LIVE_021226.indd 15 2/12/26 5:10 PM2/12/26 5:10 PM
RJ157SSDUG021226
7-Quart
Digital Slow Cooker
Chefman® is a registered trademark of RJ Brands, LLC.
RJ15-7-SS-D_UG_LIVE_021226.indd 16RJ15-7-SS-D_UG_LIVE_021226.indd 16 2/12/26 5:10 PM2/12/26 5:10 PM