14
3) Fault code and troubleshooting method
Fault
code
Fault content Possible reasons solution
E1
There is no "ice harvest
panel" on the ice mold
Install the ice harvest panel
The "ice harvest panel"
does not rotate smoothly
or get stuck and does not
return to its proper
position
Smooth the edges of the
rotating columns at both
ends of the "ice harvest
panel" so that it can be
flipped into place flexibly
The "proximity switch"
on the ice mold was not
assembled in the correct
position
Move the position of the
"proximity switch" to the
correct position
E2
The ice mold was
continuously
removed, and the
ice harvest panel
was not opened
The ice harvest panel is
stuck and cannot be
flipped
Check whether there is a
rough edge on the rotating
column at both ends of the "
ice harvest panel". If so,
trim it
Loosen the mechanical
float ball so that it can
normally discharge water
Tap water is out of
service or the water
pressure is too low
Increase water pressure
E3
The condenser
temperature is
too high
The condenser is too
dusty
Clean the dust off the
condenser
Correct the blade position
or replace the fan
E4
The ambient
temperature
sensor is faulty
The ambient temperature
sensor is broken
The environmental
temperature sensor cable
is loose
Reinsert the cable
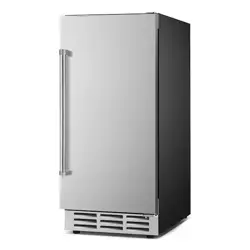
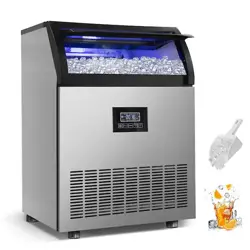
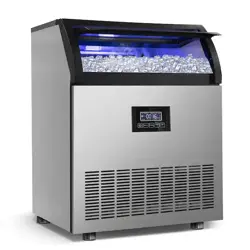
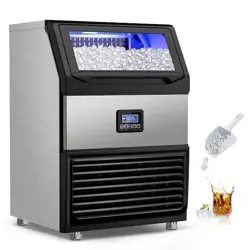
Build-in ice machine
Operation Manual
For your safety and proper use of the product, please read the instructions
carefully before use
Please keep this instruction manual properly for reading at any time
The product is subject to the actual goods in the packing box
When the
machine is
powered on, the
proximity switch
does not detect a
signal.
The float ball is stuck
and cannot allow water
to flow normally.
The blades are stuck or
the fan is broken
Replace the
temperature sensor.

Catalogue
Important security tips---------------------------------------------------1
Installation and connection---------------------------------------------3
1) Open the package------------------------------------------------3
2) Machine placement location-----------------------------------3
3) Waterway connection of the machine------------------------4
4) Electrical connection-------------------------------------------6
Operation instructions---------------------------------------------------7
1) Operation interface description-------------------------------7
Cleaning and maintenance of ice maker-----------------------------10
1) Cleaning of internal and external parts----------------------10
2) Prepare for the long-term storage of machines-------------11
Circuit diagram---------------------------------------------------------11
Common fault diagnosis-----------------------------------------------12
1) No ice making--------------------------------------------------12
2) Low ice production--------------------------------------------13
3) Fault code and troubleshooting method--------------------14
13
2) Low ice production
fault
phenomenon
inspection
item
Possible reasons
solution
The ice-making
time is too long
Water
supply
pressure
The water pressure is too low
and the water supply time is
too long
Increase water
pressure
water
temperature
The water is too hot
Lower the water
temperature
ambient
temperature
The ambient temperature is
too high or too low
Place it in a suitable
temperature
cryogen
Refrigerant leakage
Contact after-sales
service personnel
The ice is small
or thin
condenser
Too much ash in the
condenser leads to poor air
intake, high condensing
temperature and long ice
making time
Clean the condenser
screen
The filter screen is blocked,
resulting in poor water flow
Clean or replace the
filter
water pump
The water flow is poor due to
the pump failure
Replace the pump
ambient
temperature
The ambient temperature is
too high
Place it in a slightly
lower position
air intake
Poor air intake leads to high
condensation temperature
and long ice making time
Leave at least 15cm
space on the right
and rear side

12
Common fault diagnosis
1) No ice making
fault
phenomenon
inspection
item
probable cause
solution
The ice maker
is not working
power line
It's not plugged into a
socket
Plug in the socket
Control panel
fuse
Fuses or damage
Check and replace
The ice is full, and the
ice blocks press down
on the evaporator swing
blades
Remove the ice from the
ice cube or remove the
ice from the evaporator
swing blade
Power Supply
Voltage
If none of the above
occurs, the proximity
switch is faulty
Replace the proximity
switch
No power or too low
voltage
Contact the power
supply department
Water supply
head
No water or low water
pressure
Increase water pressure
inlet valve
The filter screen is
blocked or the inlet
valve is broken
Clean the filter screen or
replace the inlet valve
The compressor
does not run or
stops suddenly
Power Supply
Voltage
voltage below level
Contact the power
supply department
air intake
The air intake is
blocked
Leave at least 15cm
space on the right and
rear side
condenser
Too much dust
Clean the condenser
refrigeration
system
The refrigeration
system is leaking
Contact after-sales
service personnel
compression
engine
The connection line is
broken or fallen off
Contact after-sales
service personnel
The tank is
empty
Electronic
float
The electronic float is
stuck and has not fallen
or broken
Remove or replace the
electronic float
There's no
water in the
waterways
The water pipe is
blocked or the tap water
is cut off
Check the water pipe or
ask the water company
make water
blast-hole
Loose or not properly
installed
Tighten or reinstall
Inlet or outlet
pipe
There was a leak
caused by a rupture
renewal
1
Important safety tips
● When using electrical appliances, basic safety precautions must be taken
to reduce the risk of fire, electric shock and injury. Read the instructions
in full before using any electrical appliances.
● The machine must be installed correctly according to the installation
program before use.
● Please do not place the power cord on carpet or other heat sources. Do
not place the power cord in areas where people or objects are moving, or
immerse the power cord in water. Because of the risk of overheating or
fire, it is not recommended to use an extension cord.
● If the power cable is damaged, it must be replaced by a professional from
the manufacturer, its maintenance department or similar department to
avoid danger.
● The plug must be unplugged when the machine is no longer in use.
● Before cleaning or repairing the machine, please unplug the plug or cut
off the main power supply.
Note: If the machine needs to be repaired, it is strongly recommended that
a professional operate it.
● Never pull the plug out by hand with the power cord. You must hold the
plug and pull it out in a straight line.
● Explosives such as propellant sprays shall not be stored in the appliance.
The appliance is intended for use in household and similar applications,
such as:
-kitchen areas of stores, offices or other work places;
-farms and customers in hotels, motels and residential environments;
-family hotel type environments;
-catering industry and similar non-retail applications.
Warning: Do not use the ice maker outdoors; it should not be exposed to
rain. The ice maker should be placed in an indoor area with no obstructions
and ensure good ventilation. Prevent direct sunlight from hitting the
machine, and maintain sufficient distance between the front, back, sides,
and the wall for proper heat dissipation. For specific requirements, refer to
the "Installation Instructions" in the manual.
CAUTION:
ICE
CAN’T
BE
STORED
IN
THE
ICE
BIN
DURING
NIGHT-TIME,IT’S
NOT FRIDGE,ICE WILL BE MELTED
TO
WATER
AND
GET
OUT OF THE
MACHINE.
Ice storage bin
2
noise and abnormal size of ice formation, and more serious may lead to
water leakage.
● If the machine is moved from the outdoor in winter, please wait for a
period of time after the machine temperature rises before starting up.
● Electrical appliances shall not be used in the food storage room of the
appliance except for the type recommended by the manufacturer.
warn:
● The machine must be grounded and use 110V/60Hz power supply.
● Only connect to drinking water sources that meet local drinking water
standards.
● In addition to the manufacturer's recommended method, do not use
mechanical equipment or other ways to accelerate the defrosting process,
and do not damage the refrigeration circuit.
●
The refri
g
eration s
y
stem contains hi
g
h
pressure refrigerant and must not be
dama
g
ed. Extra care should be taken
during installation and handling
,
and
installation and maintenance must be
carried out b
y
the manufacturer or
p
rofessionals. Scra
p
must be dis
p
osed of
by a designated recycling department.
● The ice maker has heat insulation material, which is combustible material.
It must be kept away from the fire source. Maintenance must be carried
out by the manufacturer or professionals. Disposal must be handled by
the designated recycling department.
11
2)
Long-term
preservation
of
ice
maker
a)
Unplug
the
power
plug
or
cut
off
the
power;
b)
Turn
off
the
water
supply
and
remove
the
inlet
pipe;
c)
Remove
all
ice
and
drain
the
water
from
the
ice
bin
and
tank;
d)
Wash
and
dry
the
inner
walls
of
the
ice bin
and
water
tank.
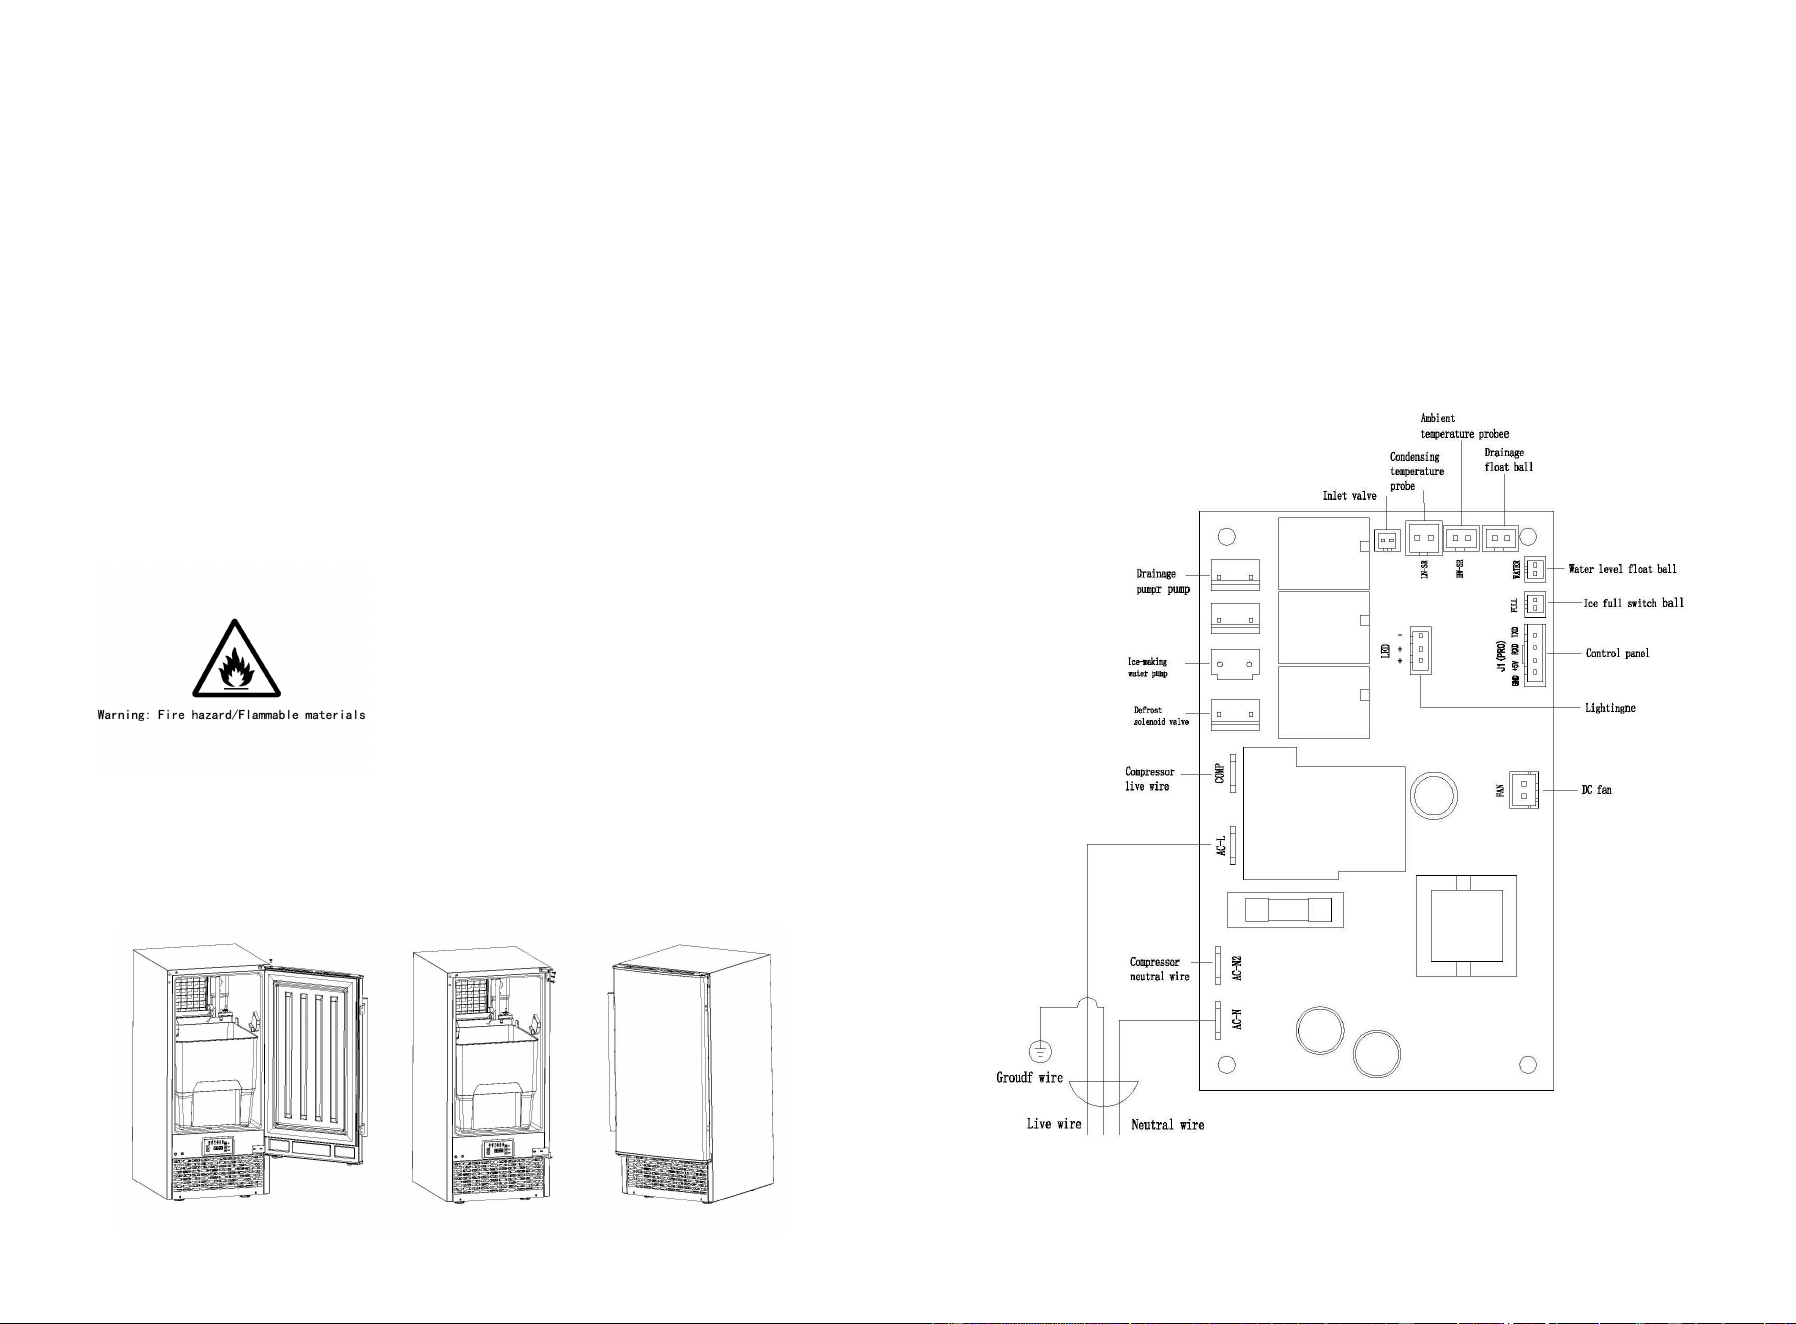
circuit
diagram
● P
le
ase
do n
ot o
v
ertu
r
n
o
r ti
lt t
he
m
achine,
w
h
i
ch
m
a
y
c
ause
ab
n
o
r
ma
l

10
3
1.Remove the hinge pins from the door by a flathead screwdriver then tilt
the door outward to detach it.
2.Remove the upper and lower door hinge from the door.
3.Install the upper and lower door hinges on the opposite side of the bin.
The method for installing on the left side is consistent with that for
removing from the right side.
4.After finishing, fasten the door handle to the opposite side.
Installation and connection
Note: Installation must be carried out by a professional according to the
instructions.
1) Open the package
Warning: Do not use foam and other packaging materials as toys for
children and people with intellectual disabilities, which may be
dangerous to them.
Note: Remove all packages when using, otherwise the machine may not
work properly.
a)Remove the package and check that the machine is in good condition;
b)Open the attachment package and check whether the attachments are
complete:
Instruction Manual*1
Filter Kit*1
Drain Pipe*1
Ice shovel*1
Strapping Tape*2
Drain Pipe Clamp*1
Silicone Gasket*2
Spare Pipe Clamp*2
Spare Silicone Plug*1
Door handle*1
Top left hinge of door*1
2) The placement of the machine
a) This series of machines should be placed in a clean place with good
air circulation, not in the open air, and not exposed to sunlight or rain.
b) The machine should not be placed near any heat source.
c) The ambient temperature around the series of machines should not be
lower than 3
o
C and higher than 40
o
C . An appropriate distance should
be kept around the machines to maximize the ice making effect and
Bottom Left hinge of door*1
7.
Cleaning
mode
In
standby
mode,
hold
down
the
"Reservation/Cleaning"
button
for
2
seconds
to
activate
the
pump.
It
will
start
intermittent
cleaning
three
times
(10
seconds
of
cleaning,
followed
by
a
3-second
pause
(three
cycles),
then
continue
cleaning
continuously
for
the
rest
of
the
time.
The
digital
display
will
flash
with
a
5-minute
countdown.
After
cleaning
is
complete,
the
machine
enters
standby
mode.
The
dual
8
displays
"-
-"
and
remains
on
Cleaning
and
maintenance
of
ice
maker
1)
Cleaning
of
internal
and
external
parts
Note:
Before
performing
any
cleaning
or
maintenance
steps,
unplug
the
power
plug.
Service
personnel
check
and
clean
the
condenser
at
least
once
a
year
to
make
the
ice
maker
work
better.
Do
not
use
alcohol
to
clean
the
ice
maker,
which
may
cause
plastic
parts
to
crack.
a)
periphery
Wipe
the
periphery
of
the
ice
maker
at
least
once
a
week
with
a
clean,
soft
cloth,
and
then
wipe
off
grease
or
other
impurities
with
a
wet
cloth
dipped
in
neutral
detergent.
b)
Ice
spoon
cleaning
(weekly)
Soak
the
ice
shovel
in
a
mixture
of
neutral
detergent
and
water
for
at
least
three
minutes,
then
rinse
with
clean
water
and
dry.
Note:
Wiping
dry
with
cloth
may
cause
re-pollution.
c)
Ice
bin
cleaning
(weekly)
Open
the
ice
door
and
remove
all
the
ice.
Clean
the
inner
walls
of
the
storage bin
with
a
neutral
detergent
and
rinse
with
water.
Wipe
the
inner
wall
with
a
cloth
soaked
in
neutral
detergent,
rinse
with
water,
and
finally
dry
the
inner
surface
with
another
clean
cloth.
d)
Pump
cleaning
(weekly)
The
pump
must
be
cleaned
once
a
week.
Before
cleaning,
remove
the
power
plug
of
the
machine,
then
take
out
the
pump
in
the
inner
tank,
clean
the
inlet
of
the
pump
with
a
small
brush,
and
then
put
it
back
into
the
tank.

4
heat dissipation of the machines.
c) The machine should be placed on a stable horizontal base or ground,
and the front, back, left and right directions should be calibrated
during installation
d) Please do not put anything on top of the ice maker.
e) The top and back must be left with at least enough spacing to maintain
good air intake and facilitate ice making and maintenance.
Position
Space between
Top surface
Back
Front
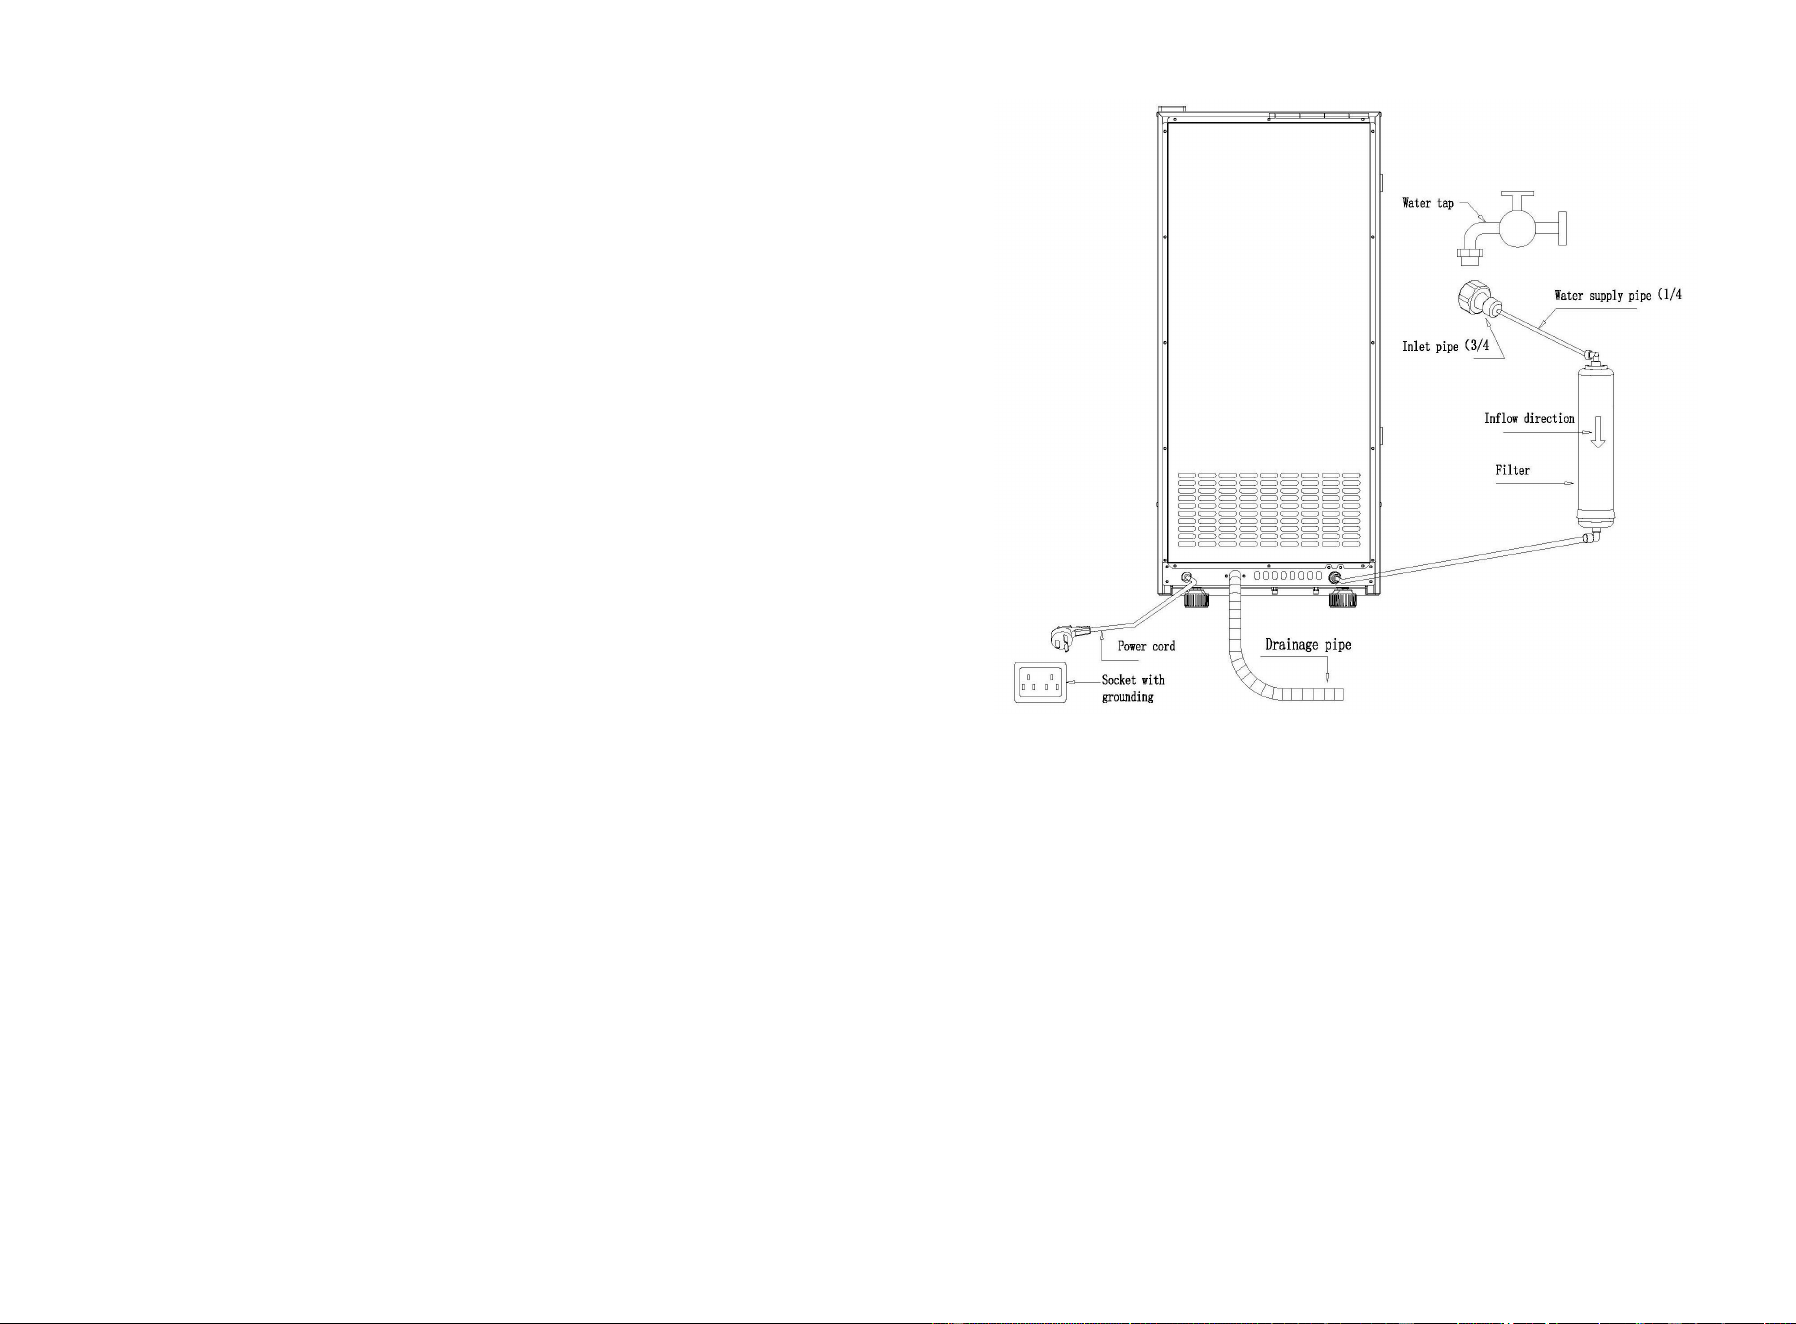
3)The waterway connection of the machine
Warning: The ice maker can only be connected to drinking water
sources, and the water source must meet local drinking water standards.
If drinking tap water is used, the water supplied to the ice maker must be
connected with a filter to improve the drinking standard of the water. Do
not directly connect the tap water. If the ice making fault is caused by the
tap water, our company will not undertake the maintenance
responsibility.
The water supply pressure should be 0.1-0.4MPa, if the pressure is
greater than 0.4MPa, a pressure reducing valve needs to be connected.
Machine drainage Since the drainage is through the weight of the water,
the drain pipe should have enough height or drop.
9
4. The reservation switch (time setting range: 01-23h) takes hours as
the timing unit
A. Scheduled Startup: In standby mode, tap the Schedule/Clean button to
activate the scheduled startup function. The light will flash, indicating
that the scheduled startup has been set. After setting the time within 5
seconds, the double 8 lights will flash 5 times before becoming
constant. If no operation is performed within 5 seconds, the double 8
will remain constant, indicating that no scheduled startup time has
been set;
B.Scheduled Shutdown: In the ice-making state, press the "Schedule/
Clean" button to activate the scheduled shutdown function. The
schedule light will flash, indicating that the scheduled shutdown has
been set. After setting the time within 5 seconds, the double 8 lights
will flash 5 times before becoming constant. If no operation is
performed within 5 seconds, the double 8 will remain constant,
indicating that no scheduled shutdown time has been set;
Note: When you press the "time +/-key" for a moment, the time is added
or subtracted one hour at a time; when you hold down the "time +/-key",
the time is added or subtracted continuously)
5. Ice full mode
During the ice-making cycle, from the end of defrosting to before the
next mold starts making ice, if the detection of the magnetically
controlled switch being open for 15 seconds without conducting results
in the ice full light staying on, the machine stops making ice and the
ice-making light turns off. The dual 8 displays "00" and stays on. After
the machine reaches the ice full state, if the magnetically controlled
switch switch conducts (for at least 5 seconds), the ice full light turns off,
and the machine continues to make ice automatically.
6.The working condition of machine parts during de-icing
When the ice-making time is over, the machine will start to enter the
de-icing program. The double 8 will flash with "00", the “Deice”indicator
light will be on, the “making ice “light will be off, and the de-icing is
completed. the “Deice”indicator light will be off, and the next ice mold
will start to make ice, and the”making ice” light will be on again
50cm
50cm
50cm
8
2. Ice making
A. The machine is in standby mode after being powered on, and the
double 8 displays "--".
B. Press the power button once; the water level float detects an open
circuit, indicating water in the tank. The machine immediately starts
ice-making with the ice-making indicator light on: the compressor and
fan are simultaneously controlled to start (see Table 2 for the
relationship between the fan's operating state and temperature). The
pump begins intermittent flushing three times before normal operation
(a cycle of 5 seconds of water flow followed by 2 seconds of pause).
The ice-making light remains on.
C. The water level float detects a connection, indicating no water in the
tank. The system then opens the solenoid valve to add water until the
water level float detects an open circuit. If no water level float is
detected after up to 5 minutes of adding water, it is directly considered
that there is no water from the external source, and the low water light
will illuminate, displaying error code E6. Fuzzy control involves two
detections with a 30-minute interval (2 times) for the inlet valve to
start. After water level detection, if the float remains closed, it
indicates a low water level and the system will enter standby mod
D. (If the machine is turned off by pressing the key during the ice
making process, the double 8 displays "--" and it is in standby mode)
3. Ice making time plus/subtract (Note: -8 minutes to +8 minutes) is
measured in minutes
In the process of making ice, you can adjust the ice-making time by
pressing +/-keys. Press + or-, and the double 8 will flash to enter the
adjustment time stage. After the time is adjusted, the double 8 will
become normal.
Note 1: If you press + or-, if you do not add or subtract the time within 5
seconds, the digital tube stops flashing and becomes normal.
Note 2: Tap + or-to add or subtract the time one minute at a time, and
hold down + or-to add or subtract the time continuously.
Note 3: The effect of artificial +/-time is also true at different
temperature segments.
5
Schematic diagram of waterway connection
Machine drains
Warning: As the ice in the machine will melt, it is necessary to connect the
drain pipe before using the machine, and insert the drain pipe into the waste
tank or sewer, otherwise the company will not be responsible for the loss
caused by water leakage on the floor.
NOTE: ONE END OF THE DRAIN PIPE SHOULD BE CONNECTED
TO THE MACHINE'S DRAIN OUTLET, AND THE OTHER END
SHOULD BE CONNECTED TO THE WASTE WATER BUCKET OR
SEWER. THE OTHER END OF THE DRAIN PIPE MUST BE LOWER
THAN THE MACHINE'S DRAIN OUTLET.
6
7
Control panel
1.The machine is powered on for the first time (Note: Click the power
key to start up. Hold down for 1 second to shut down)
When the machine is first powered on, all LED lights are turned on for
2s and then turn off, and the solenoid valve is opened for 5 seconds and
then closed,
Situation 1: If the proximity switch is in the on state, the double 8
displays "- -" and the machine is in standby mode. (Note: In standby
mode, all status indicators are off)
Situation 2: If the proximity switch signal is in the open state, the double
8 displays "E1", the fault light is always on, and other LED lights are not
on, indicating that the ice harvest panel is faulty or the skating board is
pressed down.
Clean
the ice bin
before
use.
Keep
the
ice
spoon
clean
with
a
neutral
detergent.
Close
the
door
after
taking
the
ice
to
prevent
dust
from
entering.
2.The
use
of
any
electrical
appliance
should
follow
basic
rules,
in
particular:
●
High
humidity
can
increase
the
risk
of
short
circuit
or
electric
shock.
If
in
doubt,
cut
off
the
power
supply
to
the
ice
maker.
●Please
do
not
directly
pull
the
power
cord
to
shut
down
the
machine.
●
The
ice
maker
cannot
be
used
by
children
or
the
elderly
alone
when
there
is
no
adult
supervision.
operation
declaration
1)
Operation
panel
description
4)
Electrical
connection
Warning:
The
machine
must
be
used
with
a
grounded
wiring
board
and
socket
a)There
must
be
a
power
supply
or
socket
that
can
provide
110v/60Hz,
and
the
power
supply
or
socket
must
be
reliably
grounded.
b)The
fuse
current
of
the
electrical
box
must
be
greater
than
10A.
If
it
is
to
be
replaced,
it
must
be
done
by
a
professional.
c)If
the
power
cord
or
plug
needs
to
be
replaced,
it
must
be
done
by
a
professional
after-sales
service
engineer.
d)Voltage
fluctuations
shall
not
exceed
±
10%
of
the
rated
voltage,
otherwise
a
voltage
regulator
shall
be
installed.
e)The
blue
light
installed
in
the
machine
cannot
be
replaced
by
users,
and
must
be
replaced
by
professionals.
warn:
1.The
ice
maker
is
made
and
stored
for
the
use
of
ice
cubes.
To
ensure
the
hygiene
of
ice
cubes,
please
follow
the
following
principles:
Wash
your
hands
before
taking
out
the
ice
and
use
the
plastic
ice
shovel
provided
in
the
attachment
to
take
the
ice.
Do
not
put
anything
in
the
ice bin
except
ice.