
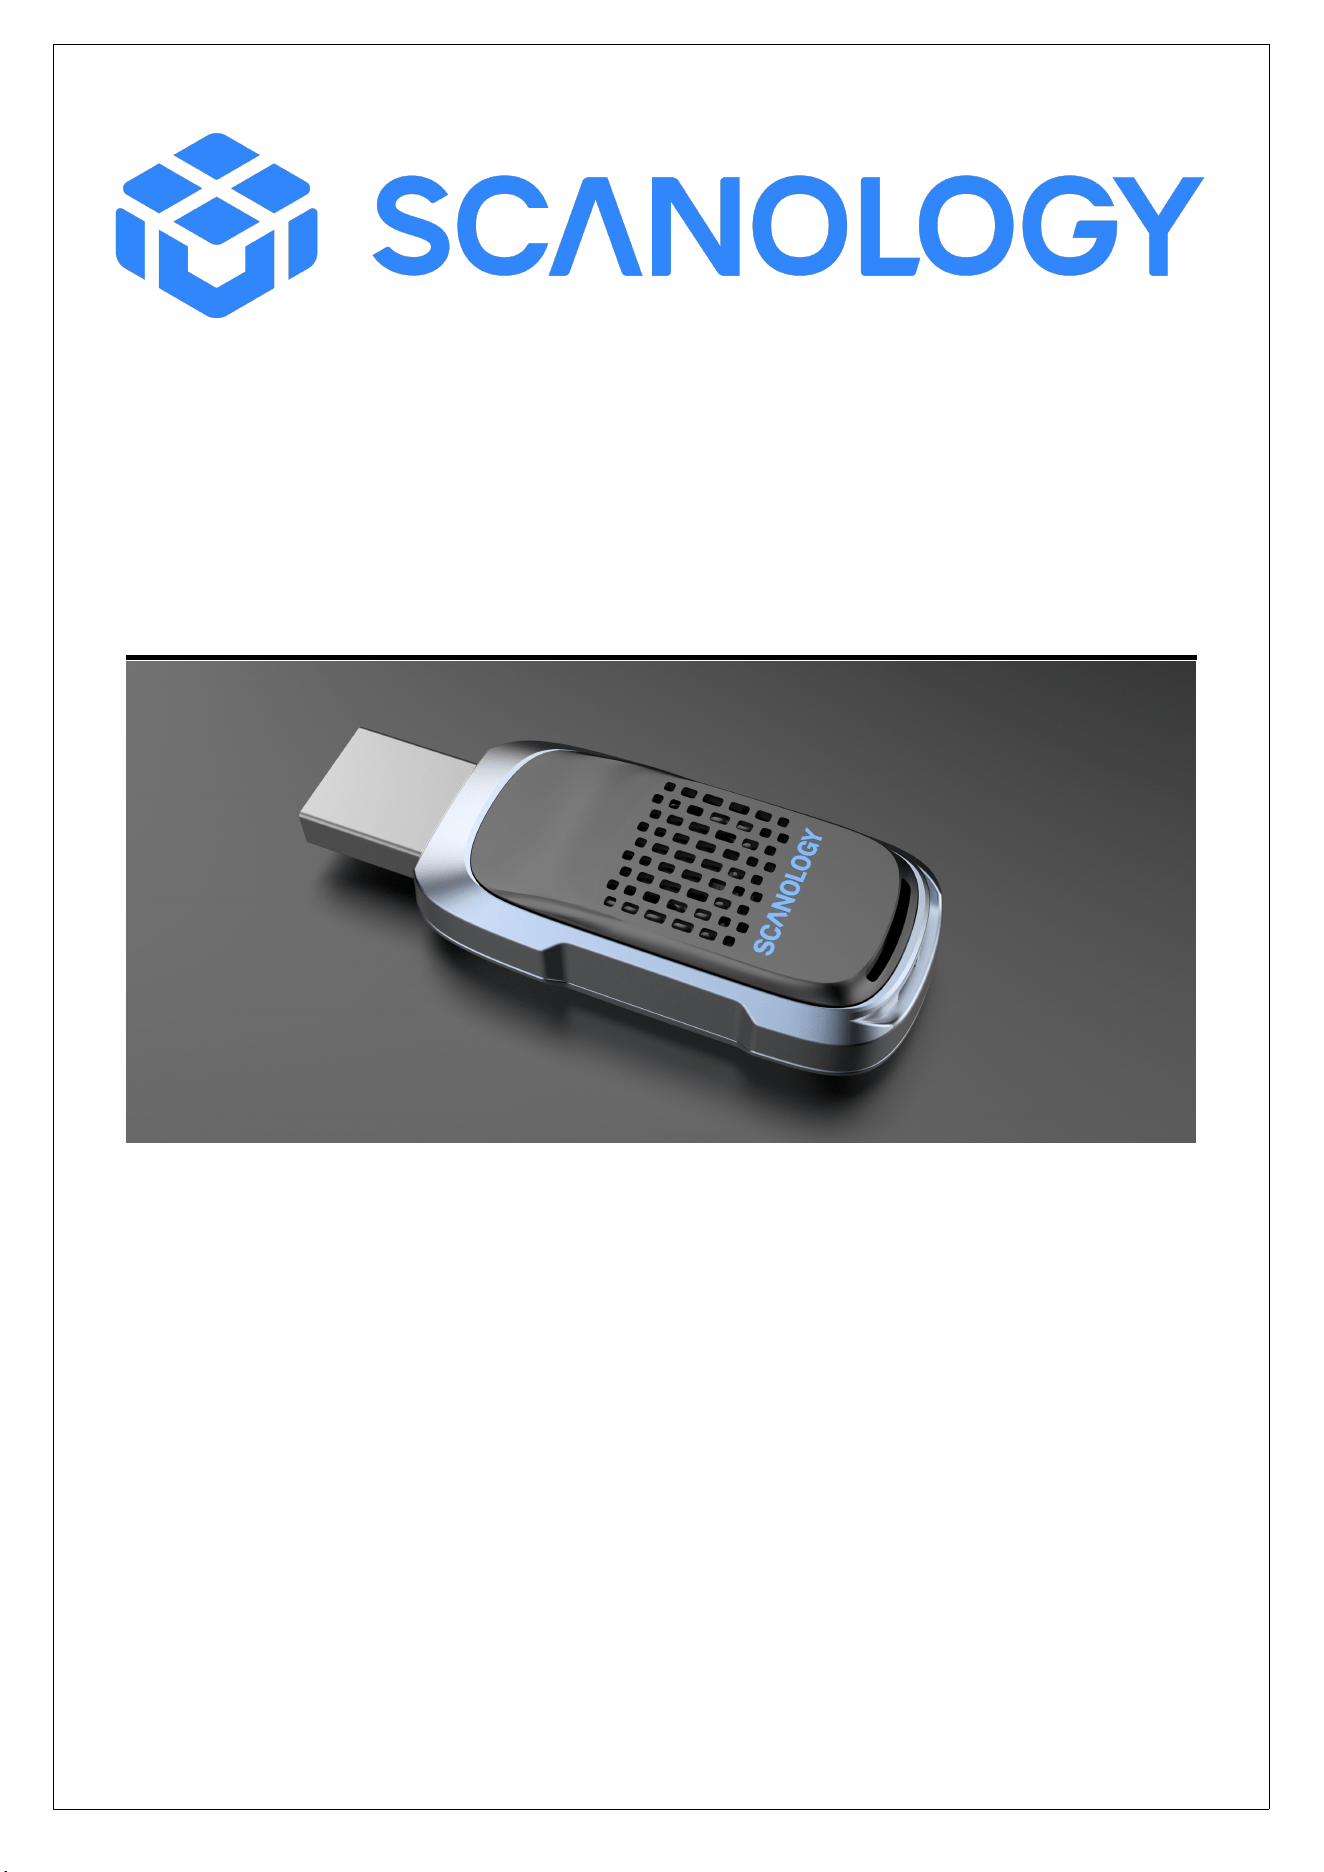
Scanology WiFiCard
User Manual
1 / 6

1
.Product Introduction
1.1 Product Overview
The Scanology WiFiCard 1.0 is a highly integrated Wi-Fi 6 USB wireless network
card with a built-in low-power dual-band Wireless Local Area Network (WLAN). It
supports the latest 802.11ax Wi-Fi transmission standard and is backward
compatible with 802.11ac/b/g/n standards. Equipped with MU-MIMO (Multi-User,
Multiple-Input, Multiple-Output) technology, the Wi-Fi card can simultaneously
search for network signals in both the 2.4GHz and 5GHz bands. The maximum
transmission rate reaches up to 1800Mbps (574Mbps on 2.4GHz and 1201Mbps on
5GHz). It supports software drivers for Windows 10 (64-bit) and Windows 11 (64-
bit) operating systems, enabling it to rapidly process file transfers, video streaming,
multimedia, and other high-bandwidth applications.
This wireless network card utilizes 2T2R antenna technology, designed to meet user
demands for low power consumption and high-throughput transmission. It is easy
to install and use, allowing for a quick and effortless wireless network setup. In
terms of wireless security, it supports WPA2/WPA3 encryption, enabling you to
quickly implement wireless encryption and safeguard your network security.
2 / 6

1.2 Key Features
· Supports the 802.11ax Wi-Fi standard, backward compatible with 802.11ac/b/g/n
wireless devices.
· Features MU-MIMO transmission technology for low power consumption and high
throughput.
· Selectable dual-band (2.4GHz/574Mbps, 5.8GHz/1201Mbps).
· Supports WPA2/WPA3 data encryption.
· Supports Windows 10 (64-bit) and Windows 11 (64-bit) operating systems.
· Utilizes 2T2R antenna technology for multiplexed transmission.
· Built-in 2dBi antenna.
· Compatible with USB 3.0 and USB 2.0 interfaces.
3 / 6
2.Operating Instructions
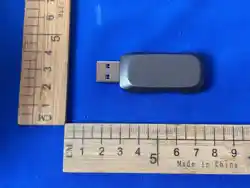
2.1 Product Images
4 / 6

2.2.Operating Steps
Step 1: Hardware Installation Insert the Scanology WiFiCard 1.0 directly into the
designated USB port on your 3D scanner. Make sure it is securely connected.
Step 2: Device Initialization Power on the 3D scanner. The Wi-Fi card is designed for
seamless integration and will initialize automatically with the scanner's system.
Note: There is no need to install or update any drivers on your PC.
Step 3: Software Connection Launch the dedicated 3D scanning software on your
computer (Windows 10/11 64-bit). Use the software's connection interface to
search for and connect to the 3D scanner via the wireless network broadcasted by
the WiFiCard.
Step 4: Start Scanning Once the scanning software indicates a successful
connection and device readiness, you can begin your 3D scanning workflow
smoothly.
5 / 6
3
.Regulatory Compliance
Our products strictly comply with the following certification standards, allowing
users to purchase and use them with confidence. The applicable certification
standards are listed in the table below:
Our products strictly comply with the following certification standards, allowing
users to purchase and use them with confidence. The applicable certification
standards are listed in the table below:
Certifi
cates
Summary
FCC
1.This device complies with Part 15 of the FCC Rules. Operation is subject to the following two
conditions:
(1)This device may not cause harmful interference.
(2)This device must accept any interference received, including interference that may cause
undesired operation.
2. Changes or modifications not expressly approved by the party responsible for compliance
could void the user’s authority to operate the equipment.
Note:This equipment has been tested and found to comply with the limits for a class B digital
device,pursuant to Part 15 of the FCC Rules. These limits are designed to provide reasonable
protection against harmful interference in a residential installation. This equipment generates uses
and can radiate radio frequency energy and,if not installed and used in accordance with the
instructions,may cause harmful interference to radio communications.However,there is no guarantee
that interference will not occur in a particular installation.if this equipment does cause harmful
interference to radio or television reception,which can be determined by turning the equipment off
and on,the user is encouraged to try to correct the interference by one or more of the following
measures:
• Reorient or relocate the receiving antenna.
• Increase the separation between the equipment and receiver.
• Connect the equipment into an outlet on a circuit different from that to which the receiver is
connected.
• Consult the dealer or an experienced radio/TV technician for help.
The device has been evaluated to meet general RF exposure requirement.
The device can be used in portable exposure condition without restriction.
CE
SRRC
6 / 6