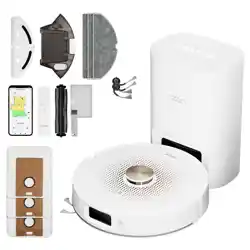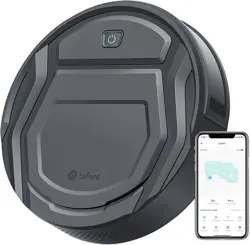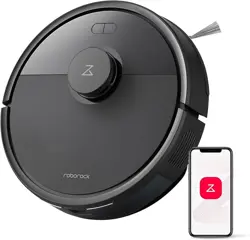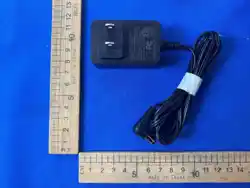
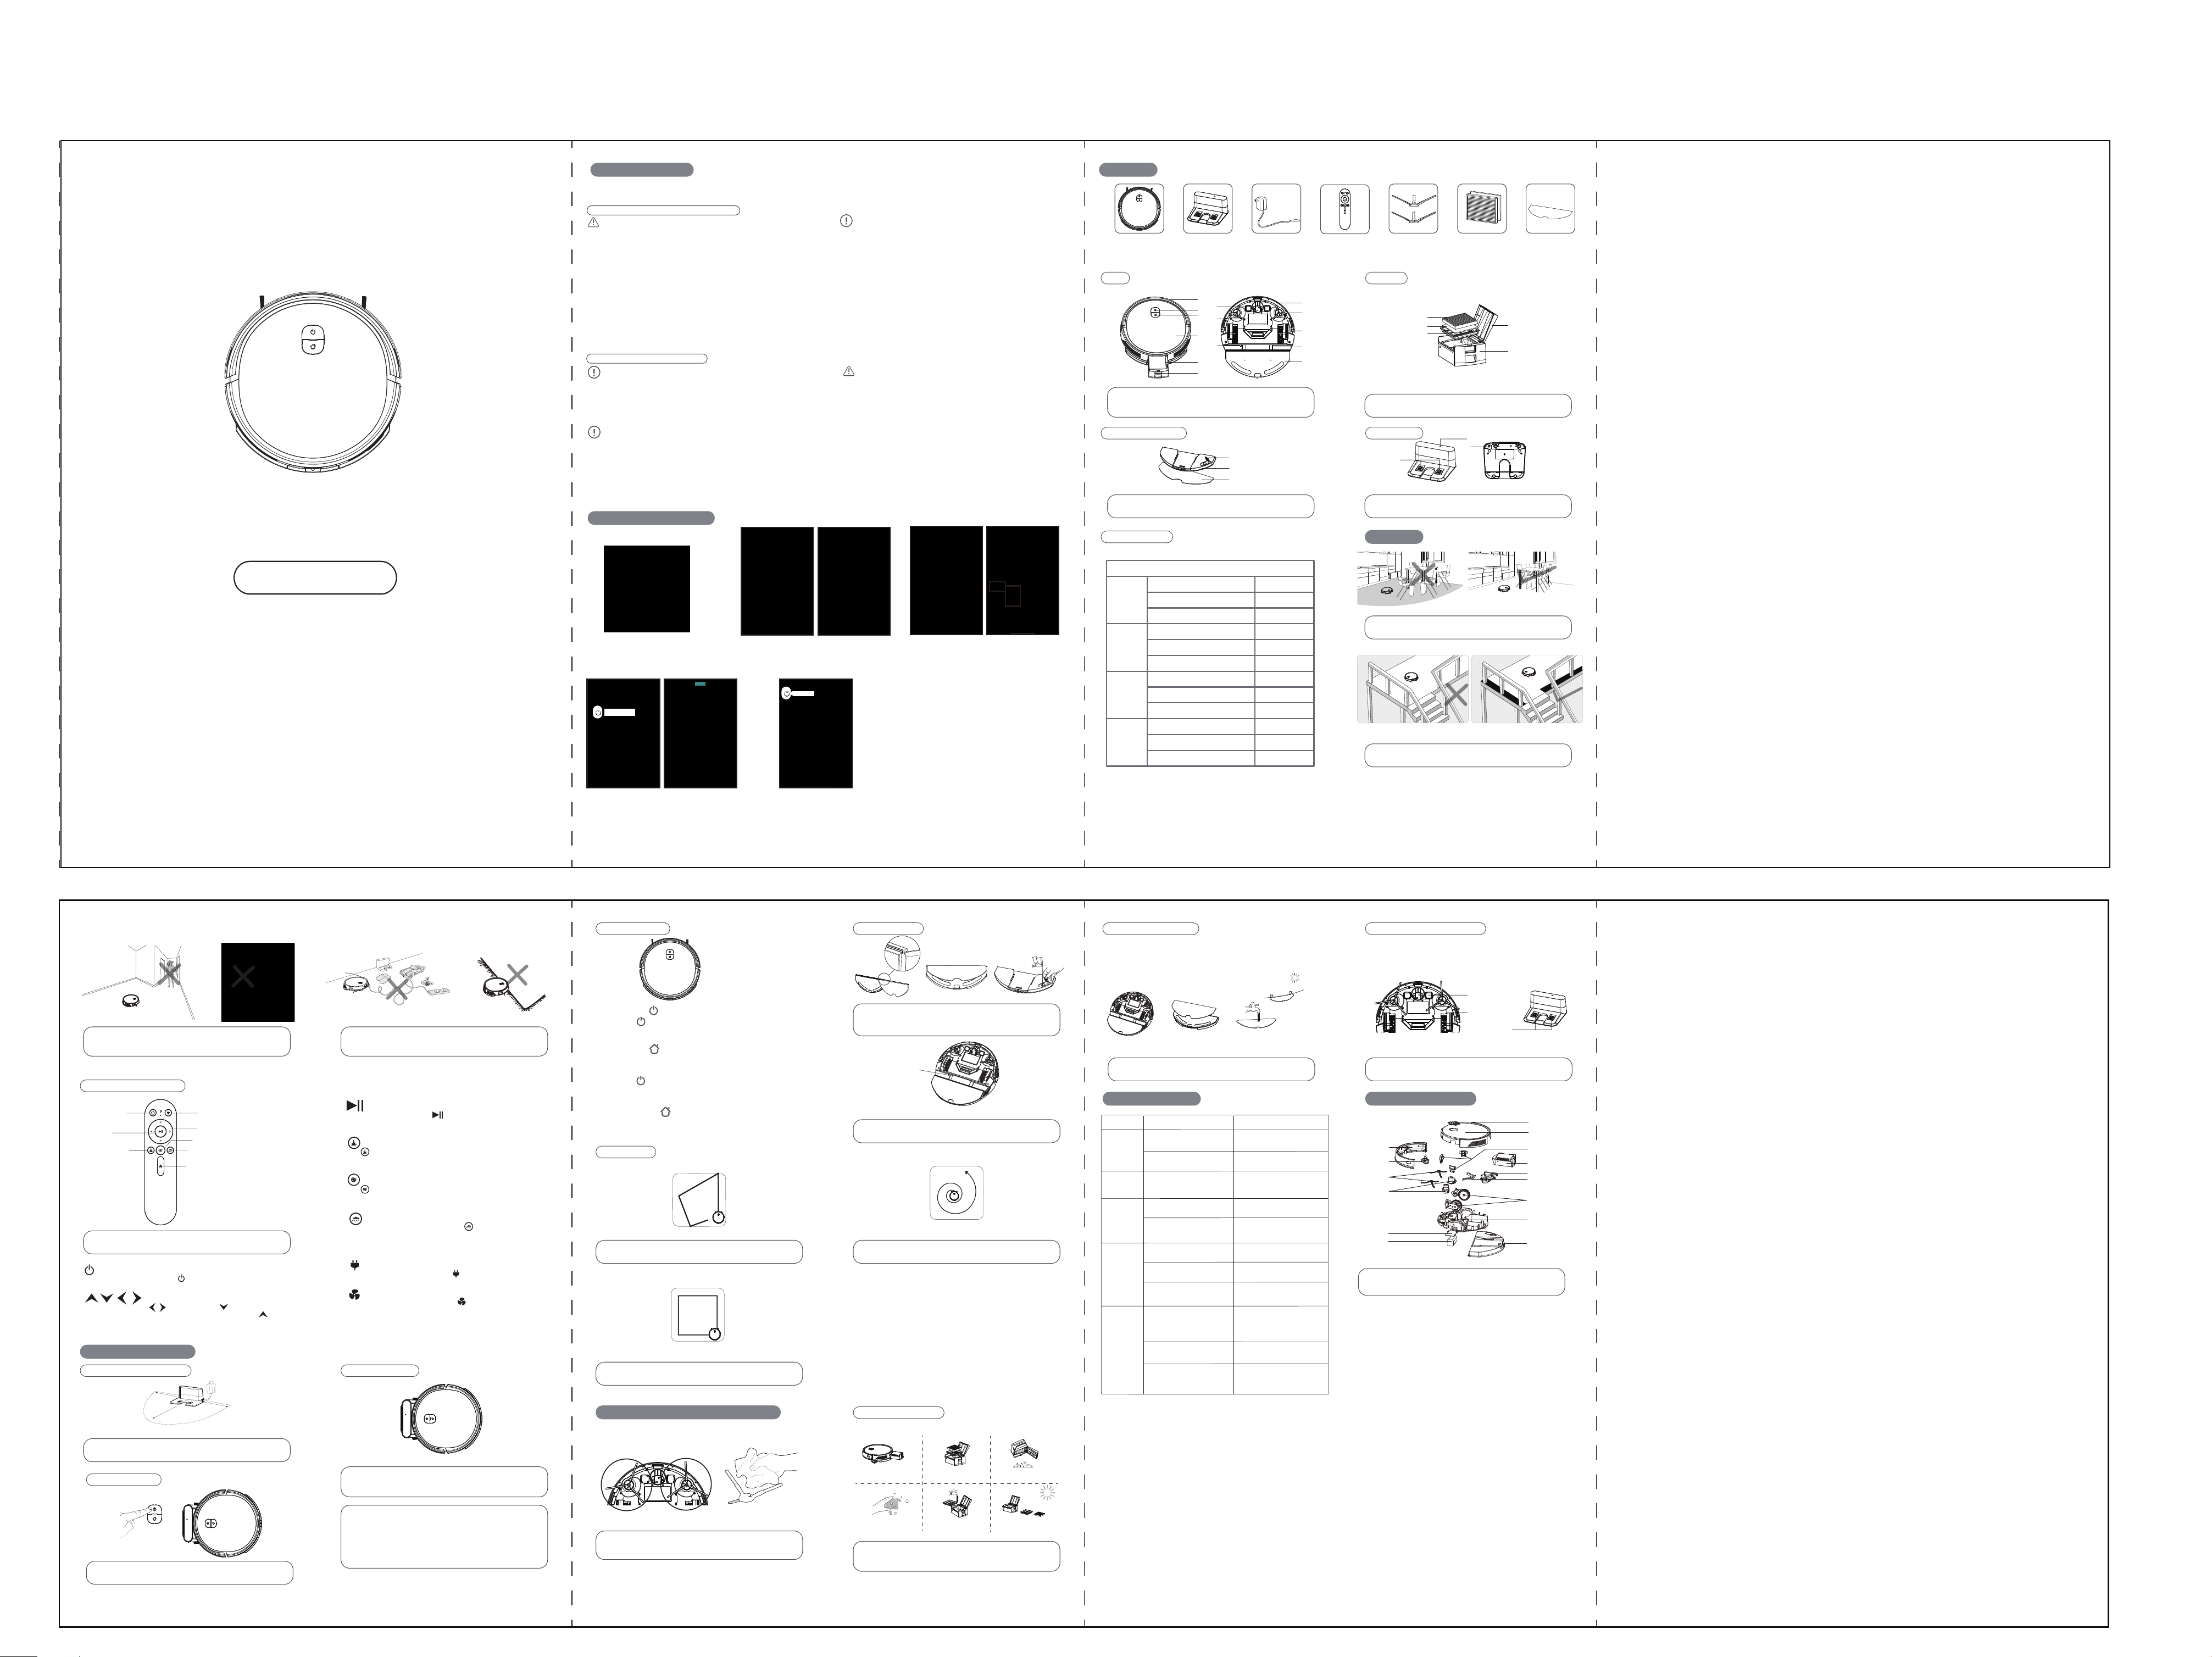
Part name
Power adapter
Side brush
High efficiency filter
Mop
Host
Charging station
Remote Controller
(excluding 2XAAA batteries)
Host
1.Bumper 2.Clean button 3.Recharge button 4.Panel
5.Dust box 6. Dust box release botton 7.Charging electrode 8.Battery Cover
9.Water Tank Air Vent 10.Universal wheel 11.Side Brush
12.Side Wheel 13.Water Tank Mounting Rail 14. Water tank
1
4
2
6
3
5
7
10
8
11
9
12
14
13
Dust Box
1.High-efficient filter 2.Filter sponge 3.Pre-filter
4.Dust box cover 5.Dust Box
1
4
2
3
5
Water Tank Component
1.Tank sealing cap 2.Water tank 3.Mop
1
2
3
Charging base
1.Charging indicator 2.Charging terminal 3.DC power jack
1
2
3
Product parameter
Host Diameter
Host Thickness
Net weight of sweeper
Main Body voltage
Main Body battery capacity
Main Body button type
Main Body water tank capacity
Main Body dust box capacity
Main Body cloth (polyester cotton)
Main Body charging type
cleaning time
charging time
Structural class
Electronics
Accessories
Operating
parameters
DC19V
2600mAh
Physical button
Manual / Auto
300mm
72mm
2Kg
250ml
250ml
255*110*3mm
Product parameter
When it is working, please help to remove the unfriendly obstacles. Put the
furniture and home appliances such as tables and chairs in the house neatly,
the robot will clean up smoothly to give you a clean new home.
If the robot works at the stairway, the edge of the step, or the entrance to the
narrow area among the furniture, etc, please place a fence to ensure it is safe
and running smoothly.
Power on/off
Pause
Sleep
Sleep mode means that the robot is stopped and the indicator light is off. If the Robot is
not active within 10 minutes, the robot will enter Sleep mode automatically.
Note: If the robot is out of service for a long time, please turn off the power switch.
The pause function is to switch the robot from the operating mode to the selected mode,
and the robot can be paused by the following operations:
01.Press the “ ” button on the robot to pause the robot.
02.Press the power on/off button on the remote controller to pause the robot.
Notice: After the machine is paused, the machine can be re-operated.
01.Long press the " " on the machine to turn on or turn off the machine.
02.Press the " " control button on the machine or the cleaning button on the APP
to start themachine working.
Network Configuration Mode
Hold down the recharge" "button on the machine to enter network configuration mode.
Charging Mode
Press the recharge" " button on the machine to enter recharging mode.
Switching Modes
Edge Cleaning
The robot will clean along the longest edge of the room.
Align the bottom edge of the wicking cloth with the designated slot on the tank,
install the wicking cloth, and attach it to the hook-and-loop fastener located at the
bottom of the water tank.
Open the water tank sealing plug, draw an ample amount of water, and slowly pour
it into the water reservoir. Then securely tighten the tank sealing plug.
Use of Water Tank
Random cleaning
Robot runs about 5 meters forward,then starts to turn, whenencountering
obstacles duringoperation, the robot will turnits direction
Cleaning Mode
Spot cleaning
The robot will perform the concentrated cleaning on a special dirty area.
(APP controlled only)
Check the side brush's condition frequently to see if it has been damaged or
entangled with other objects. Clean the side brush with a cleaning tool or cloth.
When the side brush is damaged and can not be used,please replace it as soon as
possible. L and R correspond to each other.
1.Remove the dustbin. 2.Take out the HEPA filter and the pre-filter.
3.Empty the debris. 4.Tap the HEPA filter clean to remove dust.
5.Rinse the dustbin and pre-filter with water.
6.Air-dry the dustbin, HEPA filter, and pre-filter.
⑤
① ② ③
④
⑥
Side Brush Cleaning and Replacement
1.Remove the water tank. 2.Remove the mop. 3.Wash and dry the mop.
Periodically use a cleaning tool or dry soft cloth to gently wipe the charging electrode
plates and sensor window on the machine chassis, as well as the terminals on the
charging base.
Charging terminal
Electrode slice
Sensor
① ② ③
Scope of application
This product is suitable for cleaning homes, hotel rooms, and small offices. It has a
good cleaning effect on various short and long carpets (carpet hair less than 1cm),
wooden floors, hard floors, and tiles.
Water Tank
button assembly
Panel
Sensor
Dust Box Components
Fan components
suction inlet cover
assembly
wheel assembly
Bottom shell
Bumper
Universal wheel
assembly
Side Brush
Universal wheel
assembly
Battery cover
Battery
Faults Description Replaceable Modules
G300说明书 128g铜版纸592x210mm风琴折 折后尺寸145x210mm单黑印刷
ROBOTIC VACUUM CLEANER
(Note: Please read this instruction carefully before use to avoid danger or damage to the product due to improper operation)
Instruction manual
Safety instructions
Before using this product, please read the following safety instructions and follow all general safety precautions.
Please read this instruction carefully. Please keep this instruction manual.Any operation not in accordance with this manual may cause damage to the product.
Safety precautions for the host and accessories
Warning
01.Do not disassemble, repair or modify the machine by yourself, otherwise the product will
be damaged and dangerous.
02.Do not use this product in an environment where fire or explosion may occur.
03.This product can only use the original power adapter, otherwise it may cause product
damage and fire.
04.It is prohibited to stand or sit on this product, otherwise it may cause product damage or
fall.
05. If there is dust around the metal part of the power plug, be sure to wipe it clean with a dry
cloth.
06.The power adapter uses 100-240V AC voltage. Please insert the plug into the socket
correctly to avoid children's touch.
07. It is forbidden to wash or soak the host and electronic components in water, otherwise it
will cause short circuit damage.
08.Do not damage the processing power cord, do not put heavy objects on the power cord,
heat the power cord or pull or bend the power cord.
09.When the product is running and cleaning, please pay Note to the safety of young children
and the elderly to avoid tripping and danger. Do not touch the wheels and side brushes
with your hands to avoid getting entangled and causing injuries. (Children should pay
special Note).
10.This product is for indoor use only. Please do not use it outdoors.
11.Do not use metal or conductive materials to contact the battery contacts, otherwise a short
circuit may occur.
01.Do not touch with wet hands, otherwise it may cause electric shock.
02.Do not place this product in a place where it may fall, such as on a high platform in a room
with tables or chairs.
03.This product is a precision electronic device and should be avoided from prolonged
exposure to sunlight.
04.Do not use this product in a humid environment, such as a bathroom.
05. Do not place this product near cigarette butts, lighters or other open flames.
06.Please clean this product after charging.
07.Please turn off the machine if it is not used for a long time.
08.Please check carefully whether the power adapter is connected to the socket before use,
otherwise the machine will be damaged.
09.This device is only for normal people over 8 years old. Users must not use or maintain the
device without fully understanding the safe use of the device or if they lack physical sensory,
mental or other abilities.
10.Before using this product, please remove all fragile items on the ground, such as glasses,
lamps, and items that may get entangled in the side brush and suction channel, such as wires
and curtains.
11.When the trash box is full, please empty the trash before using the machine.
12.Do not use machines to clean construction waste.
13.The operating temperature range of this product is 0 degrees Celsius to 40 degrees Celsius.
Do not use it in high or low temperature environments.
14.Please remove the battery from the product before scrapping. Make sure the product is not
connected to the power supply when removing the battery. Please recycle the discarded battery
safely and environmentally friendly.
Safety precautions for rechargeable
Dangerous
01.Be sure to use a dedicated battery adapter, otherwise it will cause leakage, heating or
rupture.
02.Never short-circuit or disassemble the battery, otherwise it will cause leakage, heating
or rupture.
03.Do not transport or store it together with metal objects such as necklaces and hairpins,
otherwise it will cause a short circuit and cause leakage, heating or rupture.
04.Never throw the battery into fire or heat the battery, otherwise it will cause leakage,
heating or rupture.
Note
01. If you find abnormal overheating during charging, please stop using it immediately,
otherwise it will cause leakage, heating or rupture.
02.To extend the battery life, please unplug the battery when not in use for a long time and
place it in a cool and dry environment, otherwise it will cause leakage, heating or rupture.
03.Do not immerse in water or contact with liquid, otherwise it will leak, heat up or rupture.
04.Please stop using the product if any abnormality (such as discoloration or deformation)
occurs, otherwise it may cause leakage, heating or rupture.。
05.When recycling or disposing of the product, be sure to insulate the electrode using tape,
etc.
06.If the battery leaks, please wipe it clean with a dry cloth and recycle or discard it in time.
07.f the battery leaks, please wipe it clean with a dry cloth and recycle or discard it in time.
08.The battery should be repaired and replaced by the after-sales service center.
Warning
01.If battery leakage comes into contact with skin or clothes, be sure to rinse with clean
water immediately. If left untreated, it may cause skin inflammation and other problems.
02.Do not use the rechargeable battery of this product on other devices. This battery is only
suitable for smart sweeping robots.
03.If the battery box is deformed, expanded, and the electrolyte leaks out, it is forbidden to
charge or continue to use it to avoid danger.
04.Do not hit the battery strongly or throw the battery, otherwise it will cause leakage,
heating or rupture.
05.Do not disassemble the battery pack, otherwise it will cause the battery pack to rupture
and the electrolyte to leak out, causing dangers such as fire and explosion.
Figure 1
Wi-Fi Setup Instructions
Register
Open the smart life app. If you don't have an account,
please register first,then click and log in.
Figure 2 Figure 3 Figure 4 Figure 5
After logging in, click the "+" sign in the upper right corner of the
home page to add the device. Turning on the Bluetooth and
positioning permissions can speed up the network connection.
Then on the device selection page you should choose the small
appliances on the left and the Robot Vacuum (BLE+WIFI)on the
right. Follow the page prompts to connect.
Scan QR code of Figure 1, then download and
install "smart life" app or Search for smart life on
the App Store or Android App platforms. Then,
download and install it.
XXXXXXX-robot
XXXXX
When the app displays the page shown in figure 6, you can use
the app to control your sweeping robot. Click the device to enter
the control interface of app . In this interface, you can select
different cleaning modes, or view the cleaning process / status.
Click the icon on the top right to see more options.
Figure 6 Figure 7 Figure 8
This interface can be connected to the smart audio
system to realize the one key execution of multiple
control functions.
XXXXX
XXXXXXX-robot
Attention
Solutions
The robot can
not be charged.
The robot is
stuck during
work.
The robot goes
back to recharge
without finishing
the cleaning
work.
The robot does
not perform
cleaning work
automatically as
scheduled
When the robot
is working, there
is a missed
sweep, the route
is chaotic, the
deviation is
reversed,and the
APP side
cleaning map
shows irreg
ularities and is
not neat.
The electrodes between the main
body and the charging base are not
contacted properly.
Make sure that the electrodes between
the main body and the charging base
are properly contacted.
Keep charging the robot when it is not
working to better prepare for next
cleaning assignment.
The robot will try to get itself out
automatically.However,please help it
manually if it failed.
The charging base is switched off
while the robot is switched on,
which leads to the loss of power.
The robot detects that the power may
be not enough and automatically goes
back to recharge.
The robot works at different speeds
on different floor types.For example,
it works longer on the wood floors
than on carpets.
The robot is not switched on and the
robot can not perform cleaning work
as scheduled when it is powered off.
The robot is stuck or twined by
obstacles.
The drive wheel and the ground may
slip due to the robot climbing small
steps, thresholds and door bars, thus
affecting the its judgment on the
working environment of the whole
house.
Work on a waxed, polished floor or
smooth floortile, resulting in reduced
friction between the drive wheel and
the ground.
The wires, slippers, etc. placed on
the ground affect the normal
operation of the robot.
It is recommended that you clean the
floor after the wax is air-dried.
Before the machine is working, please
arrange the scattered wires, slippers
and other objects on the ground to
minimize the scattered objects on the
ground.
The power level of the robot is too
low to work.
Keep charging the robot when it is not
working to better prepare for next
cleaning assignment.
Turn off the robot and clean the dust
box.Then turn over the robot to clean
its components,such as wheels and
side brushes.
Turn on the robot.
The length of working time varies
because of the complexities of room
environments,the amount of garbage
and different cleaning modes.
Charge the robot.
The robot may be stuck by wires/
cables on the ground,hanging
curtains or obstacles around the
carpets.
Faults Possible Reasons
It is recommended to close the door of
this area and clean it separately. After
cleaning, the device will return to the
starting point. Please feel free to use it.
Maintenance of Dust box
Maintenance of Water Tank Maintenance of Other Components
1m
1m
2m
Place the charging base against the wall. Do not place any objects within 3.3 ft to
the left / right and 6.6 ft to the front, and do not place any mirrors or other reflective
objects within this distance.
Please pay attention to remove sundries , such as the power cords, toys, etc, which are
scattered on the ground may catch or entangle the Robot.
Do not use the mopping function on the carpet! If there is a carpet in the house, please
roll up the edge of the carpet in advance.
Please do not stand in narrow places such as thresholds and aisles to avoid missing
sweeping. When the robot is working, please ensure that the object with the thickness
less than 1.8 cm is not placed in the cleaning area to prevent the machine from
climbing and jamming.
Remote controller instruction
Power on/off
When the device is in sleep mode, press to active the Robot. When the vacuum is in standby
mode, press this button to make the Robot into sleep mode.
Direction button
In the standby mode, press to turn left/right, press the vacuum cleaner will rotate
180 degrees. After releasing the button it will return to standby mode. Press the vacuum
cleaner will continue forward.
Placement of the Charging Base
Press and hold the Cleaning button for 3 seconds to power on. In any operating mode,
select the “Recharge” button on the remote control or App to command the machine
to automatically return to its charging dock.
Charge after startup
This product conforms to European ERP energy consumption standard
When Cleaning is completed or the battery is too low,the robot will automatically start
finding the charging base to charge itself.
Pls keep the charging base in power,otherwise the machine will not be able to find the
charging base.
Automatic Recharge
Charging instruction
01. For the very first operation, please let the robot run out of power.
02. Please charge the robot for 12 hours for the first time of operation. When the
charge is done, the Control button light turns off.
03. lf the robot is out of service for a long time, please turn off the power switch.
04. Please charge the robot as soon as possible after the battery is used up.
05. The product can only use the power adapter and charger provided by the factory.
06. The battery should be repaired and replaced by the after-sales service center.
When the robot is in the vicinity of the charging base and the virtual protection
wal, it may not be able to distinguish the instructions issued by the remote controller
If you do not use the remote controller for a long time, please remove the battery.
Operating Instructions
Power on/off
Direction
Automatic cleaning
/standby
Smart Cleaning
Recharge
Spiral Clean
Suction Setting
Water Setting
Automatic cleaning/standby
Press the Automatic cleaning/standby bulton to switch the device between operating
mode and standby mode. When the Robot vacuum is running, press this button, the
Robotic vacuum wil pause, and press it again to start.
Random cleaning
Press , Robot runs about 5 meters forward,then starts to turn, when encountering
obstacles during operation, the robot will turn its direction. After cleaning is over or the
battery is low, it will automatically return to the charging base for charging.
Spiral Clean
Press for Spot Cleaning mode. The robot will intensively clean a specific area in a
spiral patterm. which useful if there is a concentrated area of dust or debris. When in the
Spot Cleaning mode, the unit wil stop cleaning after 2 minutes.
Water Output Setting
When the robot vacuum is in mopping mode, press , the water volume adjustment in
the water tank output level will be changed cyclically. Press the button to change the
water output level. For example, if the Robot is in the first level output, the water output
level will increase to the second level by pressing it once, press again to increase to the
third level, press third to back to the first level.
Recharging
When the Robot in the operating mode, press , the Robot will enter the recharge
mode and automatically find the charging base.
Suction setting
When the Robot is in the operating mode, press to adjust the suction, the Suction
of the Robot will be changed cycically. Press the button to change the suction level.
Water Tank Air Vent
Install the water tank component: Align it with the slide rail on the machine and push
it forward until it is fully inserted into the air intake vent.
FCC Caution.
This device complies with part 15 of the FCC Rules. Operation is subject to the
following two conditions: (1) This device may not cause harmful interference, and (2)
this device must accept any interference received, including interference that may
cause undesired operation.
Any Changes or modifications not expressly approved by the party responsible for
compliance could void the user's authority to operate the equipment.
Note: This equipment has been tested and found to comply with the limits for a
Class B digital device, pursuant to part 15 of the FCC Rules. These limits are
designed to provide reasonable protection against harmful interference in a residen-
tial installation. This equipment generates uses and can radiate radio frequency
energy and, if not installed and used in accordance with the instructions, may cause
harmful interference to radio communications. However, there is no guarantee that
interference will not occur in a particular installation. If this equipment does cause
harmful interference to radio or television reception, which can be determined by
turning the equipment off and on, the user is encouraged to try to correct the
interference by one or more of the following measures:
-Reorient or relocate the receiving antenna.
-Increase the separation between the equipment and receiver.
-Connect the equipment into an outlet on a circuit different from that to which the
receiver is connected.
-Consult the dealer or an experienced radio/TV technician for help.
*RF warning for Mobile device:
This equipment complies with FCC radiation exposure limits set forth for an uncon-
trolled environment. This equipment should be installed and operated with minimum
distance 20cm between the radiator & your body.