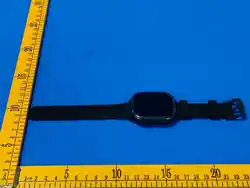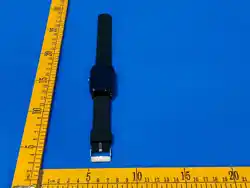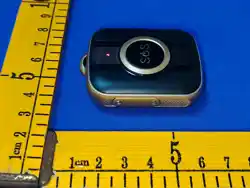
Y41 4G Mini GPS Tracker User Manual
Please read the instruction manual below before use, in order to install the SIM card properly and use
the product easily.
Before first use, fully charge the battery.
Note:
1) Before inserting the SIM card into the device or when removing the SIM card from the device, the
device must first be turned OFF.
2) Restart the device outside in an open area where you are guaranteed to have a good signal to
properly sync the GPS position from the satellites. This way you ensure the correct functionality of
the device. Please note that in places with a poorer signal, the device may not be set correctly.
3) After pairing the device with the app (with your account), logout the app and then login again to
refresh the app features
4) Long press 3 seconds turn ON device, long press 5 seconds trigger the SOS call
5) Set correct your local timezone in the app setting
Overall item construction is IP67 waterproof, but NO Swimming !
1. How to use the Tracker:
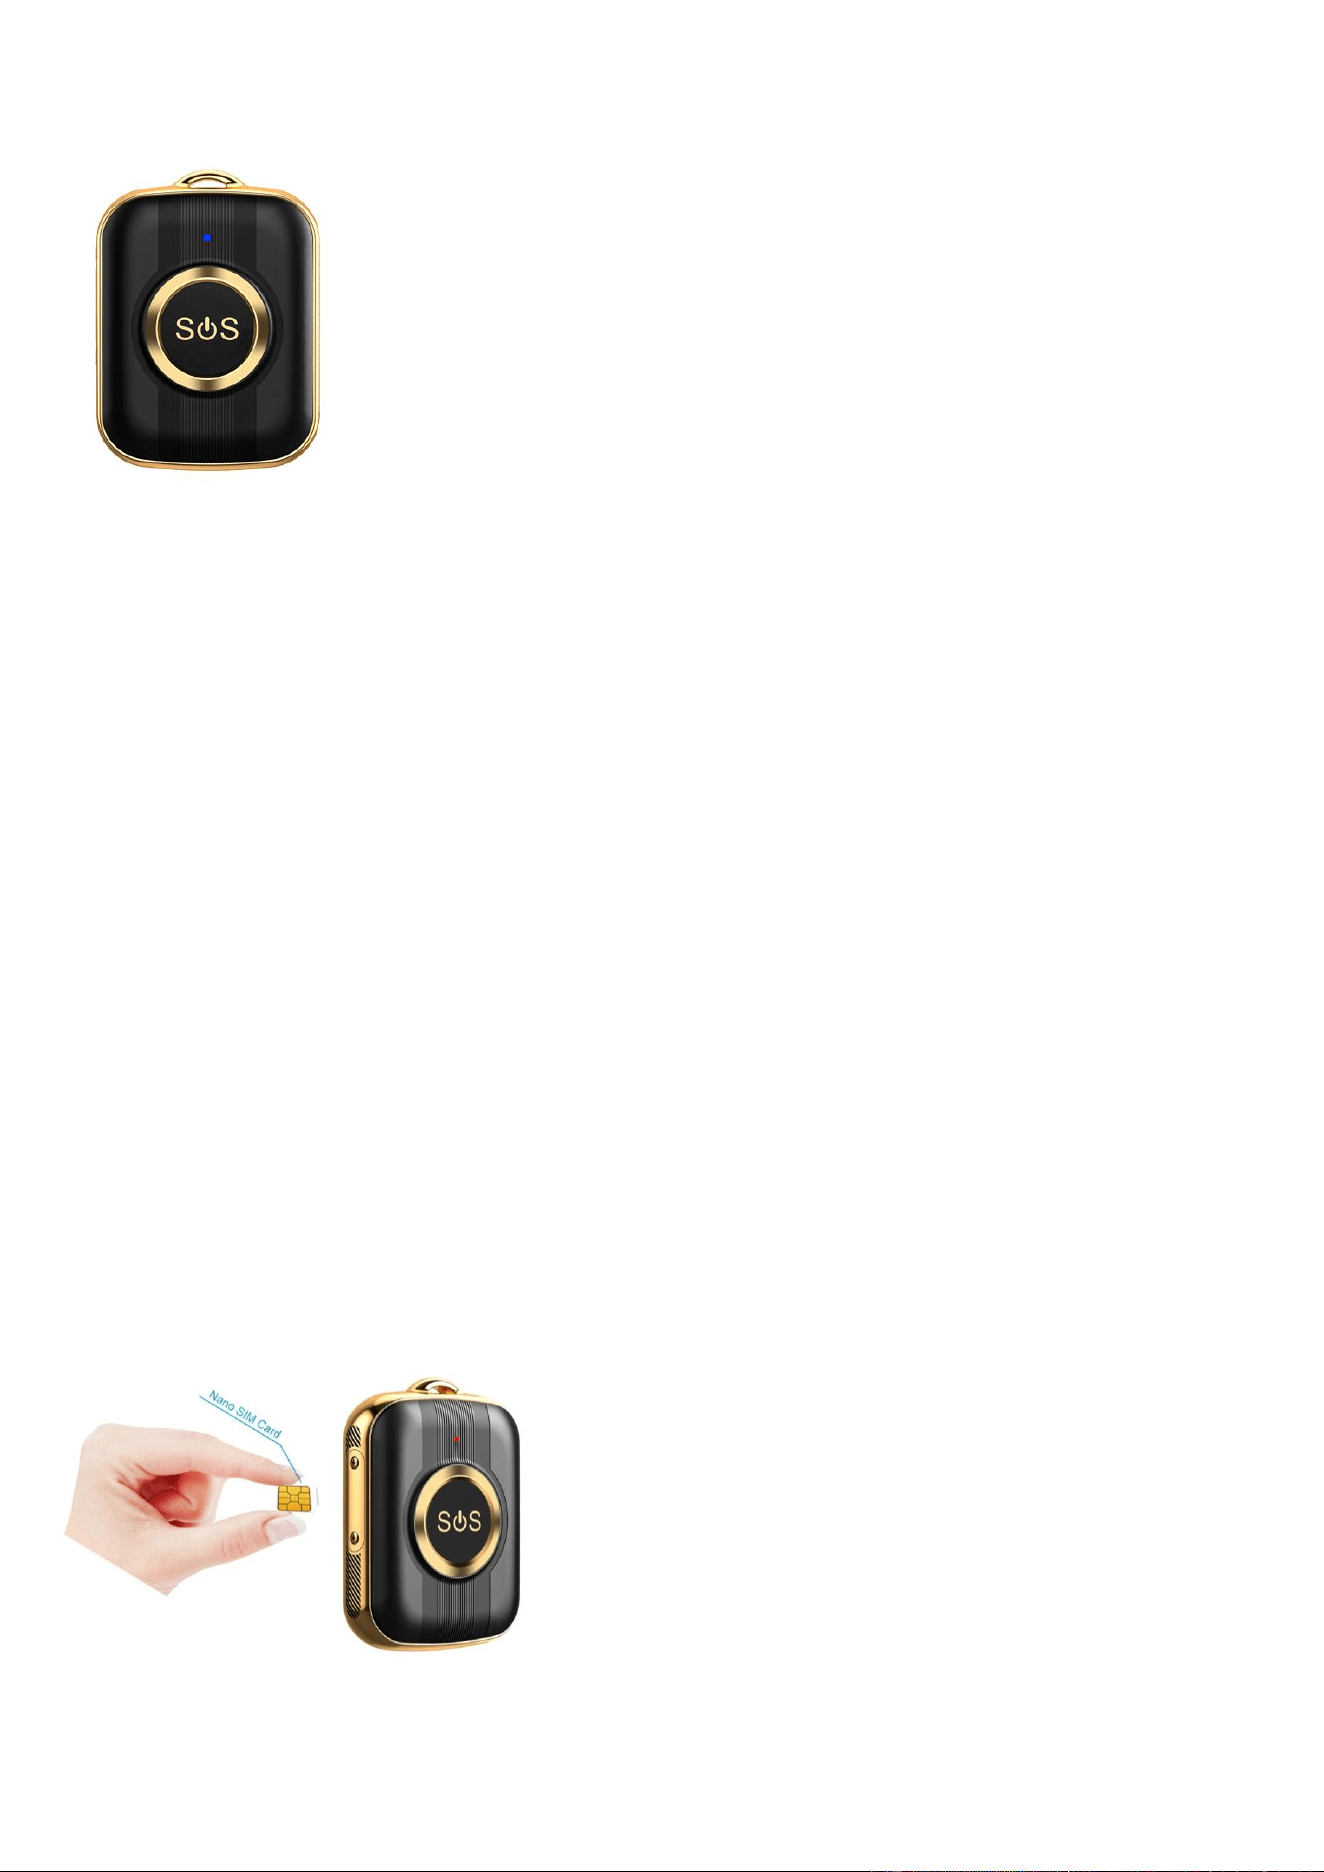
1) Install the standard Nano-SIM card (select 4g SIM card for LTE network) according to the SIM
card installation method. The SIM card needs to enable VOLTE, SMS, data services (4G is
recommended) and caller ID service.( Do not insert the sim card during the device is ON)
2) SIM card installation method:
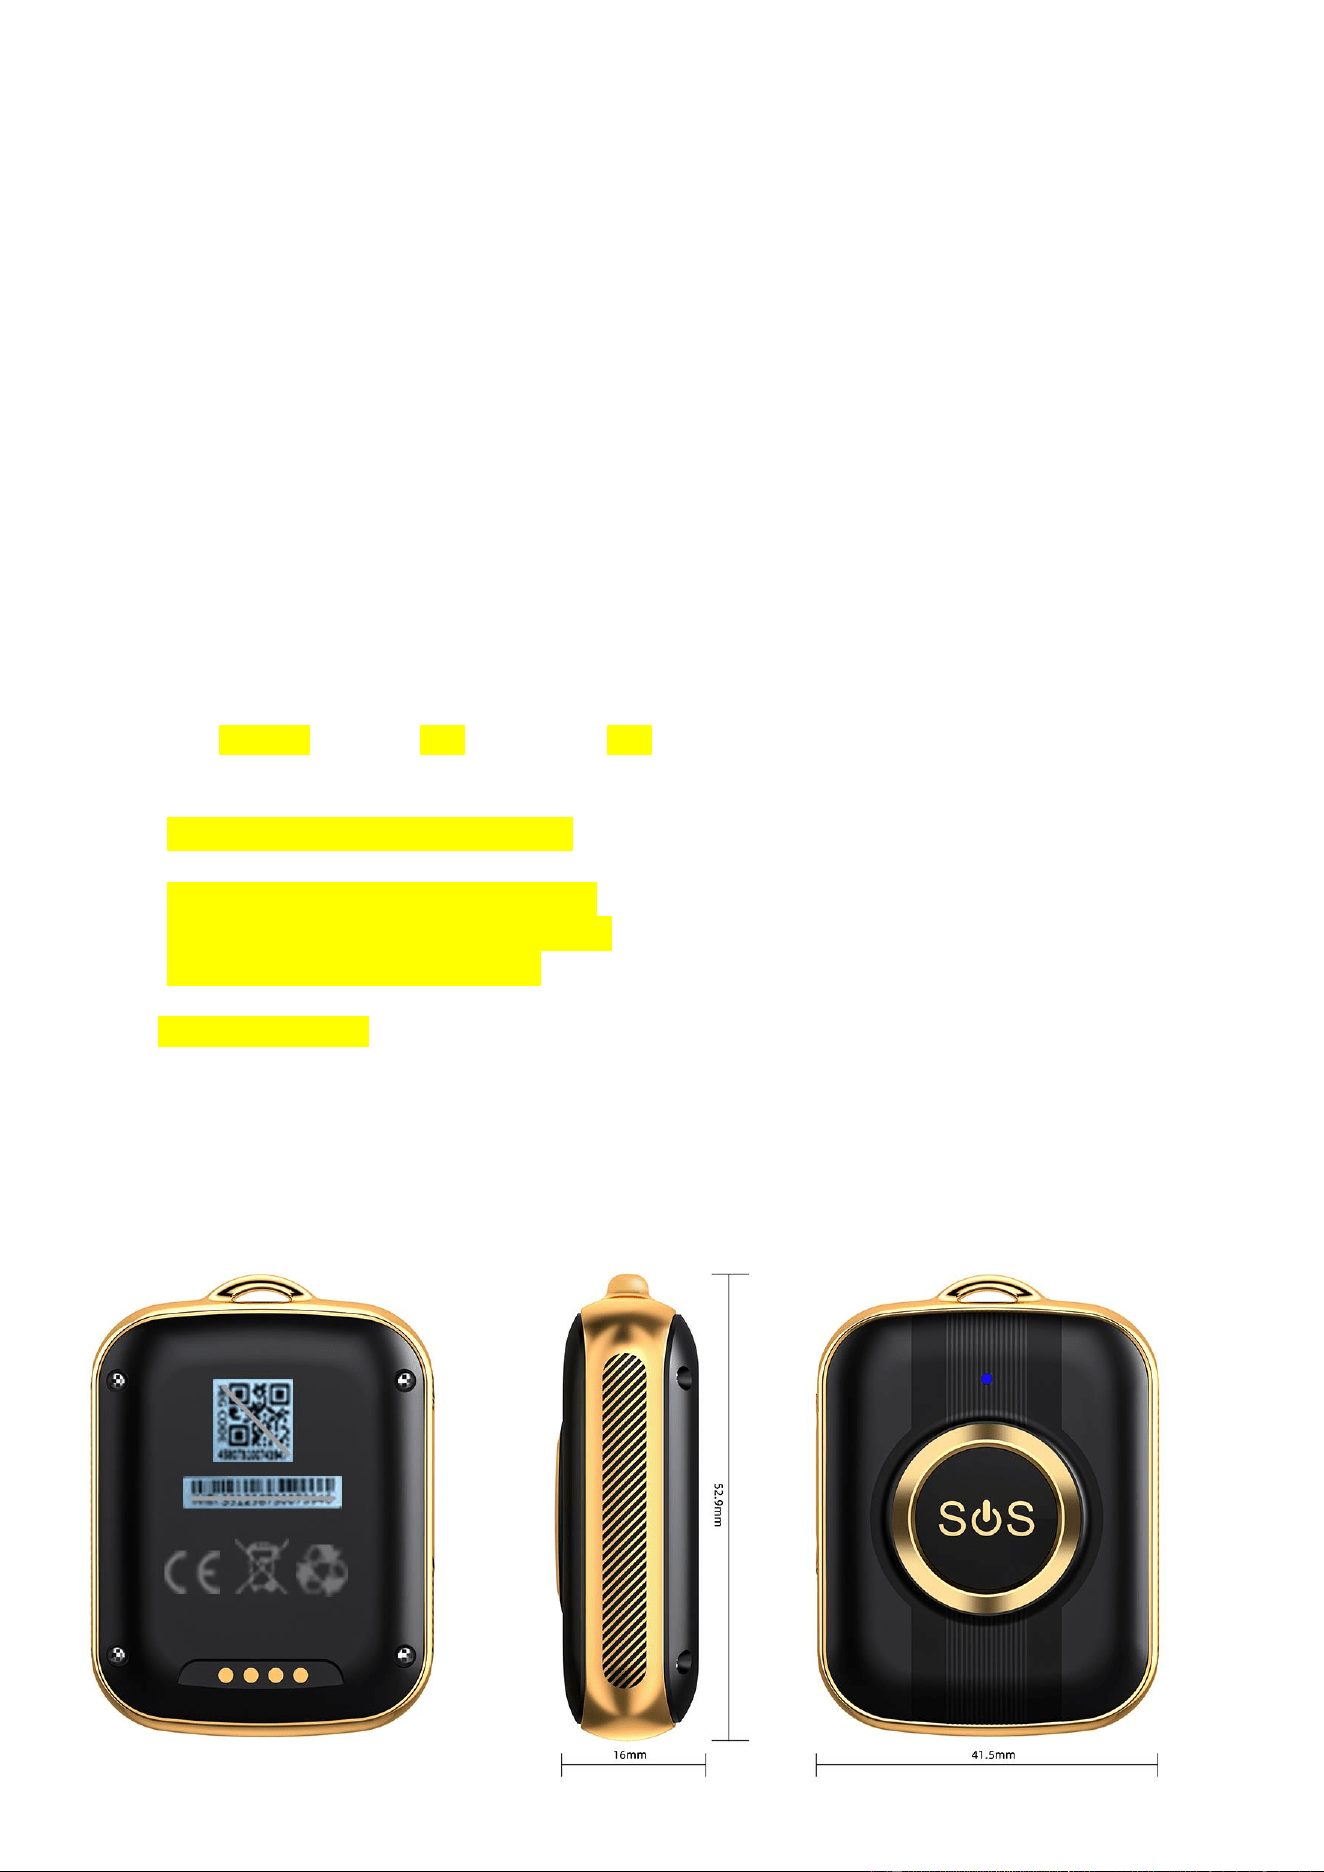
Insert a suitable 4G SIM card with the gold side facing upwards and the diagonal corner facing the
bottom right corner of the tracker – see image for details.
4G sim nano card specs.:
Ⅰ) Activate VoLTE 4G sim,valid Voice +SMS+GPRS(VoLTE=voice over LTE, VERY important)
Ⅱ) GPRS monthly plan is 60-80MB/monthly
Ⅲ) No Pin code
Ⅳ) No voice mail
3) Power on: Press and hold the power button until the motor vibrates to release your hand
4) How to power off:
(Option 1): If no sim card inside, just long press the power button for 5s to turn off the tracker
(Option 2) If sim card inside and online, then only can remote turn off from app,
APP: Settings -‘Remote Shutdown’
5)Battery Charge: use the magnetic charging cable to connect to the back of the tracker, connect the
other end of the cable to the supplied USB charger 5V1A or other sources.
Please do not use fast charger, use only 5V 1A chargers or USB ports, higher voltage may damage
the device.
If after insert the sim card, the device is still offline, this need set the apn
1) Check the sim card apn, MCC and MNC code in an android phone
eg.apn is stkmobi MCC#:310 and MNC#:240
2) Send the sms from your smart phone to the sim number in the GPS device to set the apn
compatible local network, there is no any space in the sms command
eg.:pw,123456,apn,stkmobi,,,310240# (This is apn setting SMS command format, you can
change the apn and MCC MNC what you checked and get it in an android phone)
eg.:pw,123456,apn,mobilenet,,,310240#
eg.:pw,123456,apn,19004.mcs,,,310030#
eg.:pw,123456,apn,mnet,,,310240#
3) Send sms to restart/reboot the device
Eg.: pw,123456,reset#
2. Tracker Parameters:

3. Product Features:
2. Historical
1. Real-time GPS&LBS location
route
3. Geo-fence
4. Calling (phone book, SOS call button, two-way communication)
5. Health (Pedometer, Calorie, Sleep monitoring)
6. Medicine reminders (Optional for Personal Tracker)
7. Fall down detection (Optional for Personal Tracker)
8. Other settings and functions
4. Function Description:
1. Location Update Schedule Modes:
There are three location update modes. User can switch the working mode via mobile phone APP,
Click ‘Settings’ button top of App / Set ‘Location
Update schedule’.
1. Normal mode: Updates location data to APP every 10 minutes when there is a continuous
movement
2. Power saving mode: Updates location data to APP every hour when there is continuous
movement.
3. Sleep Mode: It is the default mode and simply means that Geo-fence (safe zone) and
location updates are both turned off. The user can locate the GPS tracker at any time in this
mode with the "Locate" button, this mode is the best way to save battery.
Note:①Under the above three modes, the user can check the current location of the device
in real-time by APP. Open the APP in the map interface, click on the locate button, and the GPS
tracker will report the up-to-date position as soon as possible.
②In the map, you can see the type of positioning icon in different colors, WIFI positioning is
blue, GPS positioning is red, LBS positioning is green
③ In the 10 minutes or 1 hour movement tracking mode, the GPS tracker will regularly
update the location on the APP Map page and History
④The device supports GPS tracking (Outdoor), WIFI tracking (Outdoor and indoor), LBS
tracking (Outdoor and indoor).The primary difference between GPS and Wi-Fi locating
technologies is in the method of gathering location data. GPS uses satellites that orbit around the
Earth to triangulate a user's location, whereas Wi-Fi locating technology uses relative network
signal strength gathered at network access points. GPS tracking is available in out-door but
mostly not available for indoor. When the GPS tracker doesn’t find GPS signal, it will use Wi-Fi or
LBS tracking, Wi-Fi tracking is better for indoor comparing with LBS tracking.
3. Historical Location Playback
In the main page of the APP, click the history button in the bottom, you can
check the location history playback within the last three months.
3. Geo-fence (safe zone):
This feature defines a Geo-fence (safe zone) perimeter and sends the
user a push notification if the tracker has left the safe zone.

The user can still manually locate the tracker when the safe zone is turned
on/off.Click ‘More’ ‘Geo-fence’ click the "+" icon in the bottom input
the zone name Click and drag the map to set the center point click
on the "+" "-" icon or drag to set the coordinates regional context click
OK in the upper right corner to save the setting.
Note:
(1) The app will show leave geofence alarm information (History alarm information
can be viewed in APP Information Center, which is in the upper left corner of the map
interface).
(2) The APP may not notify the user immediately of a geofence breach - it will
only check as often as the time interval is set, the GPS positioning time interval is shorter,
the alarm information will be sent faster.
(3) The user can set up to three Geo-fences.
4.Calling:
1)SOS Calling:
Click APP More Settings SOS Numbers - Enter SOS phone numbers, click save.
2) One Button SOS: in case of emergency, long press the power button to trigger the emergency
call SOS. It will call 3 SOS numbers 2 rounds until someone pick up.
3) Phonebook:
① Add a contact: Click APP More Settings Phone Book - Click the Add icon
Remarks name, numbers(can be set up to 15 numbers), and finally click OK to save.
Note: The SOS number and phone book are set so that the numbers inside can make two-way
communication with the device. The numbers that are not inside will be rejected.
5. Health pedometer steps
Pedometer feature set: APP More Healthy steps Click on the Settings icon - Add pedometer
period time (up to three), and click“save”.
6. Medication reminders
APP more Settings medication reminders Set medication reminders and
reminder time text, voice to save.
Note: (1) user can set the frequency as single, daily and weekly
(2) Set up to three groups.
7. Fall down detection
You can turn on/off the Fall down detection function and also ok to set the fall down detection sensitivity.
And you can turn on or turn off the fall down emergency call, if you turn on it, once detected fall down
it will call the 3 SOS numbers in 2 rounds until someone pick up.
8. LED indicator description
1. Turn on: The red LED lights turn on
2. Shutdown: Red LED light on first, then off.
3. Charging: During the charging process, red light is always on, and after fully charged, then blue
light always on.
4. Find device: Red light and blue light flash alternately
5. How to check if the network is normal: Press the SOS button, if red light on, means not connected
network, if blue light on, means network connected
5. The APP:
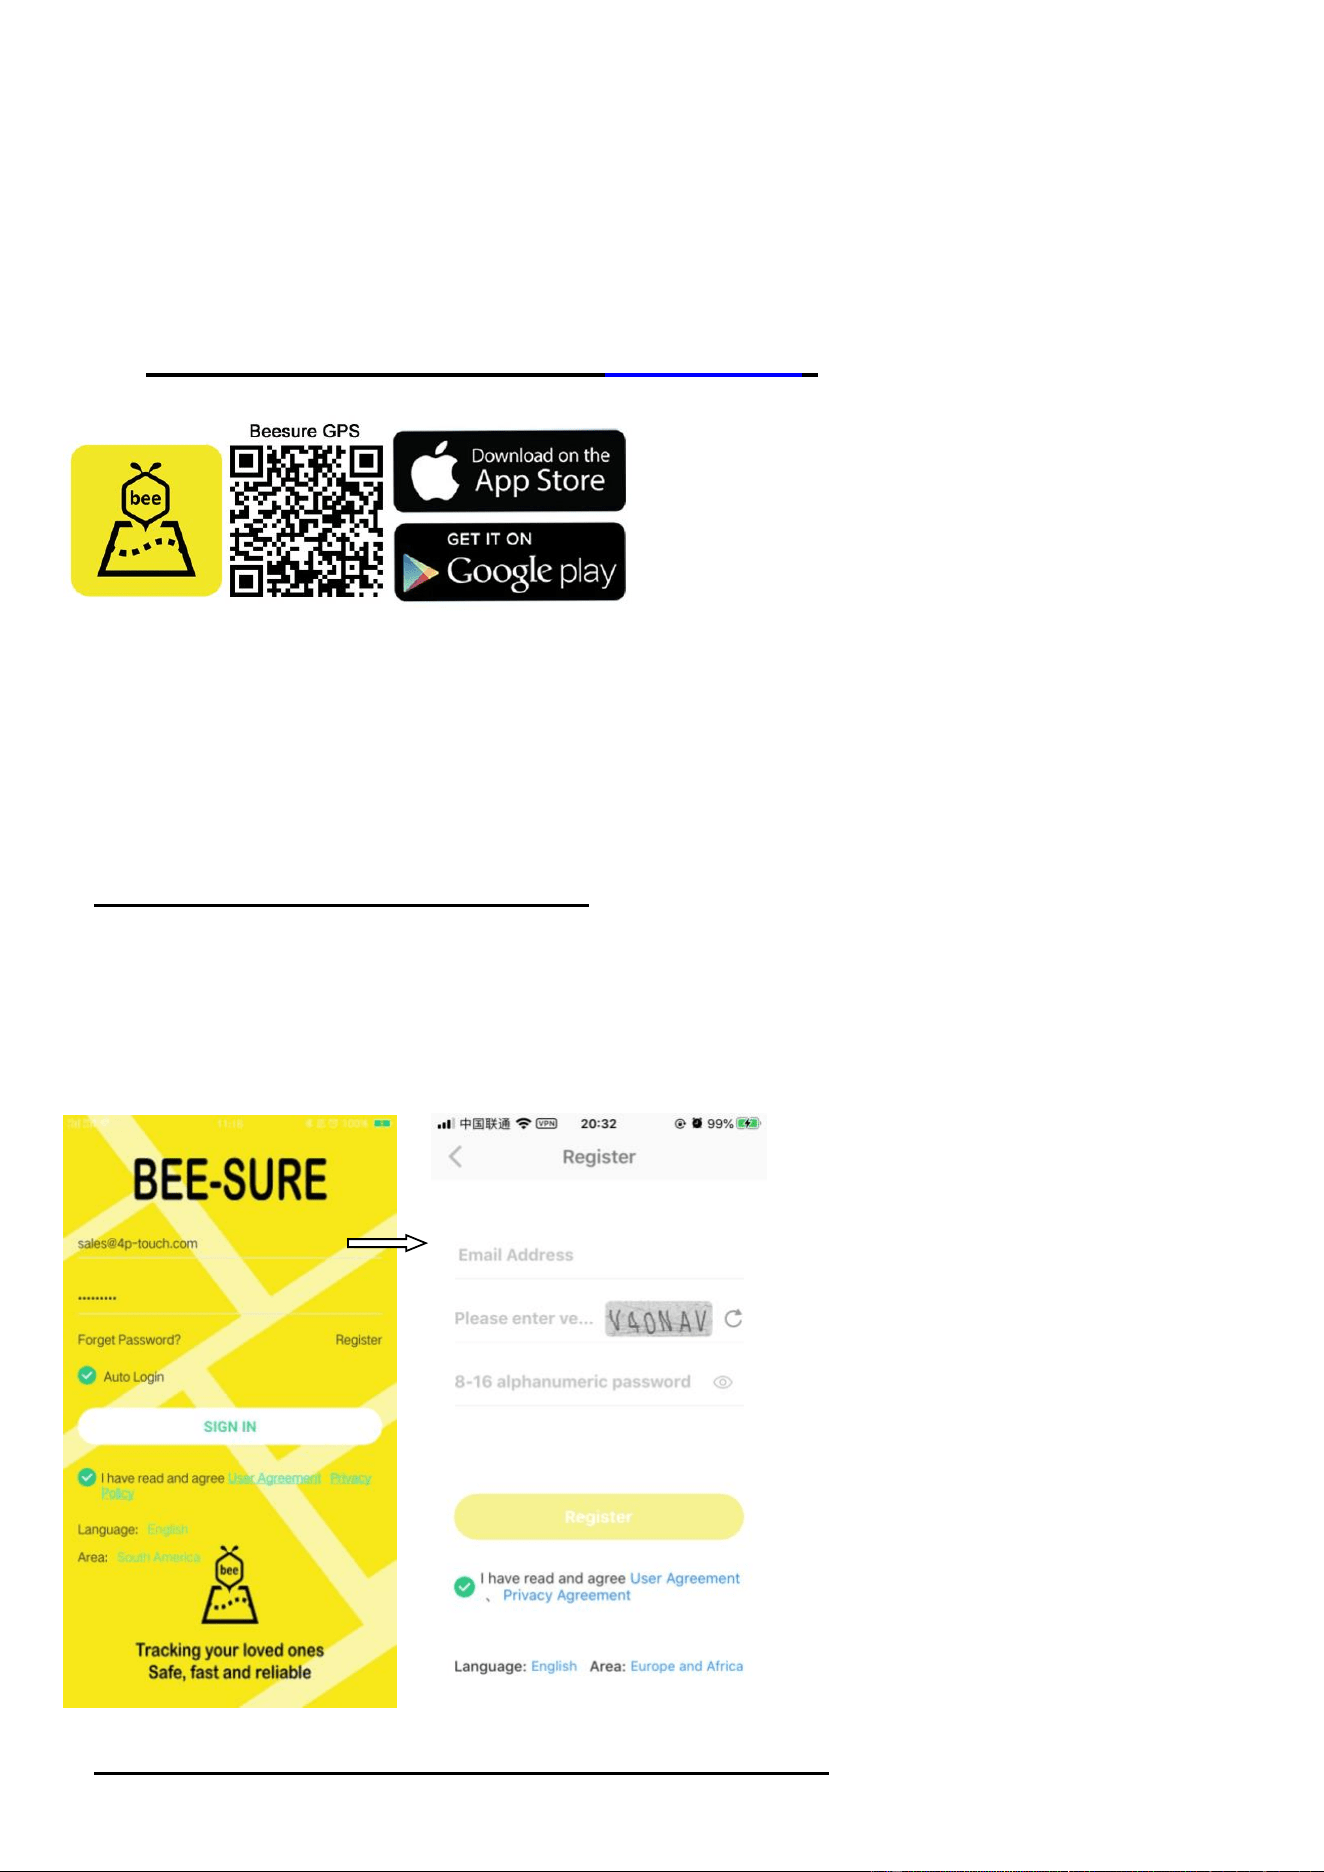
1. Download and install the App “Beesure GPS”
(Option1) - Scan the following QR code, download and install the App
(Option 2) - Scan the QR code in the GPS Tracker in ‘More’
(Option 3)-Search “Beesure GPS” in App Store - Apple or Google Play
Note: During installation, the phone prompts whether to trust the APP or whether to allow prompt
access to phone location, etc. Please select trusted and allowed all the time.
2.Registering the tracker and log in:
Open the App, new users will need to register a new account by clicking on thebottom right
“Register” button, complete the registration steps. Please note thatyou will need to select the right
area you are located in, for example, if you’re in Europe, you need to choose “Area” as Europe. If
you’re in Australia, you need to choose “Area” as “Asia and Oceania”. You also need to input a
correct email address to ensure you can reset your password if needed.
3. Connecting the GPS tracker to your APP account:
After successful registration, login to the account, select ‘More’ Device list Add device, Click
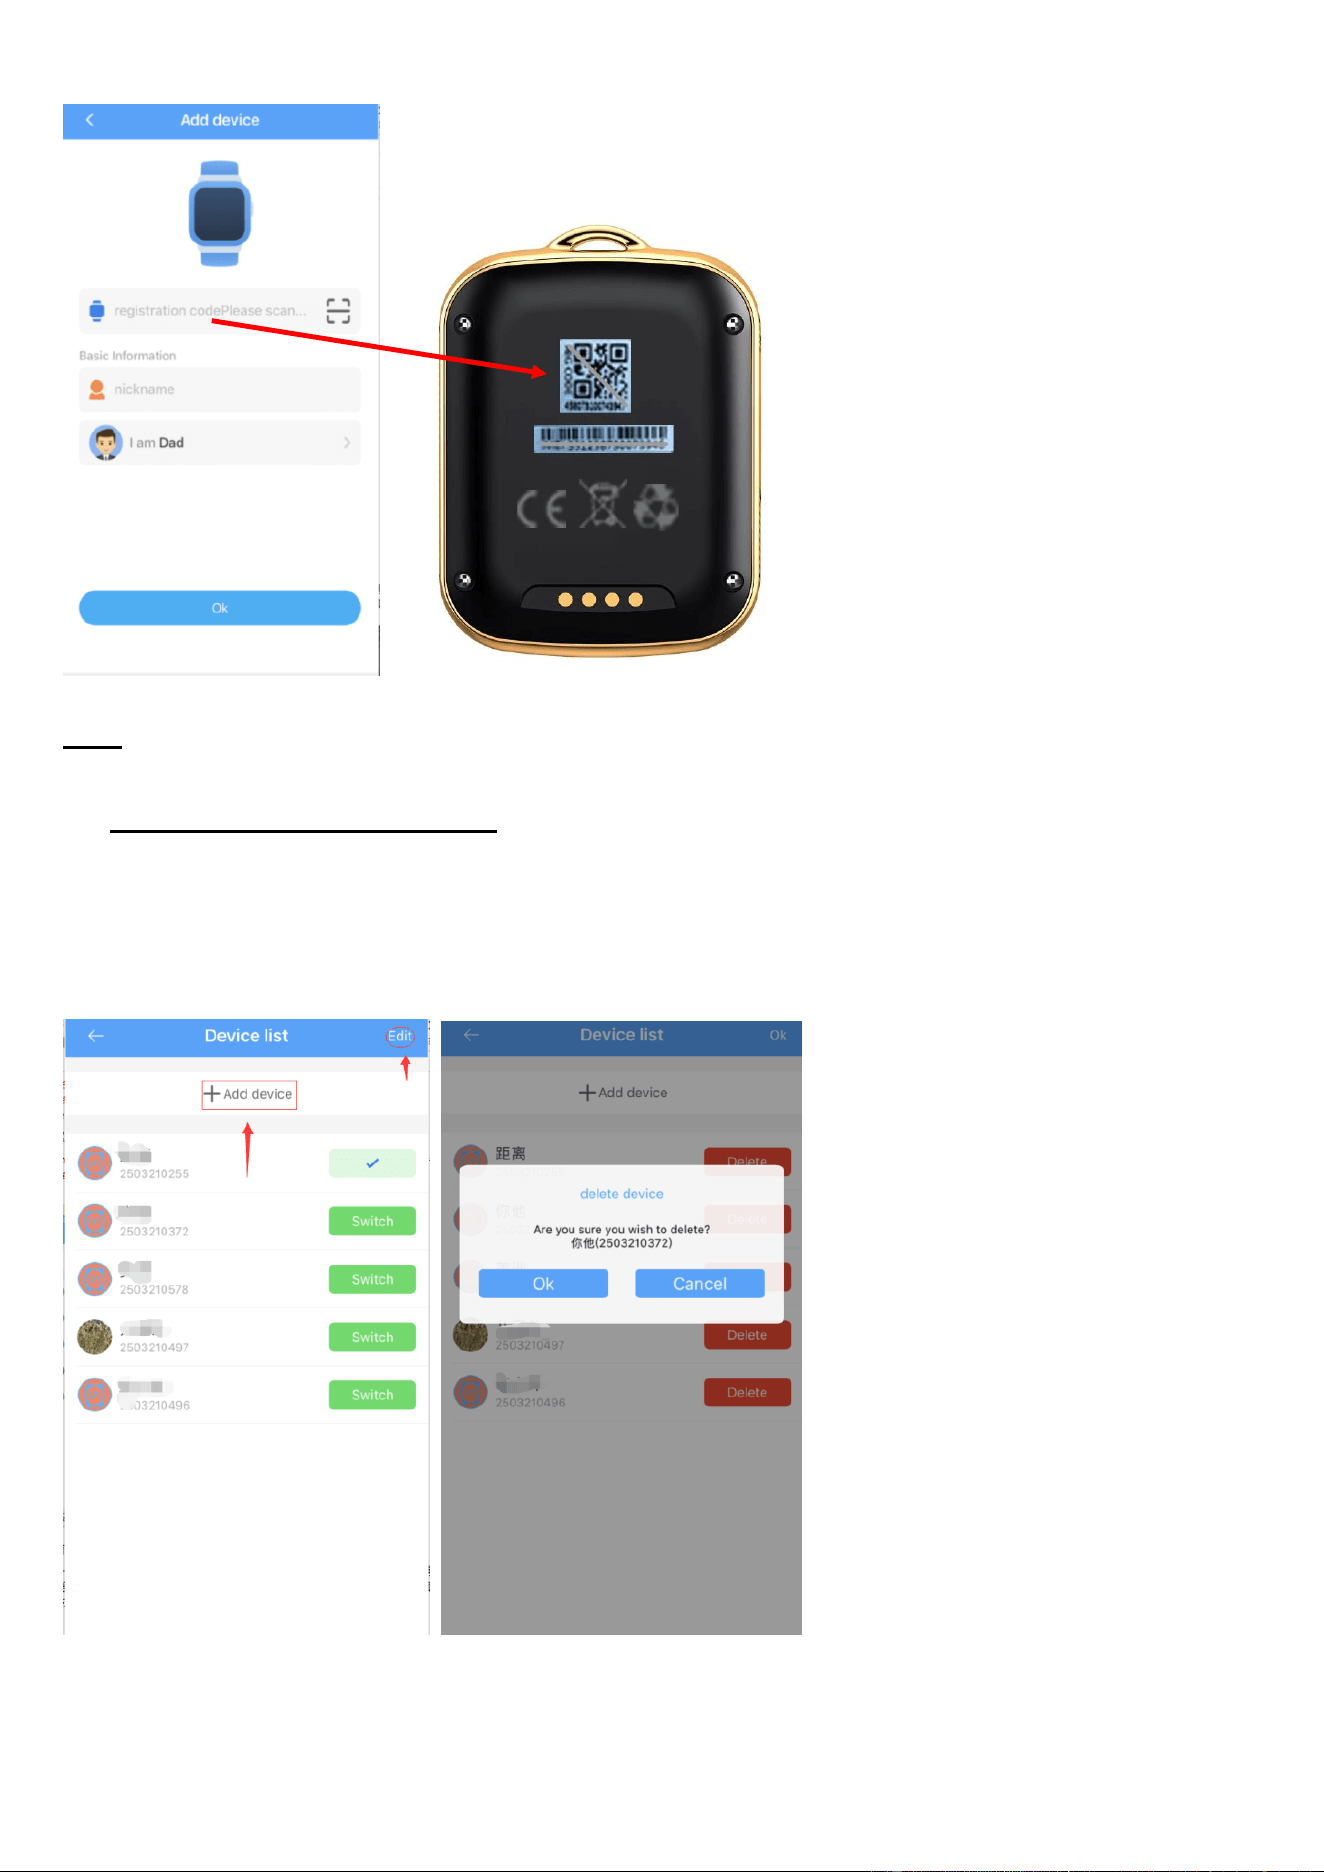
scan icon to scan the QR code on the GPS tracker.
Note: The Registration QR code is the 15-digit registration number found on the QR sticker on the
back of the tracker, it is not the IMEI barcodenumber.
4. Add and Delete the device
1)How to add the device to your account:More——Device list——Add device——put the regcode of
tracker
2)How to delete the device from your account:
More——Device list——Edit——Delete—Ok
5. Adding a secondary administrator account:
The first account created for the GPS Tracker is the primary administrator account. You can add
a secondary account to the app for two parents, as an example, to be able to login. Adding a
secondary administrator account requires authorization from the primary administrator, there will
be a note when the secondary administrator account wants to add the same GPS tracker, the
primary administrator will also receive the authorization notification.
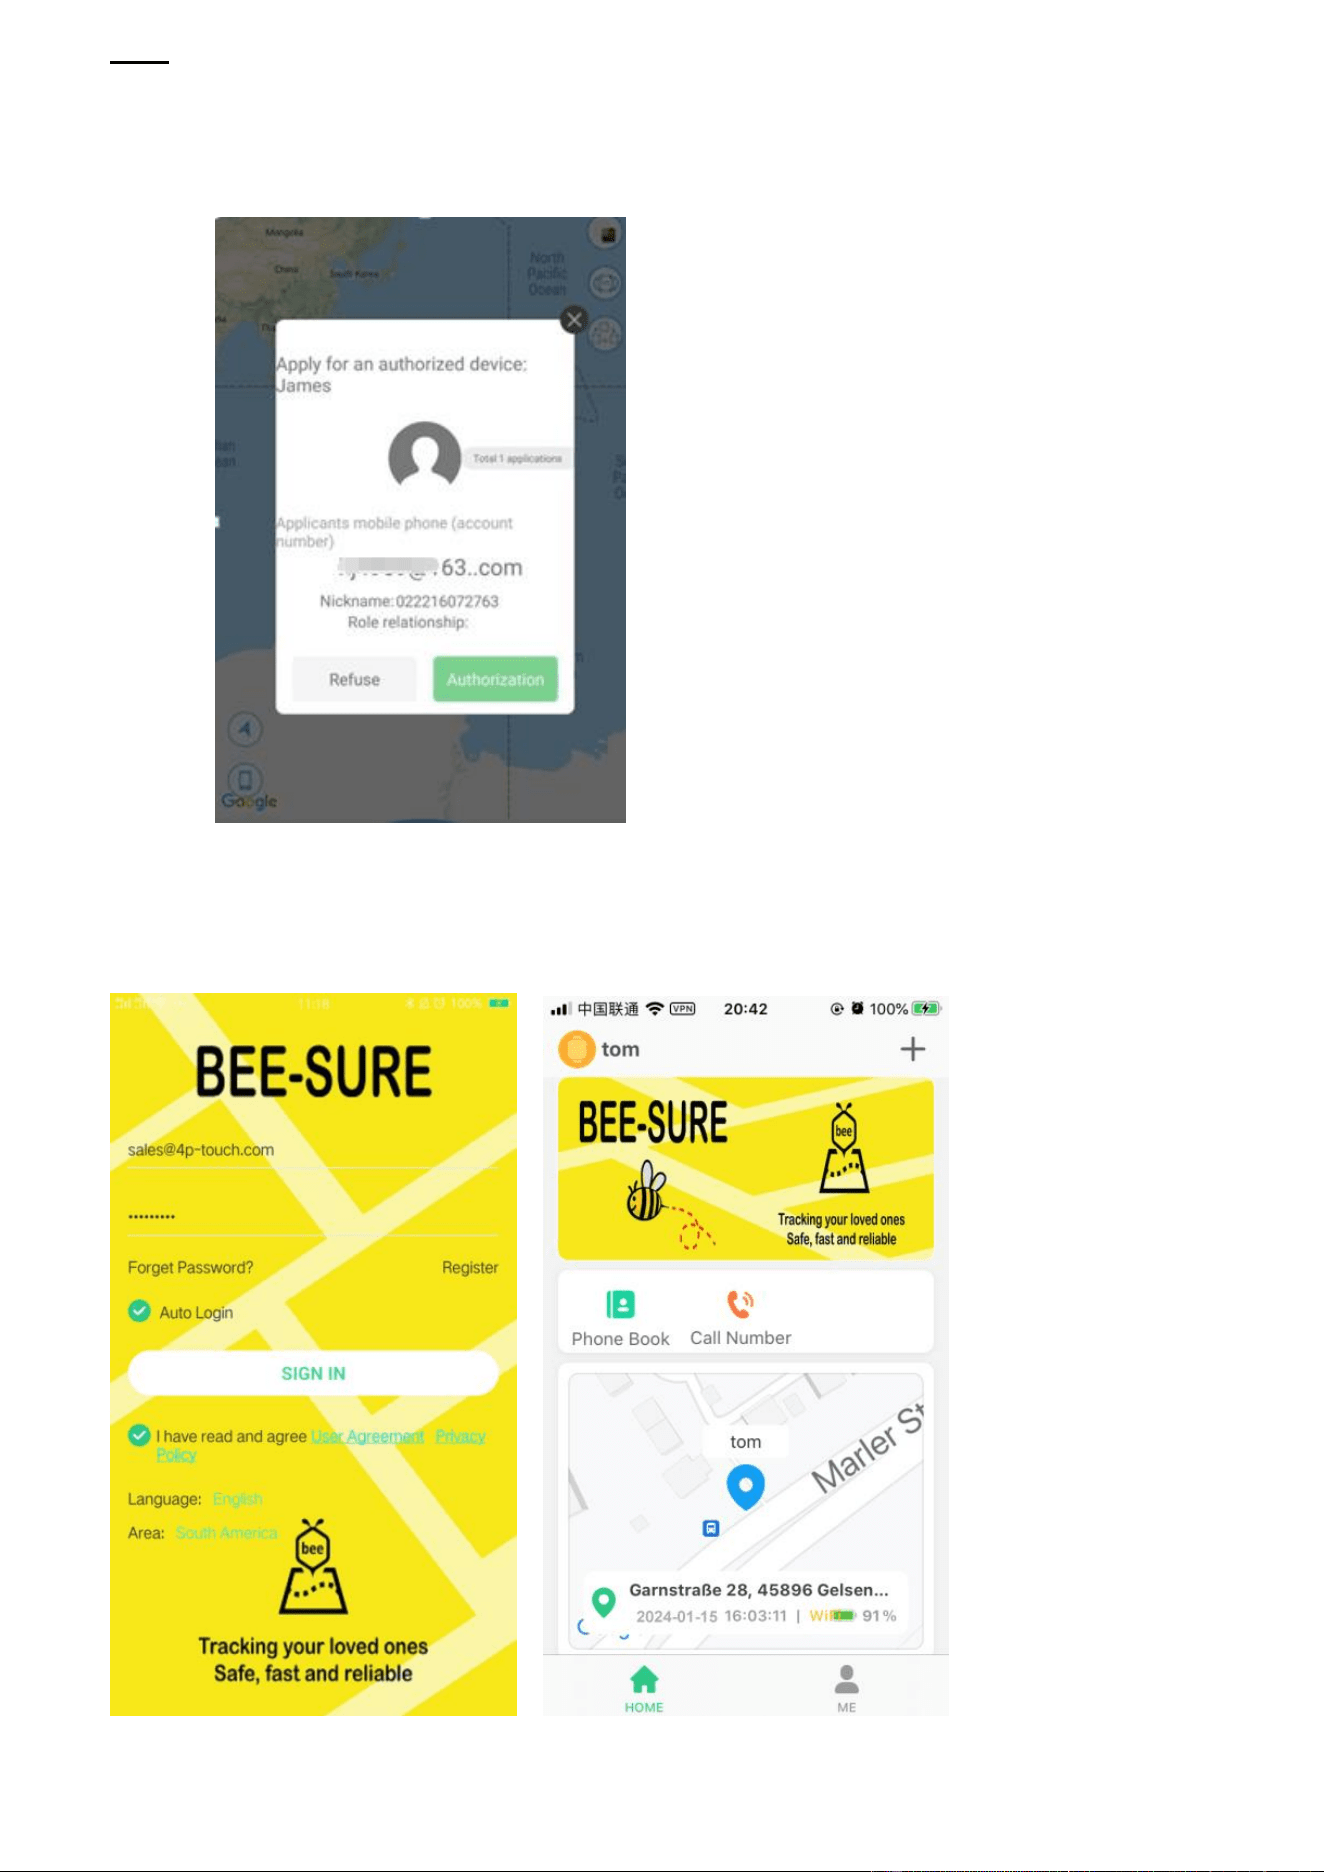
Note: One APP account can bind multiple GPS trackers; while one GPS tracker can also be
connected with multiple secondary accounts with the authorization from the primary
administrator.
The screen below will appear inside your (the main administrator) App account for authorization
after the secondary administrator has scanned the same tracker QR code into their App.
Note: One account can add multiple devices, and one device can be added to multiple accounts
。
6. APP Interface
Login screen Main page with map
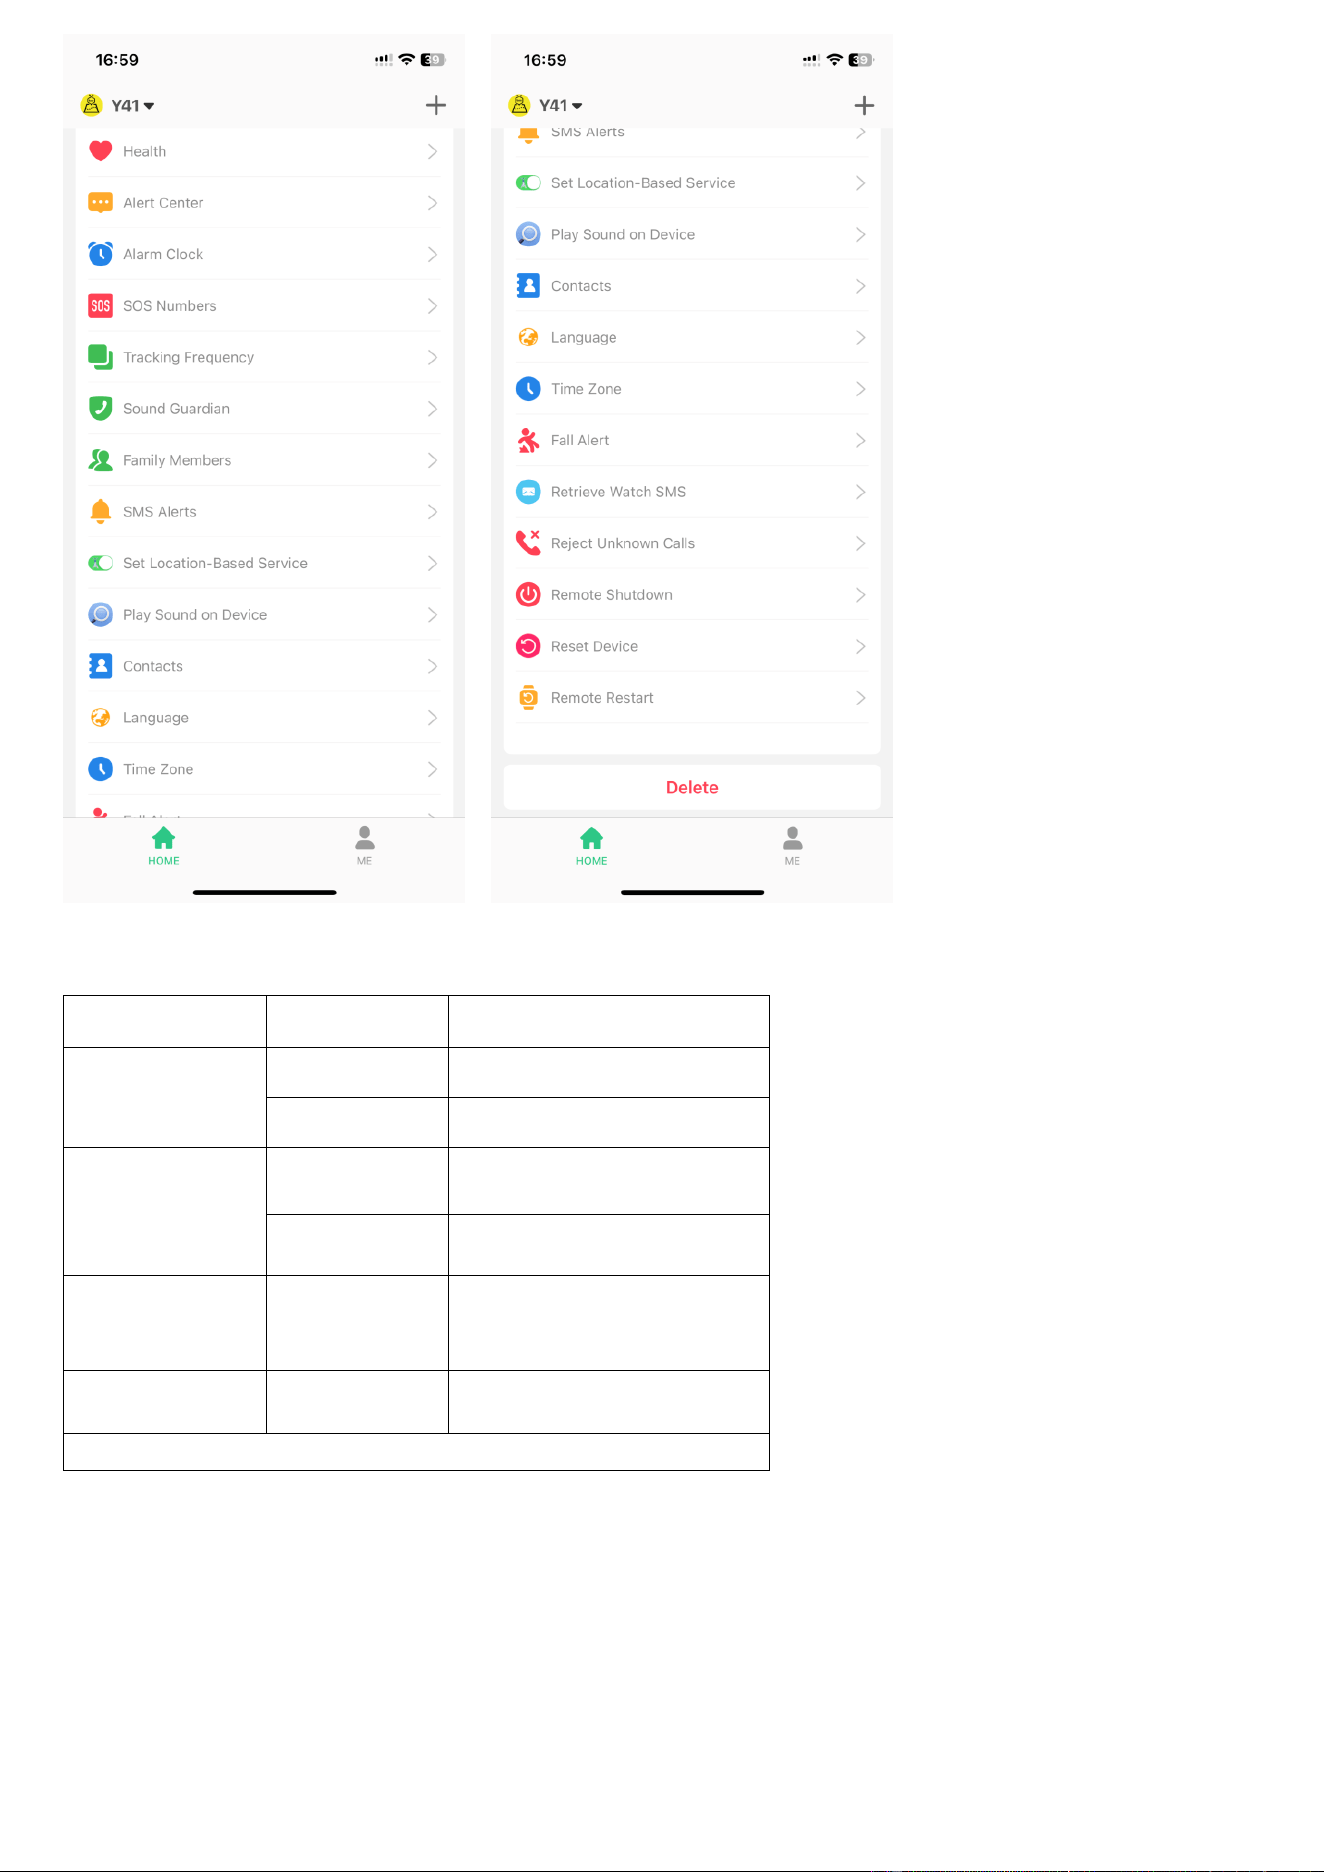
Setting Setting
Indicator instructions:
Color
Status
Meaning
Red
(Network)
Slow flash
Signal searching
Fast flash
Signal received
Blue
(GPS)
Slow flash
Positioning
Fast flash
Position uploaded
Red indicator
Always on
In charging
Blue indicator
Always on
Fully charged
Low battery(less than 20%): the red indicator slow flash only
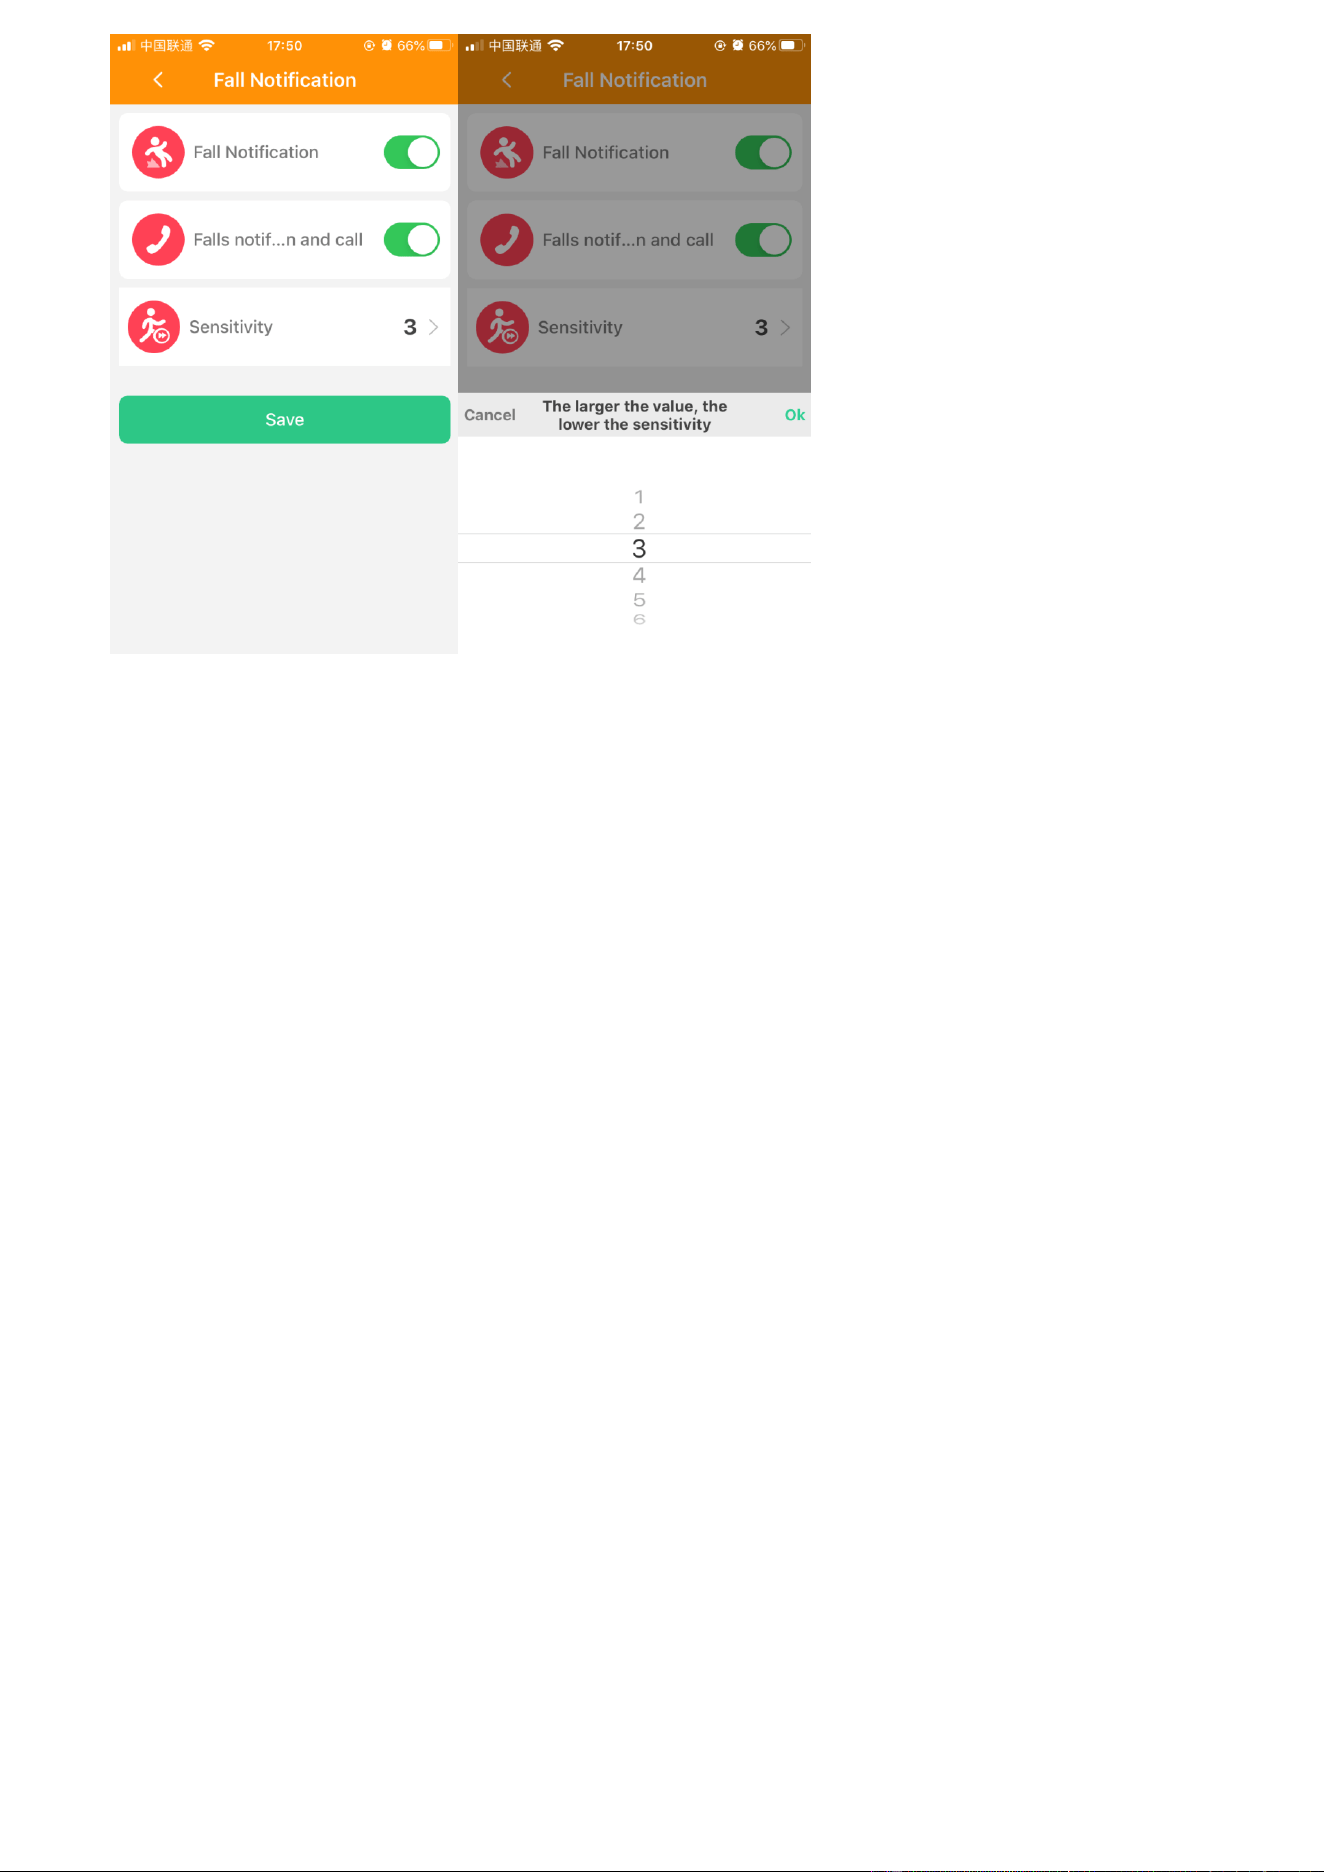
Fall down detection Fall down sensitivity adjustable
Declaration:
• If you are removing or tampering with the product casing, the product will void the warranty.
•The manufacturer shall not be liable for illegally use of the product.
• By using this GPS tracker, you acknowledge that you accept the following precautions
terms. In the event that you do not understand or accept any of the precaution terms herein, you
should discontinue your use of this GPS Tracker.
Precautions
1. Do not immerse the product in liquid or chemicals such as salty water and detergents.
2. Do not wear the product in the shower, in case different PH range of shower gel,shampoo,
and conditioner, or hot water damages the GPS tracker.
3.Keep the product away from fire, heat and other extreme high- temperature environments;
4. Keep out of children’s mouths;
5. Use only 5V chargers or USB ports, because higher voltage may damage the device;
6. Do not directly attach the magnetic charging lead to any metal or conductive objects
except the GPS Tracker, otherwise, it may cause the charging head to short circuit.
7. In the case of excessive heating of the battery during charging, immediately disconnect it
from the power supply.
8. Before first use, fully charge the battery.
9. If the tracker heats up when wearing it, immediately take it, and turn the tracker off either
via the tracker settings or in the App.
10. Never connect to a mechanically damaged charger or if the batteries are swollen. Do not
use batteries in this condition due to the risk of explosion.
11. When this product is in a de-energized state and outside the service area, the location
function does not work.
This device complies with part 15 of the FCC rules. Operation is subject to the follo
wing two conditions: (1) this device may not cause harmful interference, and (2) this dev
ice must accept any interference received, including interference that may cause undesi
red operation.
Changes or modifications not expressly approved by the party responsible for com
pliance could void the user's authority to operate the equipment.
NOTE: This equipment has been tested and found to comply with the limits for a Cl
ass B digital device, pursuant to part 15 of the FCC Rules. These limits are designed to
provide reasonable protection against harmful interference in a residential installation. T
his equipment generates uses and can radiate radio frequency energy and, if not install
ed and used in accordance with the instructions, may cause harmful interference to radi
o communications. However, there is no guarantee that interference will not occur in a p
articular installation. If this equipment does cause harmful interference to radio or televis
ion reception, which can be determined by turning the equipment off and on, the user is
encouraged to try to correct the interference by one or more of the following measures:
•Reorient or relocate the receiving antenna.
•Increase the separation between the equipment and receiver.
•Connect the equipment into an outlet on a circuit different from that to which the re
ceiver is connected.
•Consult the dealer or an experienced radio/TV technician for help.
This device meets the government's requirements for exposure to radio waves. Th
e guidelines are based on standards that were developed by independent scientific orga
nizations through periodic and thorough evaluation of scientific studies. The standards i
nclude a substantial safety margin designed to assure the safety of all persons regardle
ss of age or health. The SAR limit of USA (FCC) is 1.6 W/kg averaged. Device types: 4
G GPS tracker watch (FCC ID: 2BH5-Y41) has also been tested against this SAR limi
t. SAR information can be viewed on‐line at http://www.fcc.gov/oet/ea/fccid/. Please u
se the device FCC ID number for search. This device was tested simulation typical 0mm
to body. To maintain compliance with FCC RF exposure requirements, use accessories
should maintain a separation distance between the user's bodies mentioned above, us
e accessories should not contain metallic components in its assembly, the use of acces
sories that do not satisfy these requirements may not comply with FCC RF exposure re
quirements, and should be avoided.