CONDENSER CLEANING
It is very important for proper performance and condenser longevity to keep the condenser clean.
Every month:
1. Unload product from freezer and store properly.
2. Disconnect electrical power to the freezer by turning master switch to “OFF” position and unplugging cooler from electrical receptacle.
3. Remove louver access panel.
4. Clean condenser by using a brush and vacuum cleaner to remove all dust and dirt. Thoroughly clean condenser.
5. Re-install the louver access panel.
OPERATIONS MANUAL & INSTRUCTIONS
Director’s Choice
®
Ice Cream Unit
EG10081 Revised 10/23
CAUTION
INSPECT CONTENTS IMMEDIATELY AND FILE CLAIM WITH DELIVERING CARRIER FOR ANY DAMAGE. SAVE YOUR BOX AND
ALL PACKING MATERIALS.
YOU ARE RESPONSIBLE FOR DAMAGE TO YOUR UNIT IF RETURNED IMPROPERLY PACKED.
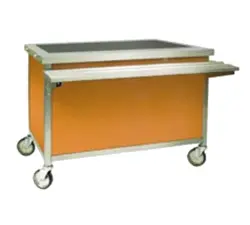
OPERATION FOR MECHANICAL COLD PANS
All units come equipped with 110V, 60 cycle, single phase refrigeration units. Unit is ready to operate as soon as it is plugged in.
However, we do recommend that unit be plugged in and allowed to cool for approximately 60 minutes before using. Unit has been
pretested and set for proper operation.
1. Connect unit to proper power source (120V AC, 60Hz, 15A, single-phase) and turn unit on.
2. With ambient room temperature of 75˚F, allow 60 minutes before loading with food. This allows interior to cool down to the correct
storage temperature. The thermostat is preset at the factory to maintain an average interior temperature of -10˚F.
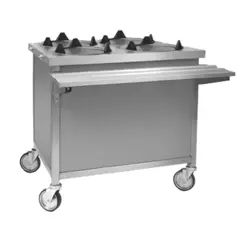
OPERATION
NOTE: Operator side of the counter should be completely open for air circulation.
The unit is ready to operate as soon as it is plugged in. The thermostat has an “OFF” position and numbers from #1 through #7 (seven
is the coldest). The unit should be turned off every day after use and turned on one hour before serving.
IMPORTANT: This equipment is intended for use with pre-packaged foods only. Product should be in a frozen state when placed in
the freezer. However, if it is soft, place lids on unit to aid in product temperature cool-down. The freezer thermostat is factory set to
hold product approximately -10˚F with lids. Adjust temperature of the cooler by turning the thermostat knob clockwise for cooler and
counterclockwise for warmer. Make only a small amount of adjustment at a time to allow about one hour for cabinet to stabilize before
checking temperatures. Once serving period is completed, place lids back onto freezer. Leave lids on until next serving period. Do not
leave lids off longer than 3 hours at a time.
NOTE: Operate freezer by turning it “ON” or “OFF” with the master switch. Do not turn the thermostat knob.
MAINTENANCE
Never clean pans with a chloride based products. Chlorides or improper cleaning could scar, mark and/or corrode pans. Use soapy
warm water to clean, rinse thoroughly to remove all residue. Do not use steel wool or abrasive products. FAILURE TO MEET THESE
CONDITIONS WILL VOID WARRANTY.
MAINTENANCE FOR LAMINATES
Laminate surfaces may be cleaned with warm water and mild soaps. Non-abrasive cleaners may also be used. Cleaning products
containing bleaching agents should not be used. Large quantities of these agents or extended periods of time can cause discoloration.
CAUTION:
1. This equipment is designed and sold for commercial use only by personnel trained and experienced in its operation and is not sold
for consumer use in and around the home nor for use directly by the general public in food service locations.
2. Do not immerse unit in water.
3. All repairs should be done by an authorized service center.
4. Unit should be turned off when not in use. It is recommended that unit be disconnected from power supply by removing plug from
receptacle or shutting off power disconnect supply to the unit.
Retain this manual
for future reference.
INSTRUCTION SHEET
#366757
Eagle Foodservice Equipment, Eagle MHC, and SpecFAB
®
are divisions of Eagle Group. ©2023 by the Eagle Group
• 100 Industrial Boulevard, Clayton, Delaware 19938-8903 U.S.A.
• Phone: 302/653-3000 • 800/441-8440 • Fax: 302/653-2065
• www.eaglegrp.com • www.eaglegrpnews.com • www.eaglemhc.com
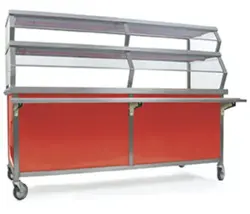
ASSEMBLY INSTRUCTIONS
Director’s Choice
®
Ice Cream Unit
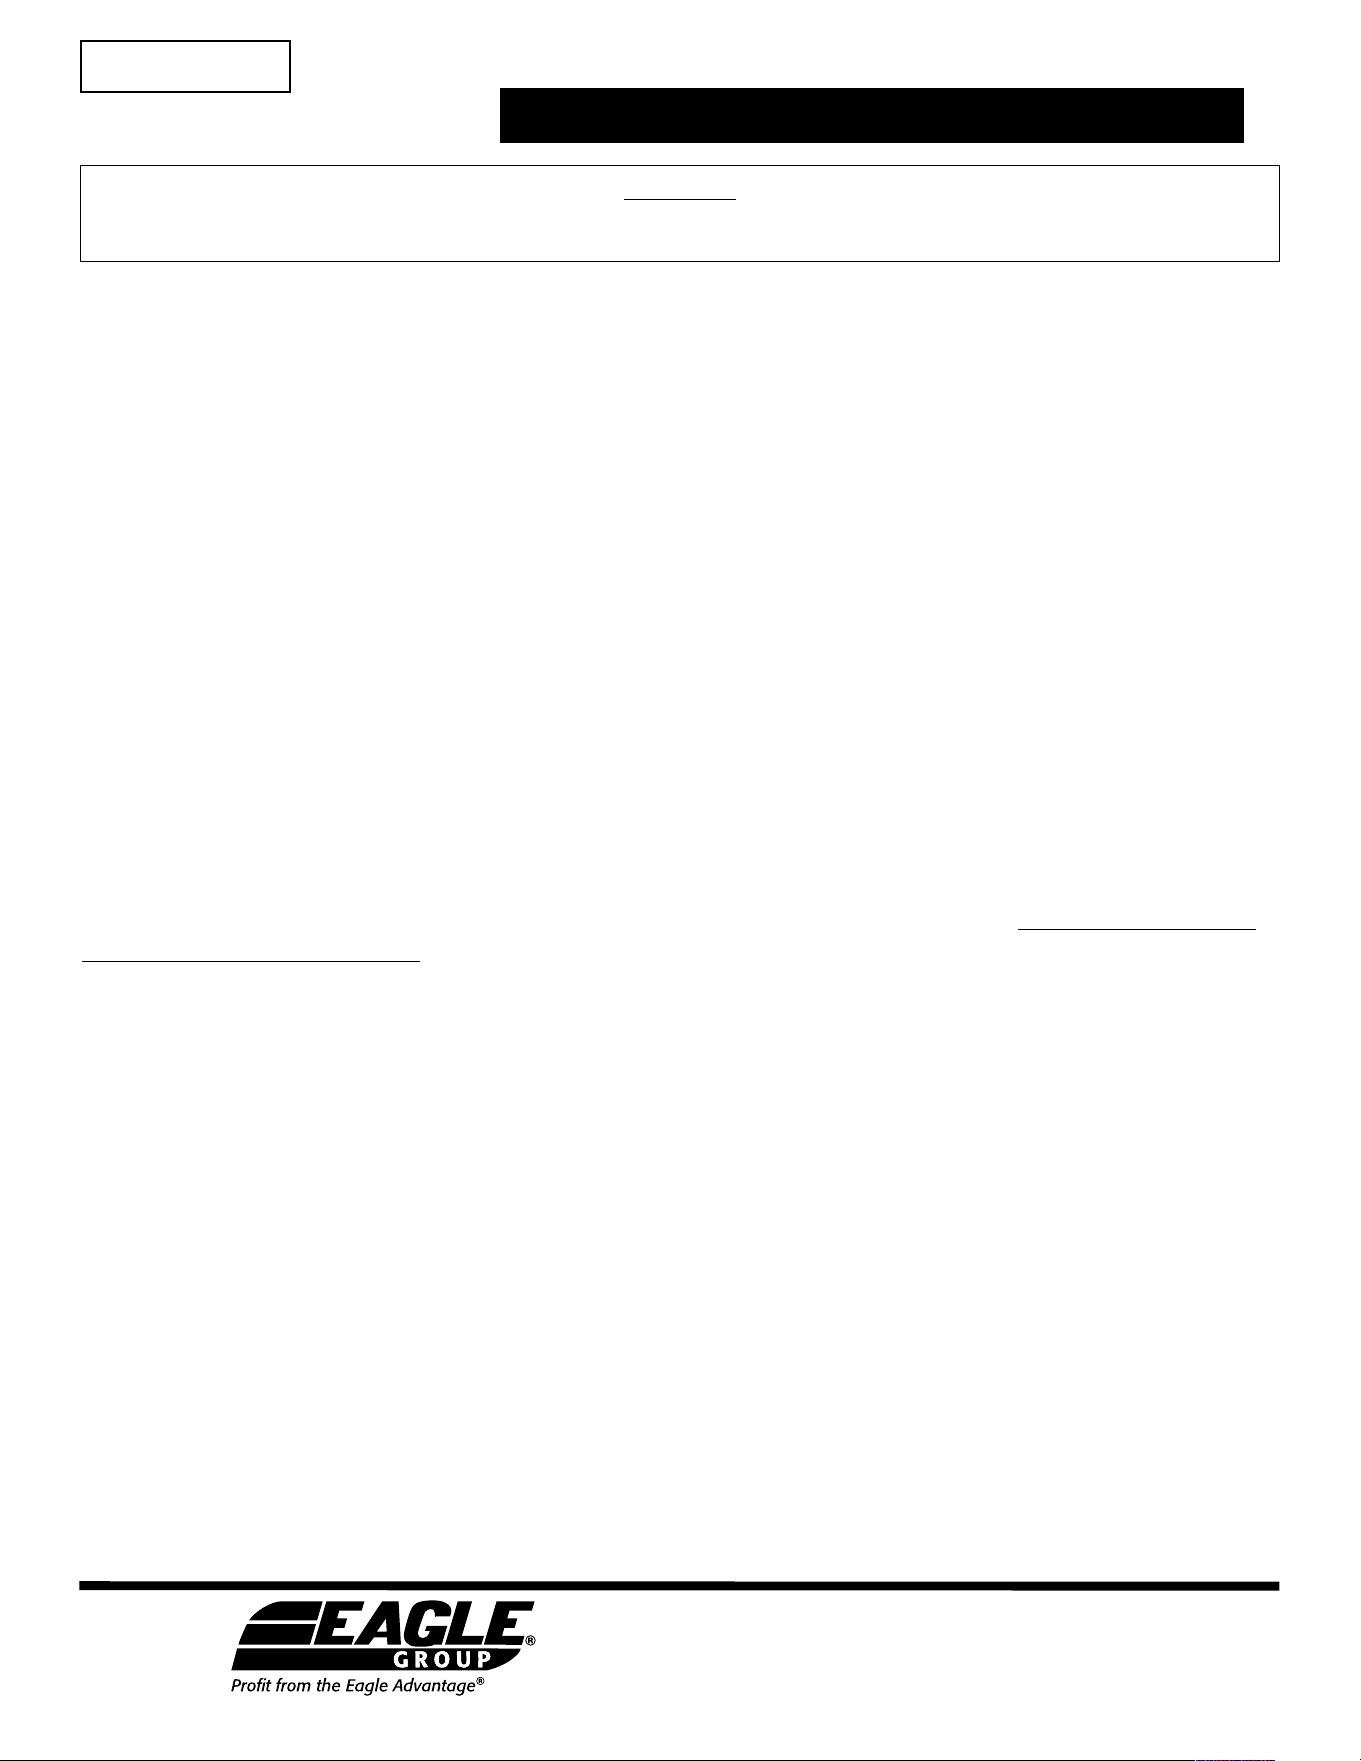
1. Remove screws from the front of the unit.
2. Hold tray slide up to unit and align the
holes with the predrilled screw holes in
the unit.
3. Tighten screws and make sure tray slide
is securely mounted on unit.
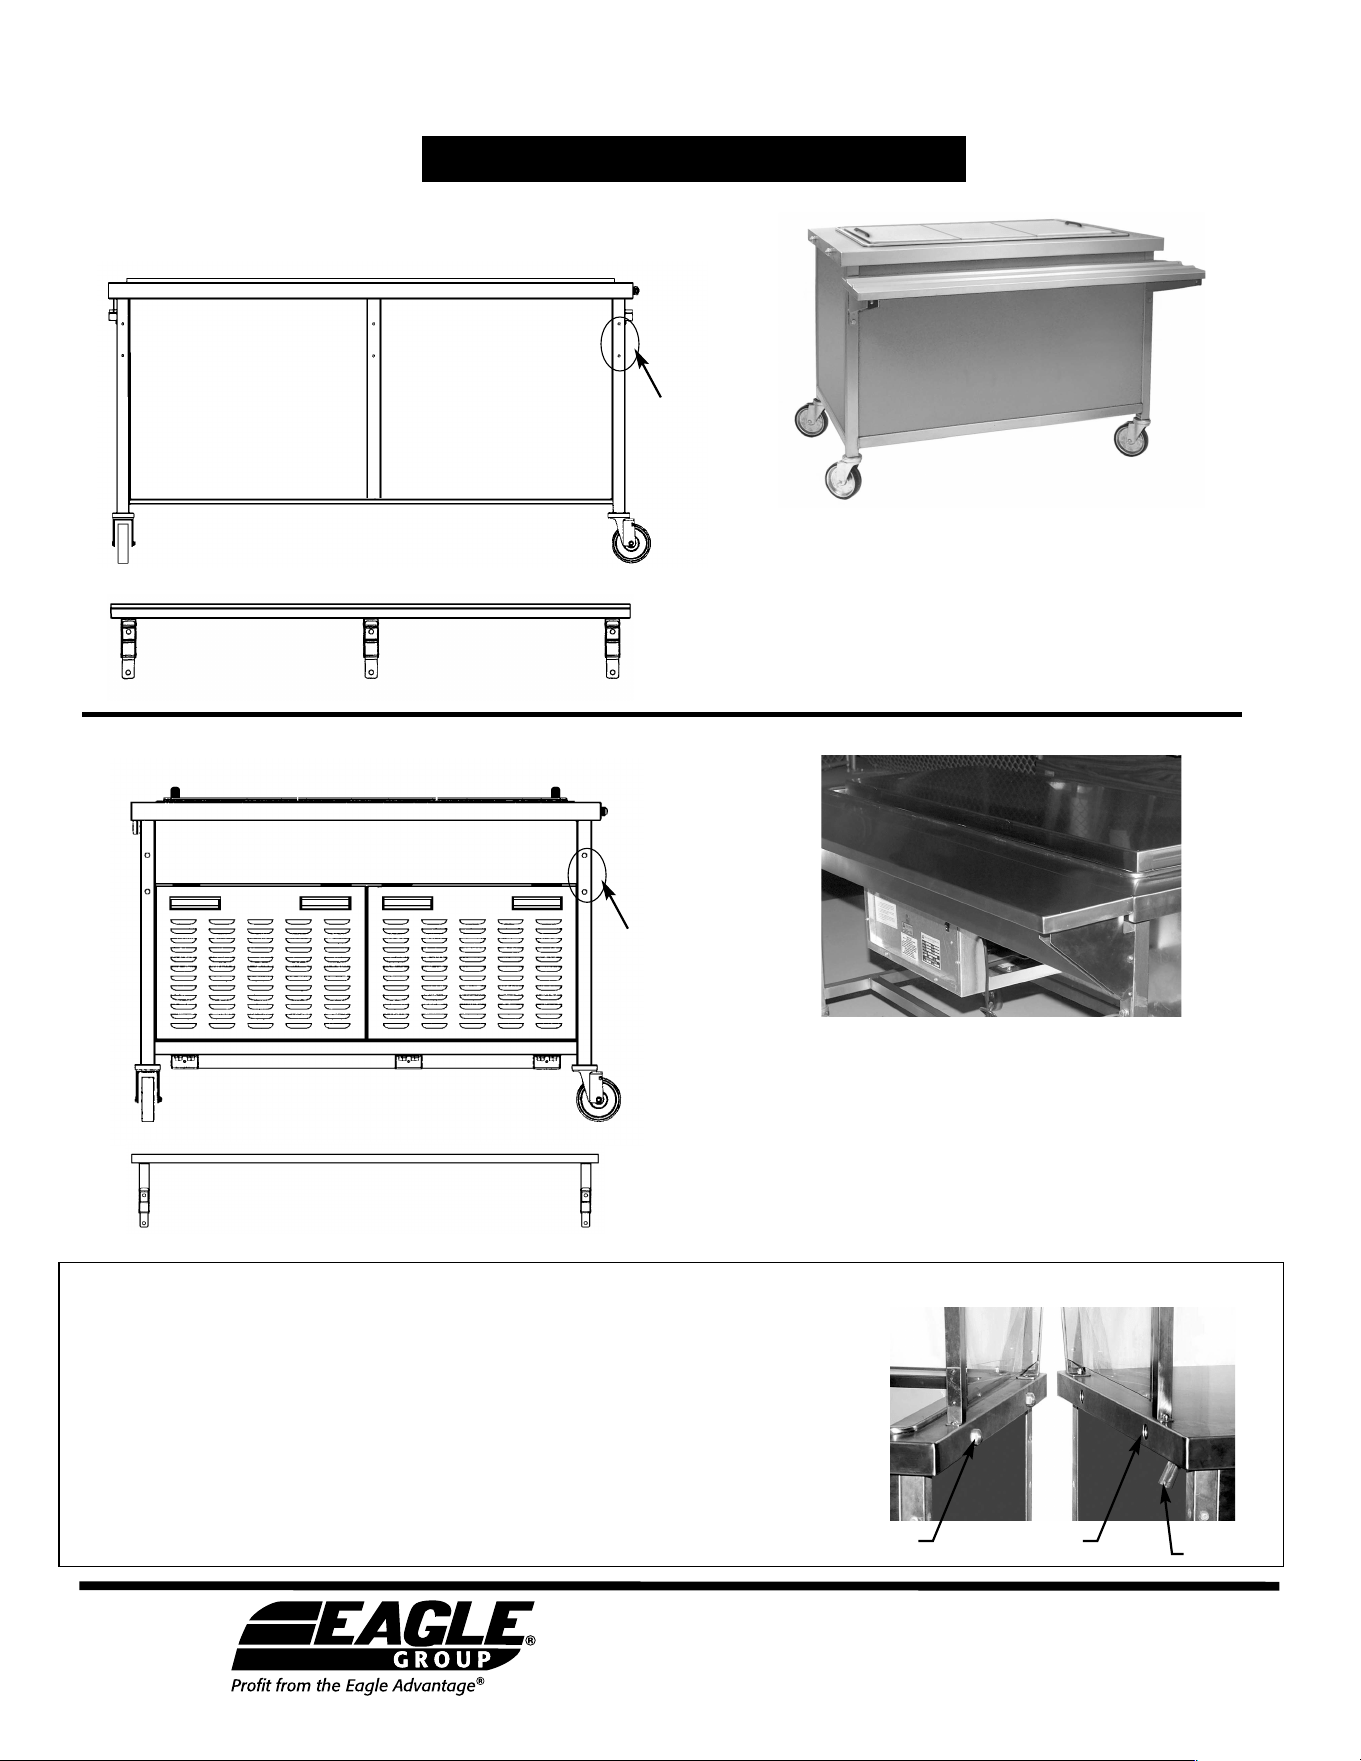
1. Remove screws from the front of the unit.
2. Hold work shelf up to unit and align the
holes with the predrilled screw holes in
the unit.
3. Tighten screws and make sure work shelf
is securely mounted on unit.
location of
screws
Tray Slides
location of
screws
The device is comprised of two sub-assemblies: a male bullet catch and a female
receiver with a locking plate.
1. Align the units so that the bullet catch and receivers line up.
2. Pull the lever and push the two units together so that the bullet catch
is pushed all the way into the receiver.
3. Release the lever and the two units are now securely docked together.
4. To release the two units, pull the lever and slowly pull the two units
apart. Release the lever and now your units are separate.
DOCKING DEVICE
bullet catch
receiver
lever
Work Shelves
Eagle Foodservice Equipment, Eagle MHC, and SpecFAB
®
are divisions of Eagle Group. ©2023 by the Eagle Group
• 100 Industrial Boulevard, Clayton, Delaware 19938-8903 U.S.A.
• Phone: 302/653-3000 • 800/441-8440 • Fax: 302/653-2065
• www.eaglegrp.com • www.eaglegrpnews.com • www.eaglemhc.com