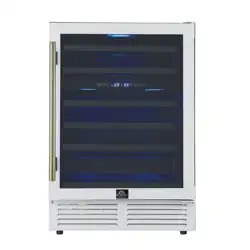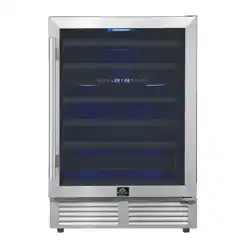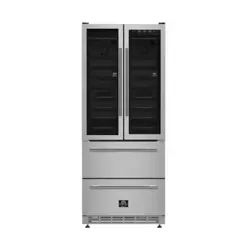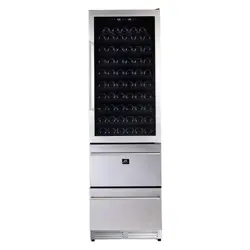
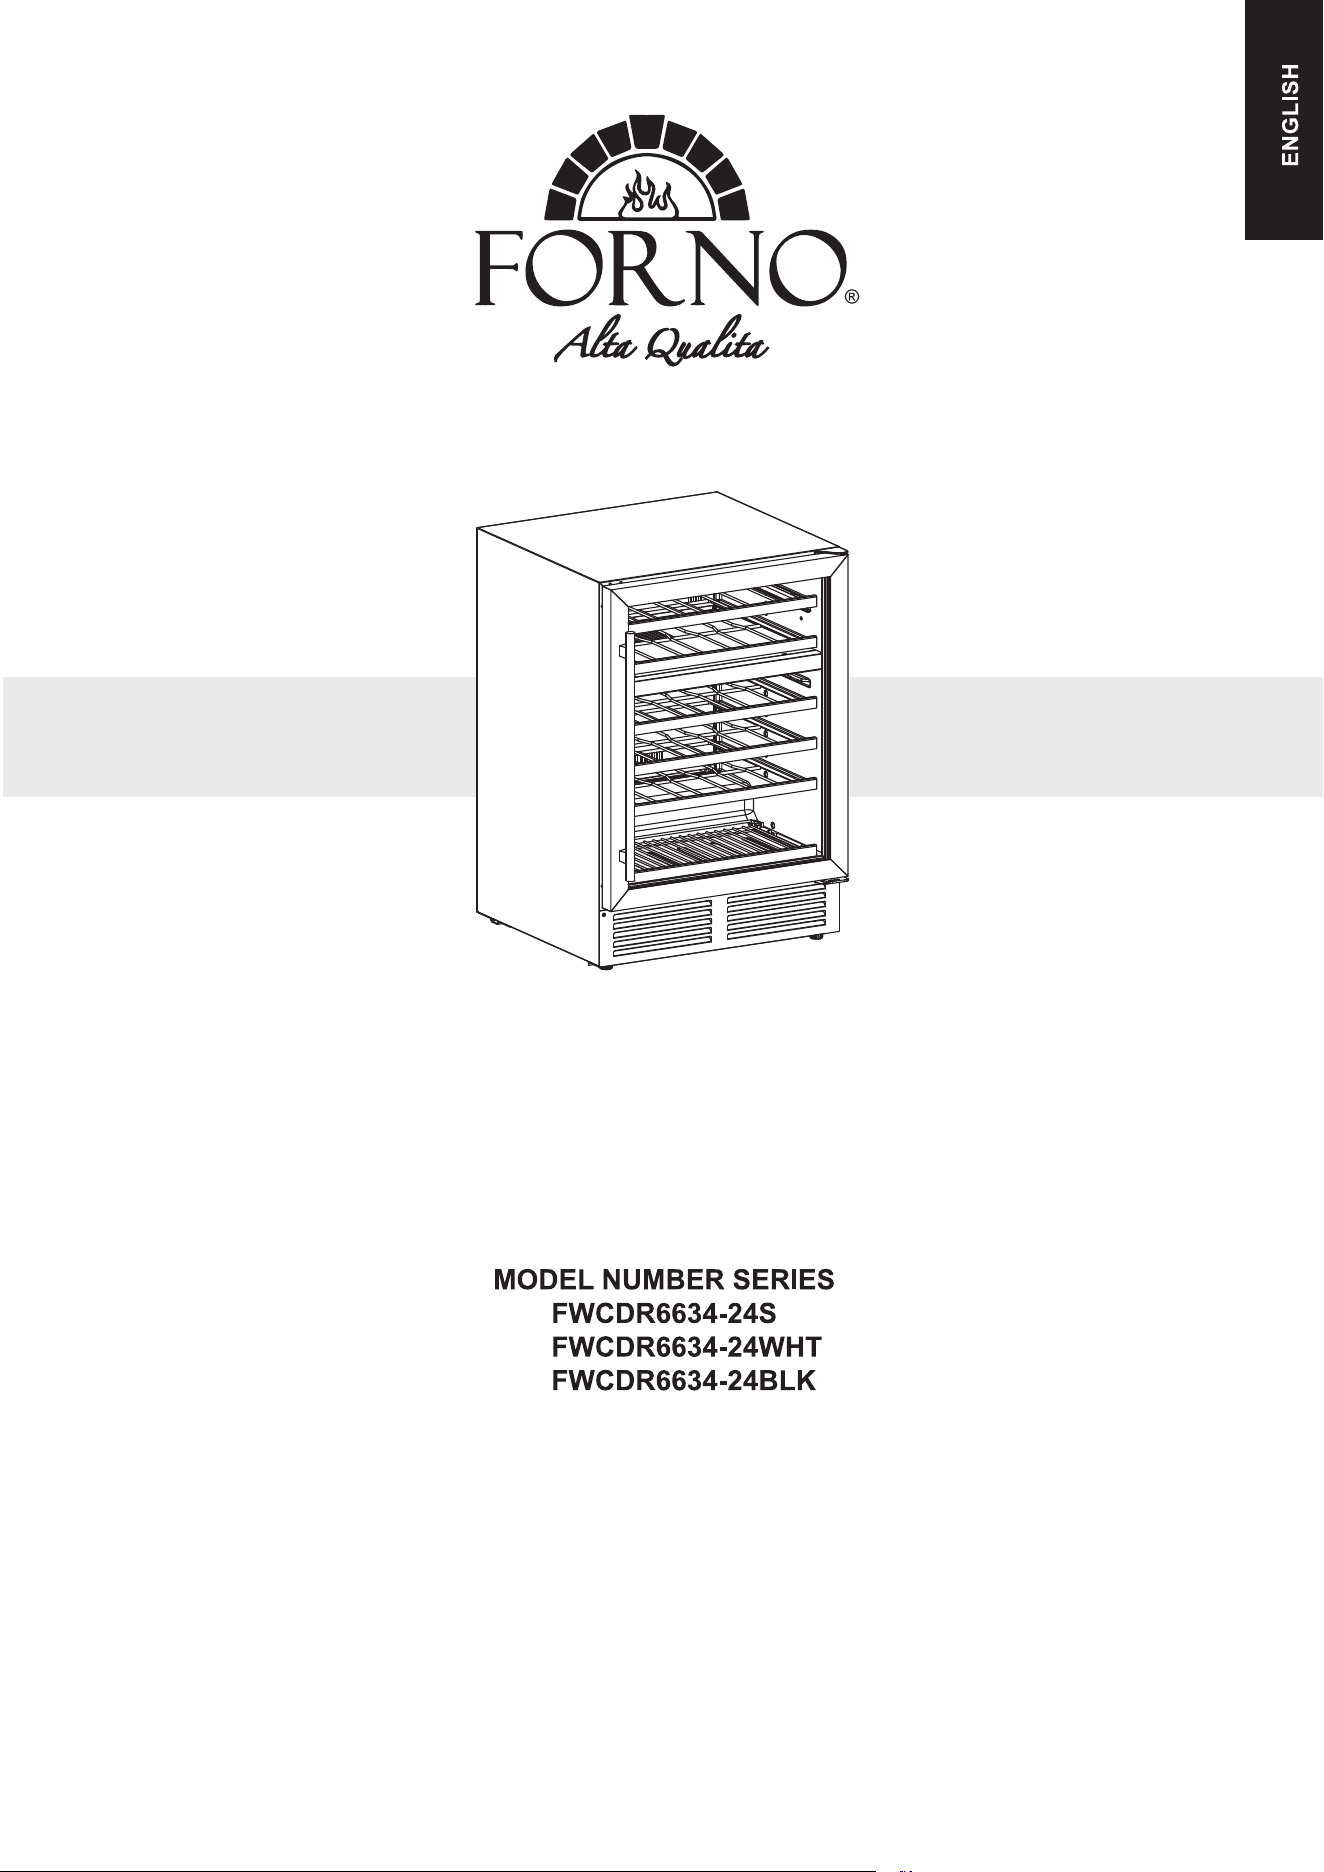
Read these instructions carefully before using your appliance, and keep it carefully.
If you follow the instructions, your appliance will provide you with many years of good service.
INSTRUCTION MANUAL &
INSTALLATION GUIDE
WINE COOLER
07/2026

5
6
7
10
11
12
TABLE OF CONTENTS
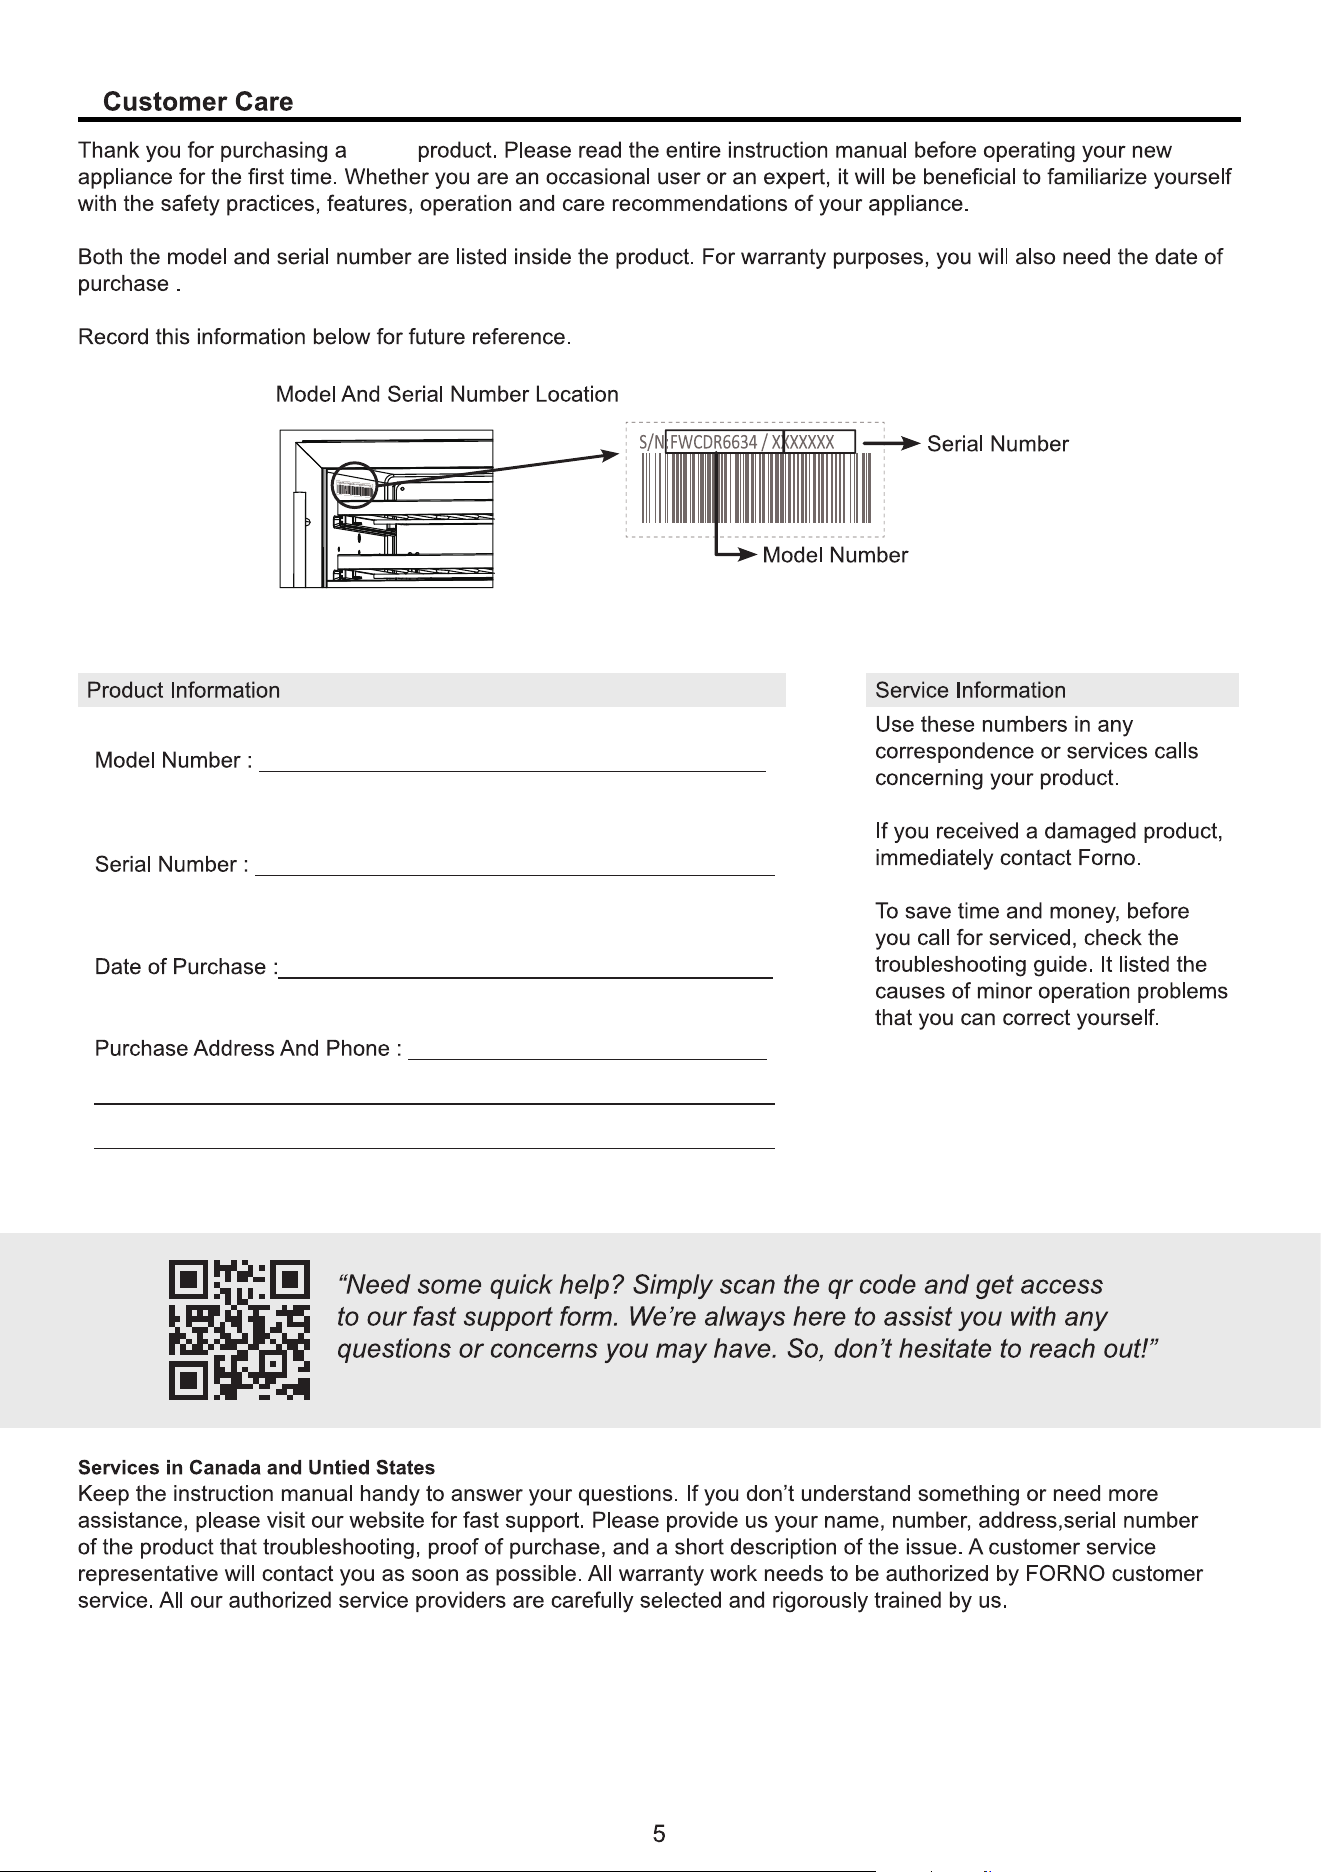
Customer Care
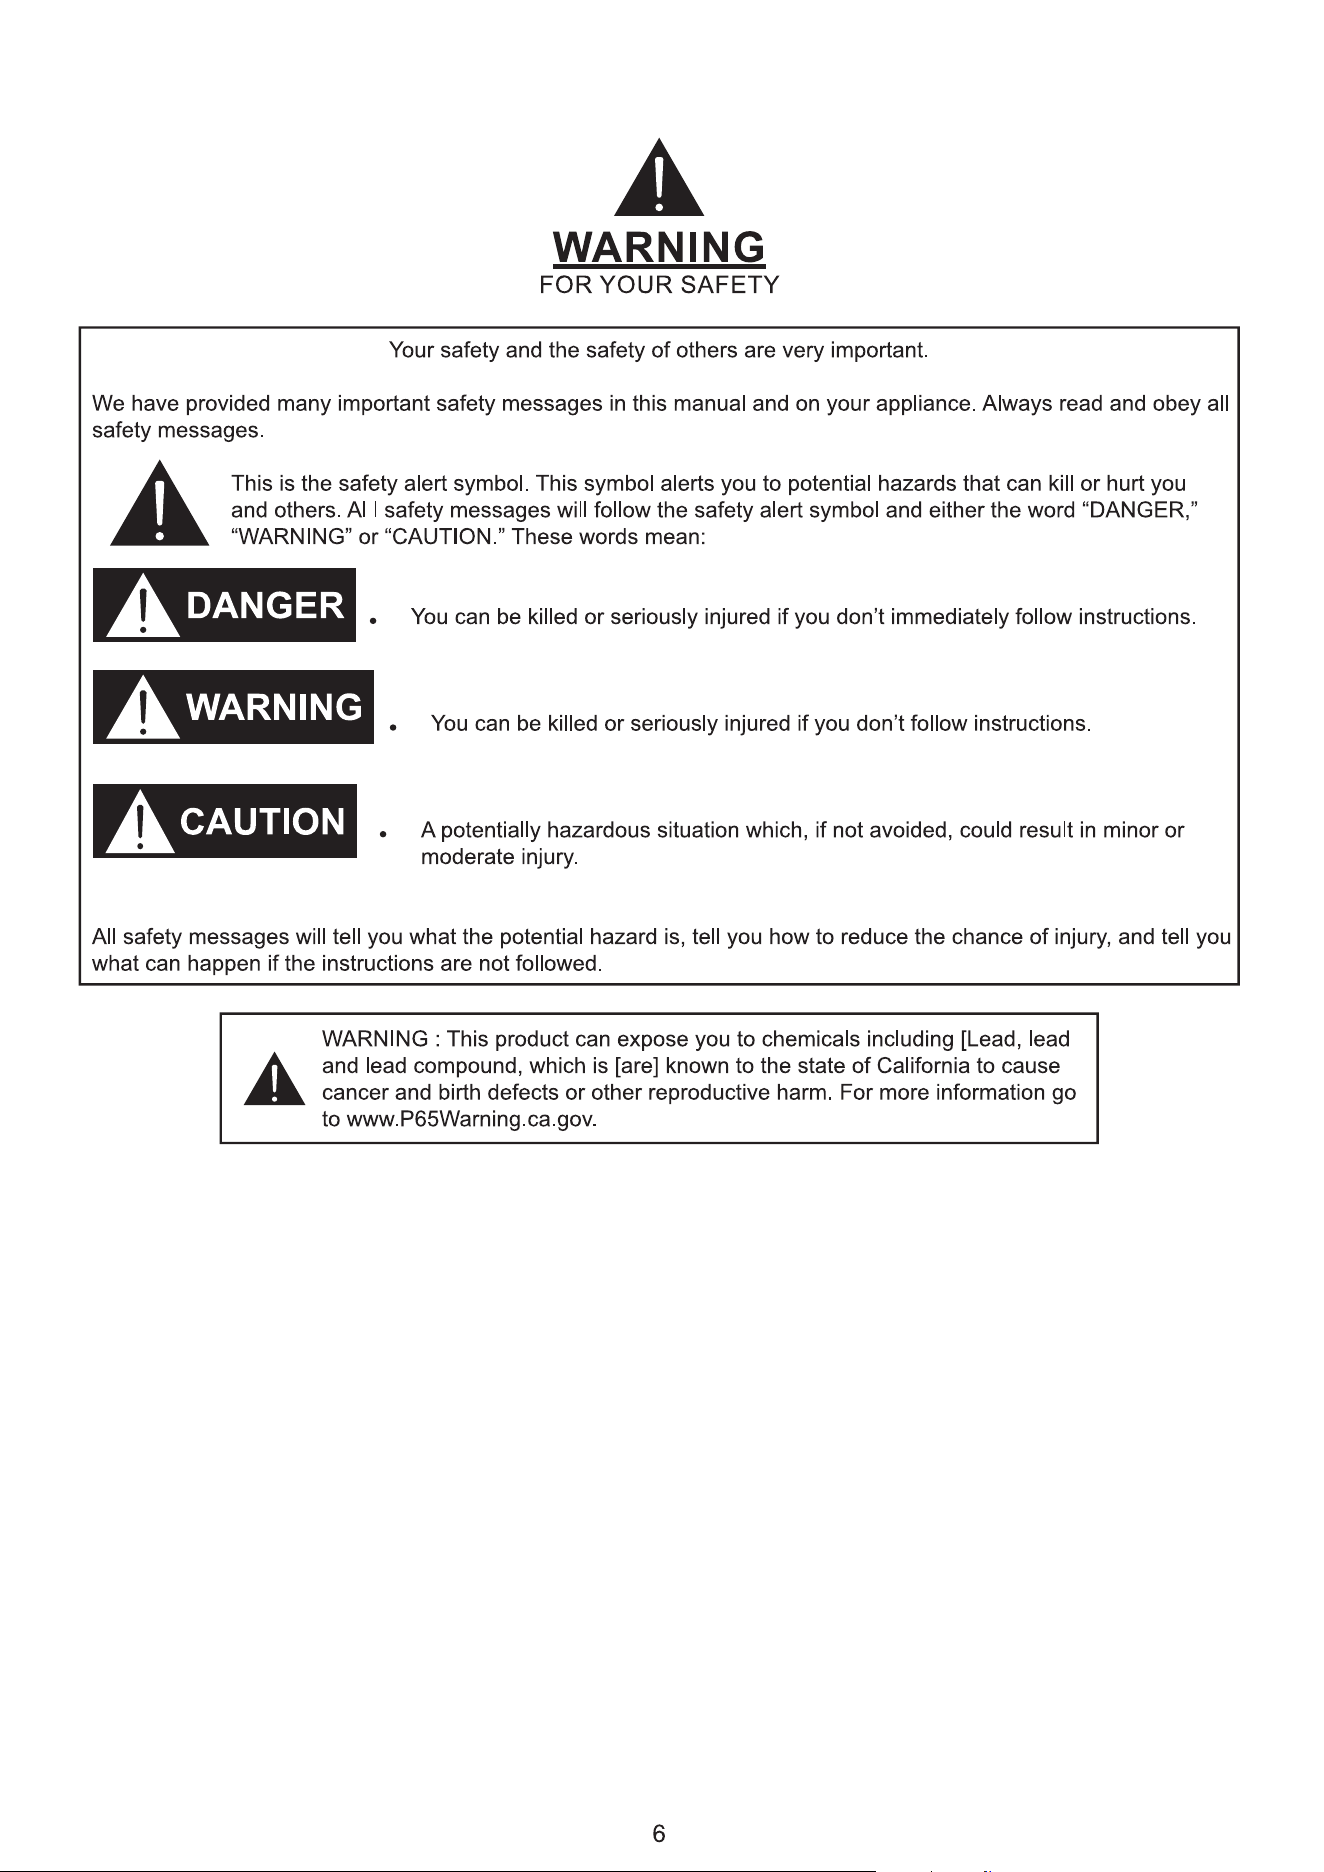
Warn
ing
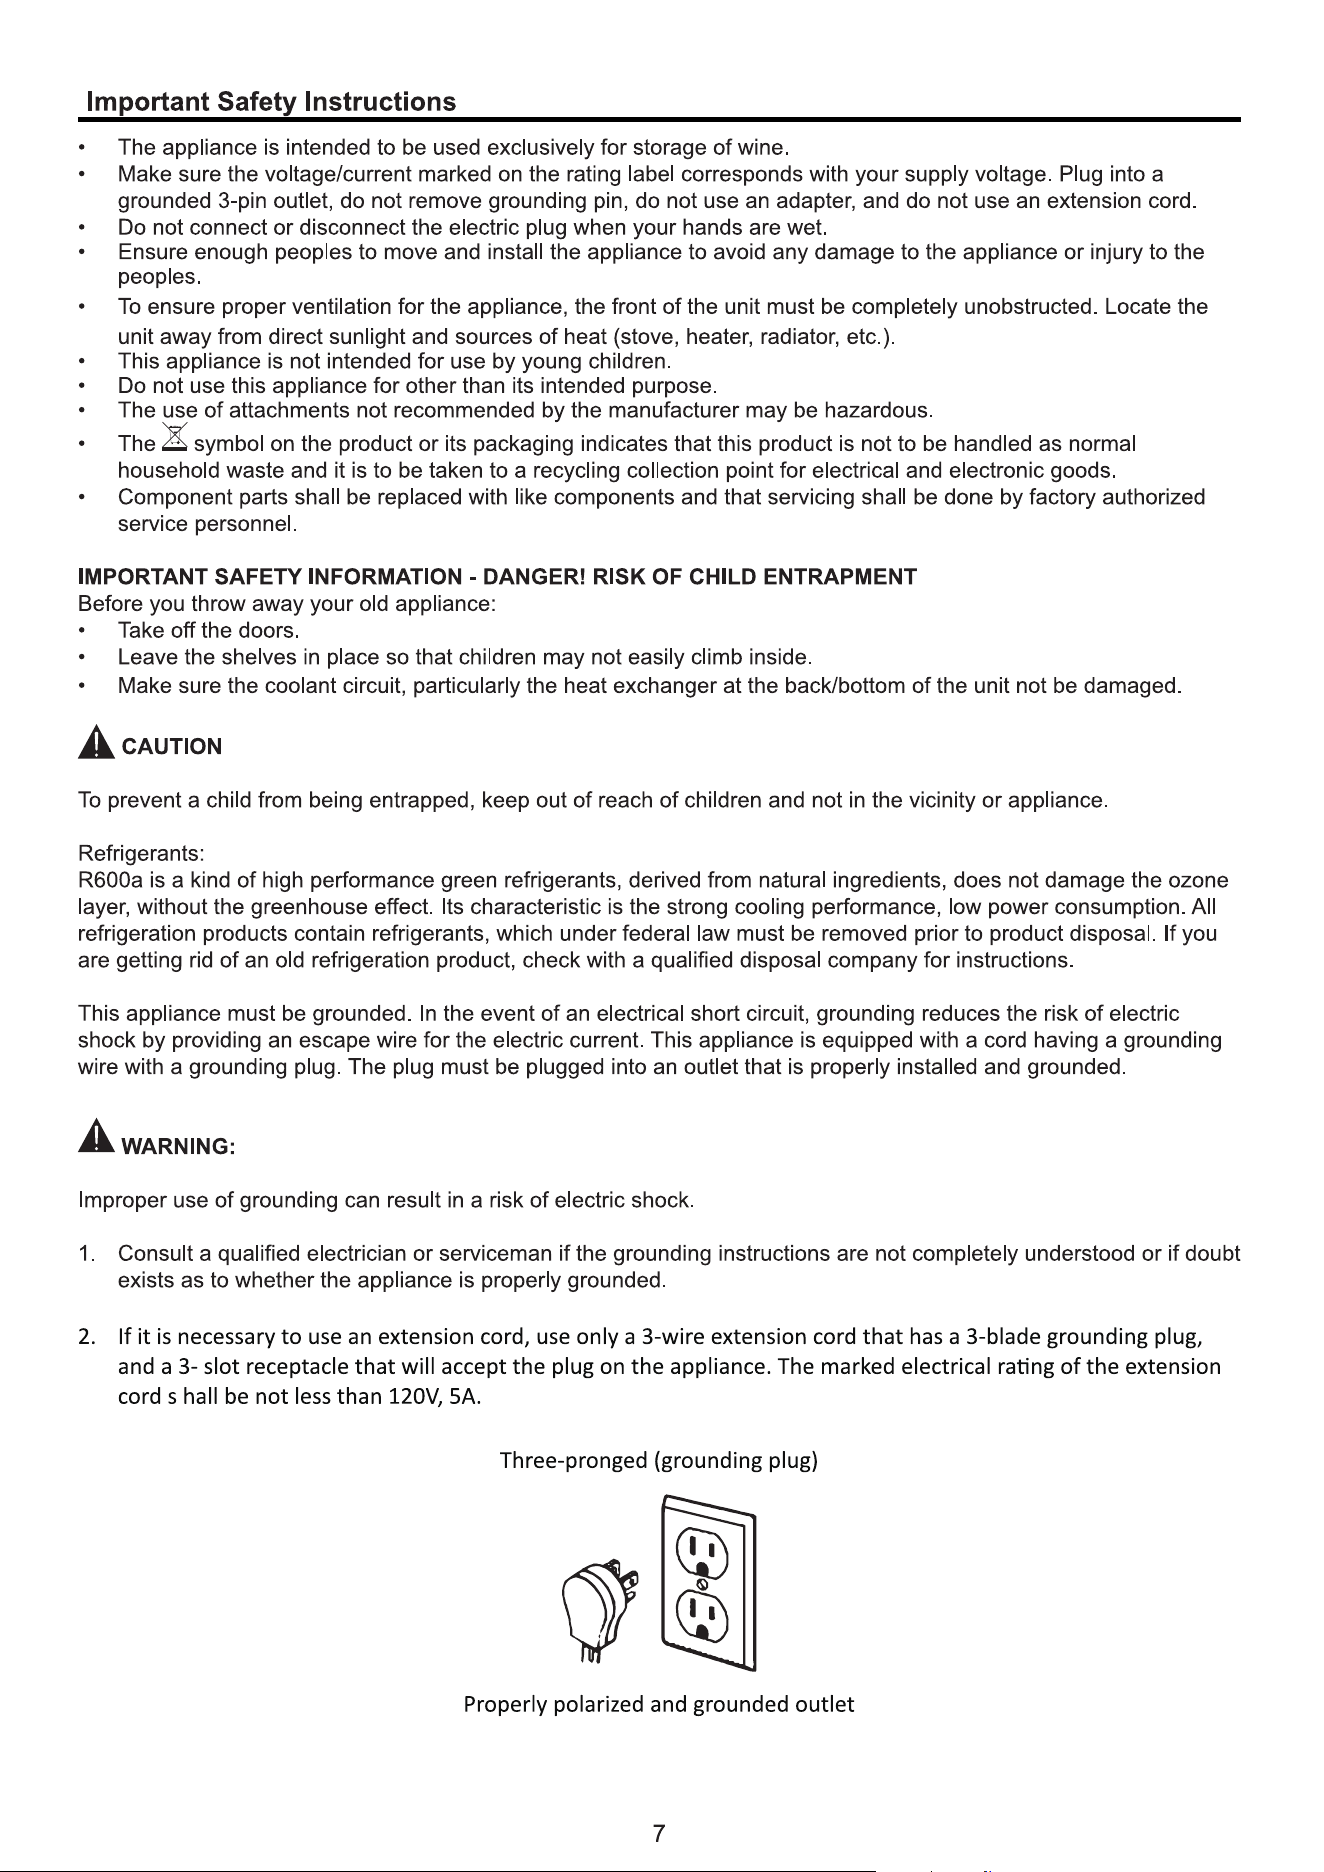
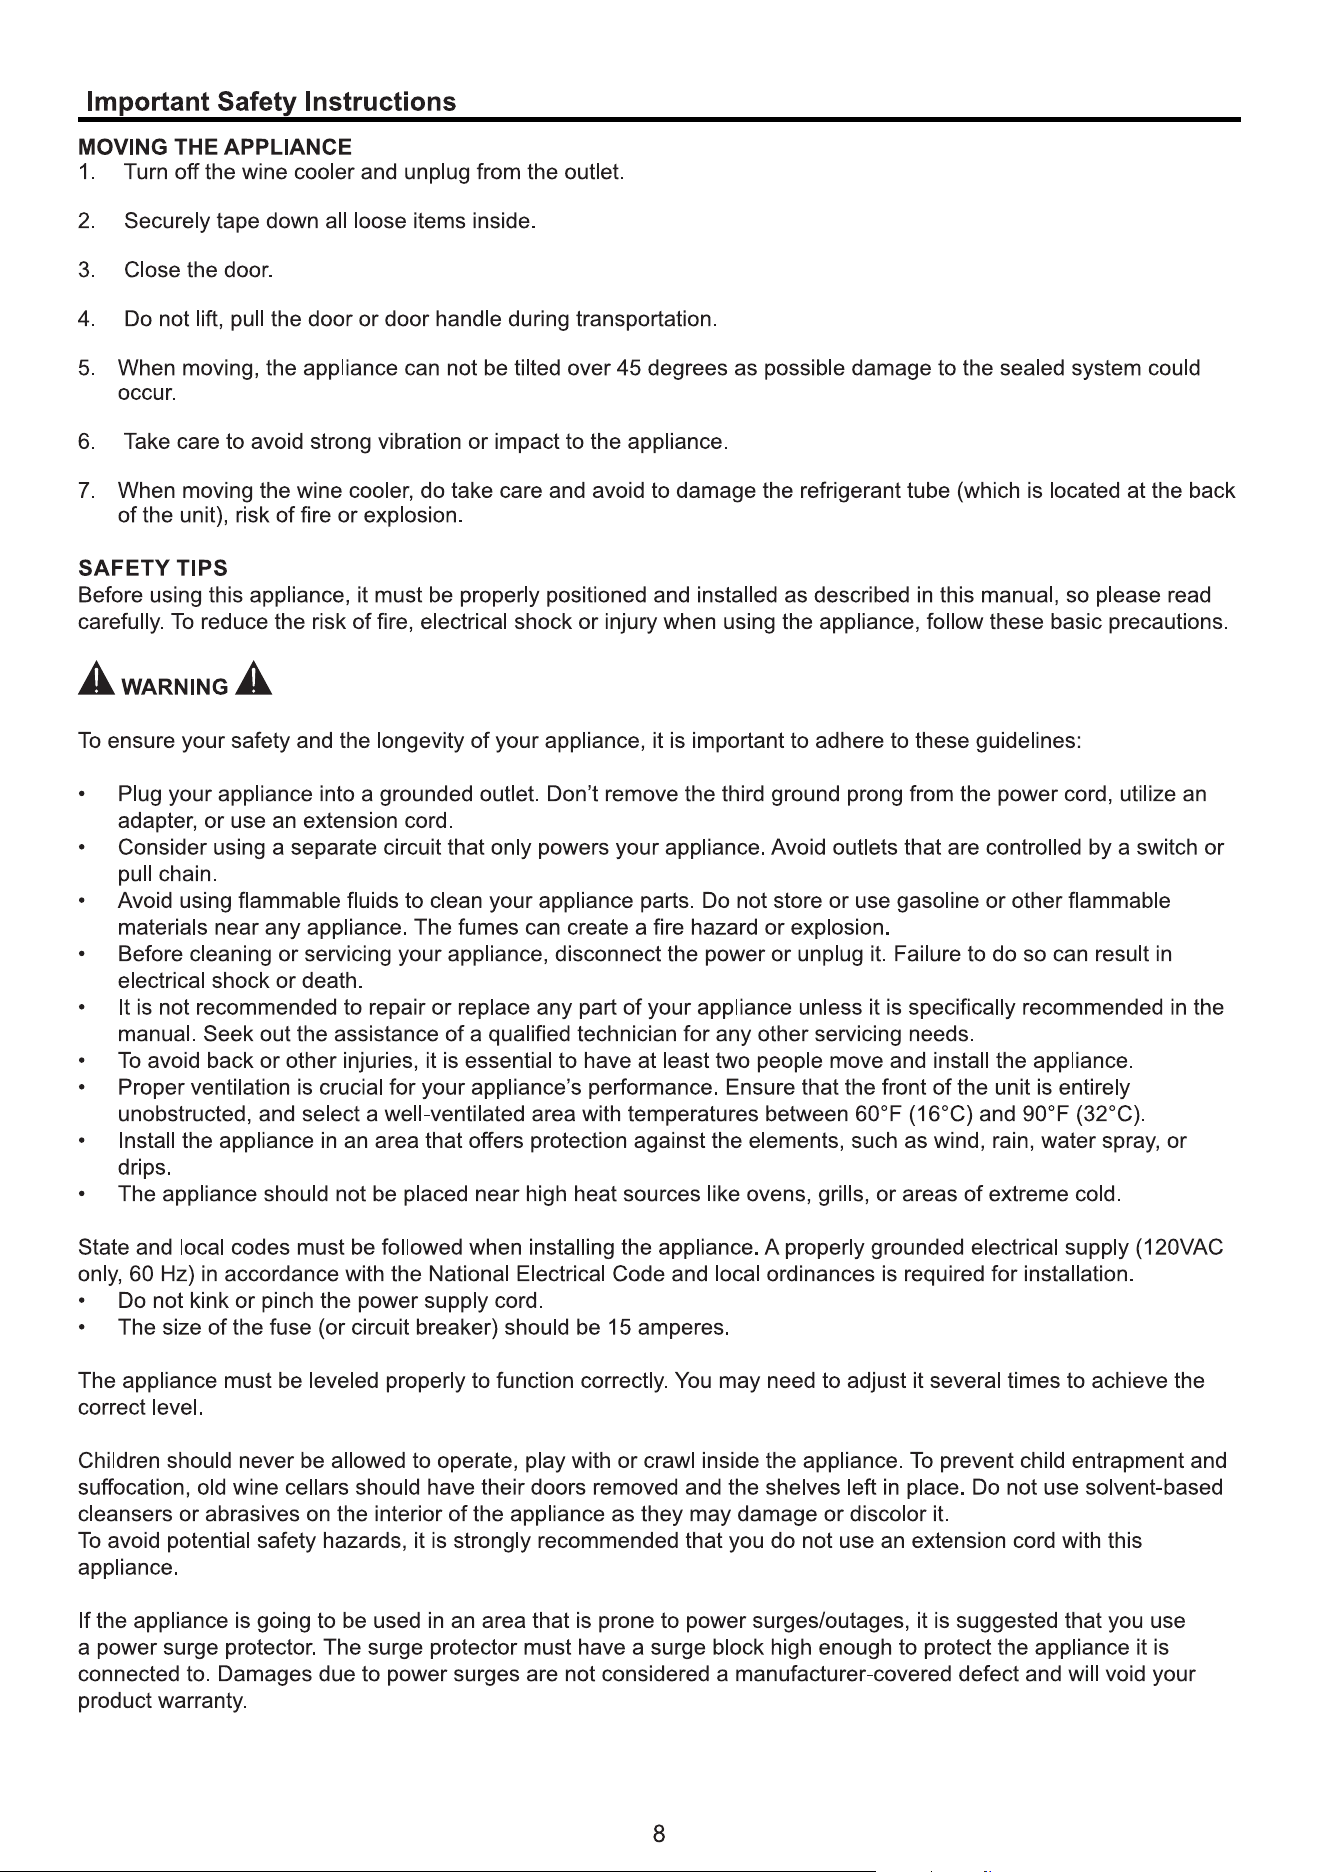
Important Safety
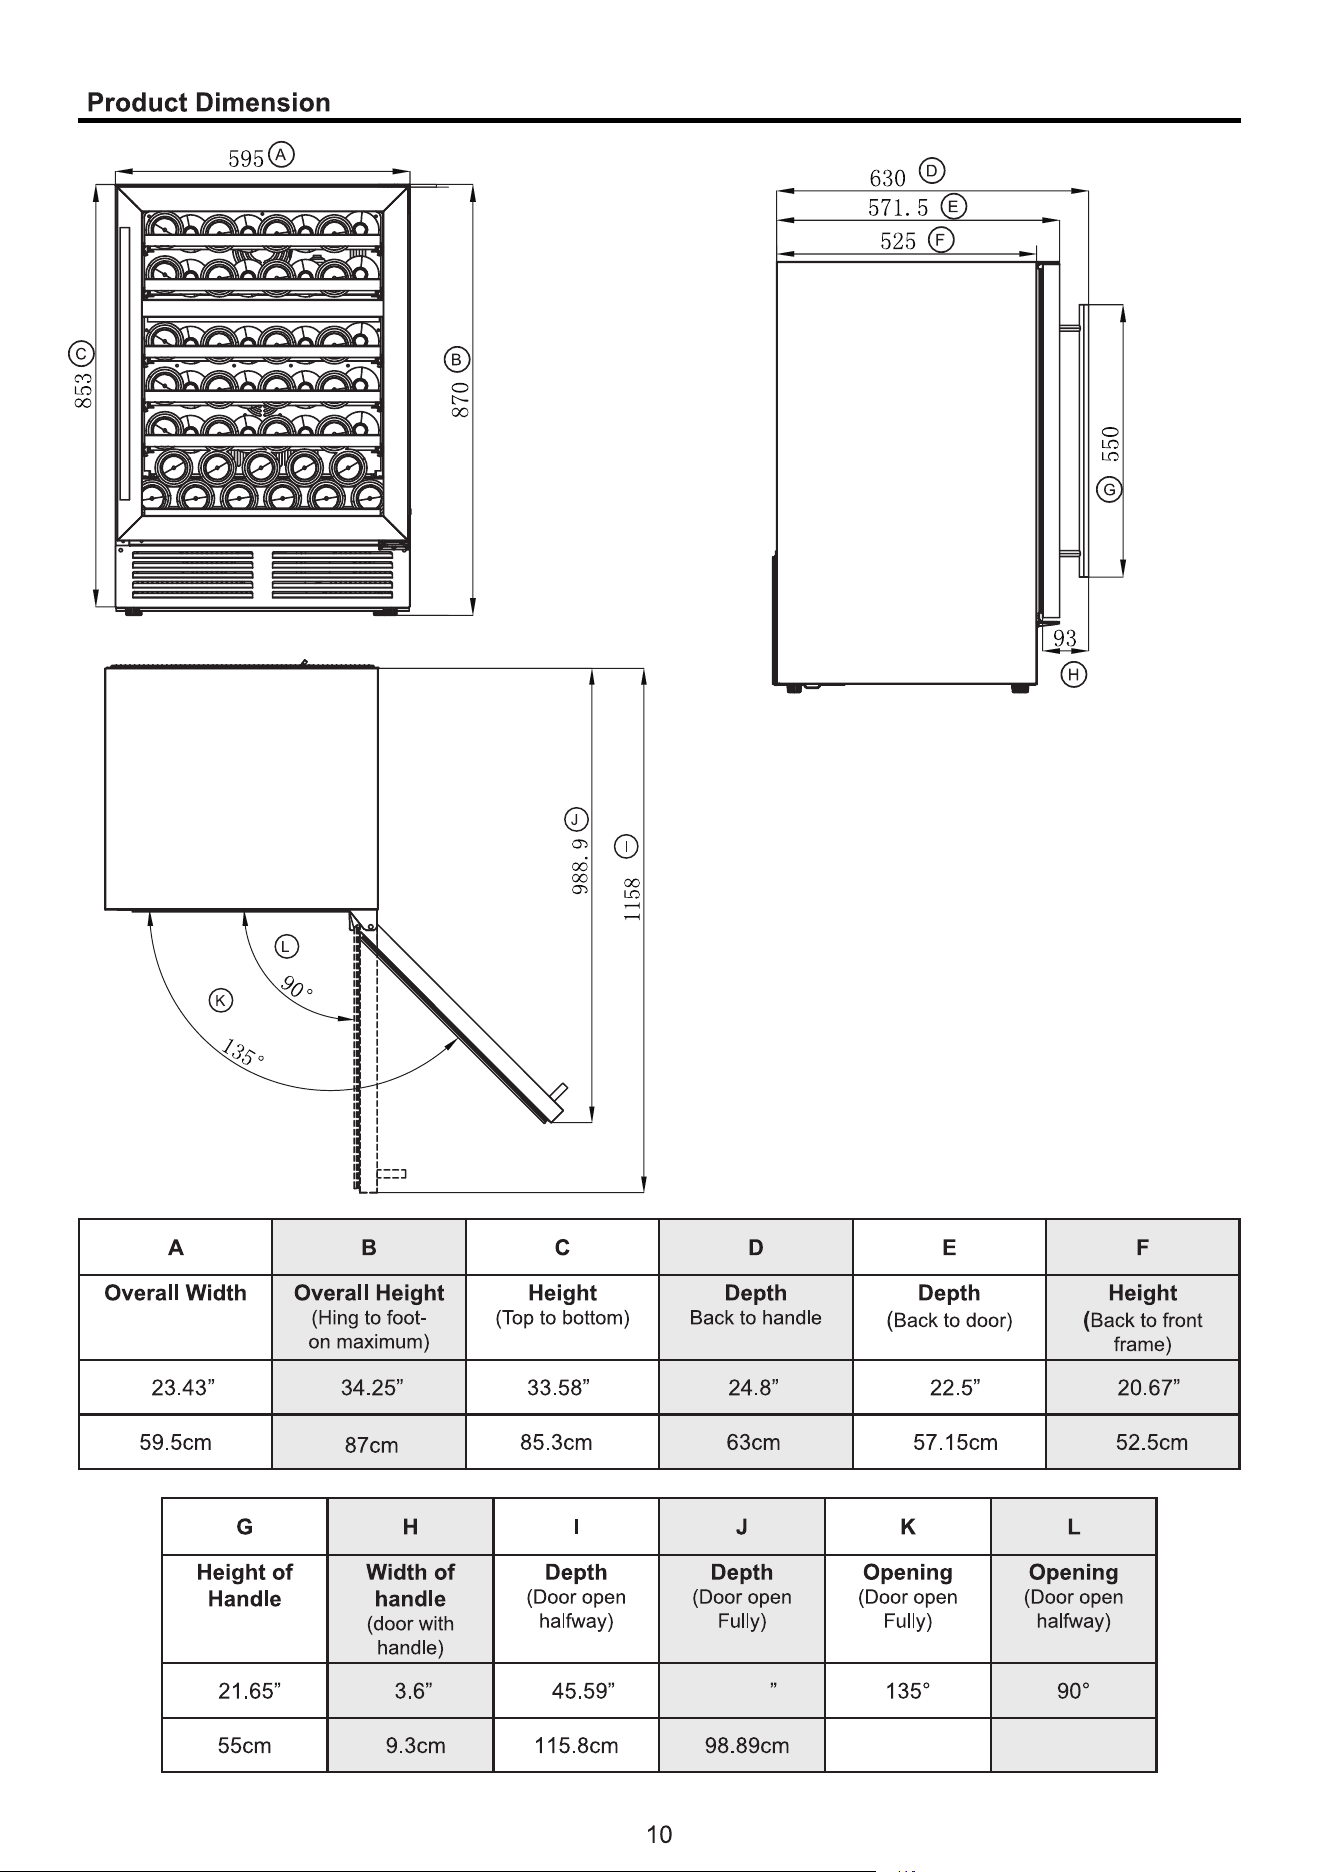
Product Dimension
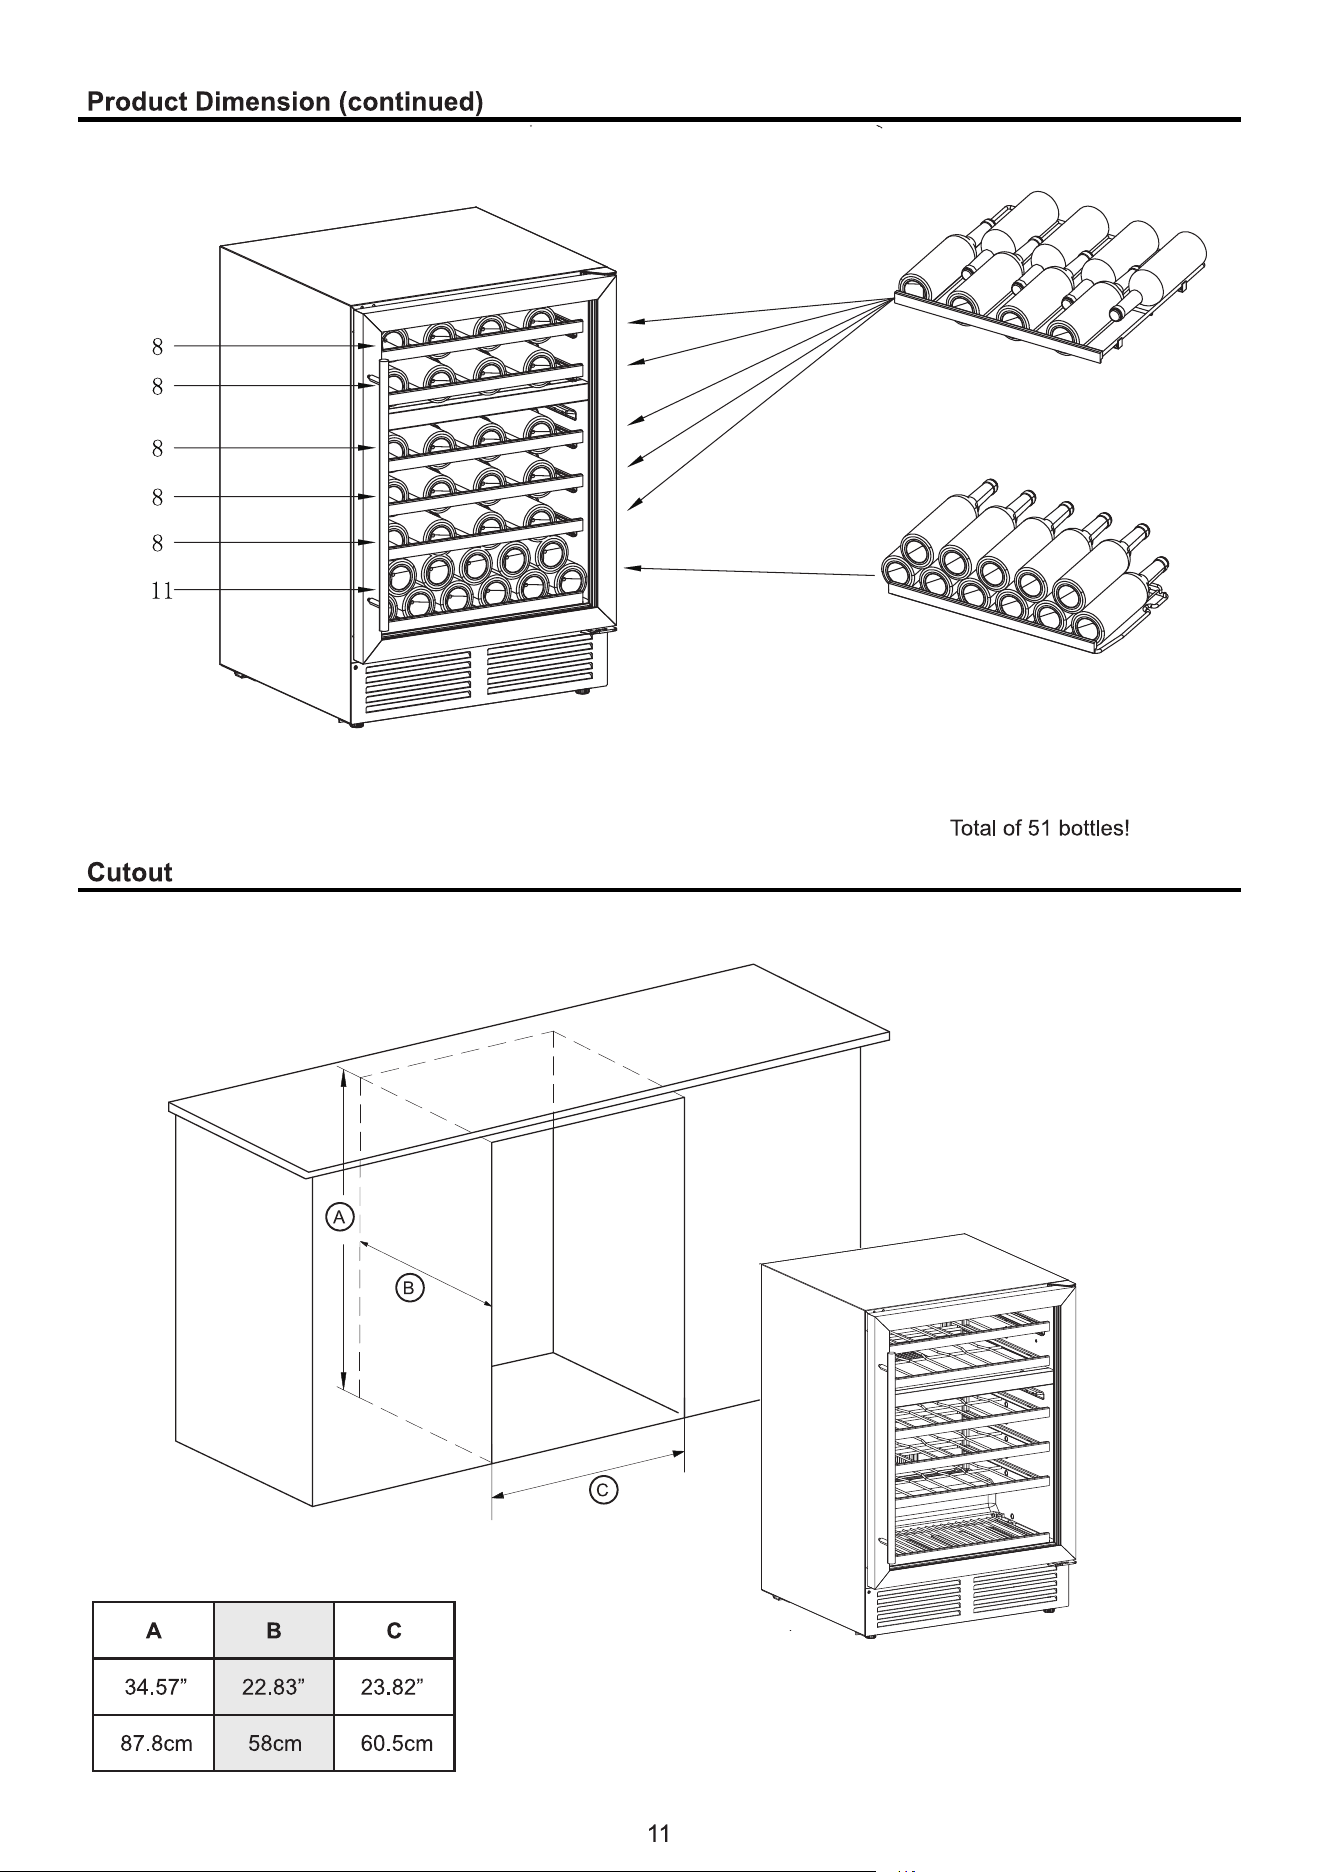
Cutout
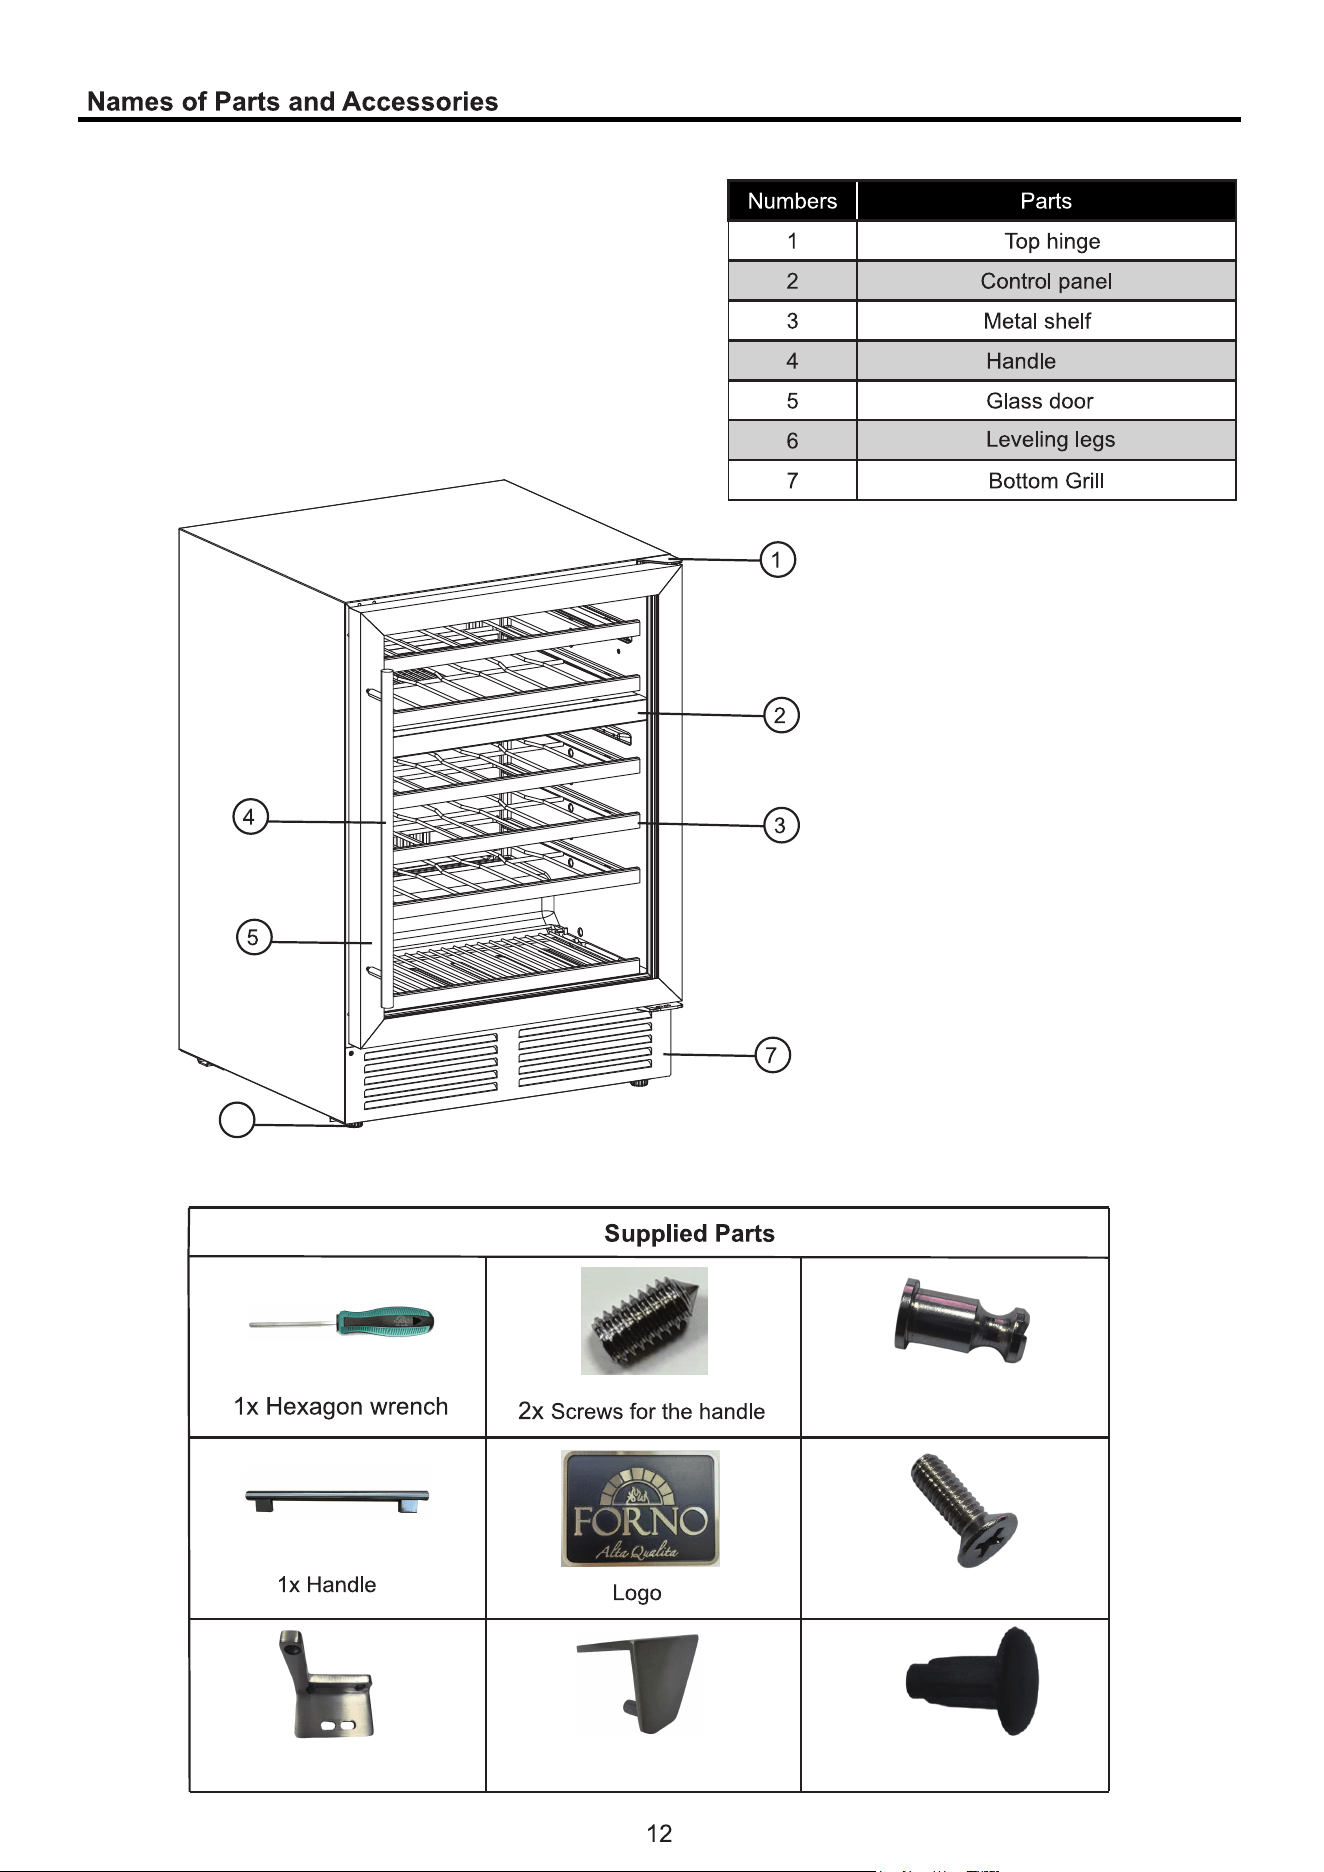
Names of Parts and Accessories
Installations:
•
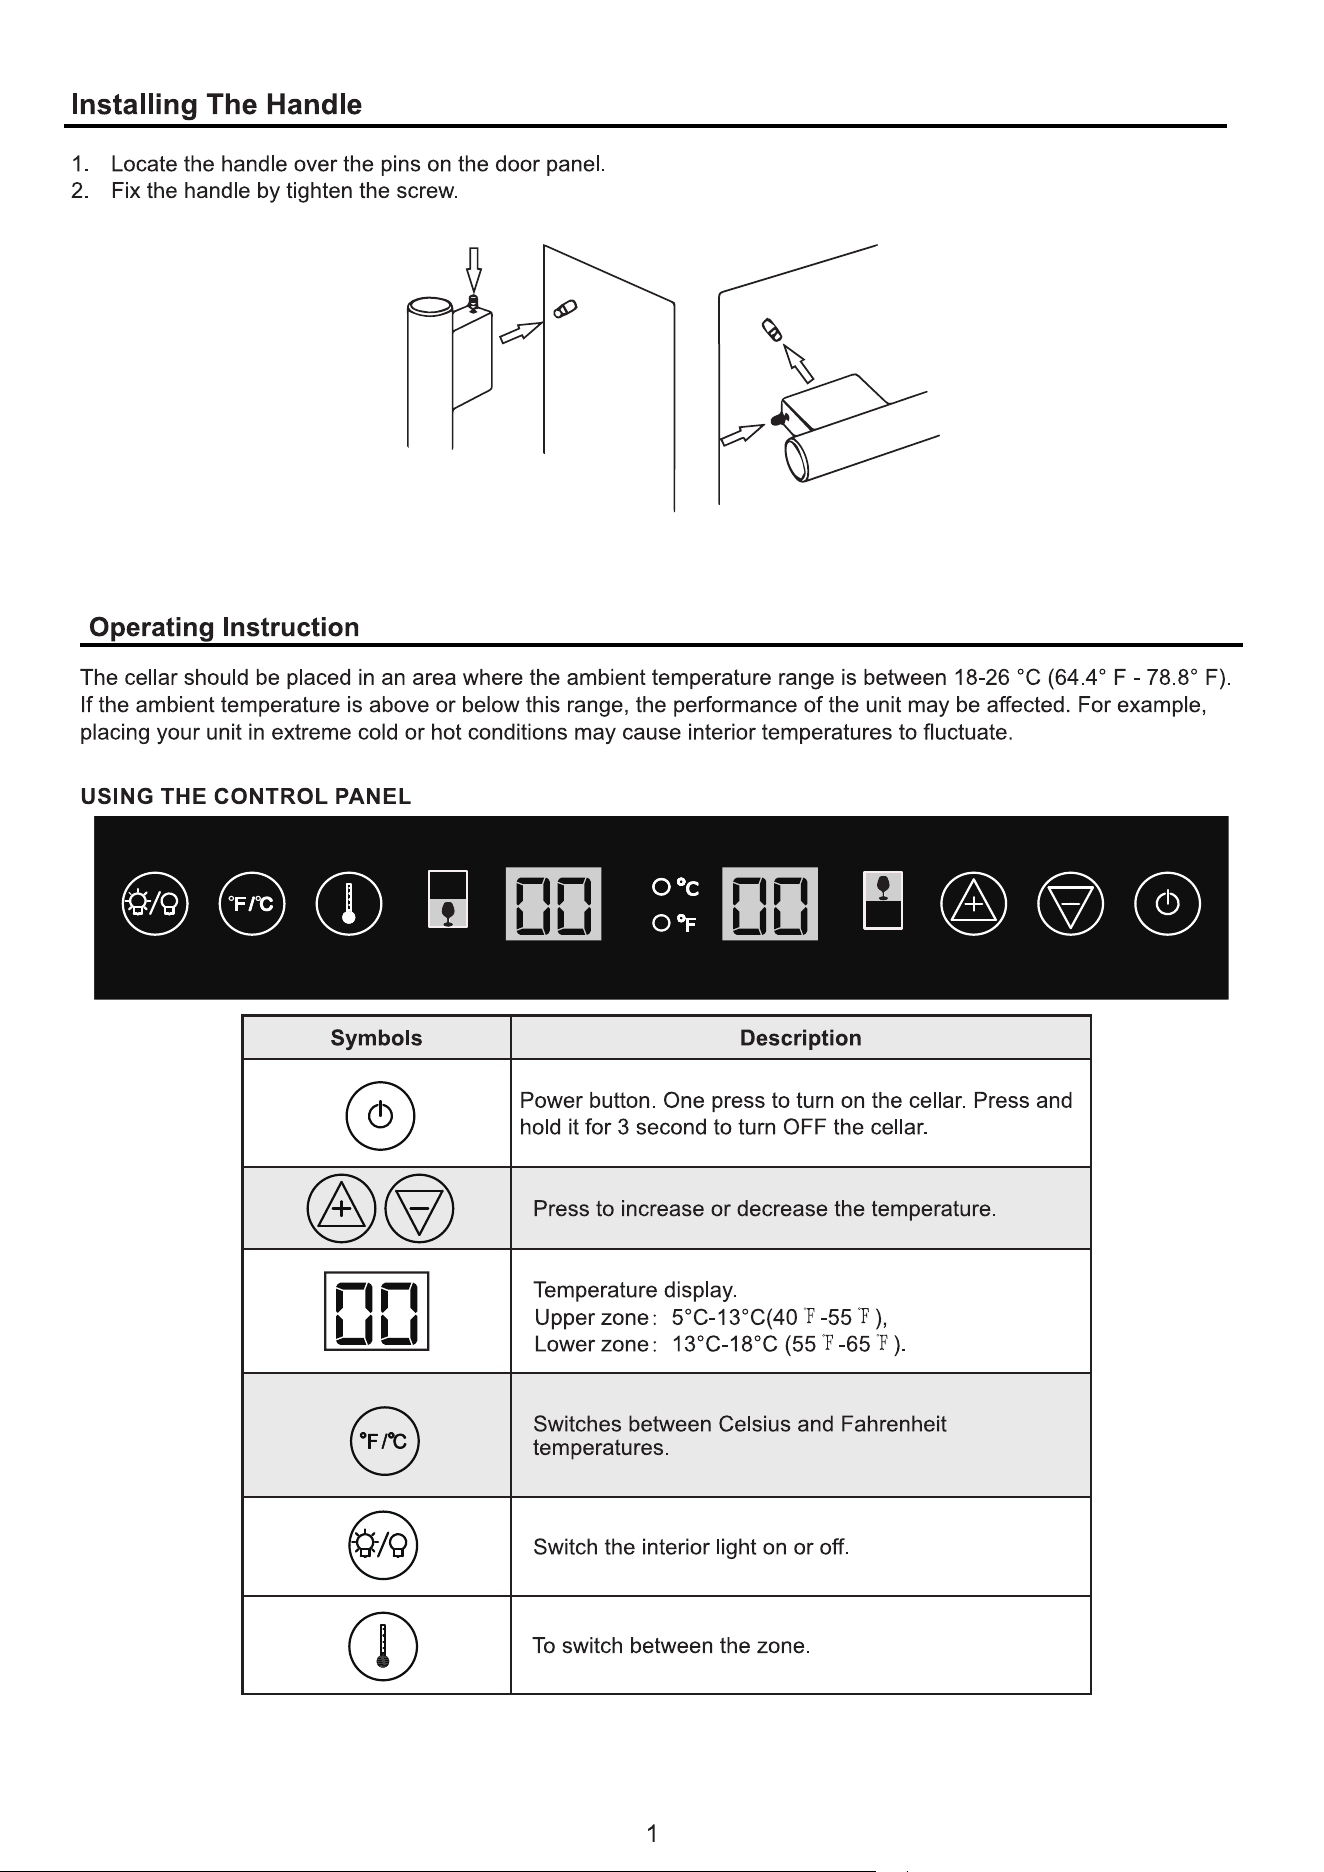
Handle ... . . . .......... .......... ....... ......... .......... .......... .......... ..... 14
Operating Instruction
14
Care and Maintenance
•
Cleaning your cooler . . . . . . . . . . . . . . . . . . . . . . . . . . . . . . . . . . . . . . . . . . . . . . . . . . . . . . . . . . 16
•
Moving the cooler............................................................... 16
•
Racking Configuration ...................................................... 16
•
How to Remove a Sliding Shelf . . . . . . . . . . . . . . . . . . . . . . . . . . . . . . . . . . . . . . . . . 16
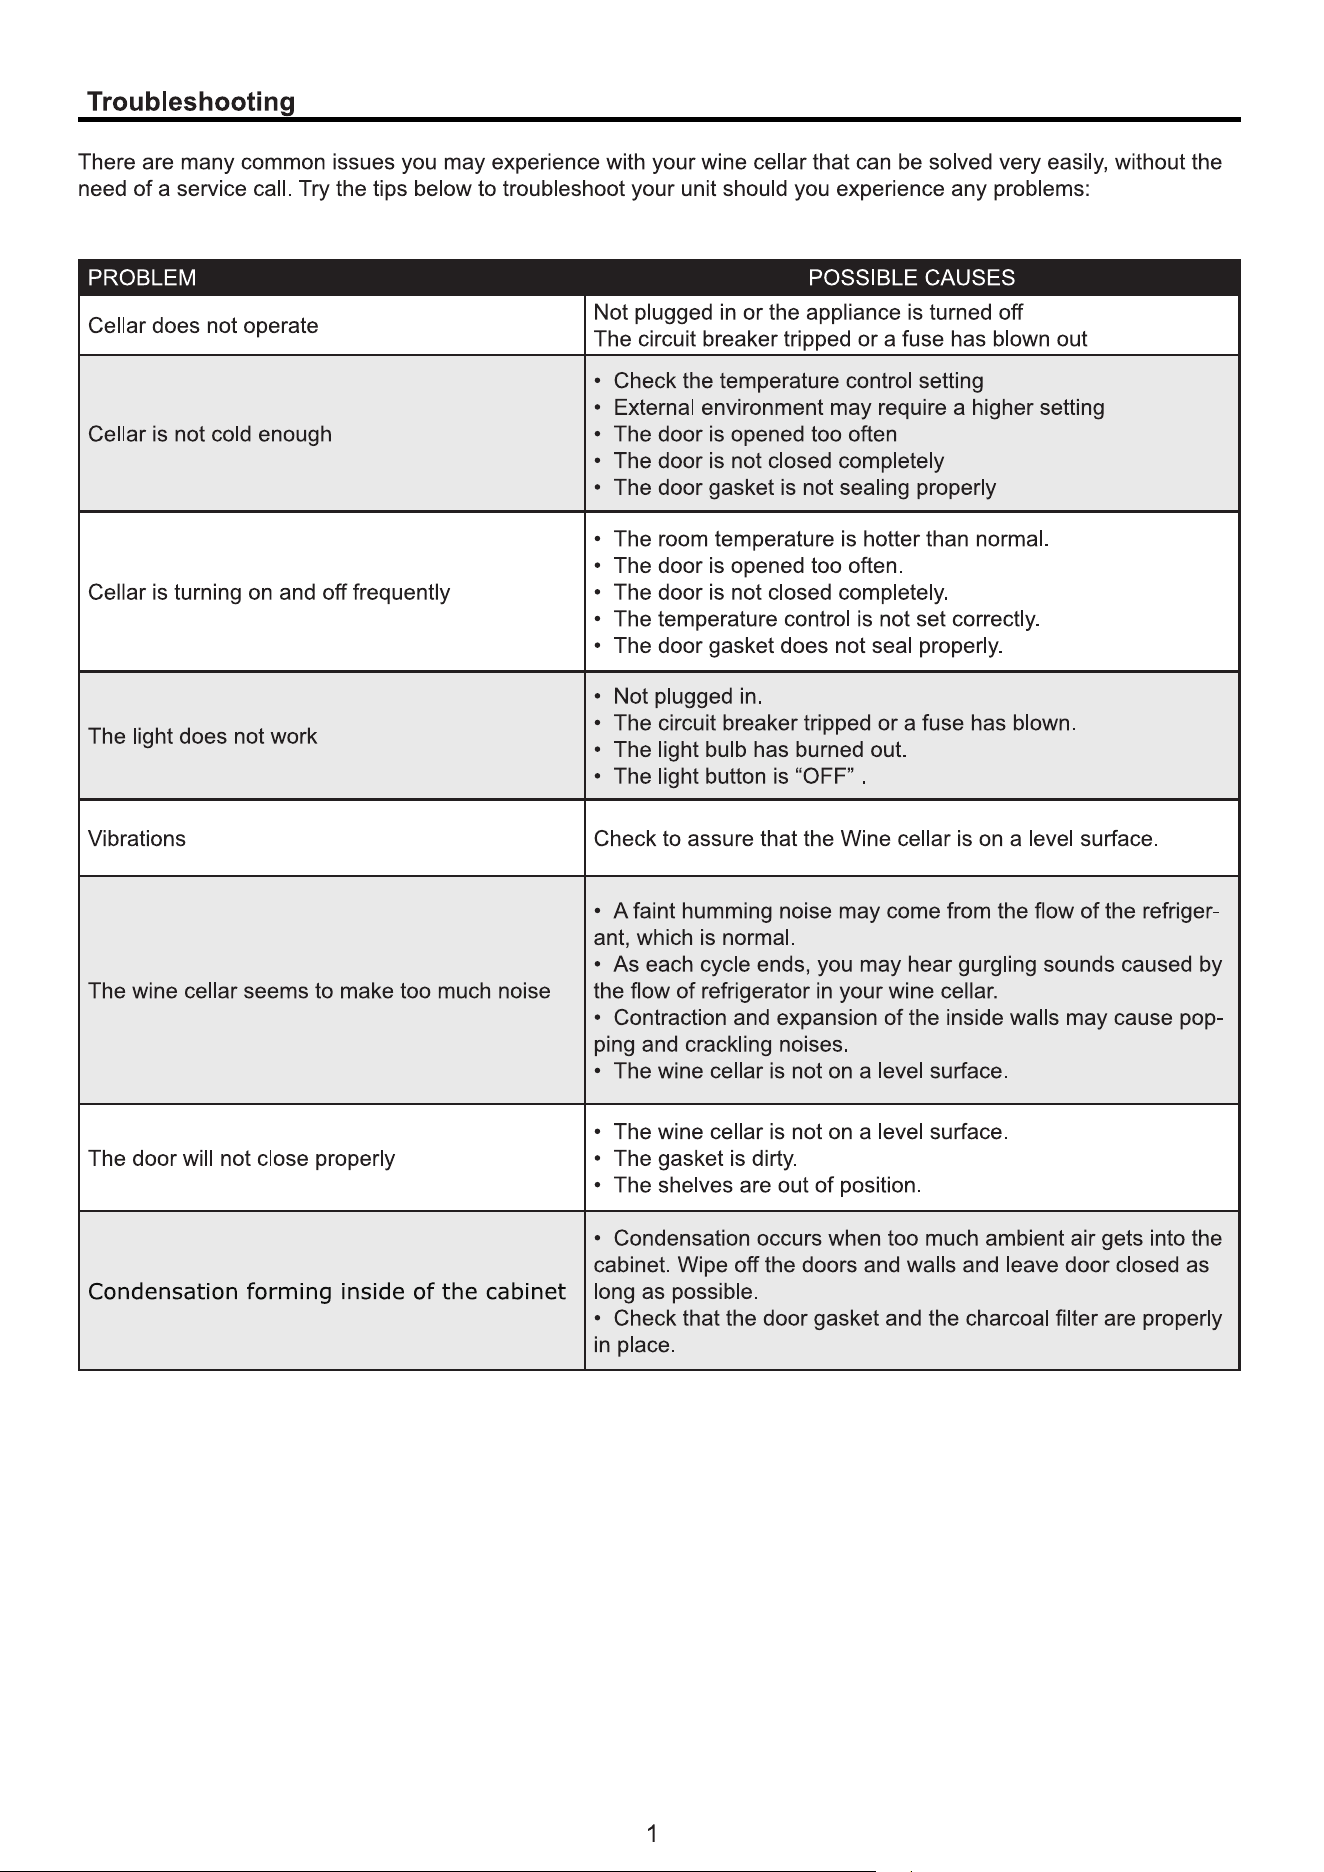
Troubleshooting
17
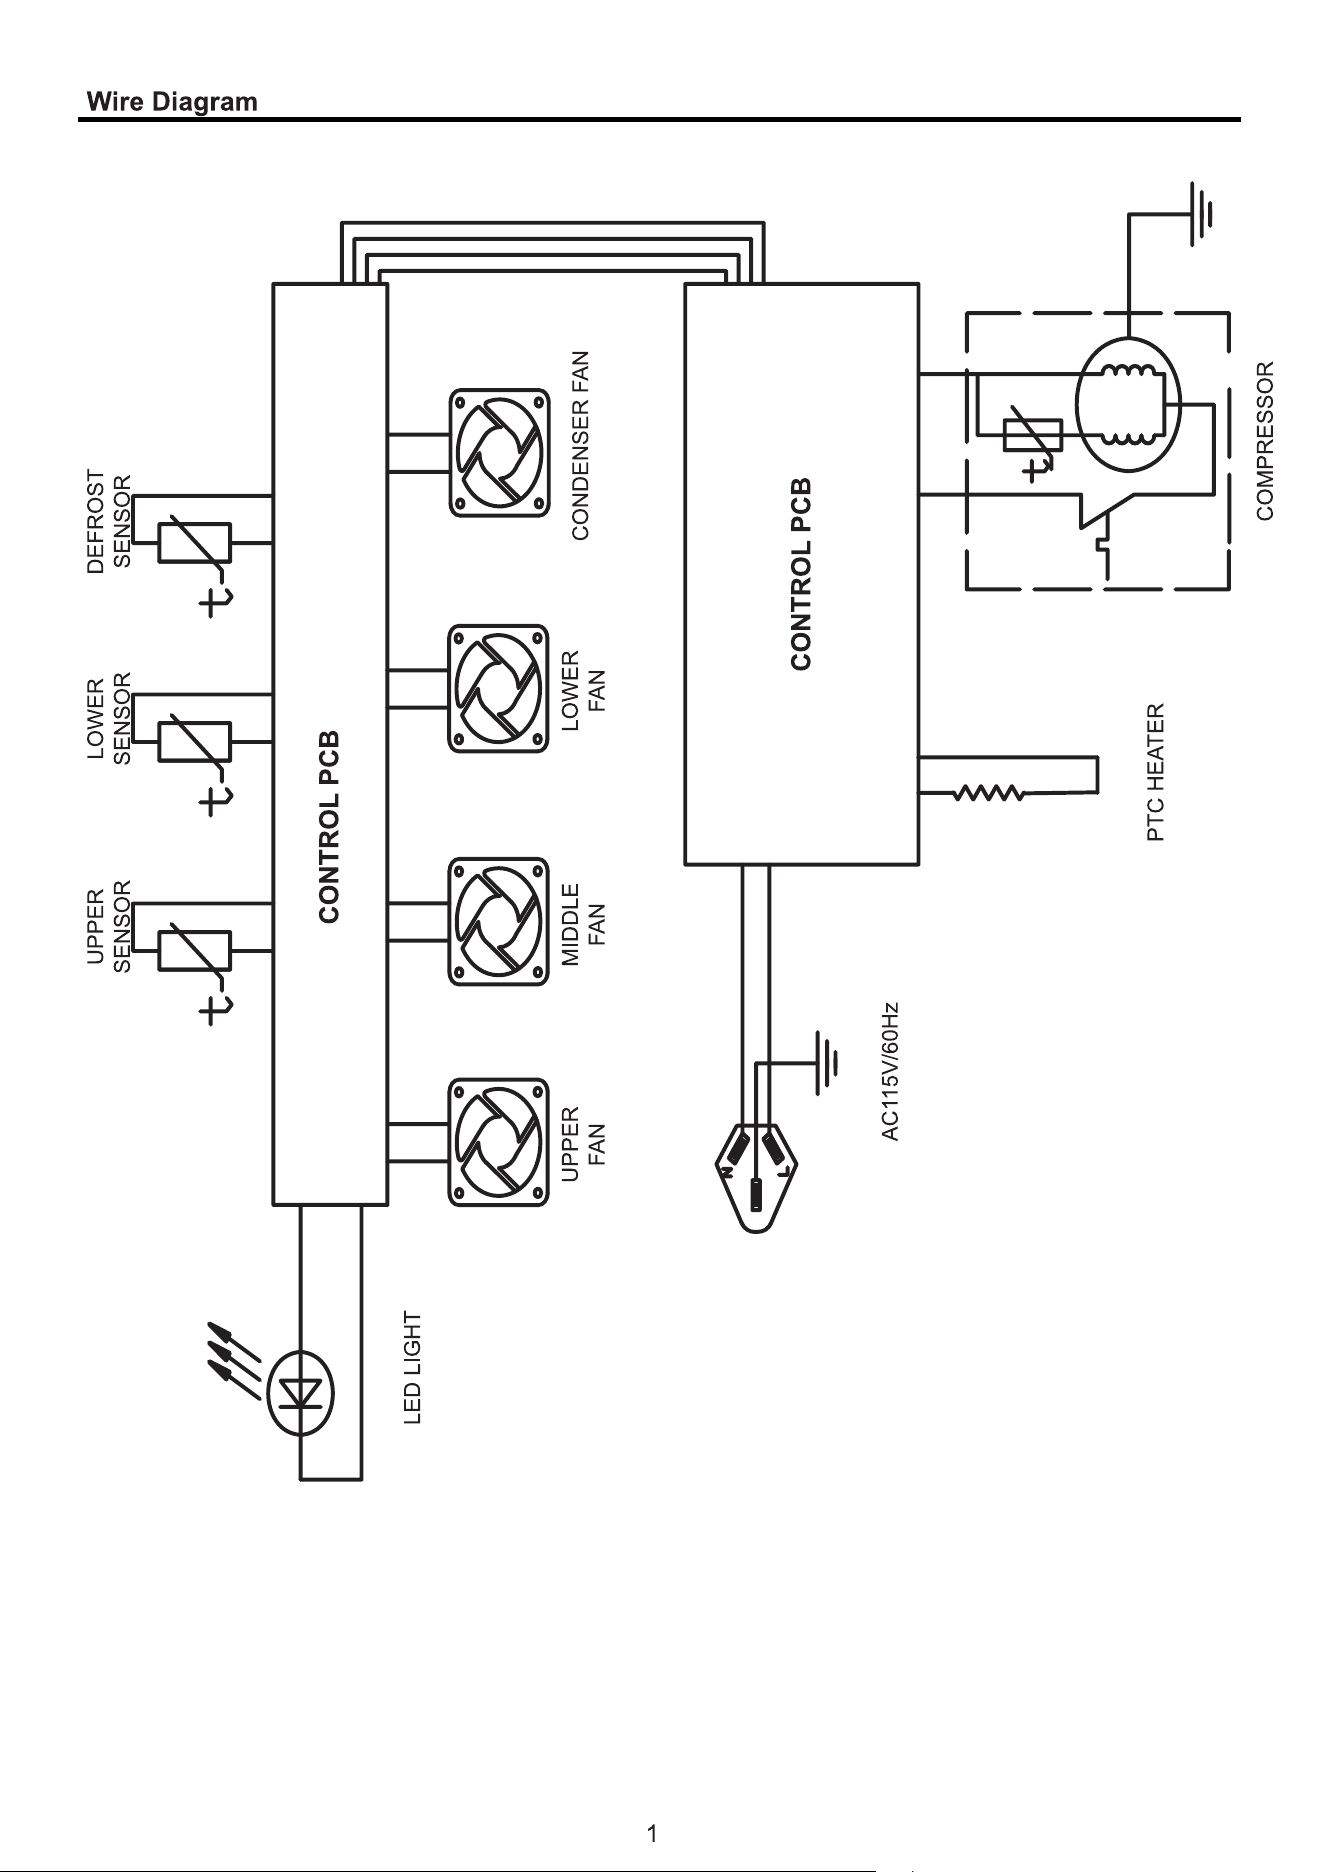
Wire Diagram
18
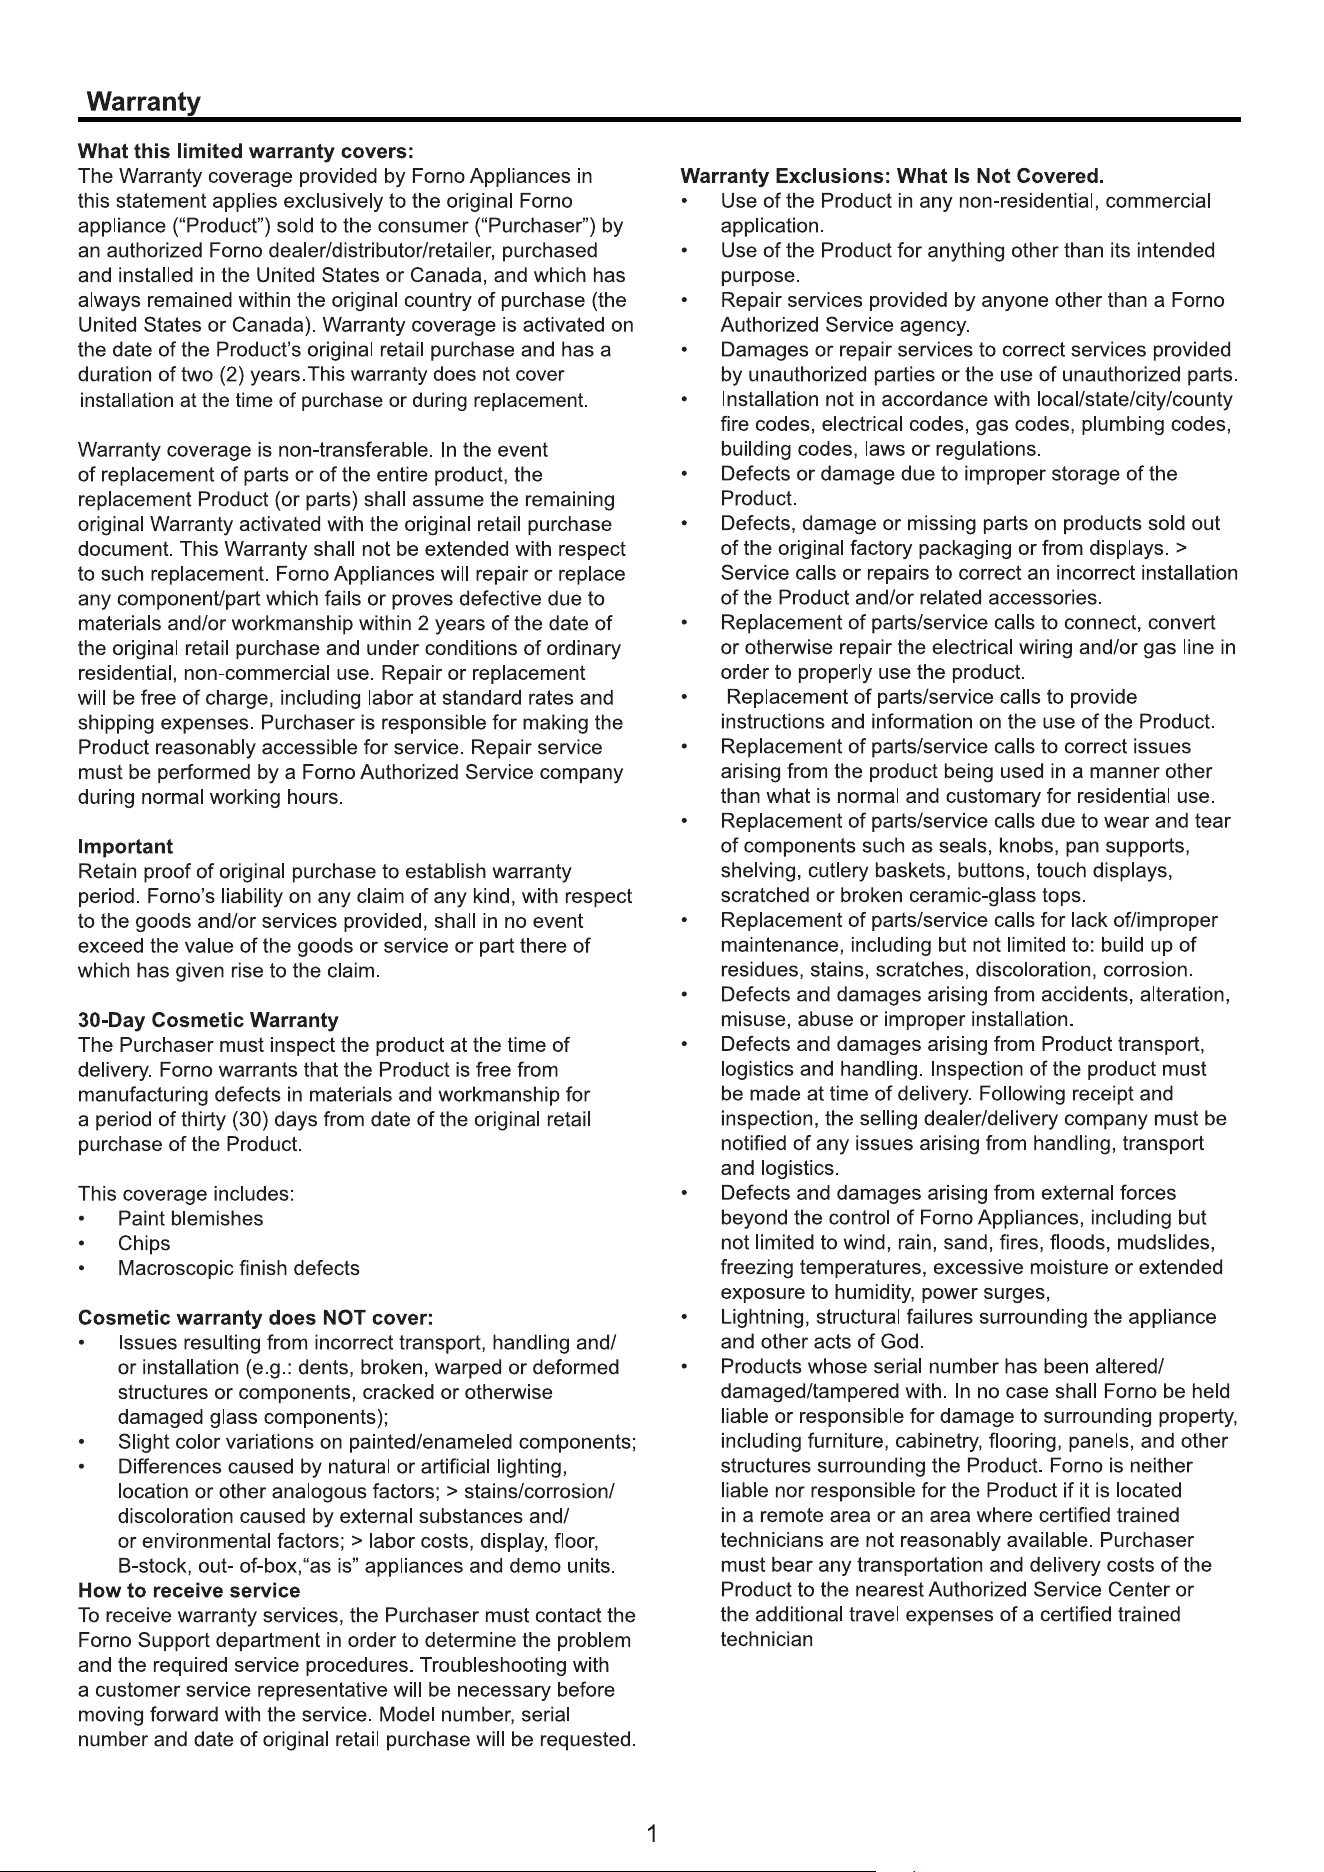
Warranty
1
9
•
Door Reversal
... . . . .
......... ..
..... ......... .......... .......... .......... ..... 13
4
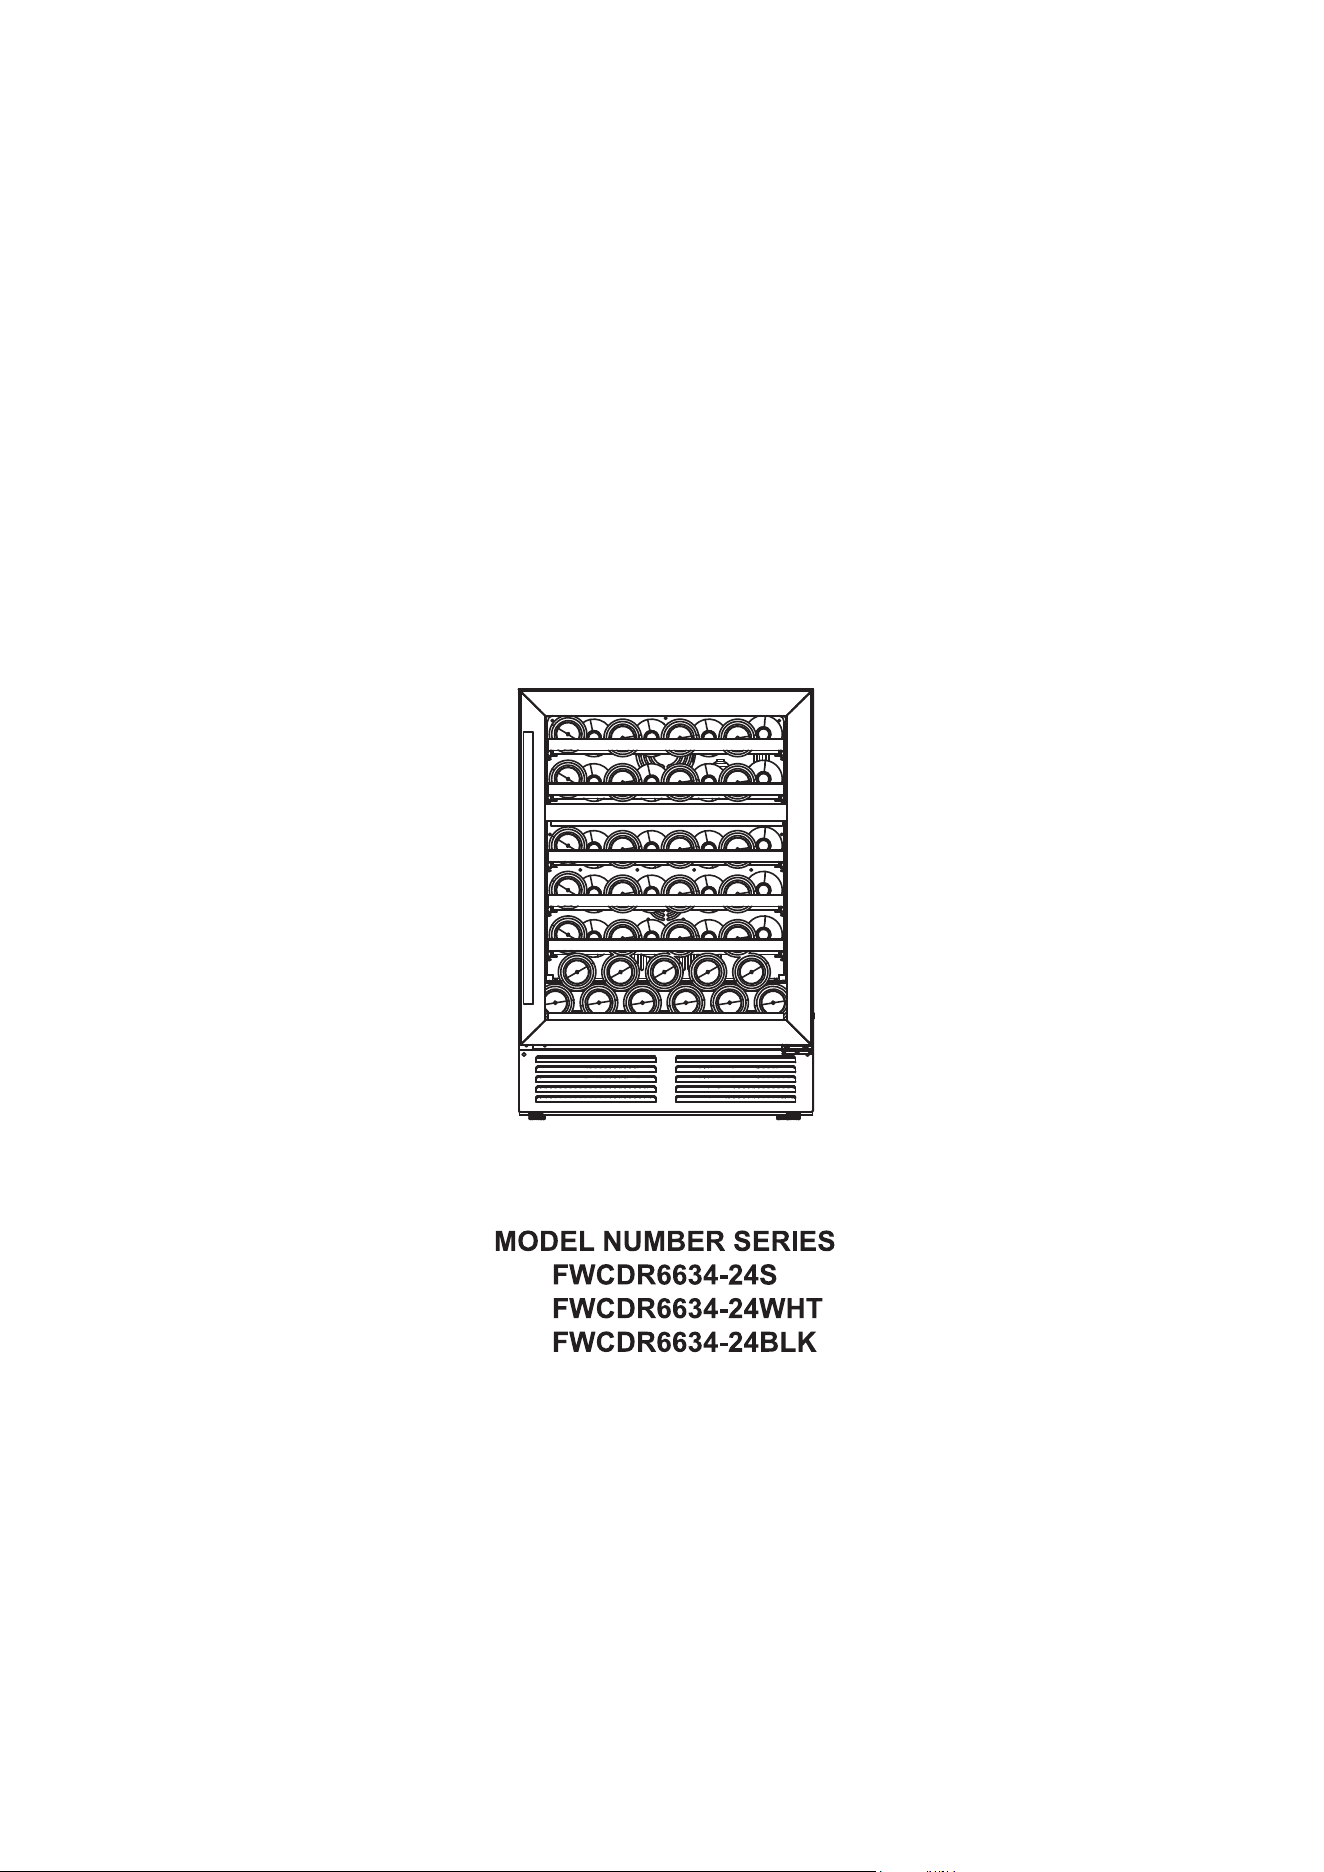
WINE COOLER
Forno
38.93
6
2x Handle bolt
6x Hinge screw
1x Left lower hinge 1x Left upper hinge 6x Plastic cap
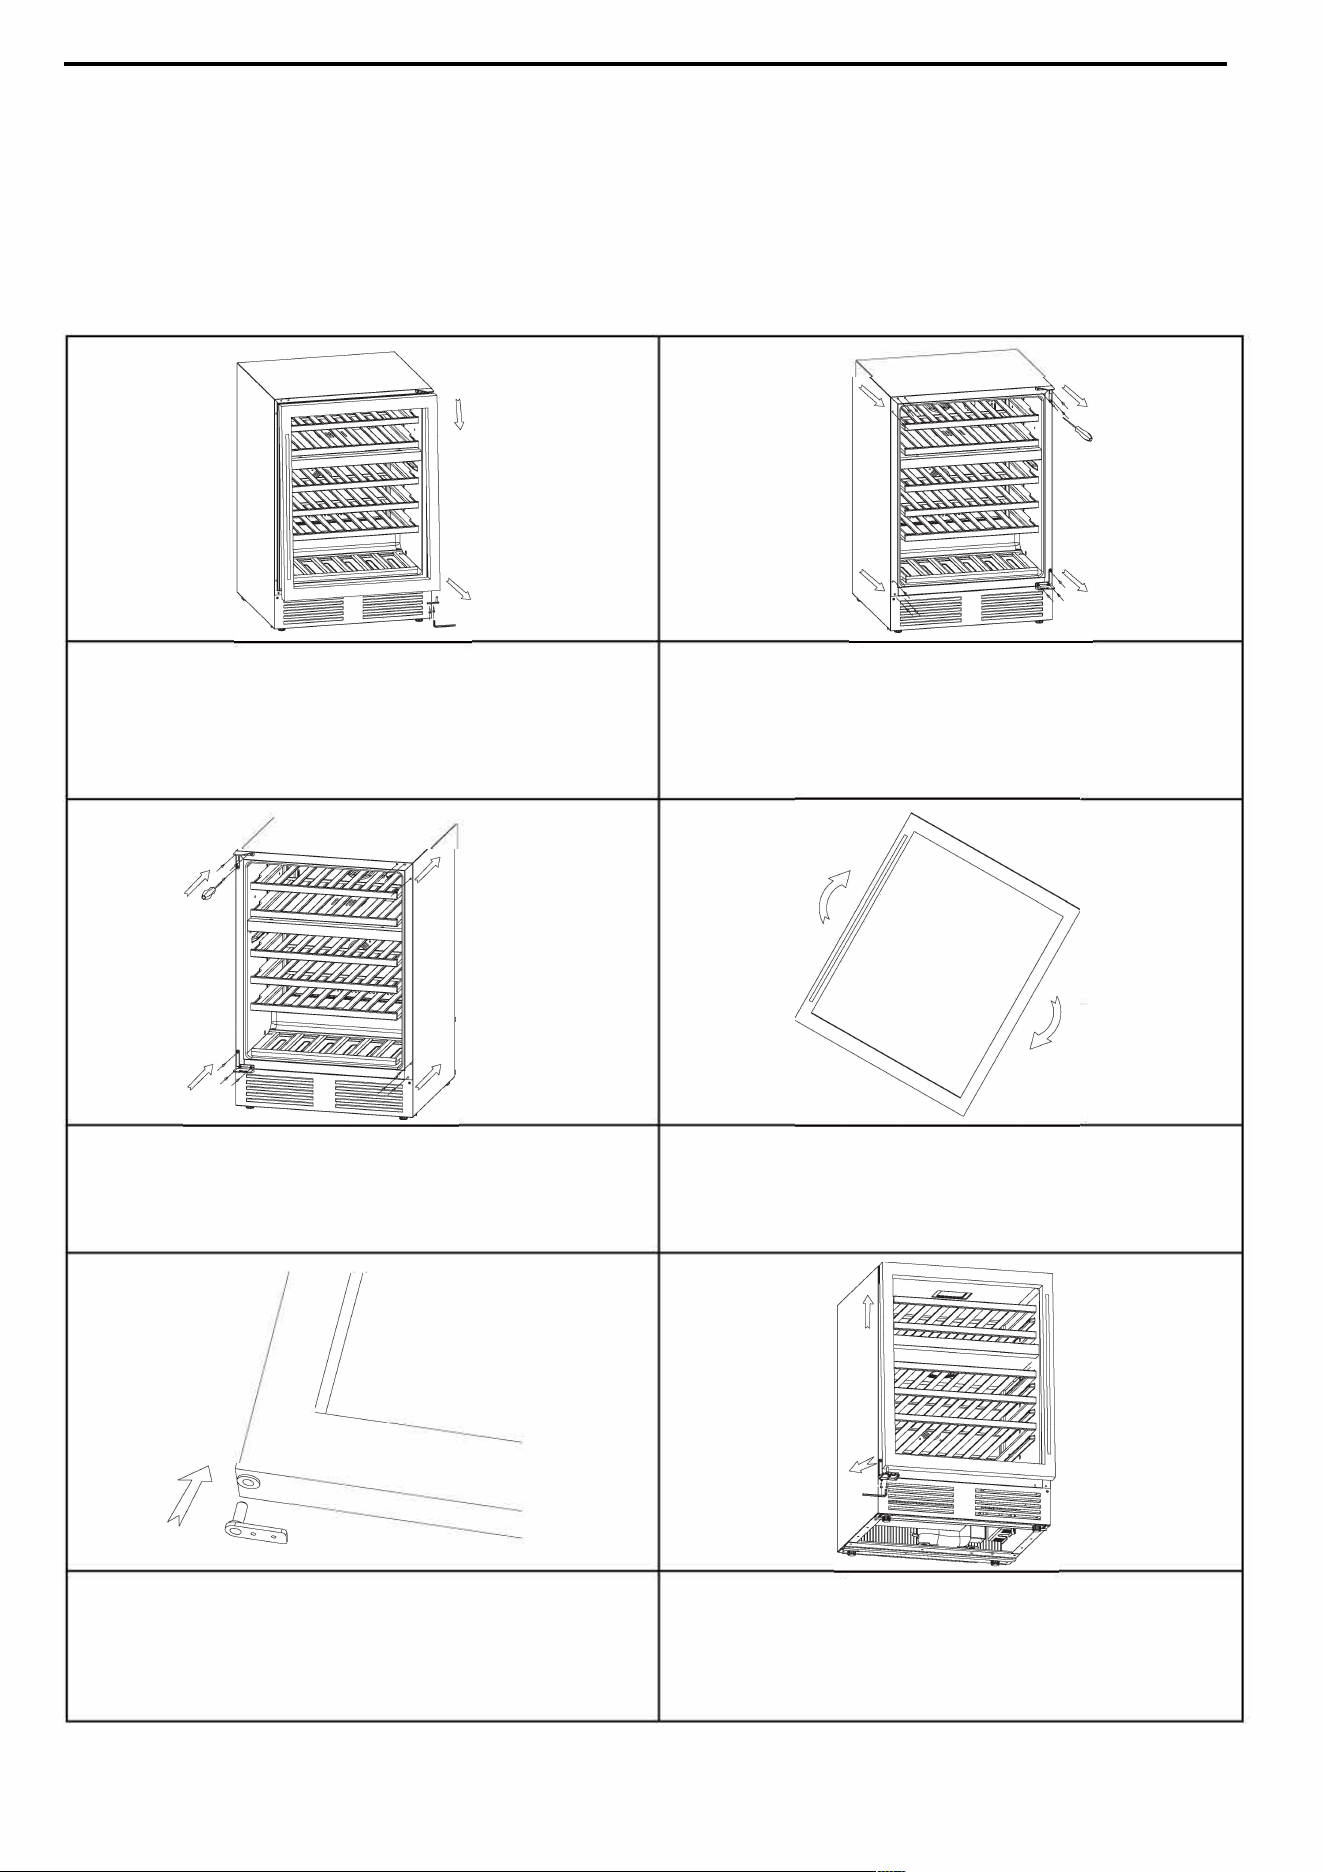
DOOR REVERSAL
This appliance comes with a reversible door feature, allowing you to set the opening direction to either the
left or right based on your preference. Follow the steps below to reverse the door.
If you prefer, change the door swing before installing the appliance.
CAUTION: For your safety and to prevent damage, it's strongly advised to have someone assist you during the door
reversal process.
Before starting, ensure the unit is powered off, and disconnect the power plug from the outlet.
During the process of operating, the tilt angle of the unit should not exceed 45
°
. If exceeded, it's recommend to
keep it upright for approximately 12 hours before power ON.
Step 1 Step 2
Hold the door, loosen the bottom two screws of the lower
Loosen the 6 screws of the right upper and lower hinge.
hinge. Lift the door, remove the door hinge axis from the
Take off the plastic caps from the left side of the unit. Save
lower hinge, and place the door on a padded surface to
them to cover holes on the right side after reversing the
prevent damage and scratches.
door.
�ep3
�
-
-
-
-
-
�ep4
Install the left upper & lower hinge to the unit.
Turn the door by 180
°
and position it on the left-side
Cover the hinge screw holes on the right side with the 6
upper hinge, holding it in the closed position.
plastic caps.
Step 5
Insert the hinge axis to the bottom hole of the door.
Step 6
Push the door inward and make sure the hinge axis on the
right position of the lower hinge.
Adjust the door to ensure it's aligned with the the unit.
Tighten the bottom screws.
To reverse the left hinge to right one, refer to the uplisted steps.
13
4
5
6
7
8
9
19
THERE ARE NO EXPRESS WARRANTIES OTHER THAN THOSE LISTED AND DESCRIBED ABOVE, AND NO WARRANTIES, EITHER EXPRESS OR
IMPLIED, INCLUDING, BUT NOT LIMITED TO, ANY IMPLIED WARRANTIES OF MERCHANTABILITY OR FITNESS FOR A PARTICULAR PURPOSE THAT
SHALL APPLY AFTER THE EXPRESS WARRANTY PERIODS STATED ABOVE, AND NO OTHER EXPRESS WARRANTY OR GUARANTEE GIVEN BY
ANY PERSON, FIRM OR CORPORATION WITH RESPECT TO THIS PRODUCT SHALL BE BINDING ON FORNO. FORNO SHALL NOT BE LIABLE FOR
LOSS OF REVENUE OR PROFITS, FAILURE TO REALIZE SAVINGS OR OTHER BENEFITS, TIME AWAY FROM WORK, MEALS, LOSS OF FOOD OR
BEVERAGES, TRAVELING OR HOTEL EXPENSES, EXPENSES TO RENT OR PURCHASE APPLIANCES, REMODELING/CONSTRUCTION EXPENSES
IN EXCESS OF DIRECT DAMAGES WHICH ARE UNDENIABLY CAUSED EXCLUSIVELY BY FORNO OR ANY OTHER SPECIAL, INCIDENTAL OR
CONSEQUENTIAL DAMAGES CAUSED BY THE USE, MISUSE OR INABILITY TO USE THIS PRODUCT, REGARDLESS OF THE LEGAL THEORY ON
WHICH THE CLAIM IS BASED, AND EVEN IF FORNO HAS BEEN ADVISED OF THE POSSIBILITY OF SUCH DAMAGES. NOR SHALL RECOVERY OF
ANY KIND AGAINST FORNO BE GREATER IN AMOUNT THAN THE PURCHASE PRICE OF THE PRODUCT SOLD BY FORNO AND CAUSING THE
ALLEGED DAMAGE. WITHOUT PREJUDICE TO THE FOREGOING, PURCHASER ASSUMES ALL RISK AND LIABILITY FOR LOSS, DAMAGE OR INJURY
TO PURCHASER AND PURCHASER’S PROPERTY AND TO OTHERS AND THEIR PROPERTY ARISING FROM THE USE, MISUSE, OR INABILITY TO
USE THIS PRODUCT SOLD BY FORNO THAT IS NOT A DIRECT RESULT OF NEGLIGENCE ON THE PART OF FORNO THIS LIMITED WARRANTY SHALL
NOT EXTEND TO ANYONE OTHER THAN THE ORIGINAL PURCHASER OF THIS PRODUCT, IS NON-TRANSFERABLE, AND STATES YOUR EXCLUSIVE
REMEDY.
Correct Disposal of this product:
This marking indicates that this appliance should not be disposed with
other household wastes. To prevent possible harm to the environment or
human health from uncontrolled waste disposal, recycle it responsibly to
promote the sustainable reuse of material resources.
Warranty (continued)
Customer Support: Call 1-866-231-8893 or email: [email protected]