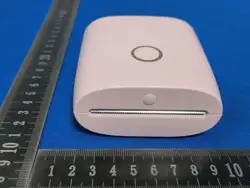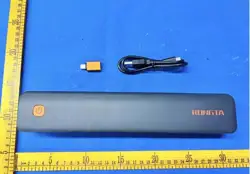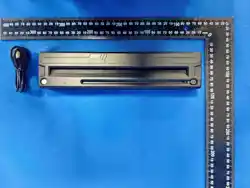
Printer 1 pc
USB cable 1 pc
Power adapter 1 pc
Paper roll 1 pc
Description: The specific product accessories may differ from this list. Please take the actual product
purchased as. If you have any questions, please consult your supplier timely.
Bluetooth version: This printer has 2 indicators to remind the user of the
status of the printer. Details are as follows:
Without Bluetooth version: The printer has 2 indicators to indicate the
status of the printer. Details are as follows:
Attentions:
1.The printer shall be placed on a flat and stable platform to avoid damage
caused by accidental fall.
2.The high environment temperature (>45℃) or the low temperature(<5℃)
will reduce the print quality.
3.The high humidity (>85%RH) or the low humidity (<20%RH) will reduce
the print quality.
4.Don't open the cover of paper bin in printing process.
5.Using low quality or storage too long time print paper will reduce the print
quality, even damage the printer.
6. If there is dirt at the print head, need to use a soft cotton or cotton swab
to dip alcohol and wipe it clean to prevent the print head from being worn.
7. Don't touch the print head and retainer directly in order to avoid
damaging the print head because of static electricity. Don't scratch or touch
the print head with a hardened object to avoid damaging the print head.
8.Please try to use up the battery before charging, which can effectively
protect the battery life.
9.In the course of any accident, please disconnect the printer power supply,
and remove the printer battery immediately.
10.If user disassemble the printer, the company has the right to refuse
warranty on the product.
The printer uses a thermistor to detect the temperature of the print
head. If the print head overheat, the circuit will cut off the print head
and stop printing. The print head is protected by overheating at 80℃.
Storage Precautions:
1. If the printer is not used for a longer time, disconnect the power to the
printer power adapter.
2. Ordinary thermal printing paper storage time is short. If you want to print
documents that need preservation for a long time, please choose long-term
thermal printing paper.
3. Heat-sensitive printing paper should not be stored in a place with high
temperature, high humidity, or direct sunlight. If it has been unsealed, please
put it in a place to avoid light.
Items Parameter
Print
parameters
Print method Thermal dot line printing
Resolution 203DPI, 8dots/mm
Print width 72mm (576dots)
Print speed 300mm/s(Max)
Communic
ation
Wired Standard USB, Ethernet interface
Wireless
Bluetooth (optional), SPP (Android), BLE (iOS)
Storage
/
RAM
FL ASH
POS/ ESC Compatible instruction Set
WIFI:448KB;Ethernet:96KB+4MB;U/UB:64KB
FLASH: 4MB, NV bitmap FLASH: 64KB
Characters
Chinese
GB18030
Characters and figures ASCII
User defined Support
Language (Code page)
Support simplified & traditional Chinese, English and other 45
kinds of international character sets.
Tables /
Support dots printing with different densities
Support raster bitmap print
Support to download the bitmap print, the maximum size of each
bitmap is not more than 64K, the total size of the download
bitmap is 64K.
Barcode
1 D
UPC-A、UPC-E、EAN-8、EAN13、CODE39、ITF、CODEBAR、
CODE128、CODE93
2 D QR Code
Detection
Sensor
Paper out, Cover open detection
Indicators LED
Power indicator, Bluetooth indicator, error indicator
Printing
Paper
Type Standard thermal receipt paper
Width
80mm
Thickness 0.056~0.15mm (thermal label paper)
External diameter 80mm
Paper loading Easy to load paper structure
Physical
characterist
ics
Paper tore Auto cutter
Operating
environment
Temperature: -10℃ ~ 50℃, Humidity: 25% ~ 80%R H
Storage environment Temperature: -40℃ ~ 70℃, humidity: <93%RH (40℃)
Size 180.5mm*140.05mm*113.5mm (Length* Wide*High)
Weight 0.816 Kg(Printer-only)
Reliability
TPH life
100Km
Motor life 360,000 hours
Software
Drivers
Windows (WIN 11/WIN
10/WIN
8 /Vista /XP /2000)
UBUNTU 12.04 32/64 UBUNTU 14.04 32/64
APP Printer setting tools, etc
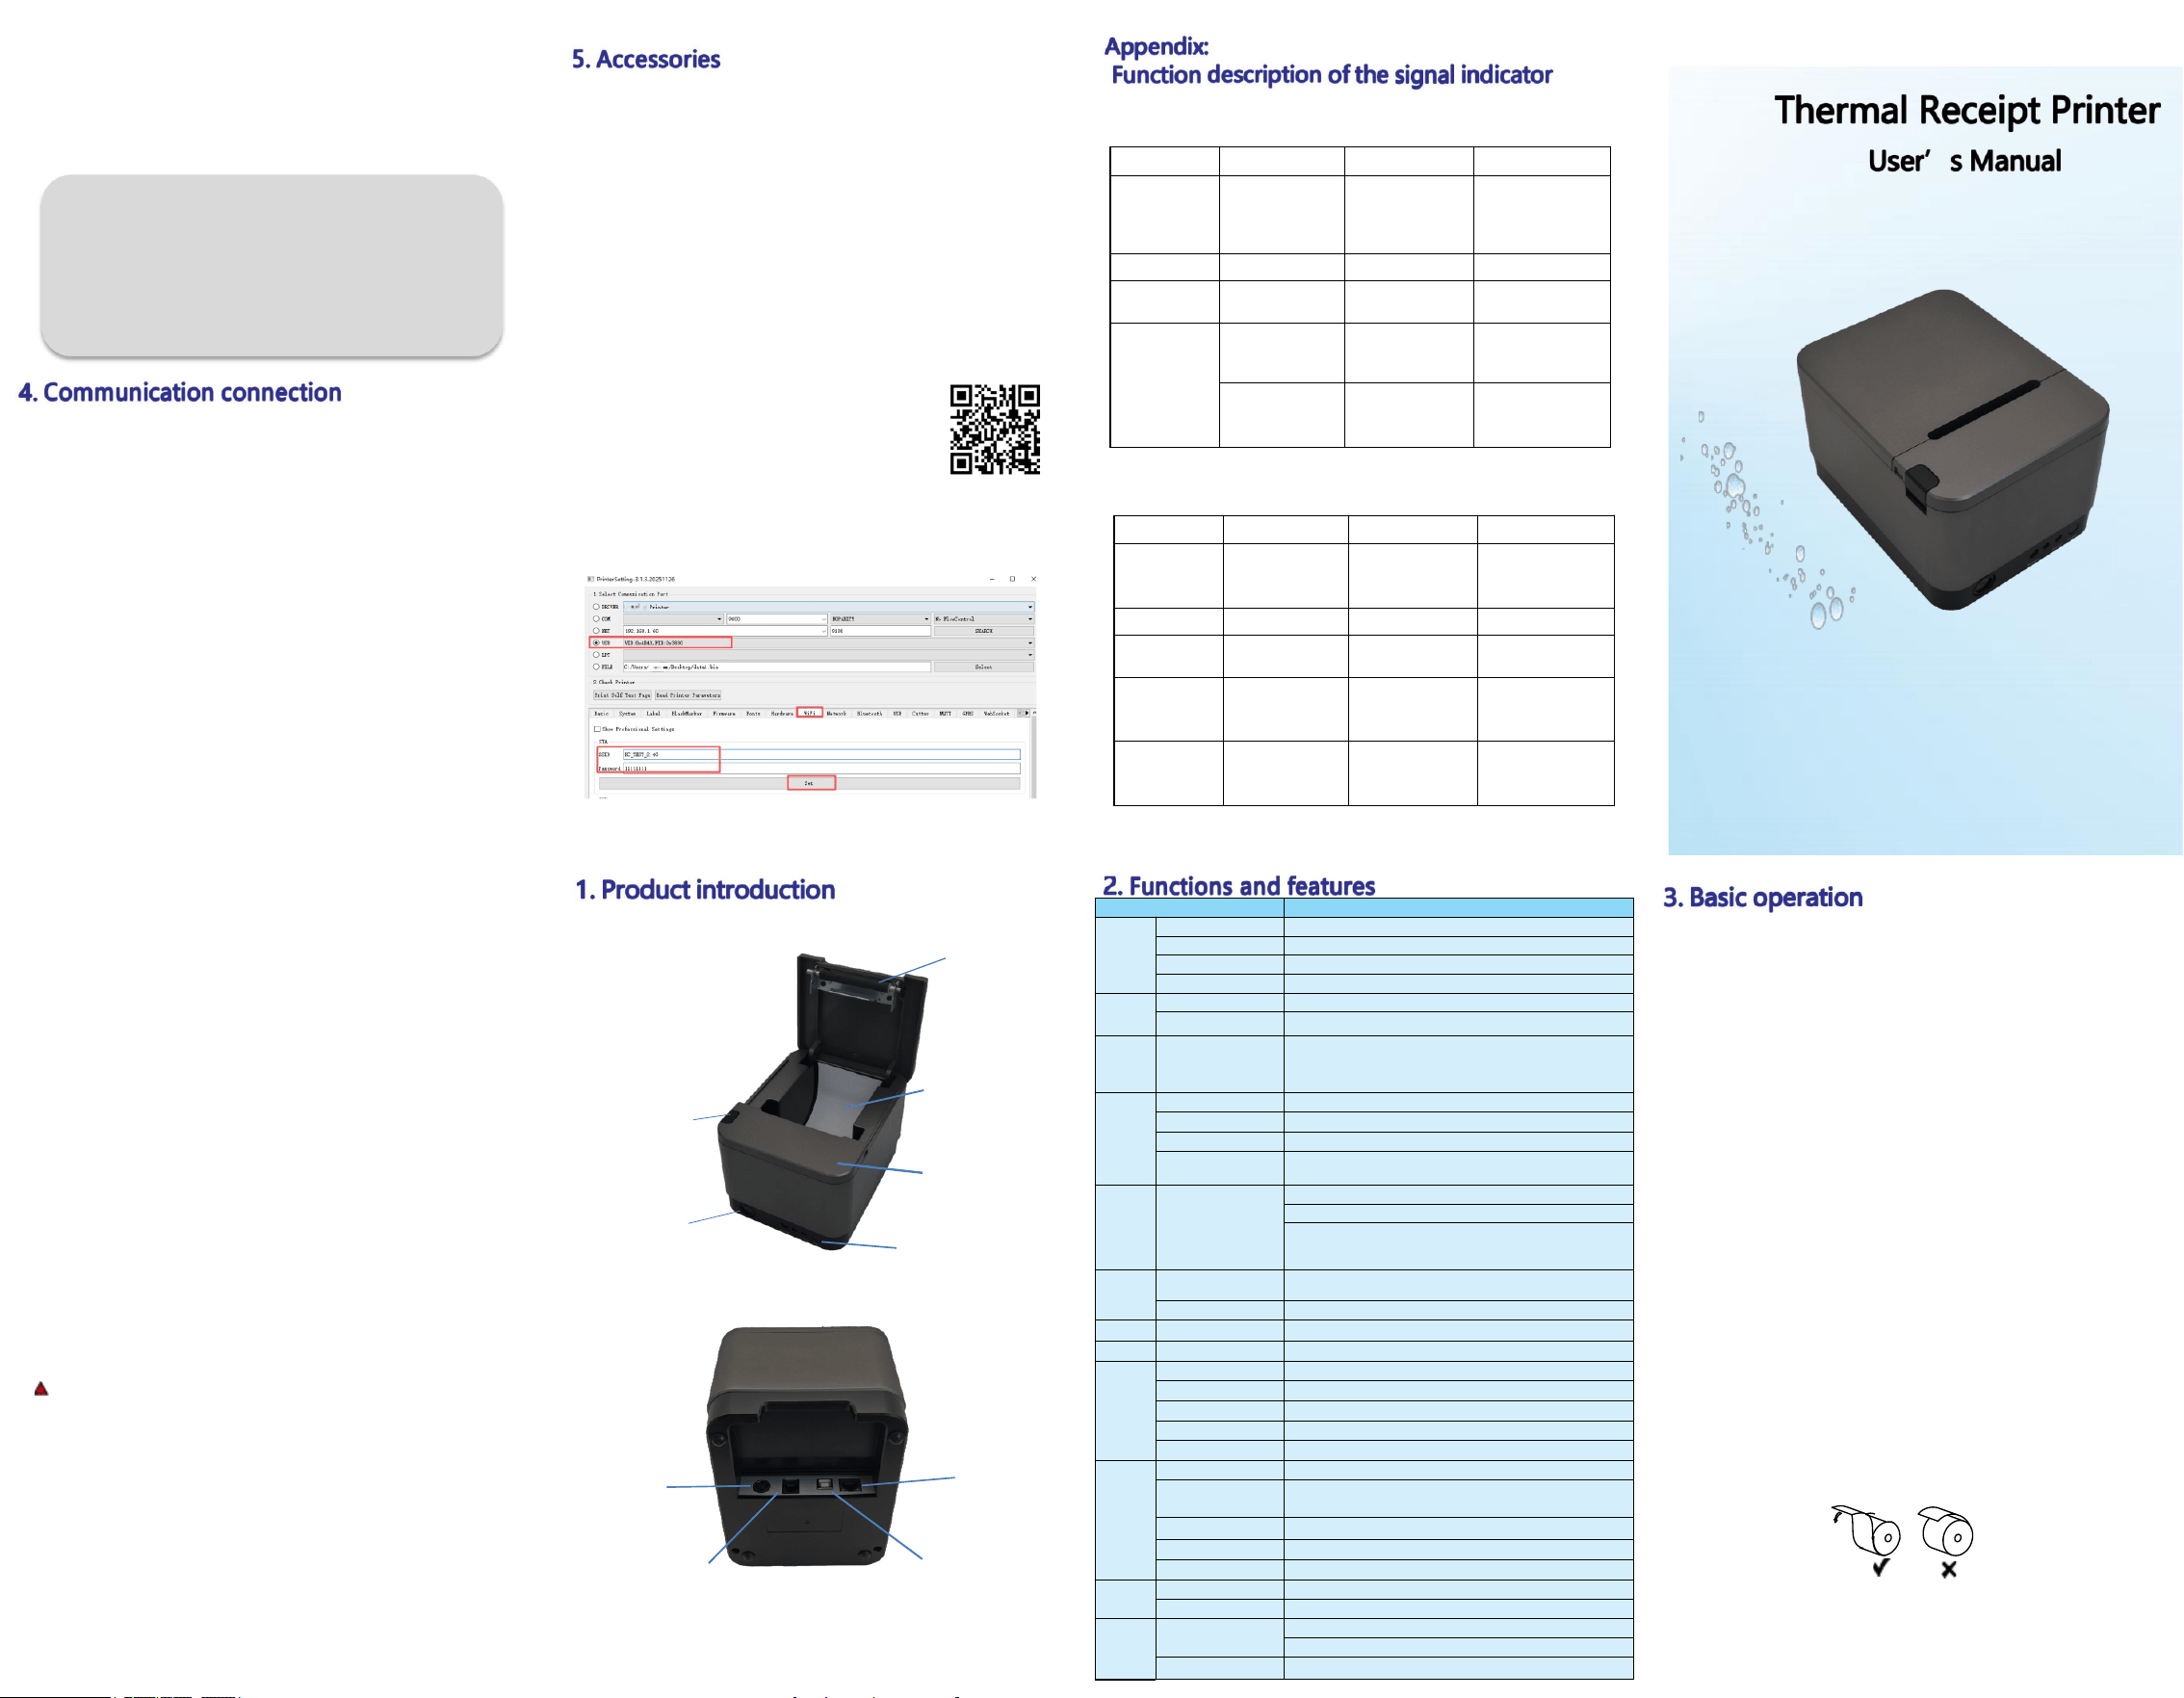
3.1 Power on
Connect the power cord and power adapter of the printer, press the power
switch, then the printer power on. At this time, the power indicator is on,
and the buzzer prompts a beep.
3.2 Power off
When the printer on, press the power switch can
make printer off.
At this time, all the indicators off, and the printer off and stops working.
3.3 Feed paper (Manual feed)
In the normal working status, click the “Feed” button, the printer will
feed paper for 3CM and cut it.
3.4 Print self-test page
After the user gets the printer, the printer can be self-test to detect the
current settings and working status. When the printer is power off and the
print paper is loaded correctly, double click the “Feed” button, the printer
will print a self-test page. The self-test page contains information about the
current status of the printer, settings and printing examples, such as the
Bluetooth PIN, Bluetooth BDA, printing language, program version, font, IP
address etc.
3.5 Loading paper
In power on and cover open status, load down the suitable size thermal
paper roll in correct direction, close the cover, then the printer can print
normally.
Loading direction of paper roll
Operate Printer status Blue indicator Red indicator
Power on ON Flash OFF
Power off OFF OFF OFF
/ Error / ON
Connect to
Bluetooth
Bluetooth
connected
ON OFF
Bluetooth
disconnected
Flash OFF
Operate Printer status Green indicator Red indicator
Power on ON ON OFF
Power off OFF OFF OFF
/ Error OFF ON
/
Out of paper or
the paper cabin
cover opened
OFF ON
Short press the
feed button
Feed and cut
paper
ON OFF
4.1 Wireless connection (Bluetooth)
This series of printers is equipped with a stable wireless connection
mode , (SPP / BLE). Bluetooth SPP can support communication printing
with mobile terminals installing Android operating system, and Bluetooth
BLE can support communication printing with mobile terminals installing
iOS operating system.
Bluetooth connection method: After the printer is turned on, search the
printer with Android and other Bluetooth communication devices, select
the corresponding printer, enter the password (factory default: 0000) for
connection, and it can be used normally after successful connection.
Description: The interface is optional, please refer to the actual product purchased
4.2 Wired connection (USB or Ethernet interface)
Use the data cables packed with the printer to connect the printer to the
PC, and then install the printer driver. The printer driver can be gotten
from the attached CD or requested from suppliers or our customer
service personnel.
Description: The interface is optional, please refer to the actual product purchased.
Contents of this manual without the permission of the
company shall not be free to change and replication,
we reserve the right to change the product, if user
needs the product further information can contact
directly with the supplier.
3.6 Product features
This product has the function of paper saving. Before printing, the paper
return to the head of the document and then print to avoid wasting too
much paper in the head and tail of the paper roll. The printer can print
80mm/58mm width paper roll, equipped with paper width adjuster.
Ethernet
interface)
(Type-BUSB
Power
Cash drawerport
Power Switch
Rubberroller
Cover of cutter
Opening Button
Paper cover's
Feed button/
Indicator
Paper cabin
6.Configure WiFi settings
Note: Only supports 2.4GHz Wi-Fi band
6.1 Method One
Select the WiFi page, enter the SSID and Password, click Set to complete the
setup. After setting, print a self-test page to see the configuration results.
③ Configure Printer WiFi
Open your phone, go to Settings → WLAN (Wireless LAN), search for and
select to connect to DIRECT XXX. The default password is 88888888.
After a successful connection, if the phone prompts that it cannot access the
Internet, you can ignore it. If prompted to choose between staying connected
or disconnecting, please choose to stay connected and do not disconnect.
① Connect the phone to the printer's hotspot
Use your phone to scan this QR code, or enter
http://192.168.223.1 in the browser's address bar
② Access the printer's WiFi configuration page
to access the WiFi configuration page.
Open PrinterSetting.exe, select the port, then click on the WiFi page, enter
the username and password, and click Set.
6.2 Method Two

FCC Caution.
This device complies with part 15 of the FCC Rules. Operation is subject to the
following two conditions: (1) This device may not cause harmful interference,
and (2) this device must accept any interference received, including interference
that may cause undesired operation.
Any Changes or modifications not expressly approved by the party responsible
for compliance could void the user's authority to operate the equipment.
Note: This equipment has been tested and found to comply with the limits for a
Class B digital device, pursuant to part 15 of the FCC Rules. These limits are
designed to provide reasonable protection against harmful interference in a
residential installation. This equipment generates uses and can radiate radio
frequency energy and, if not installed and used in accordance with the
instructions, may cause harmful interference to radio communications. However,
there is no guarantee that interference will not occur in a particular installation.
If this equipment does cause harmful interference to radio or television
reception, which can be determined by turning the equipment off and on, the
user is encouraged to try to correct the interference by one or more of the
following measures:
-Reorient or relocate the receiving antenna.
-Increase the separation between the equipment and receiver.
-Connect the equipment into an outlet on a circuit different from that to which
the receiver is connected.
-Consult the dealer or an experienced radio/TV technician for help.
*RF warning for Mobile device:
This equipment complies with FCC radiation exposure limits set forth for an
uncontrolled environment. This equipment should be installed and operated wit
h minimum distance 20cm between the radiator & your body.