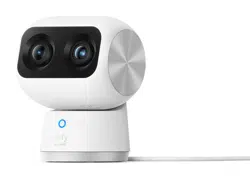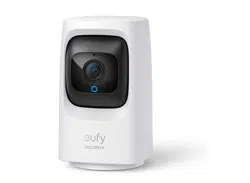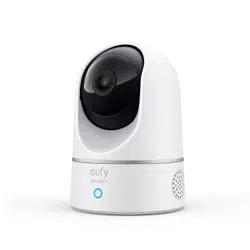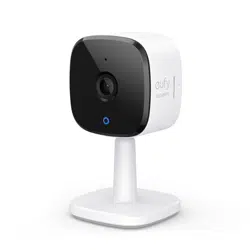
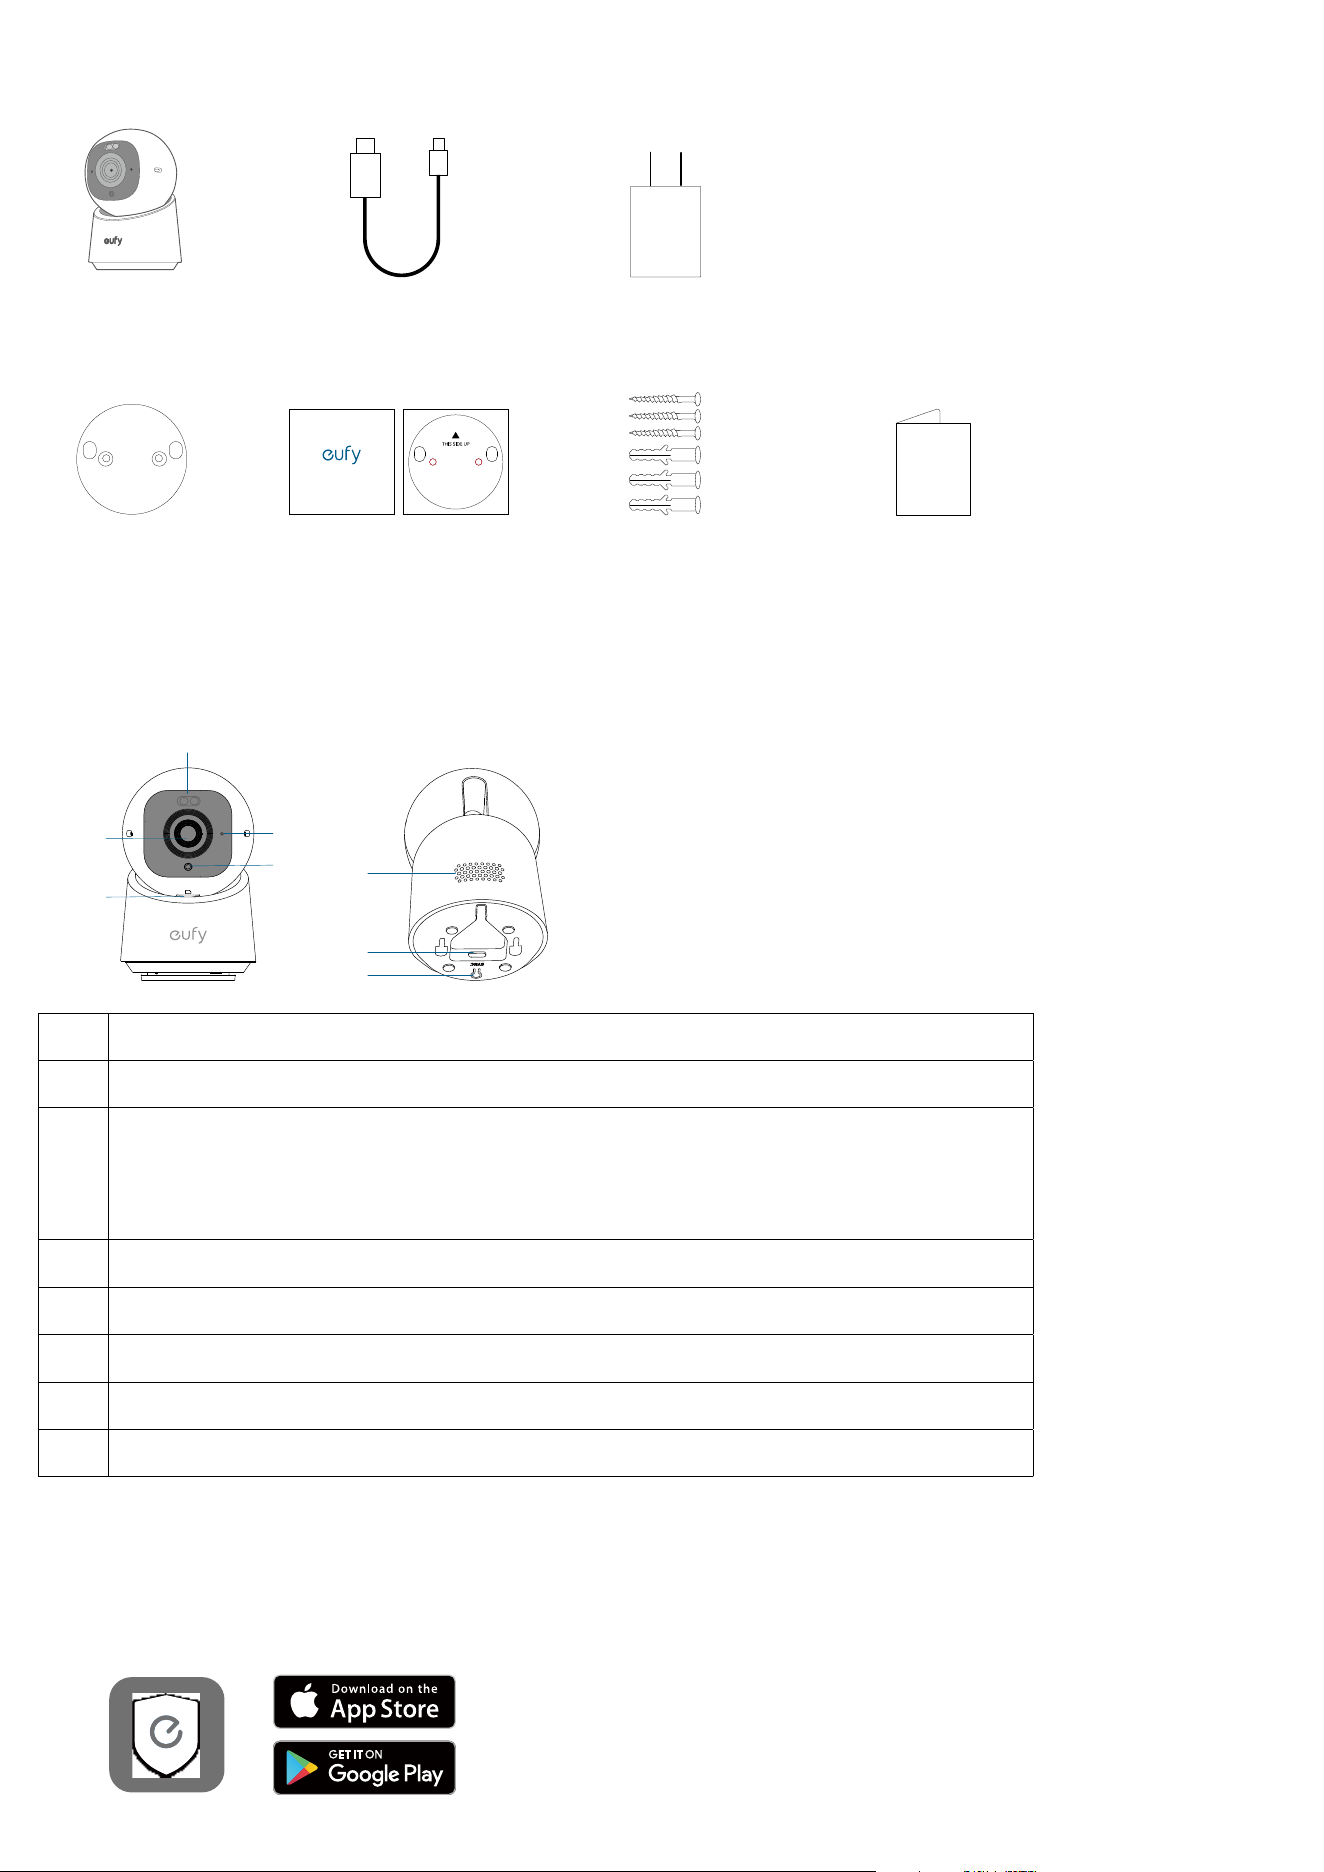
What's in the Box
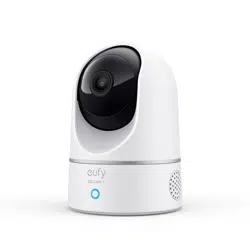
Indoor Camera
Mounting Bracket
USB-C Charging Cable
Positioning Sticker
Positioning Sticker
Power Adapter
Screw Pack Quick Start Guide
At a Glance
②
①
⑤
④
③
⑧
⑦
⑥
❶
Spotlight
❷
Lens
❸
microSD Card Slot
• Insert a microSD card* (not included) to store recordings
*Use at least a Class 10 microSD card with a maximum of 128GB.
❹
Microphone
❺
LED Indicator
❻
Speaker
❼
Power Input
❽
SYNC Button
Setting up the System
1. Download and install the eufy Security app, then sign up or create an account.
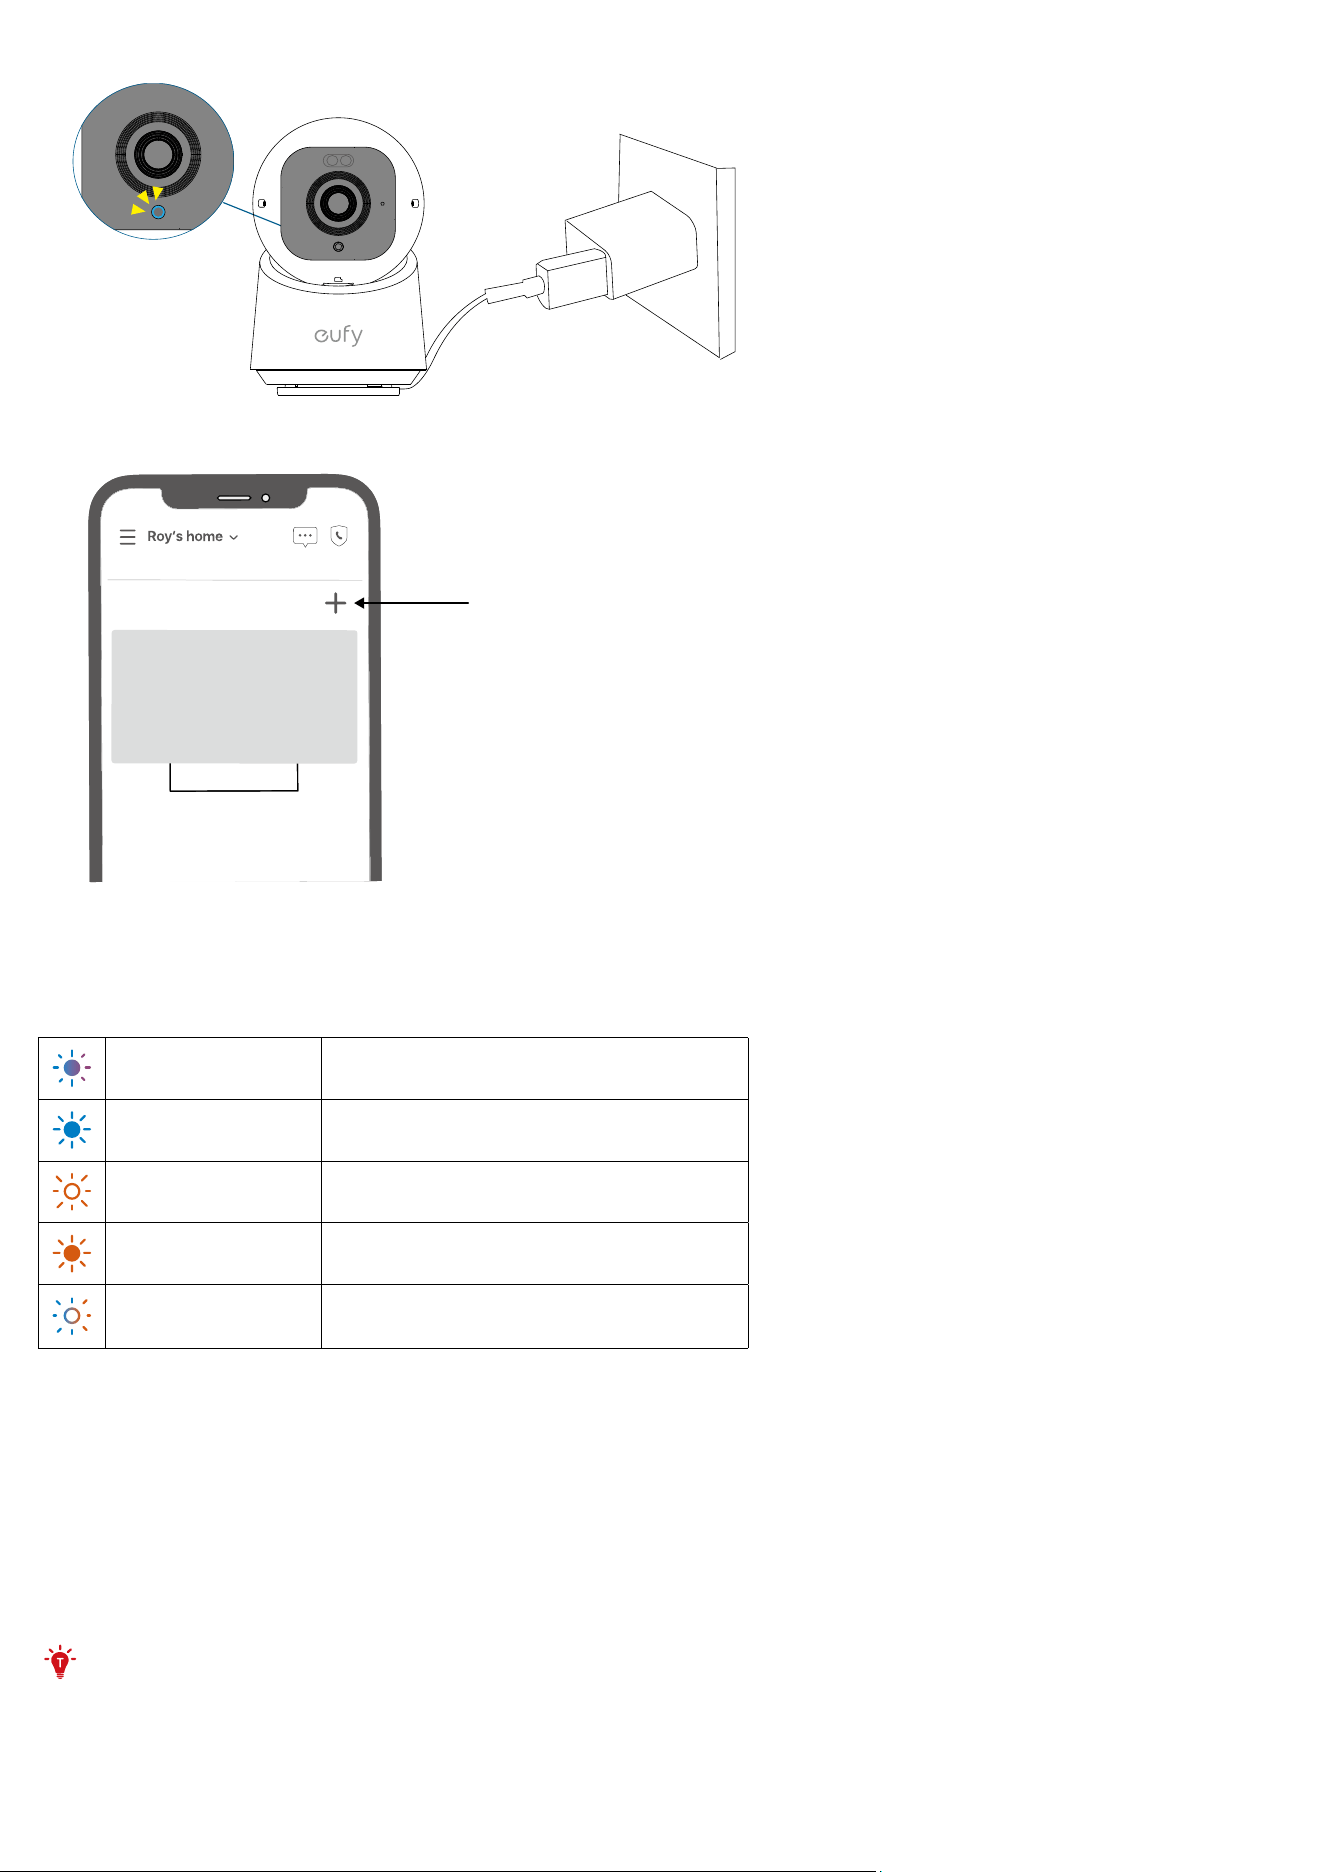
2. Connect the camera to a power source and wait until the status LED turns solid blue.
3. Tap + in the app and follow the in-app instructions to add your camera.
My Devices
LED Light Guide
Solid Violet System is initializing
Solid Blue Working normally or ready for setup
Blinking Red Not connected to the internet
Solid Red Recording or the live stream is being viewed
Flashing Blue and Red
Firmware upgrade in progress
*Keep the camera connected to a power source
Installing your Camera
Choose a Location
The camera can be placed on a table or shelf, or mounted on a wall or ceiling. Choose a location and height that achieves
your desired view and is within reach of a power outlet.
Keep the camera at least 0.7 ft (0.2 m) away from any objects or walls to avoid infrared reflections that can impact
night vision performance.
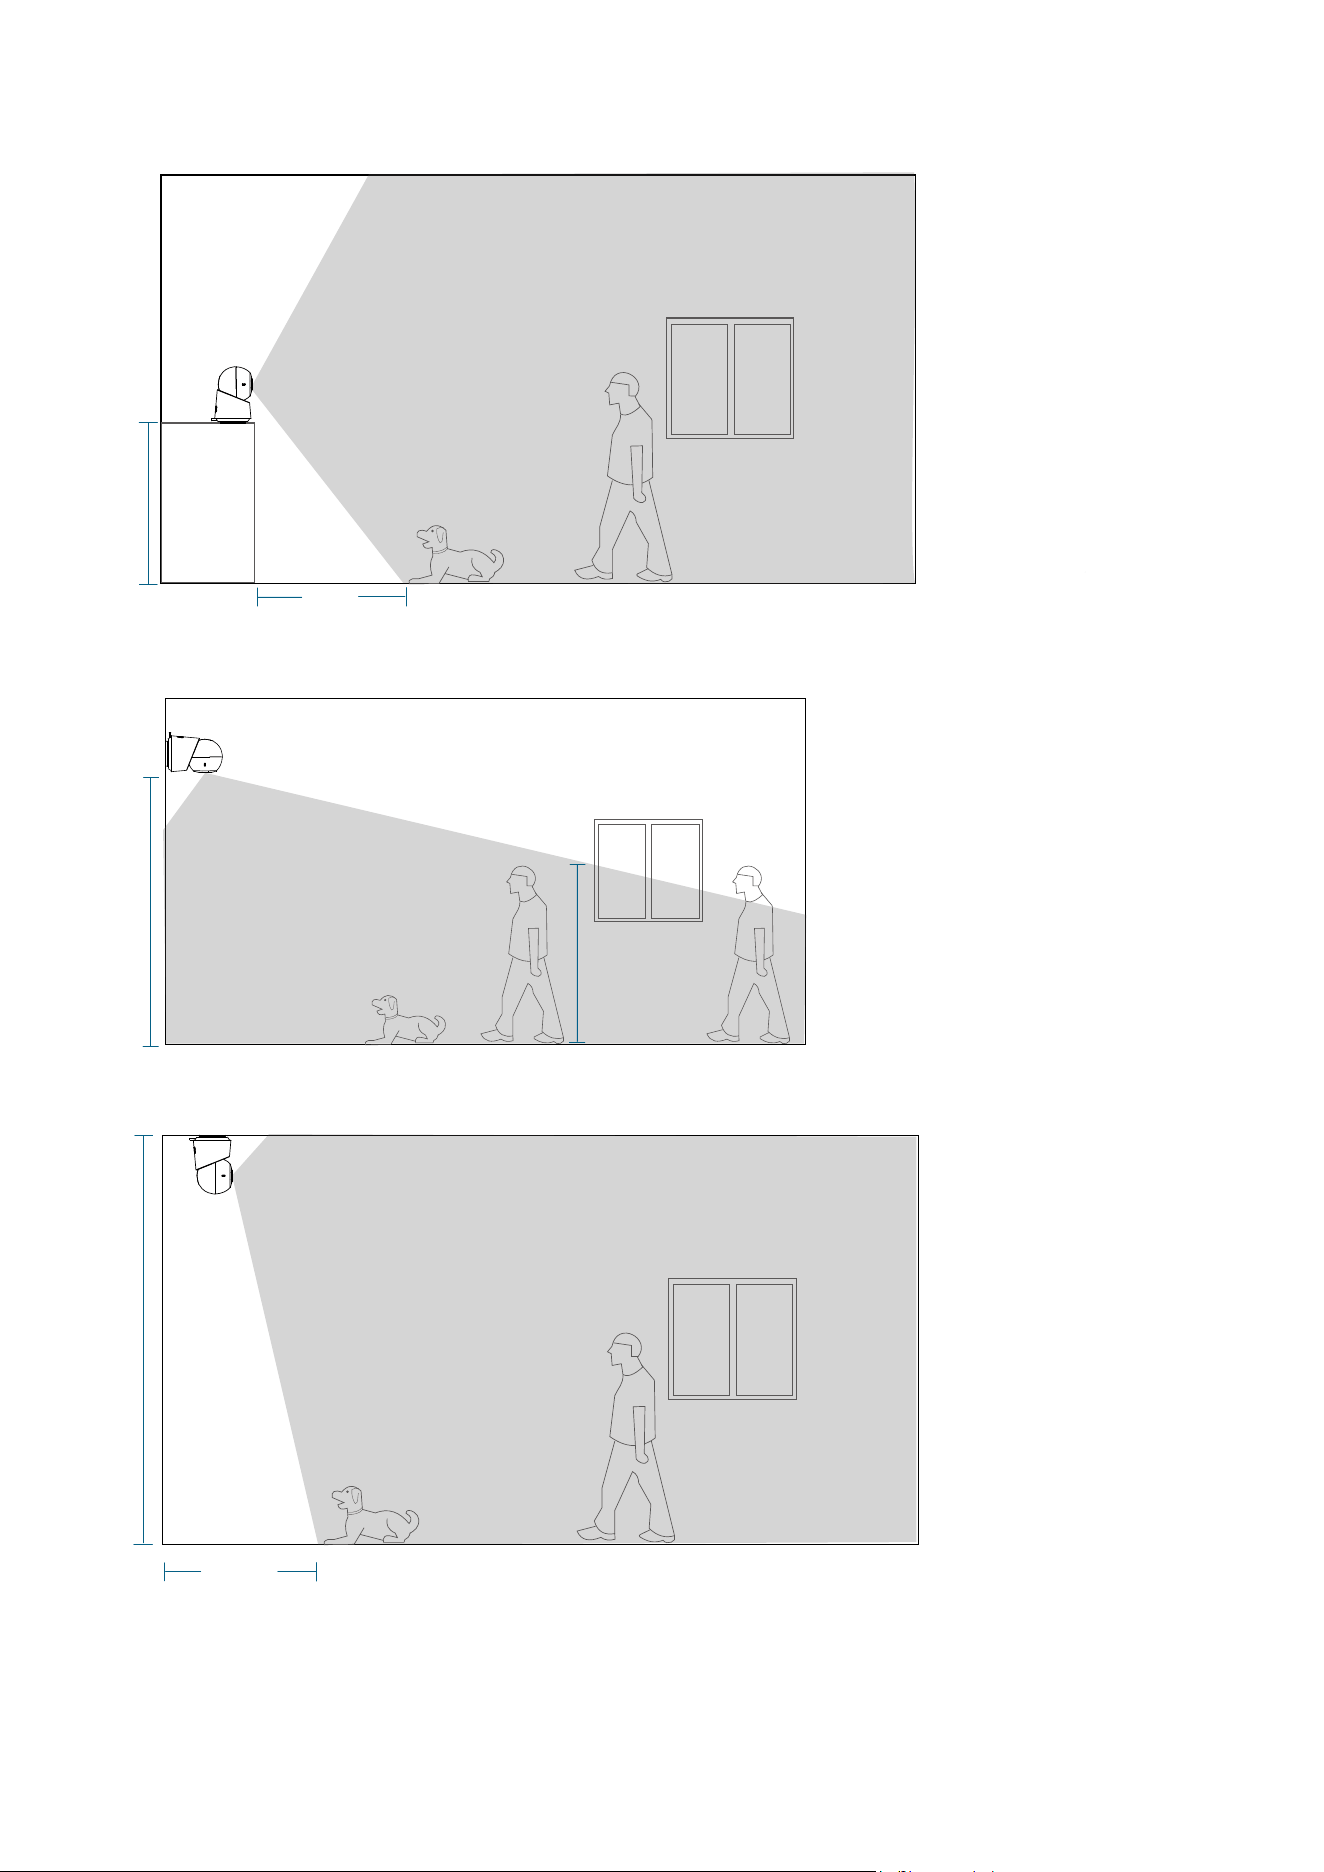
Camera Field of View
On a Table or Shelf
2 ft
2.6 ft
On the Wall
8 ft
5.6 ft
On the Ceiling
2.6 ft
10 ft
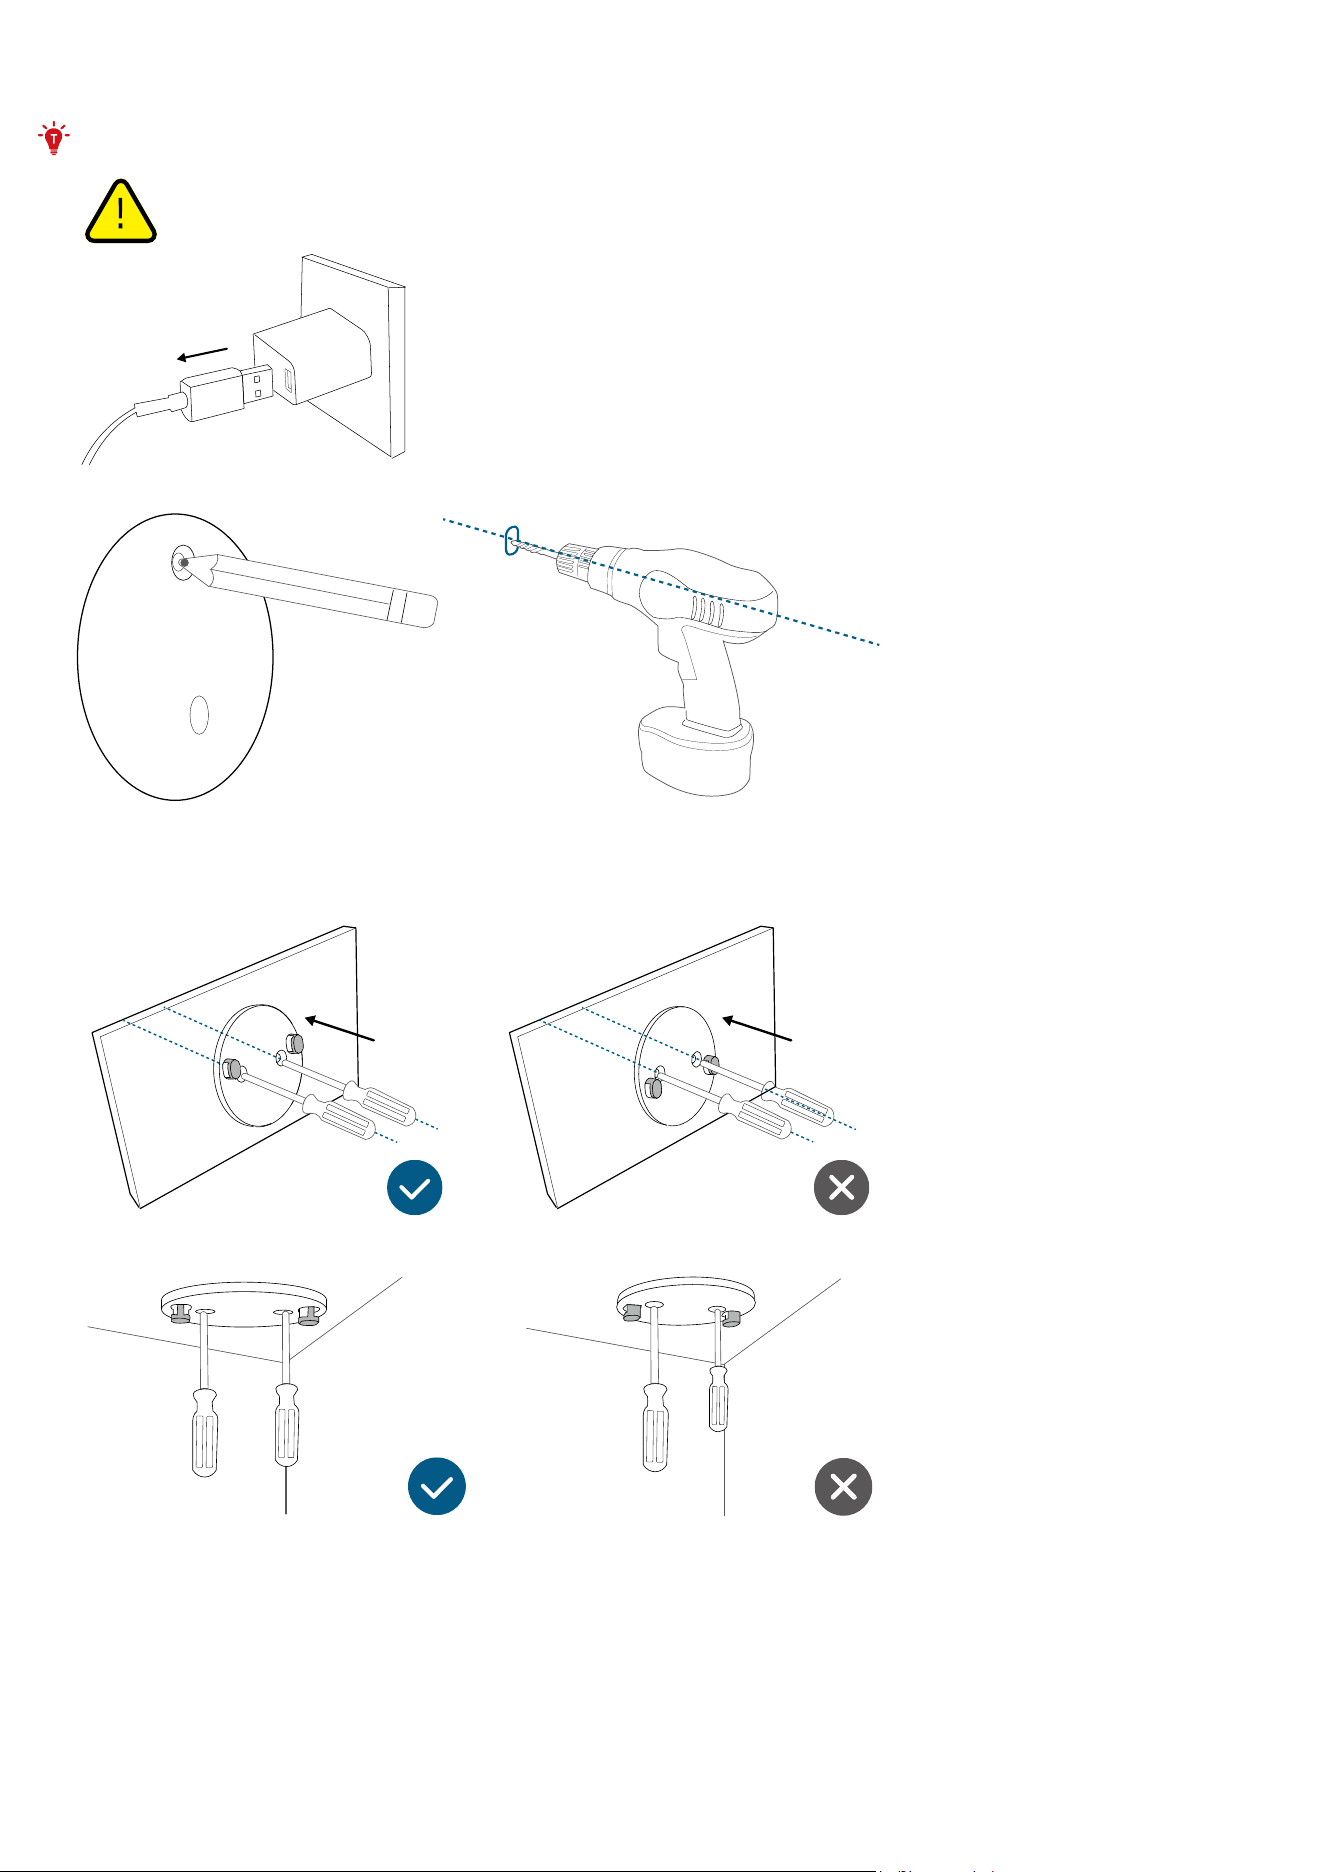
Mount on a Wall or Ceiling
Warning: Disconnect the camera from the power outlet before mounting.
1. Mark the screw positions on the wall or ceiling with the positioning sticker and drill a pilot hole.
2. Hold the mounting plate on the wall and make sure the "UP" arrow is pointing, then secure the mounting plate on the wall
or ceiling with the screws.
• On the Wall
• On the Ceiling
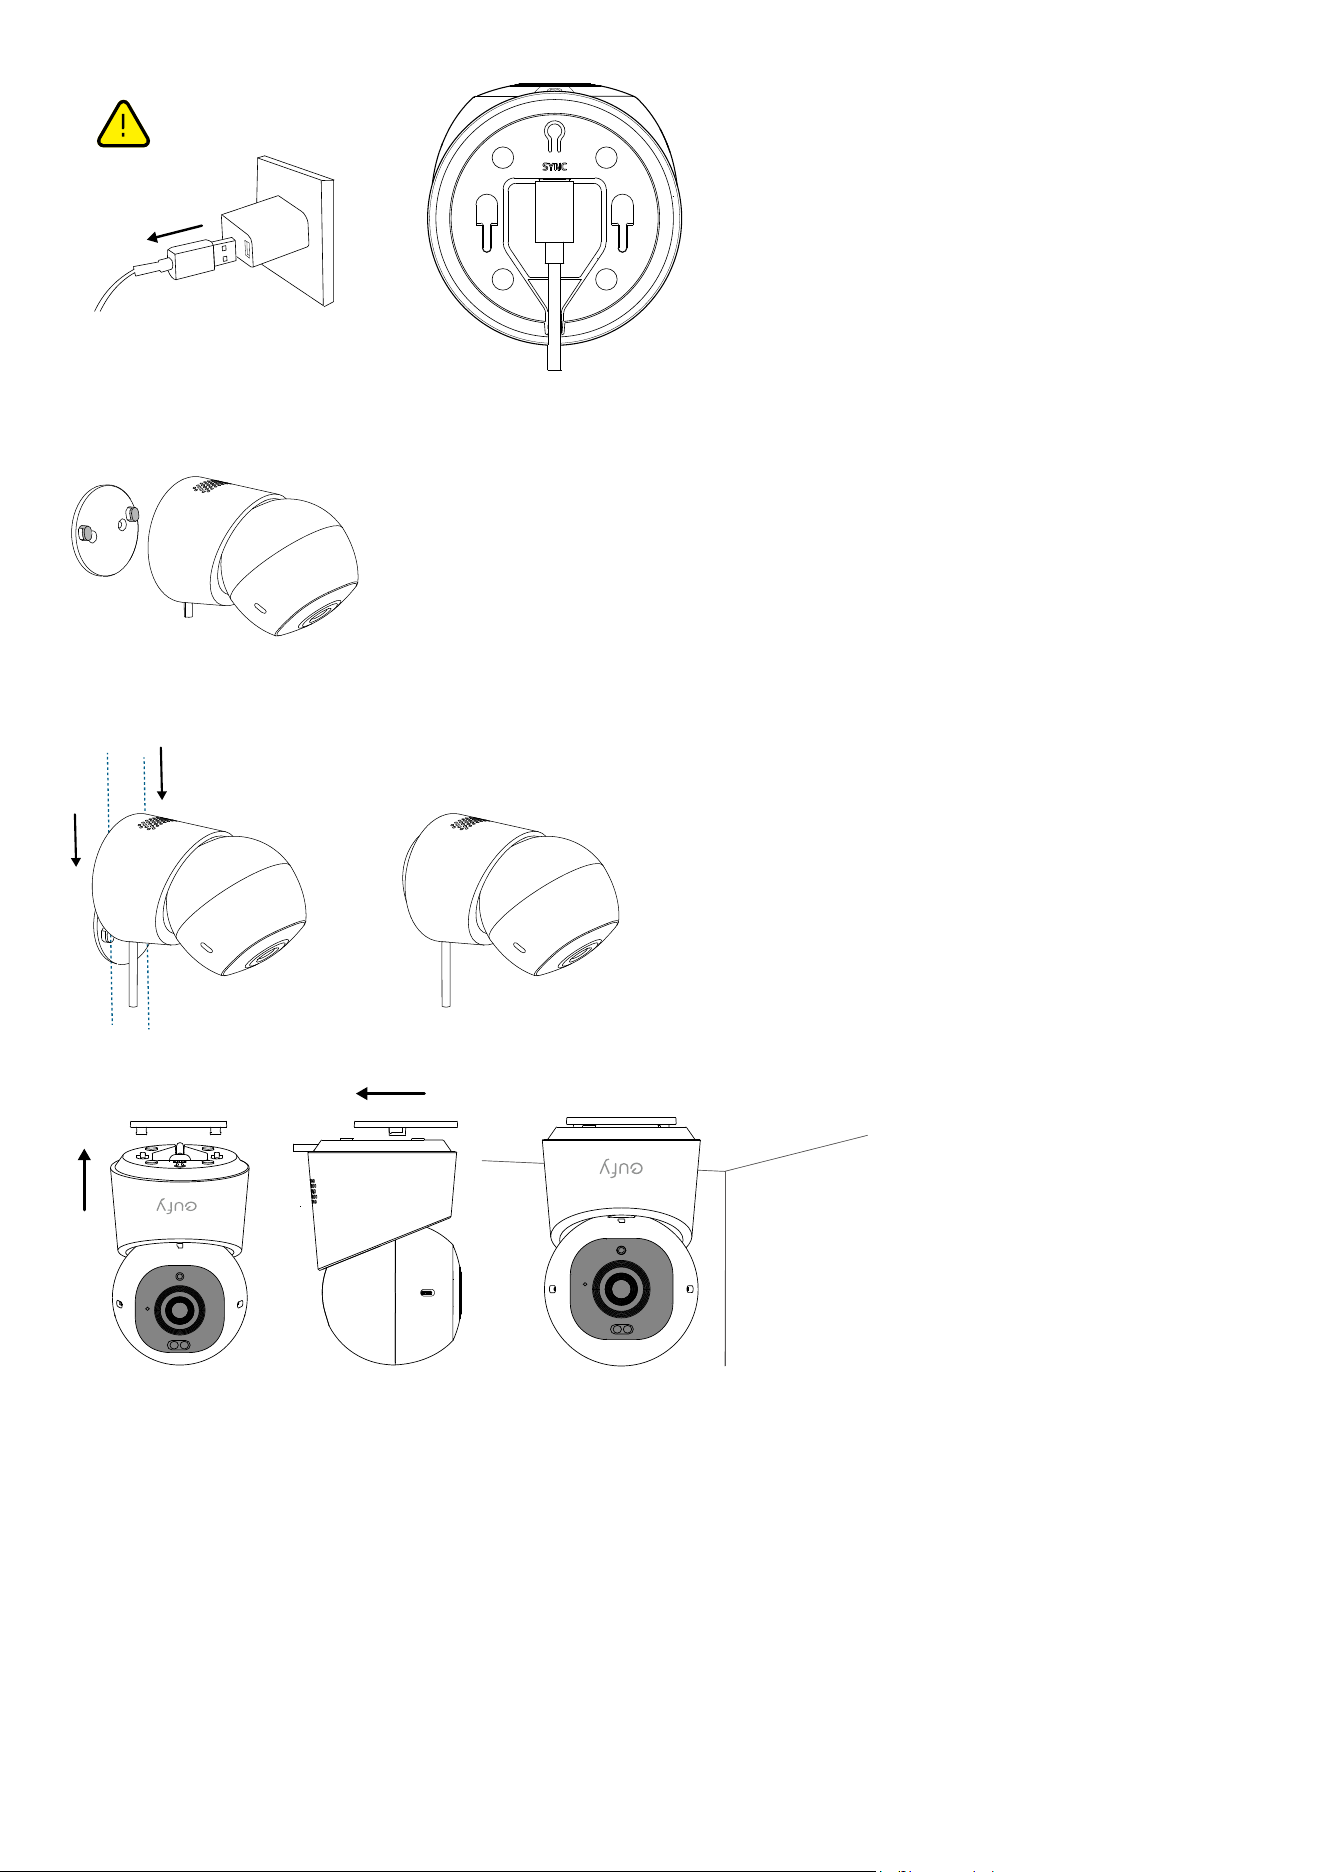
3. Unplug the camera. Connect the USB-C cable to the camera with the other end disconnected from a power source.
4. For wall mounting, place the cable into the cable channel of the mounting plate.
• Skip this step for ceiling installation.
5. Slide the camera onto the mounting plate and make sure it is securely attached.
• On the Wall
• On the Ceiling
Default Open Port 1: Wi-Fi (2.4GHz)
Port Description:
1. When powered on for the first time or after a reset, if there is no configured Wi-Fi information, it may enter network pairing
mode (such as AP/BLE pairing);
2. In normal working mode, it will automatically connect to the router and save the SSID and password;
3. If you need to switch Wi-Fi configuration, you can use the App or follow the instructions in the manual to reconfigure the
network.
4. TCP monitors Port 15250, and is used for connecting HomeBase.
Default Open Port 2: BLE (Bluetooth Low Energy)
Port Description:
When the device is not connected to the network, it will enable BLE pairing and broadcast Bluetooth pairing (or scanning).
After the network pairing is completed, BLE pairing will automatically be disabled.