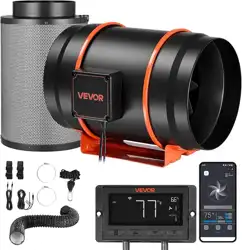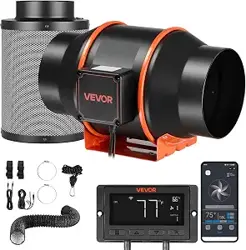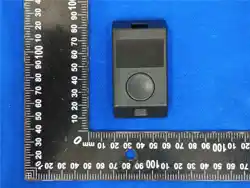
User Manual for the Mini Control Screen
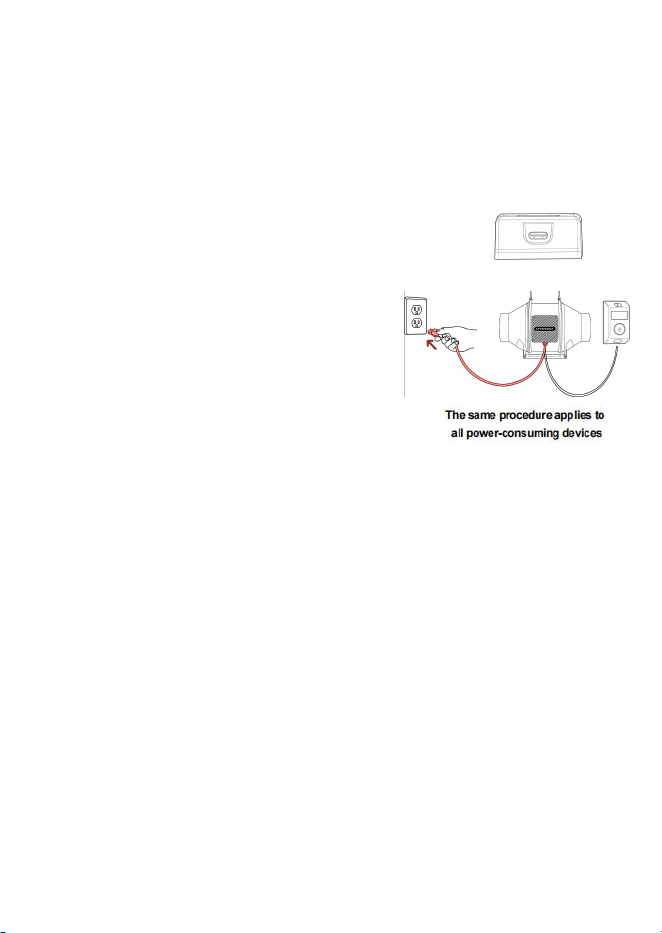
I. Device Connection
①: Power on the device and plug the Type-C cable into
the controller's Type- C port.
②: The system will automatically detect external
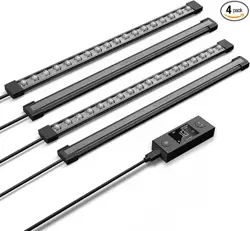
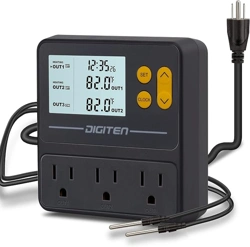
accessories (PUMP, DEHUMID, LIGHT, DUCT
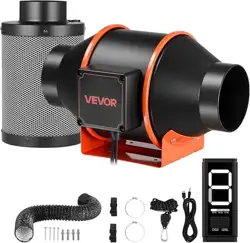
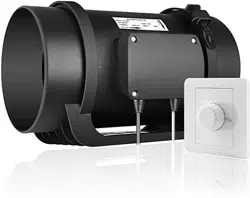
FAN, HUMIDIFIER, HEATER, CLIP FAN) via
Type-C. The interface will then switch to the
specific page for that device.
* Ensure the signal cable is firmly connected
between the controller and the device. This
applies to all electrical equipment.
II. Controller Operation Methods
①: The physical single button supports three operation modes: short press,
double press, and long press.
②: Single Short Press: Increments the currently flashing value by 1. Once the
upper limit is reached, it automatically resets to zero and cycles. If no button
operation is detected for 10 seconds, the characters stop flashing.
③: Quick Double Press: Decrements the currently flashing value by 1. When
the value reaches the lower limit of 0, it automatically jumps to the maximum
value of that parameter and cycles. If no button operation is detected for 10
seconds, the characters stop flashing.
④: Long Press (2- 5 seconds):Switches to the next adjustable parameter entry.
After switching, the new entry is highlighted and its value flashes. All entries
III. App Connectio
cycle in a loop; after reaching the last entry, it returns to the first. If no button
operation is detected for 10 seconds, the characters stop flashing.
⑤: Long Press (10 seconds):The device enters pairing mode. Open the Tuya
Smart app, search for and bind the controller within the app to complete the
pairing process. Once successfully paired, the app takes over device control.
n
IV. App Operation Example
1) Software Compatibility and Connection Activation
①: Download and install the Tuya/Tuya Smart app.
②: Enter pairing mode: Long-press the
controller's circular physical button for 10 seconds.
③: Open the app and search for the controller via Wi- Fi to complete
device pairing.
④: Once connected, the controller screen will show the APP‑ control prompt
interface, and the device enters APP‑ controlled mode. Local physical buttons
will be disabled; all operations can only be performed via the APP.
⑤: When under “APP controlled” mode, local button operations are unavailable.
Exit APP control mode to re-enable local buttons.
s
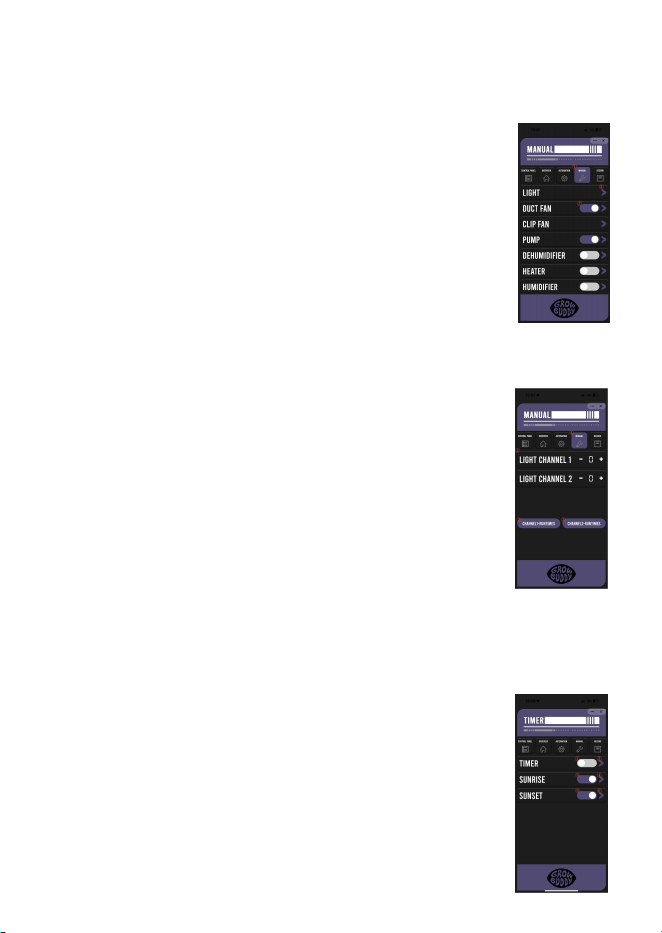
①: Four main function tabs are arranged vertically on the
left side of the app interface: Overview
①
, Auto Mode
②
,
Manual Mode
③
, and Records
④
.
②: Two function buttons are arranged vertically on the right
side of the app interface: Auto
⑤
Mode and Manual
⑥
Mode.
③: Tap the corresponding function button to quickly jump to
the relevant function interface.
④: This controller model supports operation only within the Manual Mode
interface. If you need to use the functions of other interfaces, please use a
controller of the corresponding model.
V.Manual Mode Settings
①: Tap the Manual button to enter.
②: Toggle the device ON/OFF.
③: Tap“>”next to any device for Device setup instructions
below.
Grow Light
①: Adjust brightness for Channel 1/2:0-10 .
②: Set the timing for Channel 1 Standard /Sunrise &Sunset
(See next item for details)
③: Set the timing for Channel 2(You need to set at least one
ON command and one OFF command;multiple ON/OFF
cycles are also supported).
④: After setting up the Grow Light,return to the Manual
interface to configure other parameters.
* Channel 1 controls the full-spectrum light. Channel 2
controls the UV light (except 120W/240W models, which require UV control to
be set on the light body and cannot be toggled via Channel 2).
Timer Menu
①: Toggle the device ON/OFF.
②: Tap“>”next to Set on/off time,gear,and repeat days
③: Toggle the device ON/OFF.
④: Tap“>”next to Set the duration,start and end brightness
level,and repetition days of sunrise
⑤: Toggle the device ON/OFF.
⑥: Tap“>”next to Set the duration,start and end brightness
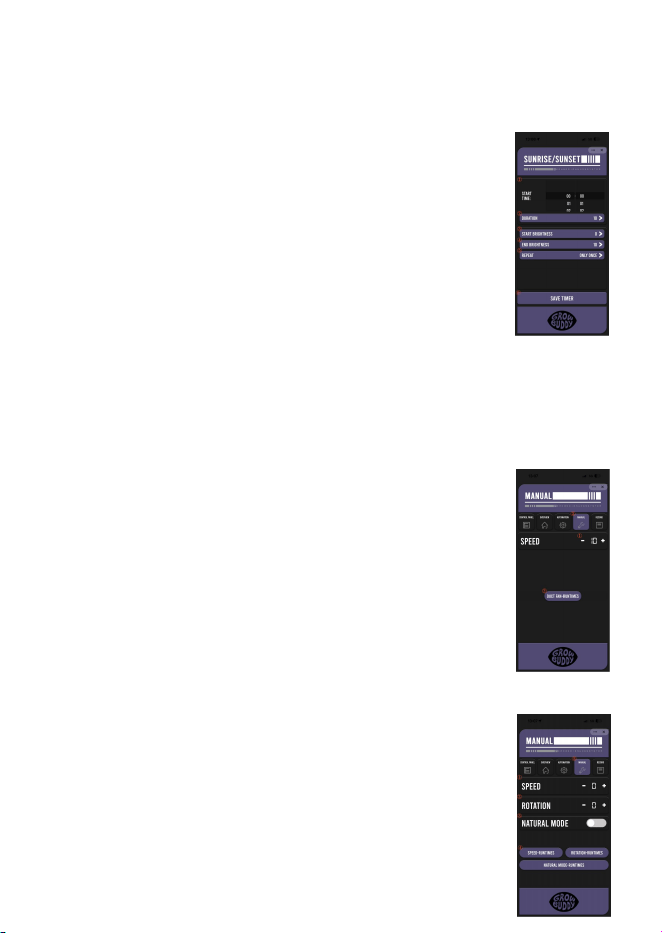
level,and repetition days of the sunset
* The Standard Timer and Sunrise &Sunset Timers cannot run
simultaneously.Enabling one will automatically turn off the other.
Sunrise &Sunset Timer
①: Set the start time of the dimming cycle.
②: Set the duration of the gradual brightness transition.
③: Set the dimming level at the start of the cycle
④: Set the dimming level at the end of the cycle.
⑤: Select the days of the week for the timer to repeat.
⑥: Verify all parameters and click“SAVE”to confirm your
settings.
* Both sunrise &sunset timers must be enabled to form a full cycle;single
activation will cause constant lighting Or turn off the lighting.
* Sunrise:Start Brightness End Brighthess Incorrect settings will disable the
cycle.
Duct fan
①: Adjust speed:0-10 .
②: Set a timer (You need to set at least one ON command
and one OFF command;multiple ON/OFF cycles are also
supported).
③: After setting up the Duct fan,return to the Manual
interface to configure other parameters
Clip Fan
①: Adjust speed:0-9 .
②: Oscillation level:0-5.
③: Toggle Natural mode ON/OFF.
④: Set a timer (You need to set at least one ON command
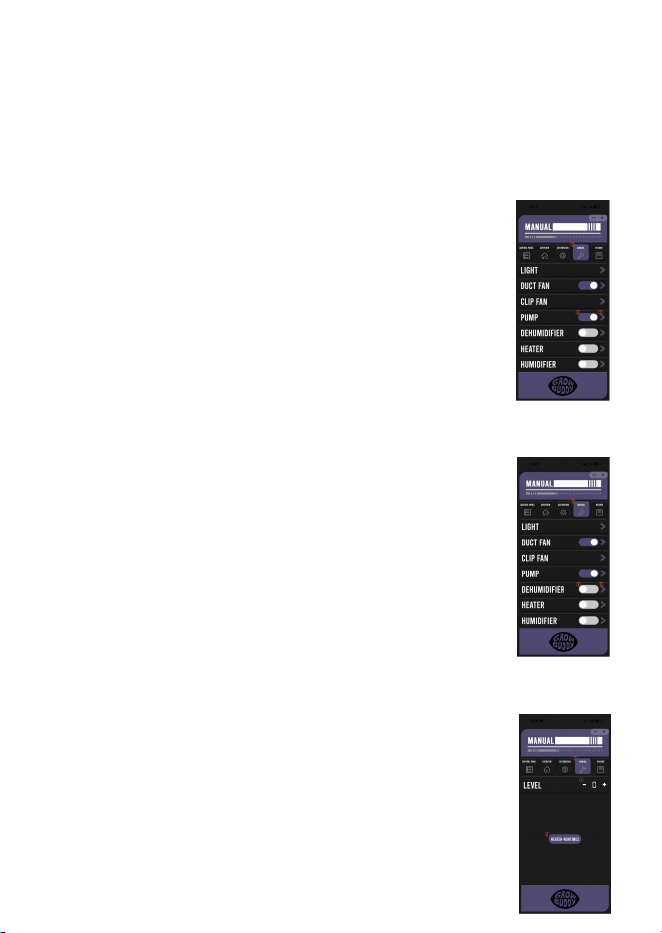
and one OFF command;multiple ON/OFF cycles are also supported).
⑤: After setting up the Clip Fan,return to the Manual interface to configure other
parameters.
* The natural wind mode will override the Clip Fan speed setting. Turning it off
can restore the speed.
Pump:
①: Toggle the device ON/OFF.
②: Set a timer (You need to set at least one ON command
and one OFF command;multiple ON/OFF cycles are also
supported).
③: After setting up the Pump,return to the Manual interface
to configure other parameters.
Dehumidifier:
①: Toggle the device ON/OFF.
②: Set a timer (You need to set at least one ON command
and one OFF command;multiple ON/OFF cycles are also
supported).
③: After setting up the Dehumidifier,return to the Manual
interface to configure other parameters.
Heater
①: Adjust speed:0-10 .
②: Set a timer (You need to set at least one ON command
and one OFF command;multiple ON/OFF cycles are also
supported).
③: After setting up the Heater,return to the Manual interface
to configure other parameters.
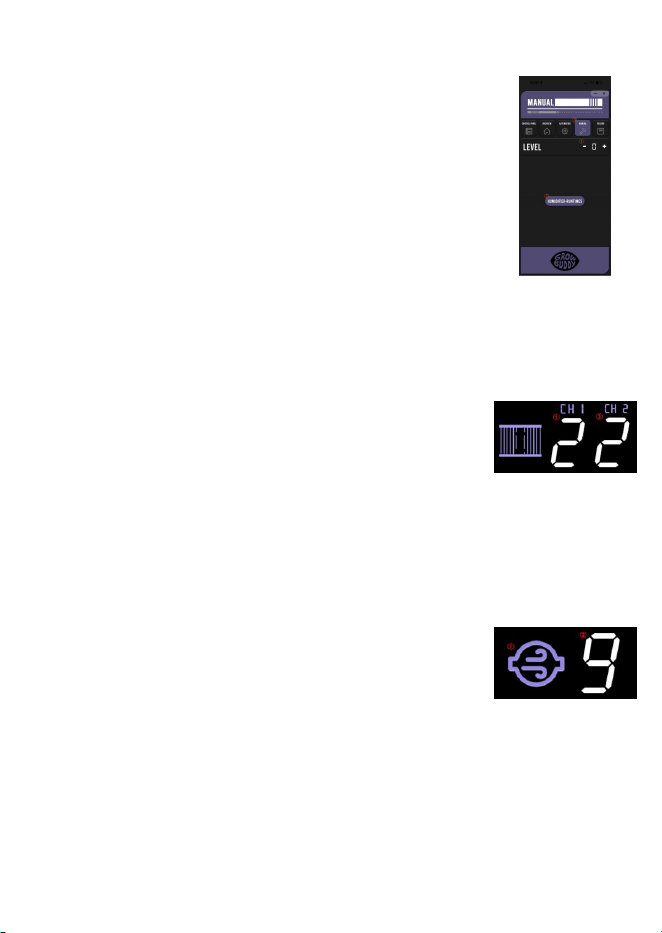
Humidifier
①:Adjust speed:0-10 .
②:Set a timer (You need to set at least one ON command
and one OFF command;multiple ON/OFF cycles are also
supported).
③:After setting up the Humidifier,return to the Manual
interface to configure other parameters.
VI.UI Interface Introduction
Grow Light
①:The right side of the screen displays CH 1 and CH 2,
corresponding to Channel 1 and Channel 2 respectively.
②:Both CH 1 and CH 2 support 0–10 levels of brightness
adjustment.
Duct fan
①:Interface Overview:The left side of the screen displays
the duct fan icon, and the number on the right (e.g., 9)
represents the current fan speed level.
②:Speed Adjustment Supports 0–10 levels of stepless
speed control to adjust the fan speed as needed.
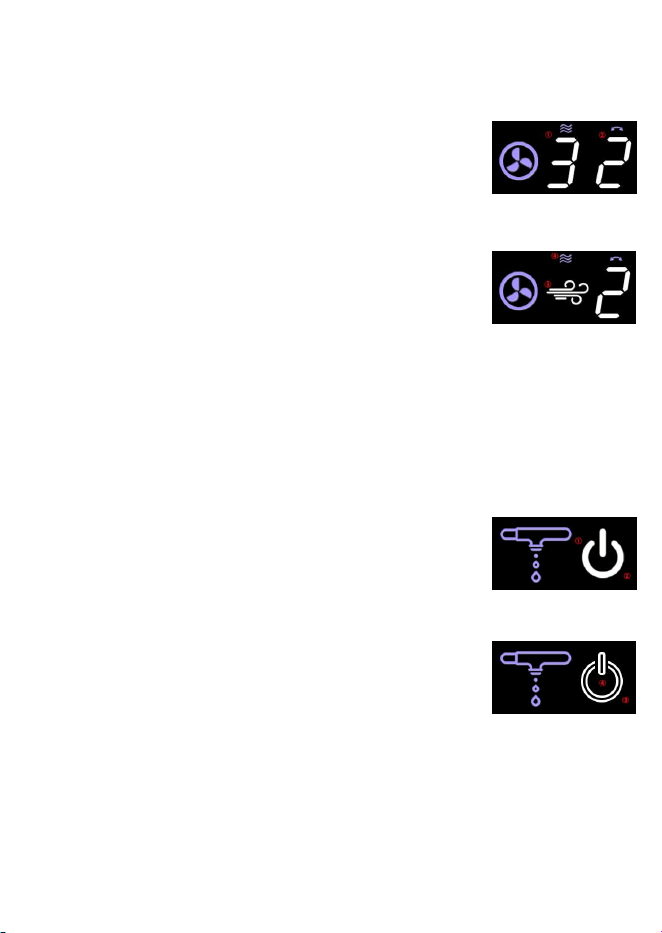
Clip Fan
①:Adjust speed:0-9 .The main number on the right side of
the screen shows the current level in real time
②:Oscillation :Independent 0–5 oscillation levels,
separate from speed control.
③:Timer & Exit:Cycling past level 10 (back to 0) exits
Natural Wind mode and restores the numeric level
display.
④:The wave icon stays visible on the screen at all times;
it indicates the speed/natural-wind indicator area.
⑤:After setting up the Clip Fan,return to the Manual interface to configure other
parameters.
Pump:
①:ON / OFF Switch:Control the pump using the power
icon on the screen:
②:Solid power icon= ON: pump runs, drip irrigation
activated.
③:Outlined (ring) power icon = OFF: pump stops, drip
irrigation off.
④:Tap to toggle between ON and OFF.
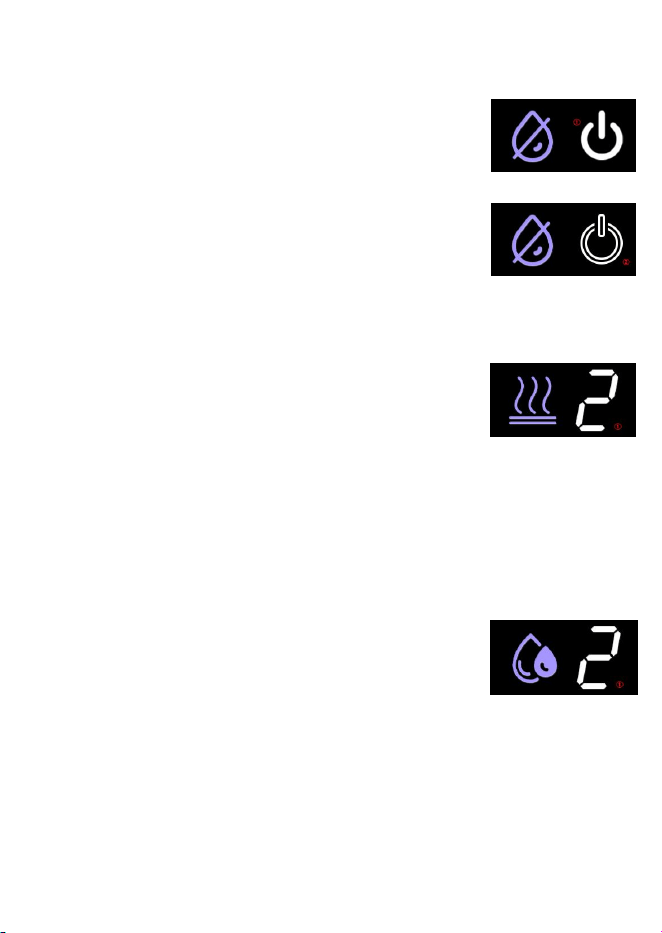
Dehumidifier:
①:Toggle the device ON/OFF.
②:Set a timer (You need to set at least one ON command
and one OFF command;multiple ON/OFF cycles are also
supported).
③:After setting up the Dehumidifier,return to the Manual
interface to configure other parameters.
Heater
①:Adjust speed:0-10 .
②:Set a timer (You need to set at least one ON command
and one OFF command;multiple ON/OFF cycles are also
supported).
③:After setting up the Heater,return to the Manual interface to configure other
parameters.
Humidifier
①:Adjust speed:0-10 .
②:Set a timer (You need to set at least one ON command and one OFF
command;multiple ON/OFF cycles are also supported).
③:After setting up the Humidifier,return to the Manual
interface to configure other parameters.
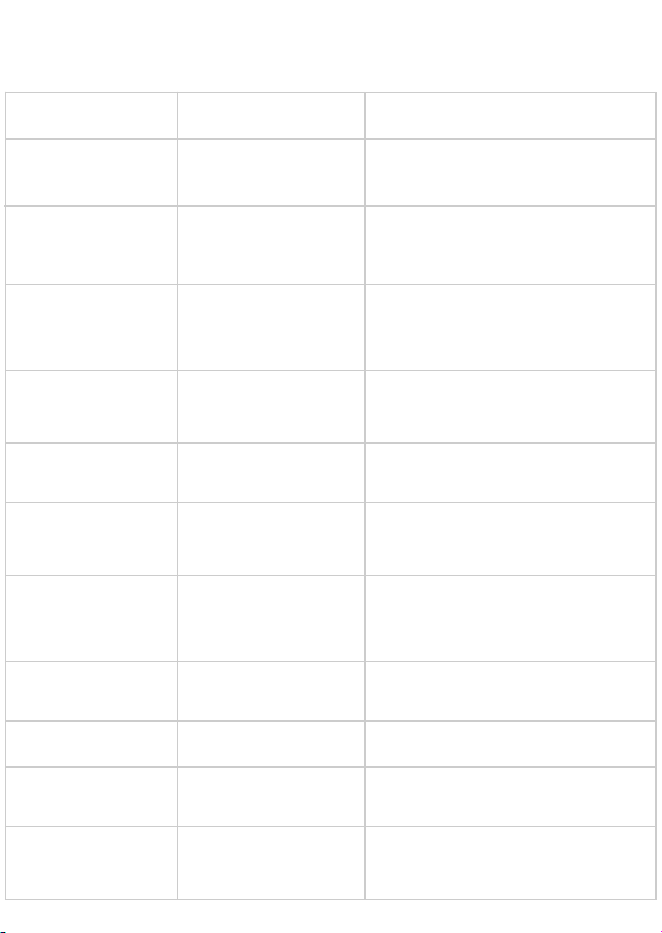
VII. Common troubleshooting
Common Issues Possible Causes Solutions
Controller not found on
APP
Device not responding
to controlle
1. Not on 2.4G Wi-Fi
2. App outdated
1. Switch to 2.4G Wi-Fi & reconnect
2. Update Tuya Smart App
r
1. Signal cable is loose.
2. Device power is off.
3. Incorrect mode selected.
1. Reconnect the signal cable properly.
2. Check the device power connections.
3. Switch to the correct "Auto / Manual" mode.
Timer function not
working
1. Cycle execution date not
selected.
2. Settings not saved.
3. Device manually turned off.
1. Select cycle dates after setting the timer.
2. Click "SAVE" to confirm the settings.
3. Ensure the device is in the ON state.
Plant grow light
brightness cannot be
adjusted
1. Wrong channel (120W/240W
uses CH1)
2. Grow light off
1. Use Channel 1 for brightness (Manual)
2. Check grow light power & signal
Duct fan not spinning /
Abnormal speed
1. Fan speed at 0
2. Power/signal loose
1. Set fan speed to 1-10 (Manual)
2. Reconnect power & signal
Clip fan not spinning /
not oscillating
1. Oscillation gear set to 0.
2. Natural Wind mode is turned
off.
1.Adjust the oscillation gear to 1-5.
2. Turn on the "Natural Wind" mode.
Water pump not working
1. Power cord is loose.
2. Timer is not set.
3. Water level is too low to
submerge the pump inlet.
1.Reconnect the power cord properly.
2.Set the timer and click "SAVE".
3.Ensure the water level is above the pump inlet.
Dehumidifier fails to
start
1. Dehumidifier tank full
2. Power/signal loose
1. Check tank & use drain hose
2. Reconnect power & signal
Heater fails to start Power/signal loose Reconnect the power cord and signal cable properly.
Humidifier fails to start
1. Humidifier empty
2. Power/signal loose
1. Refill tank (max level)
2. Reconnect power & signal
Controller frequently
disconnects
1. Wi-Fi signal is weak.
2. Too far from the router.
3. Unstable power supply.
1. Move closer to router or use Wi-Fi extender
2. Keep within 10m of router
3. Use original power adapter
FOR
For after-sales support,scan the QR code below.
We will respond as soon as possible.Thank you for your trust.

FCC Warnning:
This equipment has been tested and found to comply with the limits for a Class B digital device,
pursuant to part 15 of the FCC Rules. These limits are designed to provide
reasonable
protection againstharmful interference in a residential installation. This equipment generates,
uses and can radiateradio
frequency
energy
and,
if
not
installed
and
used
in
accordance
with
the
instructions,
maycause
harmful
interference
to
radio
communications.
However,
there
is
no
guarantee
thatinterference
will
not
occur
in
a
particular
installation.
If
this
equipment
does
cause
harmfulinterference to radio or television reception, which can be
determined by turning the equipmentoff
and
on,
the
user
is
encouraged
to
try
to
correct
the
interference
by
one
or
more
of
thefollowing measures:
•
Reorient or relocate the receiving antenna.
•
Increase the separation between the equipment and receiver.
•
Connect the equipment into an outlet on a circuit different from that to which the receiver is
connected.
• Consult the dealer or an experienced radio/TV technician for help.
Caution:
Any
changes
or
modifications
to
this
device
not
explicitly
approved
by
manufacturer
could void your authority to operate this equipment.
This
device
complies
with
part
15
of
the
FCC
Rules.
Operation
is
subject
to
the
following
two
conditions:
(1)This
device
may
not
cause
harmful
interference,
and
(2)
this
device
must
accept
any
interference received, including interference that may cause undesired operation.
This
equipment
complies
with
FCC
radiation
exposure
limits
set
forth
for
an
uncontrolled
environment.
This
equipment
should
be
installed
and
operated
with
minimum
distance
20cm
between the radiator and your body.