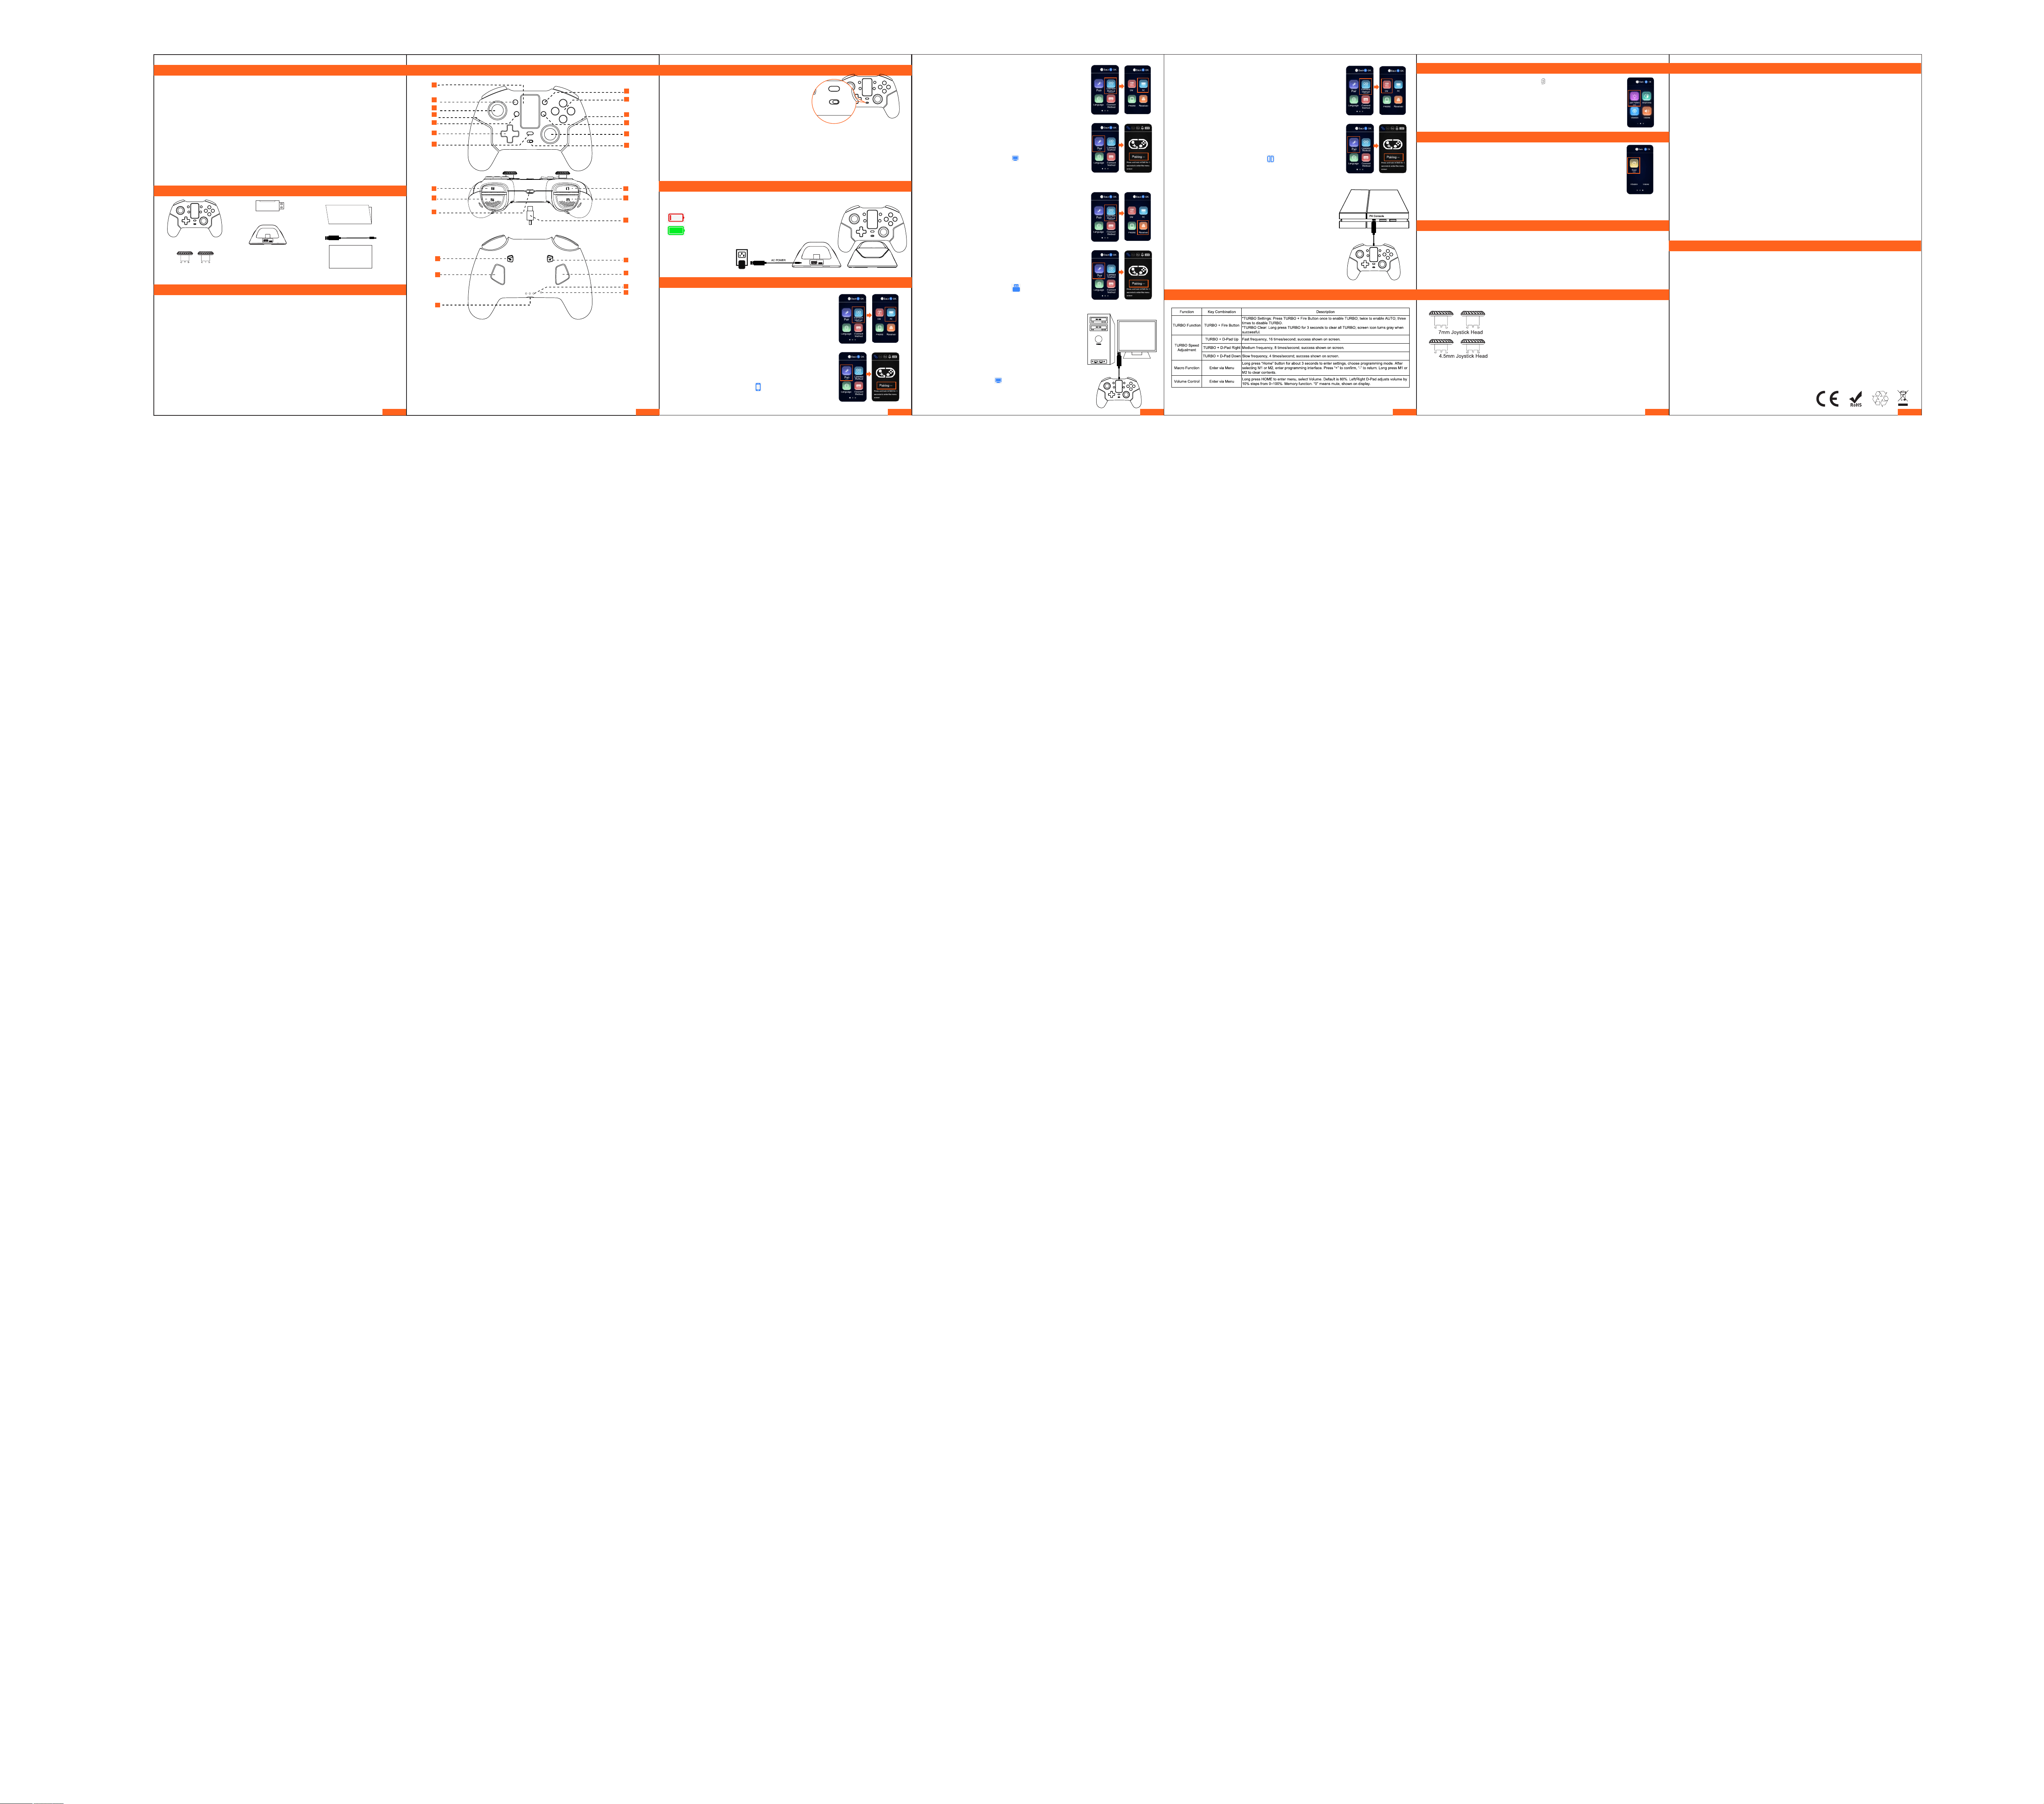
Component Instruction
RGB Lighting Switch
FCC Warning
Please read the following precautions before use
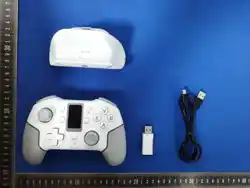
Package Content
More Function
Reset
Controller Calibration Instructions
Changeable Thumb Sticks
EU Declaration of Conformity
Specification
Charging Method:
1
2
3
4
5
6
7
8
10
11
12
13
9
14
15
16
17
18
19
1. Display Screen
2. -/SELECT Button
3. Left Stick (LS)
4. RGB Light Strip
5. TURBO Button
6. D-Pad
7. HOME Button
8. +/START Button
9. ABXY Buttons
10. RGB Light Strip
11. PrtSc Screenshot Button
12. Right Stick (RS)
13. ON / OFF Button
14. L1 Button
15. L2 Button
16. TYPE-C Charging & Data Port
17. R1 Button
18. R2 Button
19. Charging & Data Cable
20. Left Trigger Level
21. Left Back Button
22. Headphone Jack
23. Right Trigger Level
24. Right Back Button
25. Charging Port
26. Reset Hole
Power On / Off / Power
Connecting Method:
23
24
25
26
20
21
22
Power On : Move the toggle switch to the ON position. The
RGB light bar on the game controller will turn on, and the
display screen will show the startup animation before entering
the standby reconnecting interface.
Power Off: Move the toggle switch to the OFF position. The
RGB light bar on the game controller will turn off, and the
controller will power off after the display screen shuts down.
1.Android \ iOS System Connecting:
Mode Choose
Mode Choose
Mode Choose
Mode Choose
Into Pairing Status
Into Pairing Status
Into Pairing Status
Into Pairing Status
2. PC System Connecting:
5. N-Switch Console Connecting:
3. Receiver Connecting: For PC Computer
4. Wired Connect PC Controller Mode:
6. P4 Controller Mode:
Power Saving Mode:
1. If pairing is not successfully completed within 2 minutes in power-on pairing mode, the controller will shut
down automatically.
2. If reconnection is not successfully completed within 60 seconds in power-on reconnection mode, the
controller will shut down automatically.
3. If there is no operation on the controller for more than 15 minutes in successfully connected mode, the
controller will also shut down automatically.
1. Connect the charging base with A-C cable to AC adapter.
2. Put the controller to charging base, the controller will start charging automatically.
indicate the charging status
indicate the charged full
3. Charging specificate:
Type-C port: 5V 600mA
Charging Base:
Input: 5V 1A Max
Output: 5V 600mA
3.2 Into Pairing Status: Press and hold the HOME button with 5 second
into "Setting panel", select "Pair" and confirm with press A button, the
system will automatically turn to the pairing interface.
1.2 Into Pairing Status: Press and hold the HOME button with 3 second
into "Setting panel" while controller power on, select "Pair" and confirm
with press A button, the controller will automatically turn to the pairing
status wait for connect.
2.2 Into Pairing Status: Press and hold the HOME button with 3 second
into "Setting panel" while controller power on, select "Pair" and confirm
with press A button, the controller will automatically turn to the pairing
status wait for connect.
5.2 Into Pairing Status: Press and hold the HOME button with 3 second
into "Setting panel" while controller power on, select "Pair" and confirm
with press A button, the controller will automatically turn to the pairing
status wait for connect.
2.3 Enable Bluetooth on your device, scan and find the Bluetooth name
(Xbox Wireless Controller), then tap to connect the controller.
5.3 Turn on your SWITCH console, go to Controllers → Change
Grip/Order → Pair New Controllers.
3.3 Insert the receiver into the USB port of computer. Press and hold the
pairing button on the receiver for about 1 second.The indicator light on
the receiver will flash rapidly wait for connect.
1.3 Enable Bluetooth on your device, scan and find the Bluetooth name
(Xbox Wireless Controller), then tap to connect the controller.
1.4 After successful Bluetooth connection, the controller will vibrate for 1
second as a prompt and display the icon indicate pairing successful.
2.4 After successful Bluetooth connection, the controller will vibrate for 1
second as a prompt and display the icon indicate pairing successful.
5.4 After successful Bluetooth connection, the controller will vibrate for 1
second as a prompt and display the icon indicate pairing successful.
3.4 After successful Bluetooth connection, the controller will vibrate for 1
second as a prompt and display the icon indicate pairing successful.
4.3 After successful connection, the controller will vibrate for 1 second
as a prompt and display the icon indicate pairing successful.
Reconnect: Press the HOME button to power on controller, it will
reconnect automatically.
Reconnect: Press the HOME button to power on controller, it will
reconnect automatically.
Reconnect: Press the HOME button to power on controller, it will
reconnect automatically.
Press the -/SE & +/ST both buttons to switch X-Input to D-Input alternately.
Reconnect: Press the HOME button to power on controller, it will
reconnect automatically.
Reconnect: Press the HOME button to power on controller, it will
reconnect automatically.
2.1 Mode Chosen: After powering on the controller, press and hold the
HOME button with 5 second into "Setting panel", select "Connected
Mode", select "PC" and confirm with press A button, controller will reboot
automatically.
5.1 Mode Chosen: After powering on the controller, press and hold the
HOME button with 5 second into "Setting panel", select "Connected
Mode", select "SW" and confirm with press A button, controller will
reboot automatically.
3.1 Mode Chosen: After powering on the controller, press and hold the
HOME button with 5 second into "Setting panel", select "Connected
Mode", select "Receiver" and confirm with press A button, controller will
reboot automatically.
1.1 Mode Chosen: After powering on the controller, press and hold the
HOME button with 3 second into "Setting panel", select "Connected
Mode", select "PHONE" and confirm with press A button, controller will
reboot automatically.
1. While charging with charge base, touch the inco to close the rgb lighting.
2. HowtochangeRGB lighting effect:
2.1 After powering on the controller, press and hold the HOME button with 3 second
into "Setting panel", select "lighting pattern", then you can select the rgb lighting
style and confirm with press A button, the rgb light will changed automatically.
1. If the controller buttons become unresponsive / stuck, use a small object such as a
SIM ejector tool topress the Reset button located in the small round hole (Resethole) on
the back of the controller.
Alternatively, switch the controller to the OFF position to turn it off.
2. With the controller powered on, press and hold the HOME button to enter the menu.
Select Reset , then press and hold the A button for 3 seconds." "
The controller will restart, TURBO and MACRO settings will be erased, volume and
brightness will be restored to default, and pairing information will be cleared.
With the controller powered off, press and hold the "Y" and "B" buttons. While holding, slide the switch to
the ON position to power it on. The red and blue lights will flash alternately at a rate of 2 times per second,
indicating calibration mode.
Rotate both the left and right sticks 2 to 3 full circles with normal strength and speed. Press bothtrigger
buttons (L2 / R2) fully 2 to 3 times in linear mode.Place the controller flat on a surface, then press the "+ /
ST" button. Once the light stops flashing andthe controller returns to the main screen, the calibration is
complete.
The default thumb sticks on the game controller feature a short travel
height (4.5mm). The package includes an additional pair of tall thumb
sticks (7.0mm) as a gift, and they are inter changeable.
Replacement Method: Pull the original thumb stick upward firmly to
remove it, then align the new thumb stick with the slot and press down to
install.
This device complies with Part 15 of the FCC Rules. Operation is subject to the following two
conditions:
(1) This device may not cause harmful interference, and (2) this device must accept any interference
received, including interference that may cause undesired operation.
NOTE 1: This equipment has been tested and found to comply with the limits for a Class B digital device,
pursuant to part 15 of the FCC Rules. These limits are designed to provide reasonable protection against
harmful interference in a residential installation. This equipment generates, uses and can radiate radio
frequency energy and, if not installed and used in accordance with the instructions, may cause harmful
interference to radio communications. However, there is no guarantee that interference will not occur in a
particular installation. If this equipment does cause harmful interference to radio or television reception,
which can be determined by turning the equipment off and on, the user is encouraged to try to correct the
interference by one or more of the following measures:
- Reorient or relocate the receiving antenna.
- Increase the separation between the equipment and receiver.
-Connect the equipment into an outlet on a circuit different from that to which the receiver is connected.
-Consult the dealer or an experienced radio/TV technician for help.
NOTE 2: Any changes or modifications to this unit not expressly approved by the party responsible for
compliance could void the user's authority to operate the equipment.
The device has been evaluated to meet general RF exposure requirement. The device can be used in
portable exposure condition without restriction.
Hereby declares that the product is in conformity with the essential requirements and other relevant
provisions of the following EU directives and regulations:
Radio Equipment Directive (RED) 2014/53/EU
EMC Directive 2014/30/EU
RoHS Directive 2011/65/EU and (EU) 2015/863 – compliant with Restriction of Hazardous Substances
Directive
REACH Regulation (EC) No. 1907/2006 – compliant with Registration, Evaluation, Authorisation and
Restriction of Chemicals
The product complies with the applicable essential requirements of health, safety, and environmental
protection as set out in the above directives.
The CE marking affixed to this product signifies its compliance with all applicable EU legislation.
Manufacturer: SHENZHEN SAITAKE ELECTRONIC CO.,LTD
Address: Room 301, Huayong Building ,No. 1 Dongshangang Road ,Gushu Community, Xixiang
Subdistrict,Bao'an District, Shenzhen 518000 Guangdong Province, China
Date: 26/05/2026
This product contains inter changeable parts. Keep out of reach of children under 3 years old.
Do not use the product near open flames.
Do not expose the product to direct sunlight or high temperatures.
Do not place the product in humid or dusty environments.
Do not drop or subject the product to strong impacts.
Do not touch the USB port directly, as it may cause malfunction.
Do not forcibly bend or pull the cable.
Clean with a soft, dry cloth.
Do not use gasoline, thinner, or other chemical solvents.
Do not disassemble, repair, or modify the product yourself.
Do not use the product for purposes other than its intended use. We arnot responsible for any
accidents or damage caused by misuse.
Do not look directly into the light beam. It may harm your eyes.
x1Pcs
x2Pcs
x1Pcs
x1Pcs
x1Pcsx1Pcs
x1Pcs
x1Pcs
Model Number: STK-7052PD
Product Name: Multi-Function Game Controller
Connection Type: Wireless / Wired
Product Dimensions: 155 x 110 x 60 mm
Product Weight: 305g
Power Supply: Built-in battery or USB host-powered
Battery Capacity: 1000mAh
Battery Type: Lithium-ion Battery
Input Power Rating: DC5V, 1000mA
Charging Current: 5V 600mA
Charging Time: 2.50 hours
Country of Production: China
Frequency Band: 2.402 to 2.480Mhz
Transmission Power: Less than 3dBm EIRP
Design and specifications are subject to change without notice.
7mm Joystick Head
4.1Insert the C connector of the A-C cable into the controller’s data port
and the A connector into a USB port on the PC computer.
4.2 Move the toggle switch to the ON position. The RGB light bar on the
game controller will turn on, and the display screen will show the startup
animation before entering the standby reconnecting interface.
6.1After powering on the controller, insert the C connector of the A-C
cable into the controller’s data port and the A connector into a USB port
on the PS4 console.
6.2 Press the HOME button to pair. The controller vibrates for 1 second
to indicate successful pairing.
6.3 Unplug the data cable and press the HOME button shortly to
reconnect via Bluetooth.
OFF / ON
OFF / ON
User Manuel
1M A-C Cable
Charging Base
Game Controller
Receiver
Warranty Card
EN-01 EN-02 EN-03 EN-04 EN-05 EN-06 EN-07