名称:说明书
型号:AB309
尺寸: 60x90mm 展开尺寸: 480x90mm
105克哑粉纸,单黑双面印刷, 风琴折
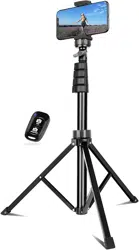
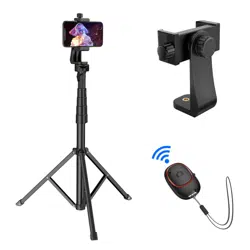
Poable Sele Tripod
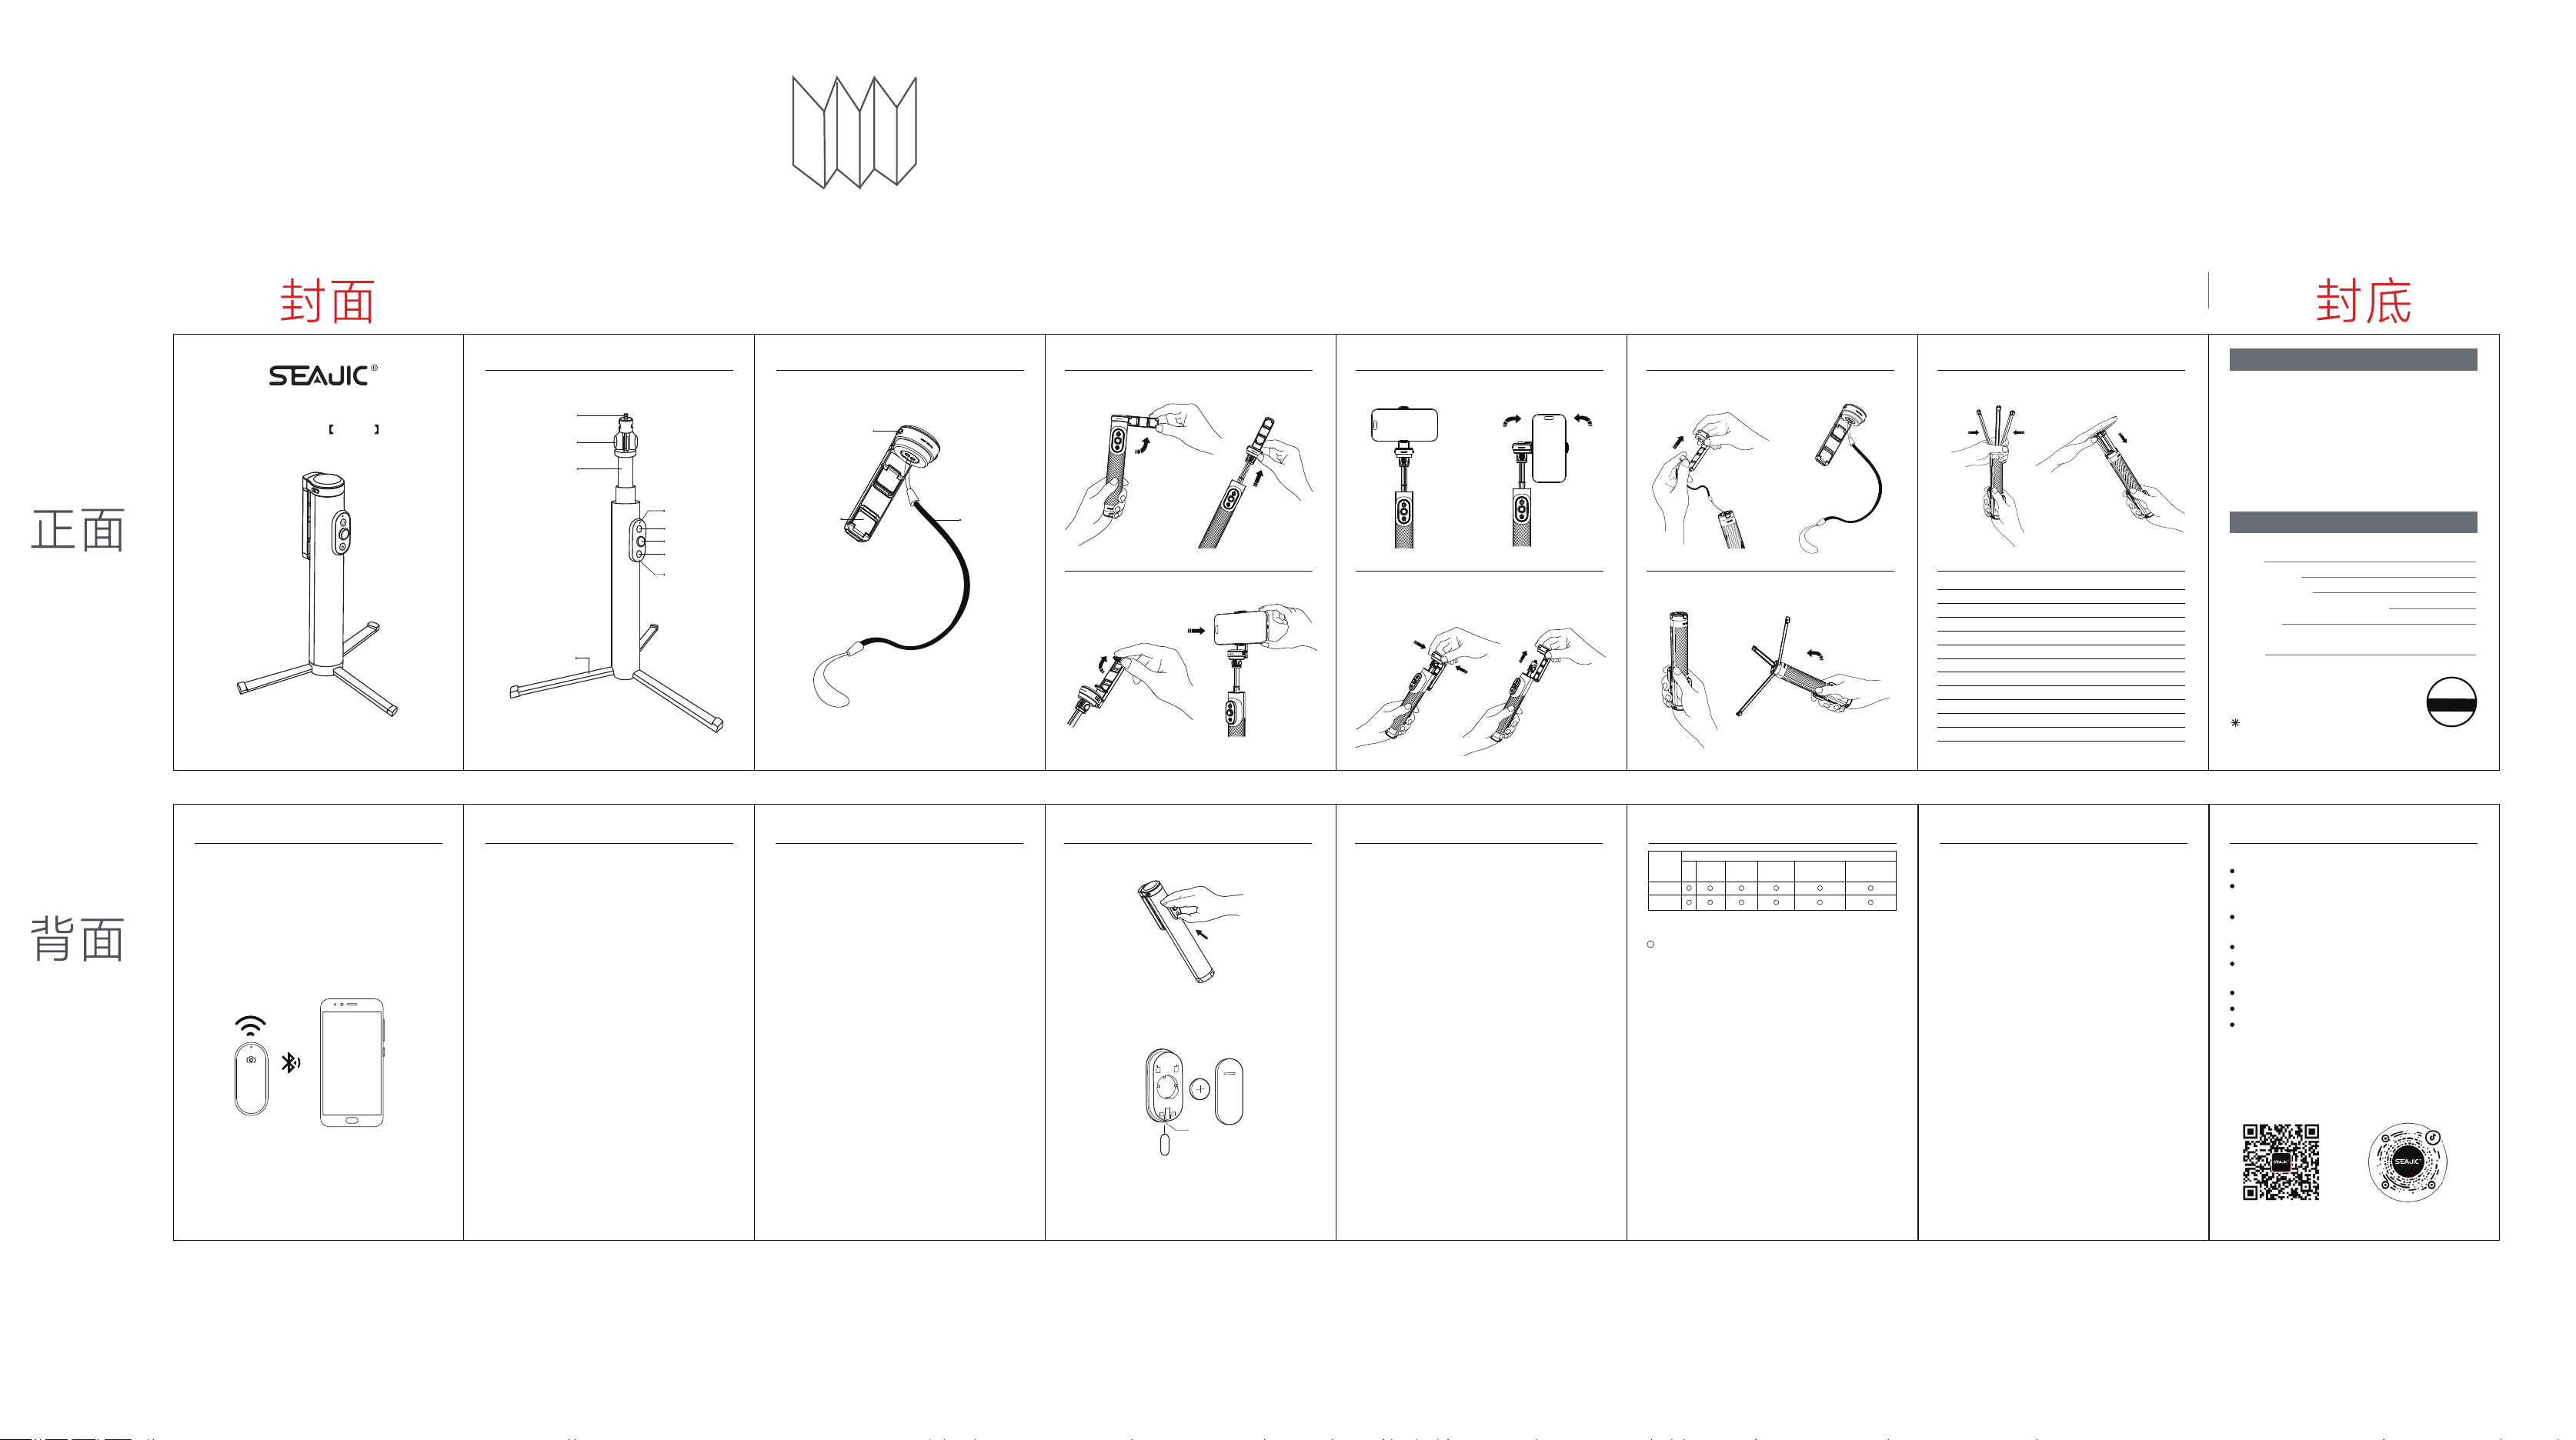
Phone Clamp Unfolding
Phone Securing
Porait/Landscape Adjustment
First, flip the phone clamp upward to the top, then pull out
the telescopic rod.
Flip open the clamp arms and clamp the phone in place.
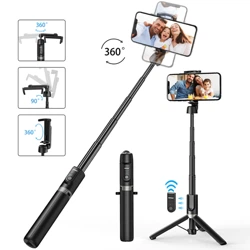
The phone clamp supports 360° roll adjustment for portrait/
landscape switching and 180° tilt adjustment.
Simultaneously press the release buttons on both sides of the
top of the phone clamp to remove it, then use the 1/4" interface
to attach other devices such as an action camera.
Phone Clamp Removal for 1/4" Inteace Access
Phone Clamp to Lanyard Securing
Tripod Deployment and Storage
Tripod Deployment and Storage
After removing the phone clamp, simultaneously press the
release buttons on both sides of its top to secure it to the
buckle of the lanyard.
Deployment: Hold the selfie stick with its bottom facing up
and flick gently to deploy the tripod legs.
Specications and Parameters
Storage: Fold the tripod legs, then push them back into the
selfie stick.
Product Introduction
Power button
Tripod
Indicator light
Function button
Shutter button
Telescopic rod
Phone clamp
Rotating shaft
Remote control
1/4" interface
Product Introduction
Lanyard
Quick-release button
User Manual AB309
Product Name: Swing-to-deploy tripod
Product Model: AB309
Dimensions: 208*33*51mm
Product Weight: 228g
Connection Method: Bluetooth
Remote Control Distance: 10m
Product Materials: ABS+PC/Aluminum alloy
Supported Systems: Android/IOS/HarmonyOS
Battery Type: Lithium-manganese button cell
Battery Model: CR1632
Battery Capacity: 110mAh
Bluetooth Version: BT4.2 or above
After-sales service commitment of SEAJIC: We provide
three-warranty services for all products which are sold
through the official channel or authorized channel of
SEAJIC in strict accordance with Law of the People's
Republic of China on Protection of Consumer Rights and
Interests. For regions where special three-warranty
regulations are executed, SEAJIC hereby undertakes to
abide by the local regulations. Please keep the warranty
card and effective purchase voucher properly in order
to safeguard your legal rights.
OSM (China) owns the right of interpretation
of pictures and texts in the Manual。
User Information
Name:
Contact phone:
Date of purchase:
Purchase platform and shop name:
Order No.:
Product information
Model:
After-sales seices of SEAJIC
Warranty Card of SEAJIC
OSM
PASS
Qualified
Inspector
01
1.Mount the phone on the holder, then press and hold the
power button for 3 seconds until the white indicator light
flashes to enter Bluetooth pairing mode;
2.Open the Bluetooth settings on your phone, search for and
connect to "AB309". When connected successfully, the white
light stays on for 3 seconds and then turns off;
3.Press the selfie stick's shutter button to take photos. Press
and hold the power button for 3 seconds to power off the
selfie stick and exit Bluetooth pairing mode.
AB309
Note:
The selfie stick is set to automatically connect to the successfully
paired phone. If you need to switch the connected device, please
first unpair the Bluetooth connection on the currently paired phone,
then pair with and connect to the new device.
Bluetooth Connection to Phone Remote Control Function InstructionsRemote Control Function Instructions
Power Button:
Press and hold for 3 seconds to turn on/off.
Function Button:
1. Single click: Switch between front and rear camera once the
camera app is opened;
2. Double click: Quickly put the phone into sleep mode (screen off);
3. Press and hold: Enter camera interface when screen is locked;
open camera app when screen is unlocked.
Shutter Button:
1. Middle button - single click: Take photo, start/stop recording.
Press and hold: Burst shooting or video recording
(depending on phone model settings);
2. Push up once: Zoom in one step. Push up and hold: Zoom in
continuously;
3. Push down once: Zoom out one step. Push down and hold:
Zoom out continuously;
4. Push left once: Switch modes leftward in camera app. Push
right once: Switch modes rightward in camera app.
Power On:
1. Press and hold the power button for 3 seconds to turn on;
2. Enter pairing mode. The indicator light flashes white at 1Hz
for 180 seconds;
3. Enter broadcasting mode. The white light flashes;
4. When connected successfully, the white light stays on for 3
seconds then turns off;
5. If not connected successfully, it enters sleep mode after 3 minutes.
Sleep Mode:
1. After power-on and connection, it will automatically enter
sleep mode after 5 minutes of inactivity;
2. When connected to the phone, if the distance becomes too large
and the connection is lost, the remote enters sleep mode directly;
3. When connected to the phone, if the phone's Bluetooth is
turned off, the remote enters sleep mode directly;
4. When connected to the phone, if the pairing is manually
cancelled on the phone, the remote enters sleep mode directly.
Paired Connection Status:
White (Keycode mode) / Blue (touch mode), indicator light
stays on for 3 seconds then turns off.
HID/CMD Switching:
Press and hold the function button together with zoom in/out
button for 3 seconds. (Example: In HID mode, white light
flashes 3 times then switches to CMD mode with blue light.)
Wake from Sleep:
In sleep mode, pressing any button triggers reconnection to the
phone. Once connected successfully, the white light stays on for
3 seconds then turns off. If reconnection fails, the remote enters
broadcasting mode with white light flashing. If not connected
successfully, it enters sleep mode after 3 minutes.
Turn-off Method:
1. Press and hold the power button for 3 seconds, the white
indicator light flashes 3 times then turns off;
2. Automatically turns off after 15 minutes in sleep mode.
Low Battery Indicator:
1. When the battery voltage is below 2.6V, each time the remote
is powered on with no active pairing, it will pair or reconnect.
After successful pairing, the white light stays on for 5 seconds,
then the red light flashes 5 times at 1 second intervals, then
turns off;
2. During operation, each time a button is pressed, the red light
replaces the blue light as operation feedback.
Remote Re-Pairing:
With the remote powered on, press and hold the shutter button
and the function button together for 3 seconds. The remote will
then clear the pairing list and enter pairing mode;
Power Consumption Requirement:
Standby current < 1µA
Number of Buttons:
3
Number of Indicator Lights:
3 (Blue / White / Red)
Bluetooth Name:
AB309
Tips:
a. When installing batteries, ensure the positive pole faces outward.
b. Battery model is CR1632. Please purchase compatible batteries
from reputable brands.
Insert a SIM ejector pin or suitable instrument into the remote's
bottom pinhole to remove the battery cover, replace the battery,
and reattach the cover.
Remote Control Batte Replacement
Removing the Remote Control:
As shown in the figure, pry the remote control from its bottom
to remove.
Remote Control
Removal
Pinhole
1 Please read all safety and operation instructions carefully before
use and keep the user manual in a safe place for future reference.
2 Pay attention to all warnings on the device and in the user manual.
3 Follow all operation and usage instructions.
4 Use accessories/attachments specified by the manufacturer only.
5 Only authorized technicians should perform repairs.
6 In case of device damage, such as tripod body damage,
liquid ingress, rain exposure, moisture damage, abnormal
operation, or damage from dropping, please contact official
customer service for assistance.
Impoant Safety Information
Name and content of hazardous substances in the product
This table was prepared according to SJ/T11364
: It means that the content of the toxic and hazardous
substance in all the homogeneous materials of the
component is below the limit requirements specified in
GB/T 26572.
X: It means that the content of the toxic and harmful
substance in at least one homogeneous material of the
component exceeds the limit requirements specified by
GB/T 26572.
To protect the environment and human health:
1. Once scrapped, the product should be separated from
the household wastes; users have responsibilities for
sending the scrapped products to the designated
recycling center;
2. The recycling center should recycle the product's useful
materials properly;
3. For details of scrapping the product, please consult the
local government, waste disposal center or dealer;
Parts
Pb
Lead
Cd
Cadmium
Cr(VI)
Hexavalent
Chromium
PBBs
Polybrominated
piphenyls
PBDEs
Polybrominated
diphenyl ethers
Selfie stick
Packing
accessories
Hg
Mercury
FCC Warning Statement
Public Account
Tik Tok
Attention
To avoid damaging the product, please
Do not expose the product to rain or a wet environment;
Do not put open flames (such as lighted candle) on or near
the product;
Do not place the product near heat sources, such as oven,
cooler, stove or other heating devices;
Do not expose the product to boiled water;
Do not put the product in articles containing liquids, such
as vase;
Do not place the product in hot places;
Do not pull the product by force;
Do not open the product's back cover by force, or repair its
internal parts without permission to avoid electric shock or
damage。
Changes or modifications not expressly approved by the party
responsible for compliance could void the user’s authority to
operate the equipment. This equipment has been tested and
found to comply with the limits for a Class B digital device,
pursuant to Part 15 of the FCC Rules. These limits are designed
to provide reasonable protection against harmful interference
in a residential installation. This equipment generates uses and
can radiate radio frequency energy and, if not installed and
used in accordance with the instructions, may cause harmful
interference to radio communications. However, there is no
guarantee that interference will not occur in a particular
installation. If this equipment does cause harmful interference
to radio or television reception, which can be determined by
turning the equipment off and on, the user is encouraged to
try to correct the interference by one or more of the following
measures:
‐‐ Reorient or relocate the receiving antenna.
‐‐ Increase the separation between the equipment and receiver.
‐‐ Connect the equipment into an outlet on a circuit different
from that to which the receiver is connected.
‐‐ Consult the dealer or an experienced radio/TV technician
for help.
FCC Radiation Exposure Statement
The device has been evaluated to meet general RF exposure
requirement. The device can be used in portable exposure
condition without restriction.
This device complies with Part 15 of the FCC Rules. Operation
is subject to the following two conditions:
(1)This device may not cause harmful interference, and
(2)This device must accept any interference received, including
interference that may cause undesired operation
Product name:User Manual
Model:AB309
size:60x90mm / Unfolded Size :480x90mm
105g coated art paper, single black double-sided printing, accordion fold