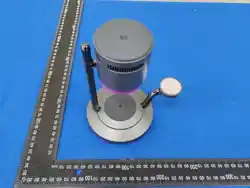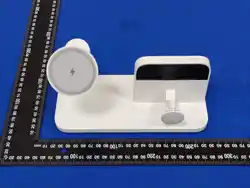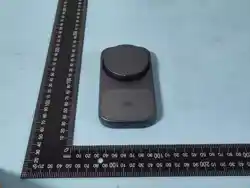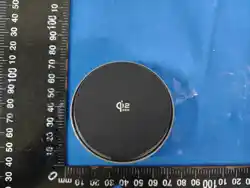
车载磁吸折叠无线充
说明书
K2pro
USER MANUAL
CAR MAGNETIC FOLDABLE
WIRELESS CHARGER
Magnetic wireless charger
K2pro
产品介绍
内容
1 充电区域 2 LED 3 USB-C接口 4
5
风扇散热口
6
转轴
支撑杆
7
吸盘主体
8
吸盘
折叠磁吸无线充 x1 数据线 x1 说明书 x1
产品参数
使用说明
产品名称:K2pro 车载折叠磁吸无线充
输入:5V-3A/9V-3A/12-3A/15-3A
工作温度: -10℃ ~ +45℃
输出:5W/7.5W/10W/15W/25W
充电距离:≤4mm (推荐工作距离3mm)
磁吸力: 1.6KG
注意事项
1. 请勿在车内60摄氏度以上高温条件下使用本产品。
2. 请勿在专业赛车或汽车极限越野时使用该产品。
3. 智能手机非磁吸手机,请增加引磁环后使用该产品。
4. 请勿过度挤压或碰撞设备。
5. 请勿与带磁条或者芯片的磁卡(身份证、银行卡等)放置太近, 避免造成磁
卡失效。
保 修
本产品三包有效期:自购买日起(以寄回的客户回执或购机发票日期为准),
提供12个月保修服务,其它附件(如包装等)不属三包范围,产品外观为人
为损坏,附件损失,不在三包之列。不在三包之内或超过三包期的产品,客户
仍享受维修服务,但需要交纳维修工本费。
产品保修卡
型号:
购买日期:
经销商名称:
购买商号:
姓名:
地址:
电话:
为了您的权益,请您认真填写,并妥善保管,作为维修前凭证!请勿擅自修改内容,
否则视为作废。本公司保留对产品售后服务条例的最终解释权。
保修内容 保修日期
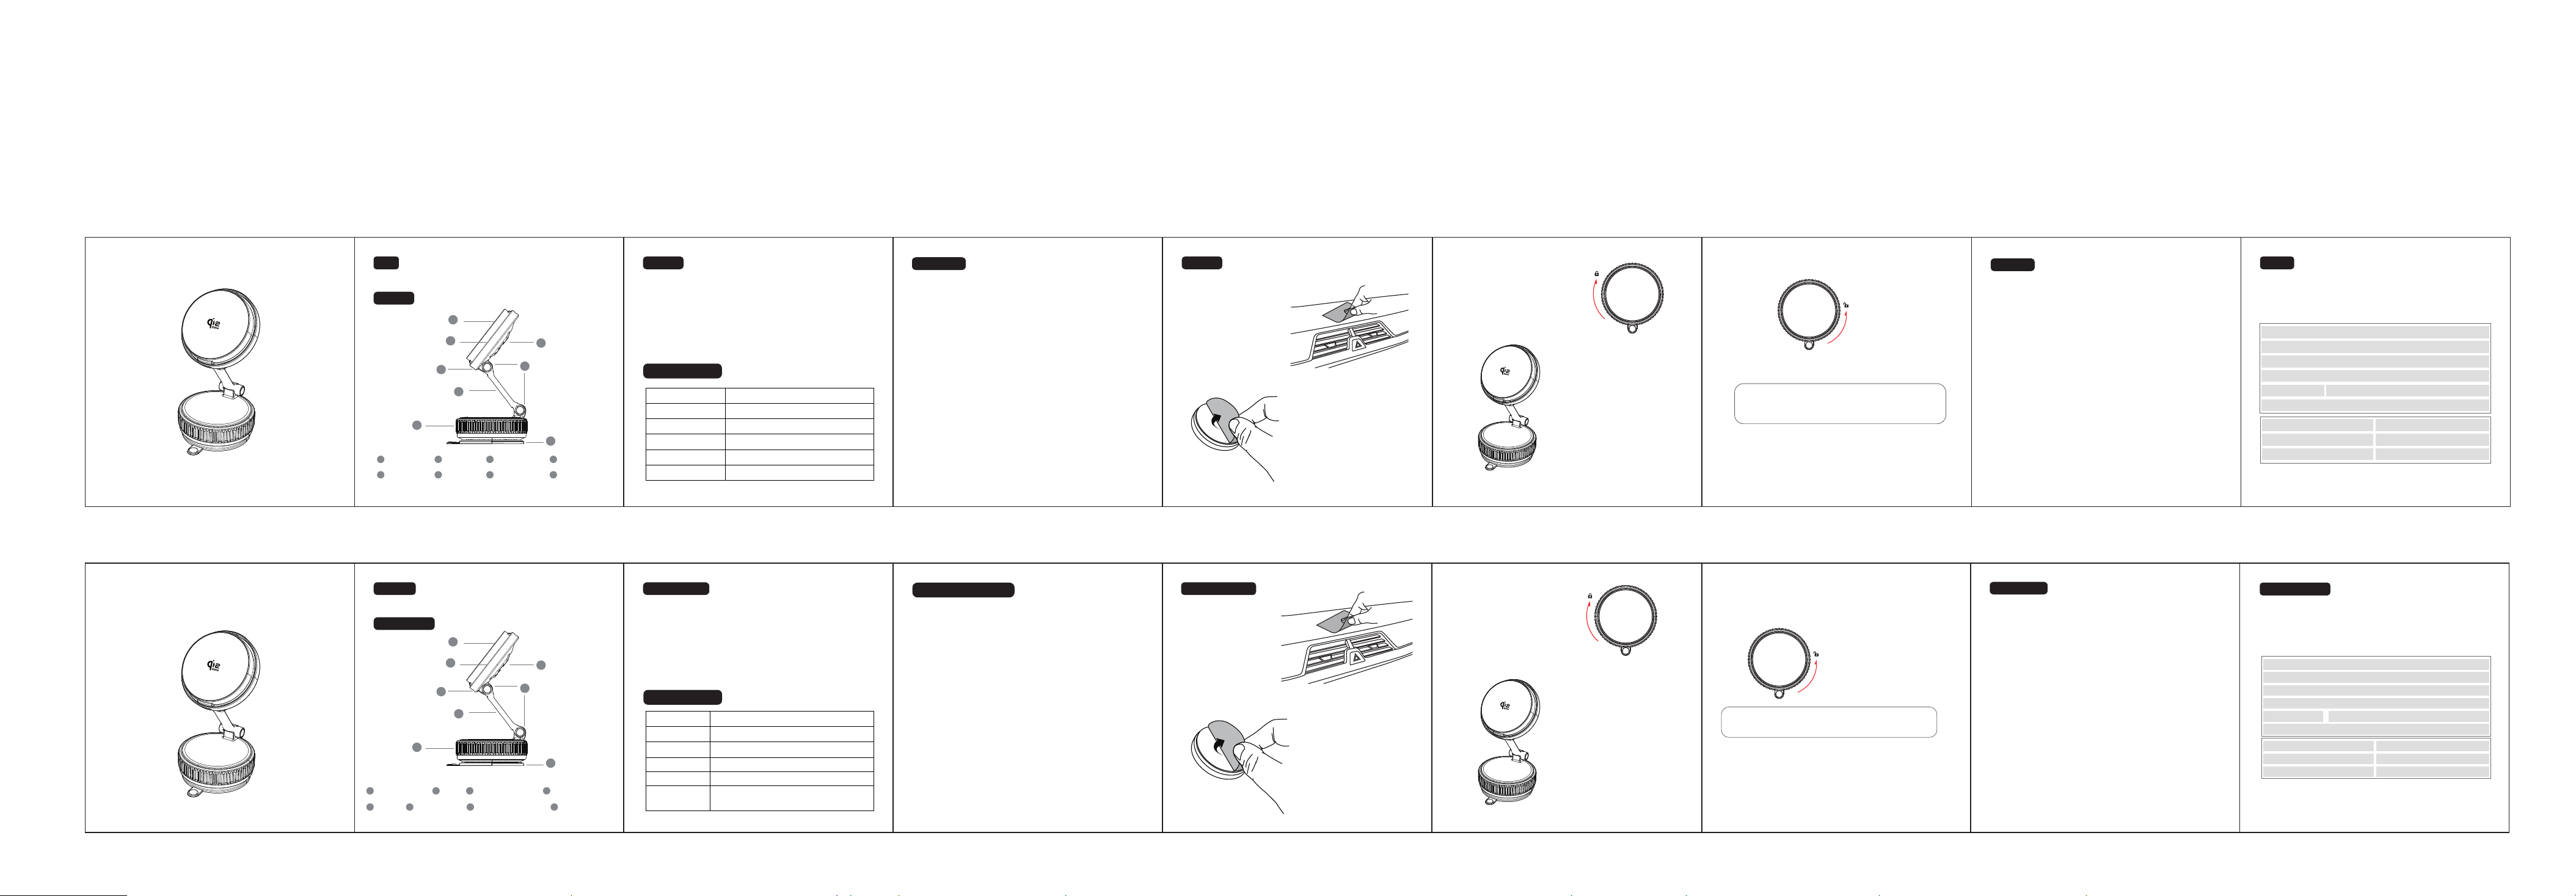
Introduction
Package
1
Charging Area 2 LED 4 Fan Cooling Vent
3
USB-C Interface
5 Hinge 6 Support Rod 7 Suction Cup Body 8 Suction Cup
Magnetic Mount x1 C-C Cable x1 User Manual x1
Specifications
Model: K2pro
Input: 5V-3A/9V-3A/12-3A/15-3A
Working temperature: -10℃ ~ +45℃
Output: 5W/7.5W/10W/15W/25W
Induction distance:≤4mm
Magnetic attraction: 1.6KG
Precautions
1. Do not use this product in temperatures exceeding 60°C inside the
vehicle.
2. Do not use this product during professional racing or extreme
off-road driving.
3. For non-magnetic smartphones, attach a magnetic ring before using
the product.
4. Do not excessively squeeze or impact the device.
5. Keep the device away from magnetic cards with strips or chips (such
as ID cards, bank cards, etc.) to avoid demagnetization or damage.
Product Warranty Card
For your rights and interests, please fill in carefully and keep it safely as a
pre-repair certificate! Do not modify the content without authorization,
otherwise it will be considered invalid The company reserves the right of
final interpretation of the product atter-sales service regulations.
No.:
Date of purchase:
Dealer name:
Dealer:
Name: Telephone:
Address:
Warranty cantent Warranty date
The guarantee
Products three guarantees valid time: From purchasing date (Prevail
to the customer receipt date or invoice date), provide 12 months
guarantee. Prod-uct surface man-made damage, acces sories missed
are not include in this guarantee. repair service for you for the product
is out of the guarantee period or not covered by warranty, but you
need to pay the repair charge.
尺寸:70 x 70mm
材质:105g铜版纸+正反面印刷
样式:手风琴
LED 智能指示灯
模式
通电
待机
充电
检测到异物
LED灯常亮
LED灯常亮
LED灯熄灭,风扇工作
LED灯快闪5S熄灭, 风扇停止
指示灯
充满 LED灯熄灭,风扇停止工作
Lighting mode
Standby
Charging
Foreign
Object Detected
LED Light Stays On
LED Light Stays On
LED Light Off, Fan Operating
LED flashes rapidly for 5 seconds then turns off,
fan stops.
Full Charge LED Light Off, Fan Not Operating
Mode Indicator light
Power on
性能概述
1、本产品最大充电功率为25W,充电效率根据充电环境和手机会有所
不同。
2、无线充的最佳距离是4mm以内并不能穿透金属,所以需要避免用
金属的或太厚的(大于4mm)手机保护壳,这样才能保证手机快速的
无线充电。
3、如果手机不支持无线充电或者检测到金属异物,蓝色指示灯闪烁。
4、使用产品时,拉动面盖可使产品展开;下压面盖可使产品收起。
5、从产品上取下手机后,指示灯即刻常亮待机状态。停车熄火,产品停
止供电时,指示灯熄灭,手机依旧被磁力吸附在产品上, 可随时取下。
1. The maximum charging power of this product is 25W.
Charging efficiency may vary depending on the charging
environment and the mobile device.
2. The optimal wireless charging distance is within 4mm, and it
cannot penetrate metal. Therefore, metal or overly thick (greater
than 4mm) phone cases should be avoided to ensure fast
wireless charging.
3. If the phone does not support wireless charging or if metal
foreign objects are detected, the blue indicator light will flash.
4. When using the product, pulling the cover will unfold it, while
pressing down on the cover will retract it.
5. After removing the phone from the product, the indicator
light will immediately enter standby mode and remain steadily
lit. When the vehicle is parked and powered off, the indicator
light will turn off, but the phone will remain magnetically
attached to the product and can be removed at any time.
Performance Overview
1
2
4
3
5
7
6
8
1
2
4
3
5
7
6
8
注意:
为了获得更好的用户体验,建议在粘贴吸盘之前将要粘贴的区域
擦拭干净。
安装指南
步骤1:
选择仪表板上的一个
平坦表面并先清洁它。
步骤2:
撕下纳米滴胶的保护膜。
步骤3:
将吸盘中框向左旋转以
激活真空模式,牢固固定支架。
步骤4:
安装好后就可以调整支架以找到
您所需的合适角度使用了。
将吸盘中框向左旋转
以激活真空模式
如何移除它?
将吸盘中框向右旋转关闭真空模式,稍微用力取下产品。
请注意: 为了获得更好的用户体验,建议在粘贴吸盘前先将要
粘贴的区域擦拭干净。
将吸盘中框向右旋转
关闭真空模式
Mounting Guide
Step 1:
Choose a flat surface
on the dashboard and
clean it thoroughly.
Step 2:
Peel off the protective film
from the nano gel pad.
Step 3:
Rotate the suction cup
middle frame to the left to
activate vacuum mode and
securely fix the mount.
Step 4:
Place the stand base onto the
magnetic section of the
suction cup to assemble. Then
adjust the stand to find the
desired viewing angle for use.
Twist clockwise to lock up
HOW TO REMOVE IT?
Rotate the suction cup middle frame to the right to release
the vacuum mode, then gently pull to remove the product.
Twist counterclockwise to release
Please Note:
To have a better user experience, it is recommended to wipe
the area to be pasted clean before pasting the suction cup.

FCC Statement
This device complies with part 15 of the FCC Rules. Operation is subject to the following two conditions: (1) This device may not cause harmful interference, and
(2) this device must accept any interference received, including interference that may cause undesired operation.
Note: This equipment has been tested and found to comply with the limits for a Class B digital device, pursuant to part 15 of the FCC Rules. These limits are
designed to provide reasonable protection against harmful interference in a residential installation. This equipment generates, uses and can radiate radio
frequency energy and, if not installed and used in accordance with the instructions, may cause harmful interference to radio communications. However, there is
no guarantee that interference will not occur in a particular installation. If this equipment does cause harmful interference to radio or television reception, which
can be determined by turning the equipment off and on, the user is encouraged to try to correct the interference by one or more of the following measures:
—Reorient or relocate the receiving antenna.
—Increase the separation between the equipment and receiver.
—Connect the equipment into an outlet on a circuit different from that to which the receiver is connected.
—Consult the dealer or an experienced radio/TV technician for help.
Note: The Grantee is not responsible for any changes or modifications not expressly approved by the party responsible for compliance. such modifications could
void the user's authority to operate the equipment.
The device has been evaluated to meet general RF exposure requirement.
To maintain compliance with FCC's RF exposure guidelines, the distance must be at least 20 cm between the radiator and your body, and fully supported by the
operating and installation configurations of the transmitter and its antenna (s).