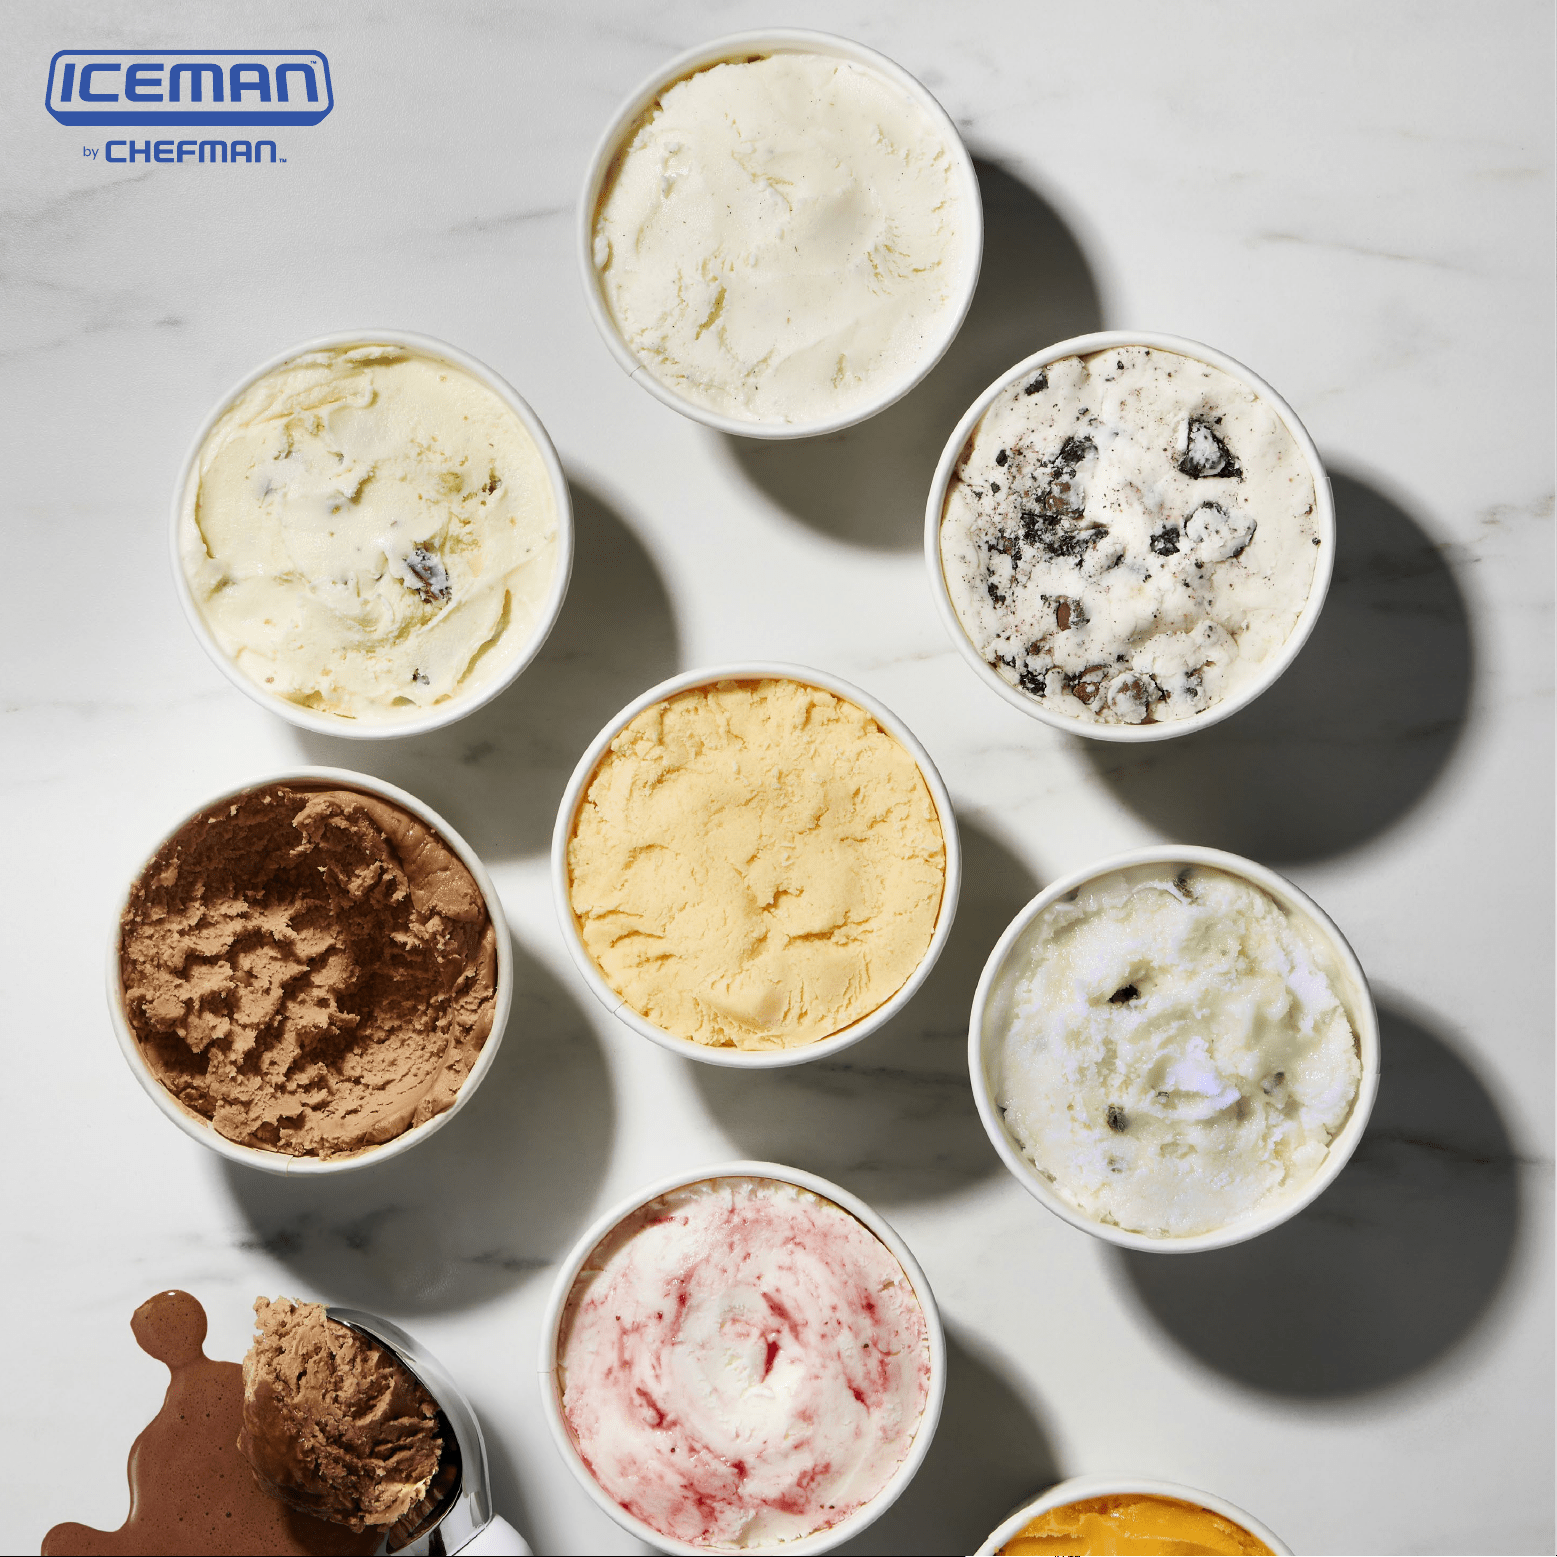
Ice Cream, Frozen Yogurt
& Italian Ice Maker
Trio
RECIPES
Visit Chefman.com to learn more about your ice cream,
frozen yogurt & Italian ice maker and other innovative Chefman products.
Connect with us on social media for new products, cooking tips, delicious recipes, and more!
@mychefman
Table of Contents
3 Create Your Own Flavors
4 No-Cook Vanilla Ice Cream
5 French-Style Vanilla Ice Cream
6 Tangy Frozen Yogurt
7 Lemon Mint Italian Ice
8 Lowfat Vanilla Ice Cream
9 Peach Sorbet
10 Tiramisu Ice Cream
11 Vegan Coconut Ice Cream
12 No-Sugar-Added Vanilla Ice Cream
s
t
r
a
w
b
e
r
r
y
m
a
n
g
o
b
l
u
e
b
e
r
r
y
p
e
p
p
e
r
m
i
n
t
c
h
o
c
o
l
a
t
e
t
o
f
f
e
e
n
u
t
c
r
u
n
c
h
c
o
o
k
i
e
s
a
n
d
c
r
e
a
m
c
h
o
c
o
l
a
t
e
c
h
i
p
c
o
c
o
n
u
t
c
o
f
f
e
e
S
T
A
R
T
w
i
t
h
a
n
y
v
a
n
i
l
l
a
b
a
s
e
…
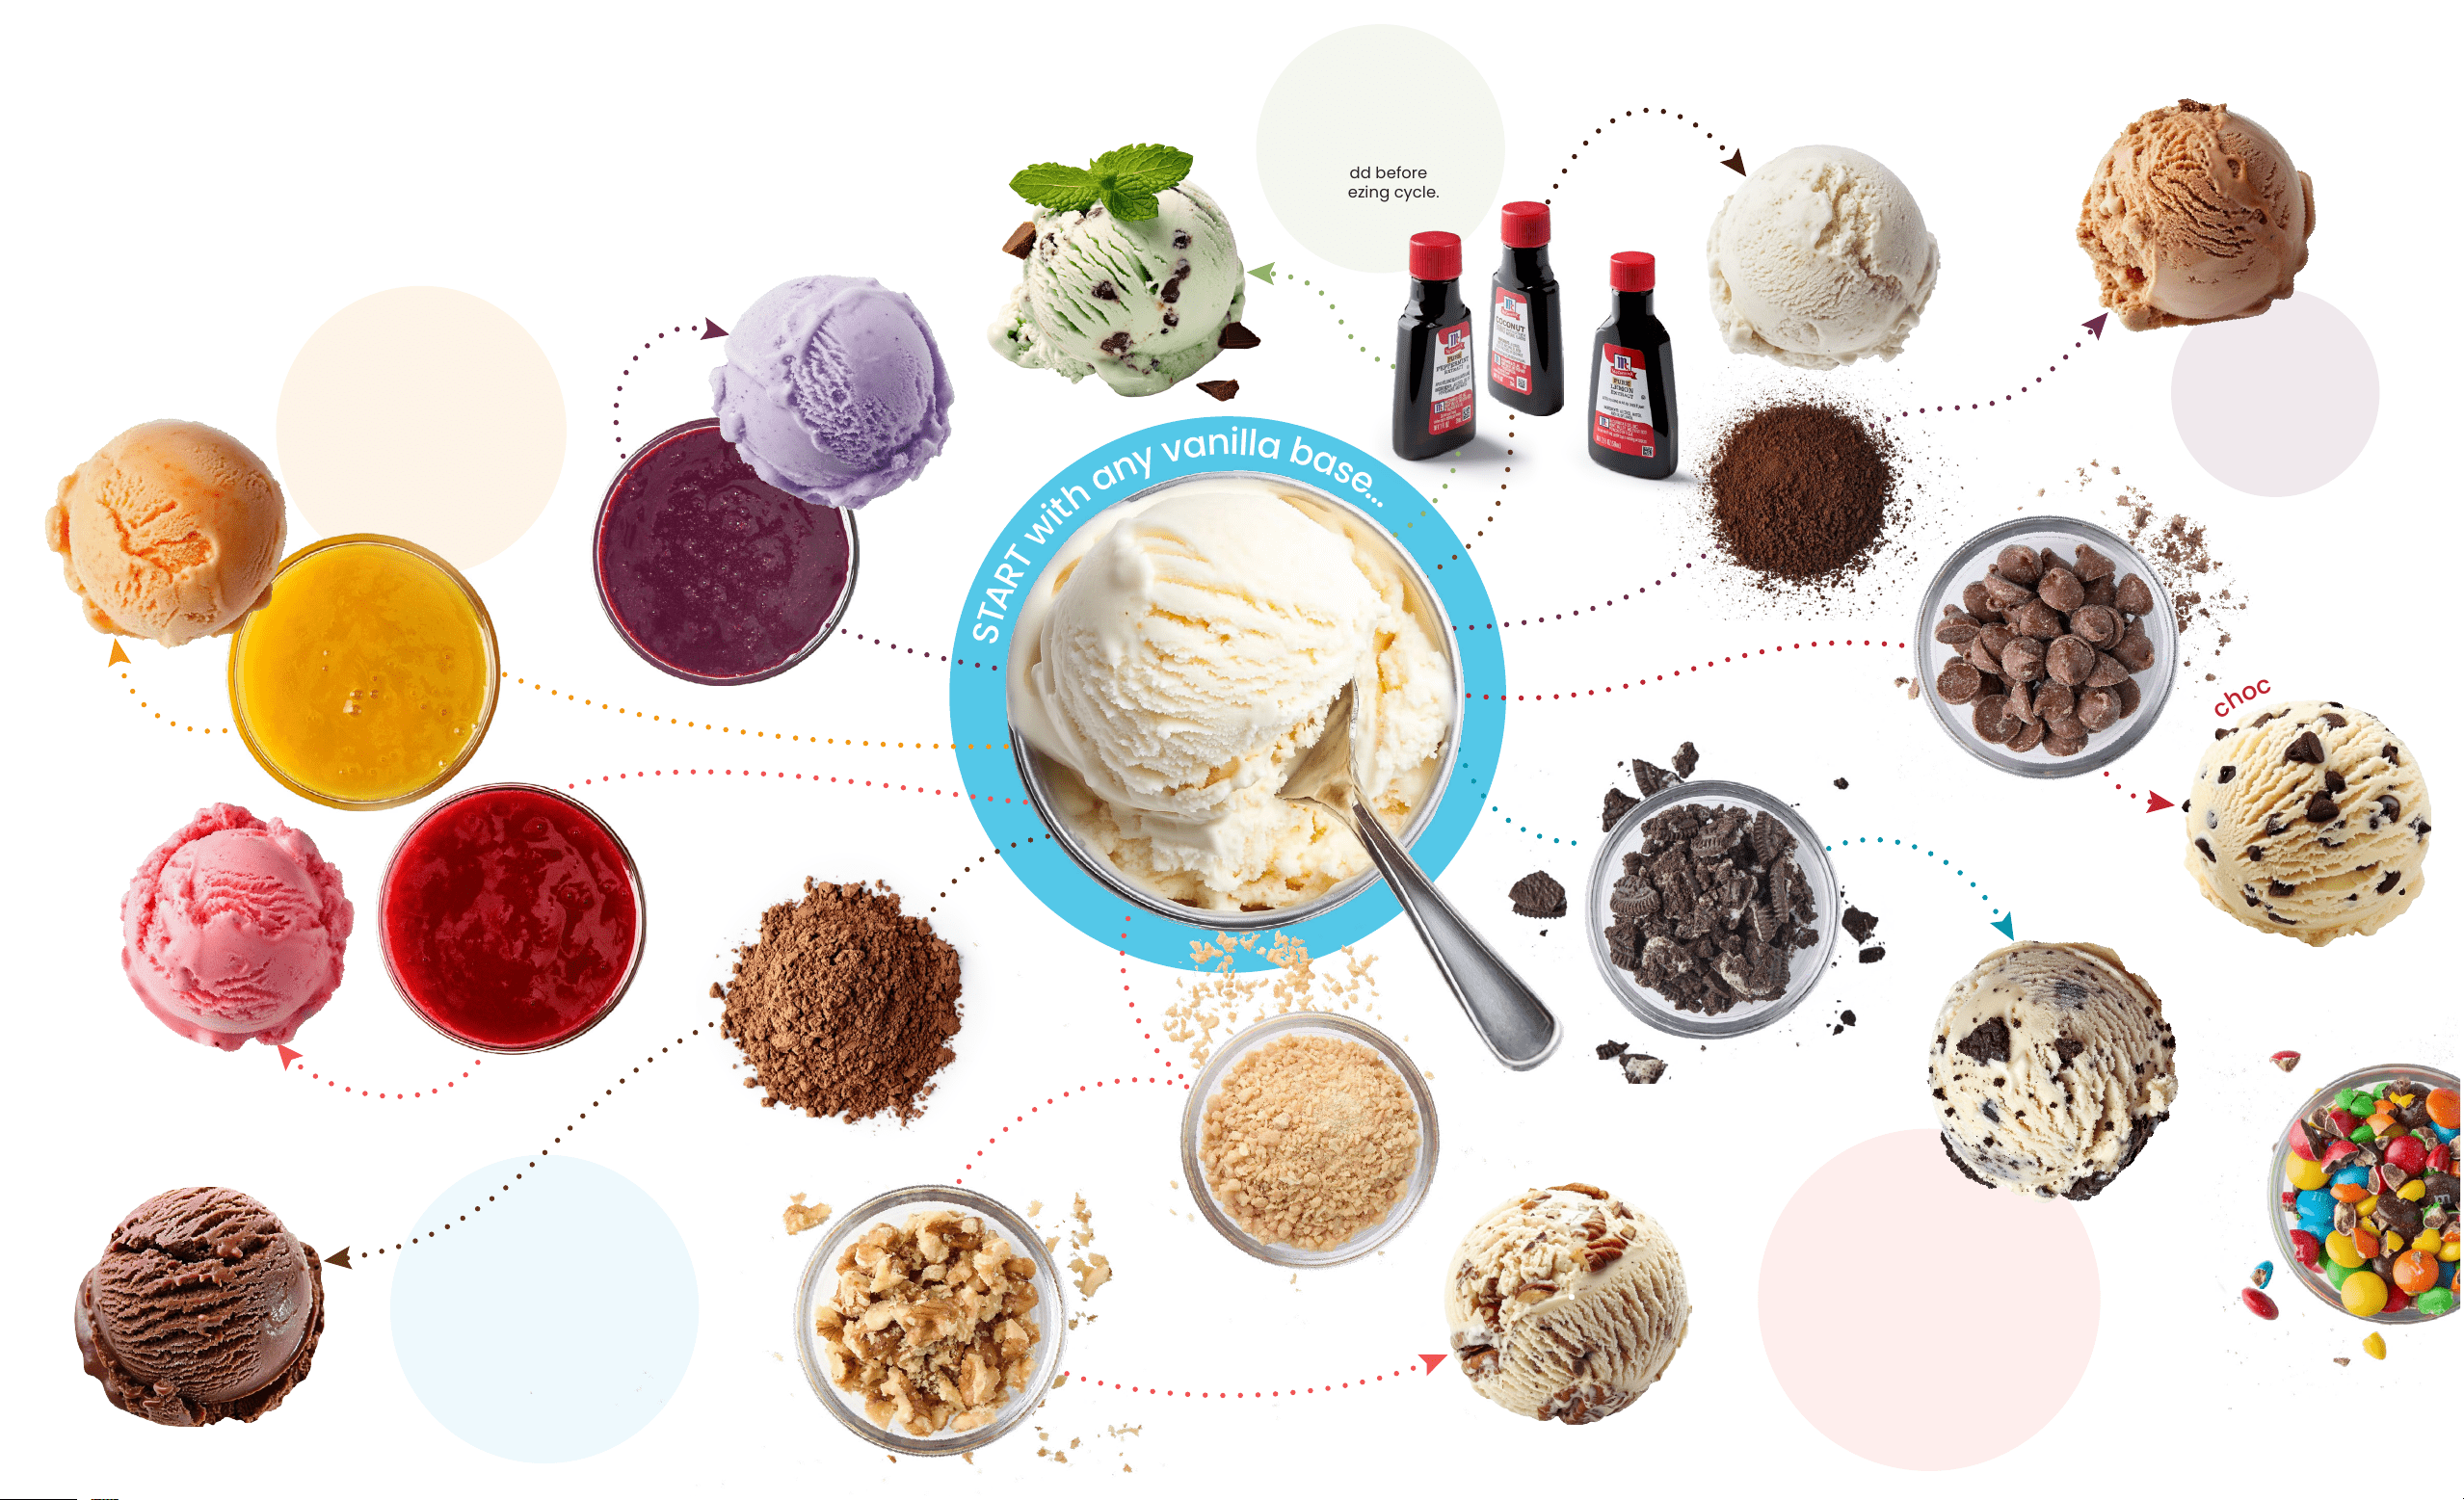
Create Your Own Flavors
Chunky Mix-Ins
Add crushed cookies or
candies, chocolate chips, etc.
½-¾ cup per batch
Add using the MIX function
after the freezing cycle.
Cocoa Powder
3 Tbsp per batch
Add before freezing cycle.
Dutch-process cocoa,
such as Hershey’s Special Dark,
mixes best into bases
without clumping.
Espresso
Powder
1-2 Tbsp per batch
Add before
freezing cycle.
Flavor Extracts
1-2 Tsp per batch
Add before
freezing cycle.
Fruit Puree
3⁄4 cup per batch
Works best with No-Cook Vanilla
Ice Cream, omitting the milk.
For other bases, reduce the
dairy by ¾ cup as well.
The options are limitless!
Use any of the vanilla bases on the following pages.
The no-cook ice cream on p. 4 is especially good and easy.
4
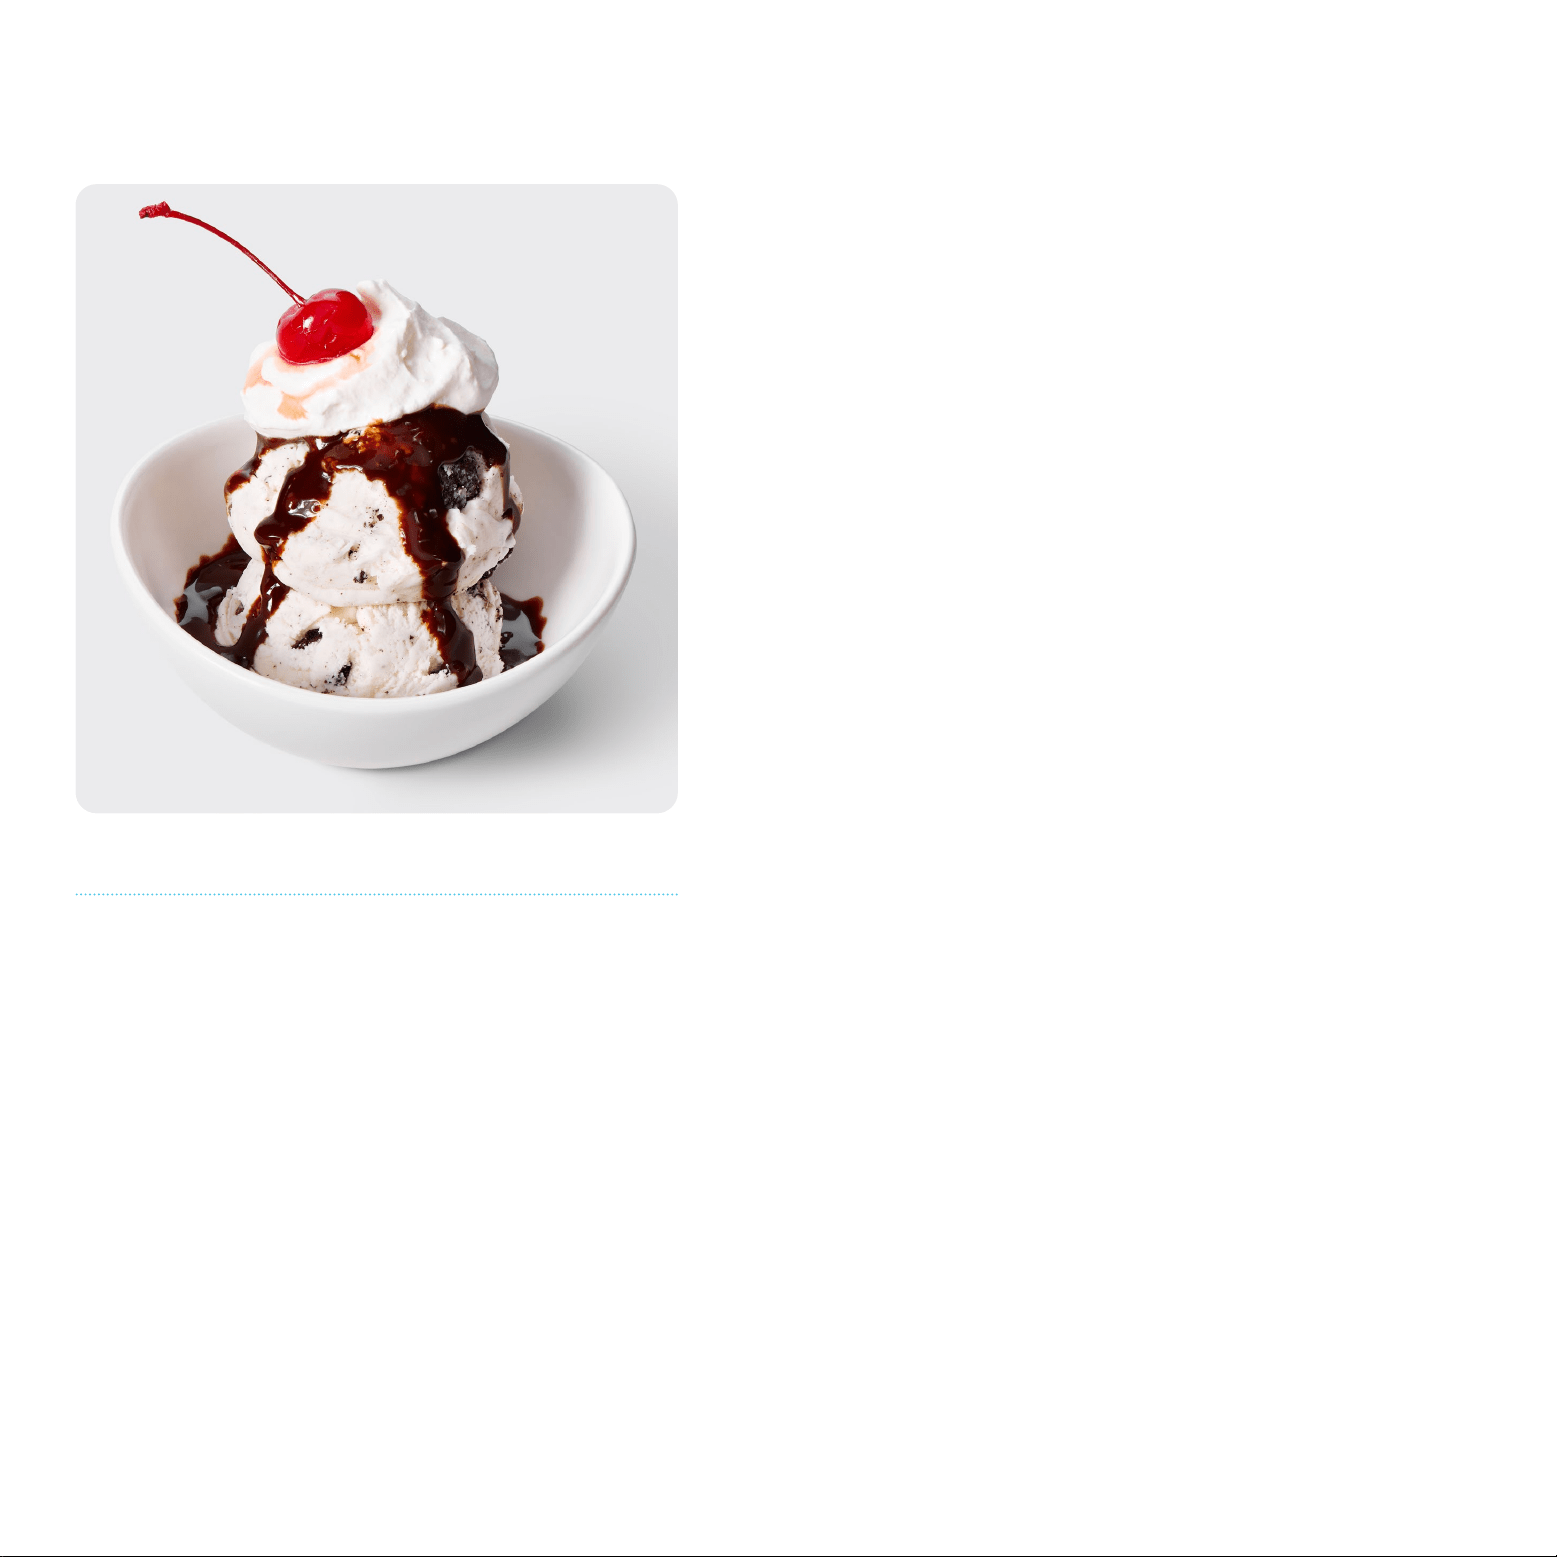
No-Cook Vanilla Ice Cream
This egg-free ice cream is super quick to stir together and relies only on
milkfat for its creaminess. Its pure, sweet-cream flavor makes an excellent
base for mix-ins and flavorings, such as cookies and cream, shown here
(see p. 3). It’s also great dressed up as a sundae!
Ingredients
• 1 cup heavy cream
• ¾ cup whole milk
• 2/3 cup sugar
• 1 ½ tsp pure vanilla extract
• 1 pinch kosher salt
1. In a medium bowl, whisk all ingredients until combined and sugar
is dissolved.
2. Pour the ice cream base into the bucket and place in the unit. Lower
the paddle/lid onto the unit and lock in place.
3. Select the ICE CREAM preset and process until the ice cream collects
around the paddle and is the consistency of soft-serve, about
55 minutes.
4. For firm, scoopable ice cream, seal the bucket with the included lid and
place in the freezer for at least 3 to 4 hours. If you prefer a soft-serve
consistency, serve immediately (if left out of the freezer, it will
melt quickly).
YIELD 2 CUPS ACTIVE TIME 10 MIN TOTAL TIME 1 HR Plus Hardening Time
5
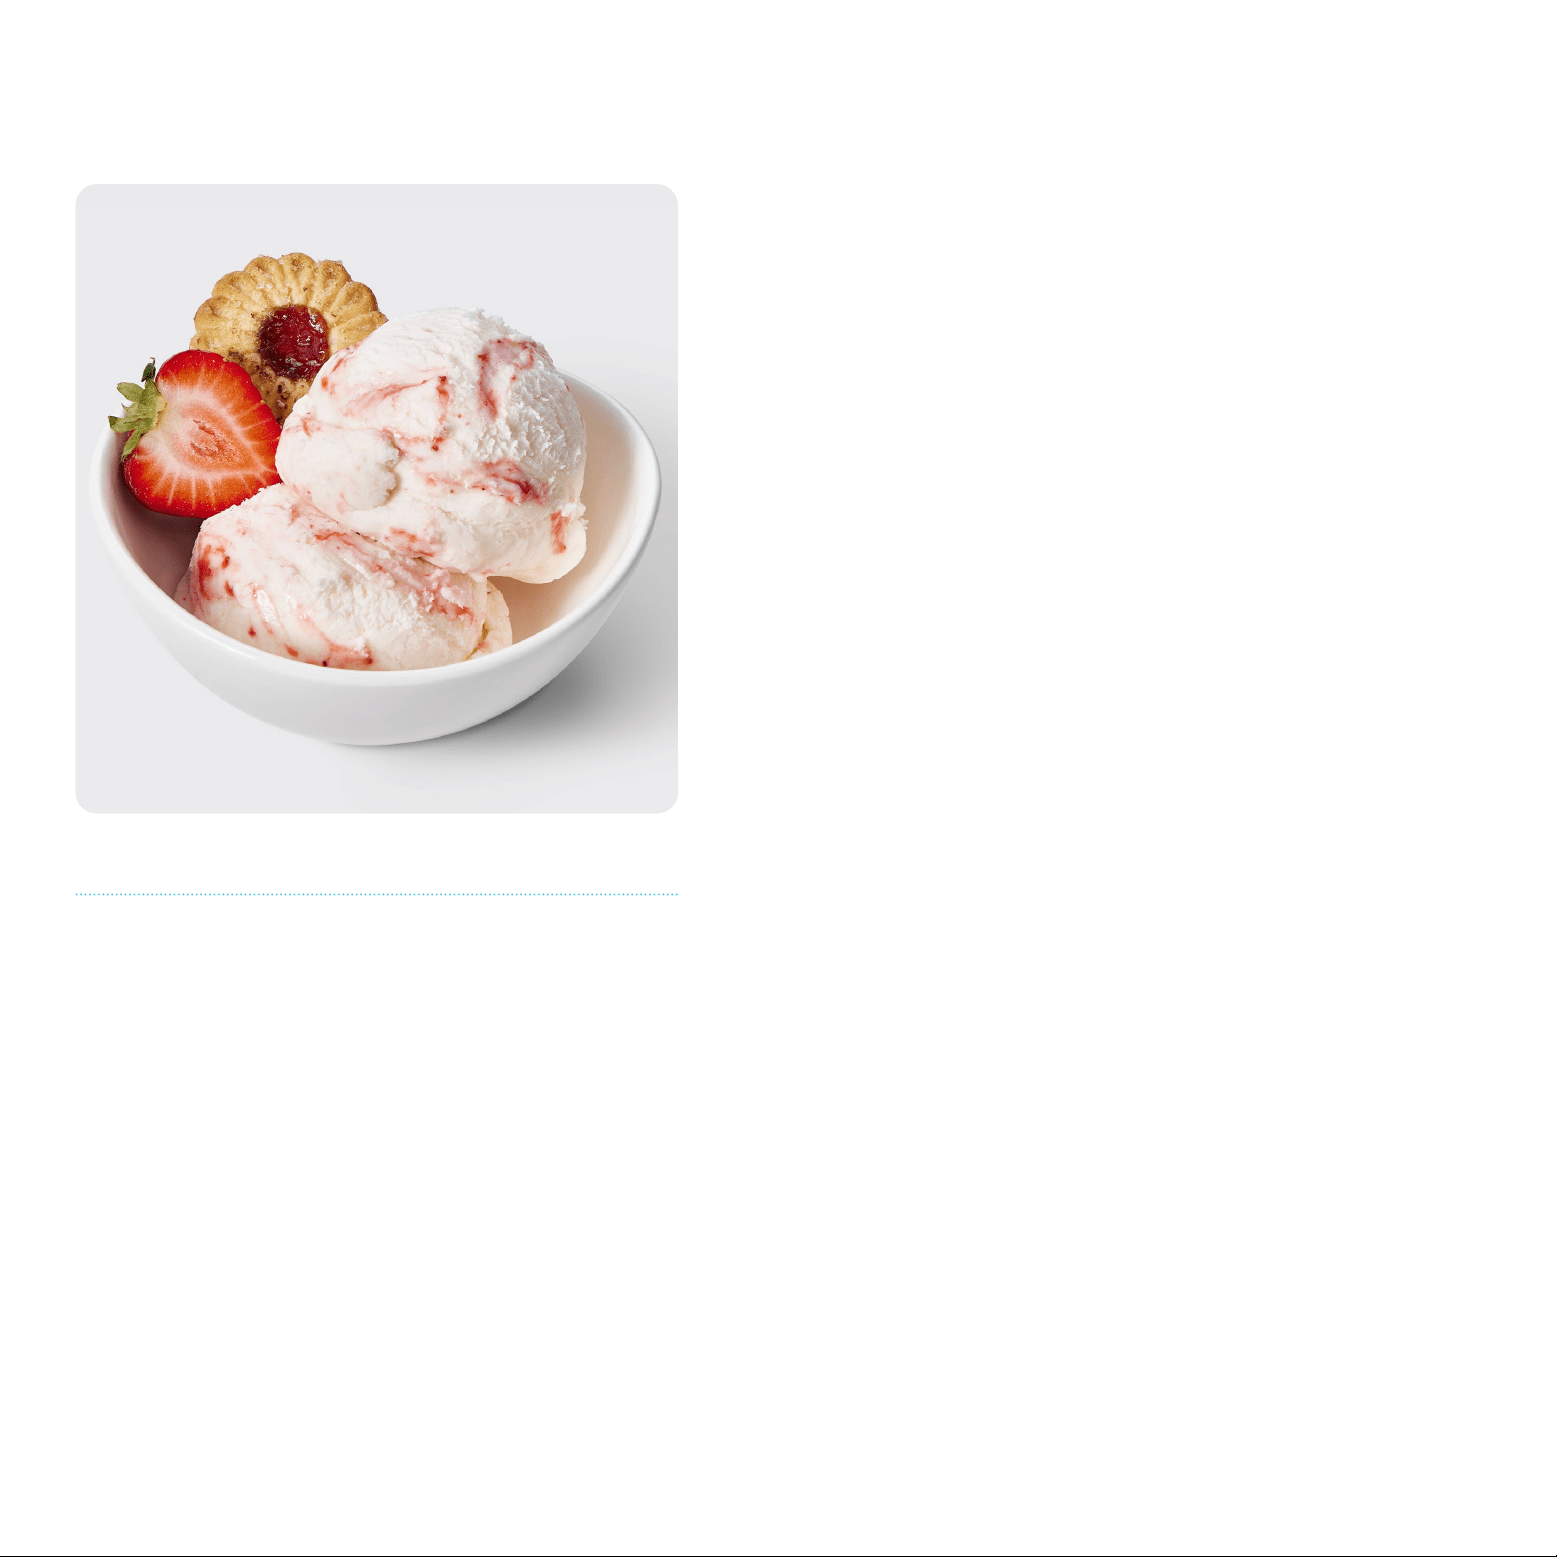
French-Style Vanilla Ice Cream
In contrast with the dairy-forward American-style no-cook ice cream,
French ice cream has a cooked egg custard base for the ultimate silky
texture and rich, round flavor. This basic vanilla works well with most mix-
ins, including the strawberry variation shown here (see p. 3). Just avoid very
acidic additions.
Ingredients
• 2 egg yolks
• ½ cup sugar
• 1 ½ tsp pure vanilla extract
• 1 pinch kosher salt
• 1 cup heavy cream
• ¾ cup whole milk
1. Add yolks, sugar, vanilla, and salt to a medium bowl and whisk until pale
yellow, thickened, and foamy.
2. In a medium pot, heat cream and milk over medium heat, stirring
occasionally, until steaming. Remove from heat.
3. Slowly ladle the hot cream into the egg mixture, whisking constantly.
4. Return the mixture to the pot. Cook over low heat, stirring constantly
and scraping the bottom of the pot with a rubber spatula, until mixture
reaches 165°F. (It should be thick enough to coat the spatula and hold a
line drawn through it with a finger.)
5. Transfer the mixture to the ice cream bucket. Let it cool slightly, then seal
with the included lid and refrigerate overnight. (For a quicker cooling
option, see the tip below.) You MUST cool the base to at least room
temperature before processing it with the ice cream maker; adding it
warm can damage the unit.
6. When ready to process, place the ice cream bucket in the unit. Lower
the paddle/lid onto the unit and lock in place.
7. Select the ICE CREAM preset and process until the ice cream collects
around the paddle and is the consistency of soft-serve, 50-60 minutes.
8. For firm, scoopable ice cream, seal the bucket with the included lid and
place in the freezer for at least 3 to 4 hours. If you prefer a soft-serve
consistency, serve immediately (if left out of the freezer, it will
melt quickly).
TIP: If you don’t have time to refrigerate the base overnight, use an ice bath
to cool it quickly: Transfer the base to the metal ice cream bucket, then set
the bucket in a large bowl of ice water. Stir occasionally, replenishing the
ice as needed to keep the water very cold, until the base is cool, about
20 minutes. Be sure to dry the outside of the bucket well before processing,
or else the moisture can freeze to the chilling cylinder, causing the bucket
to get stuck.
YIELD 2 CUPS ACTIVE TIME 20 MIN TOTAL TIME 1.5 HR Plus Hardening Time
6
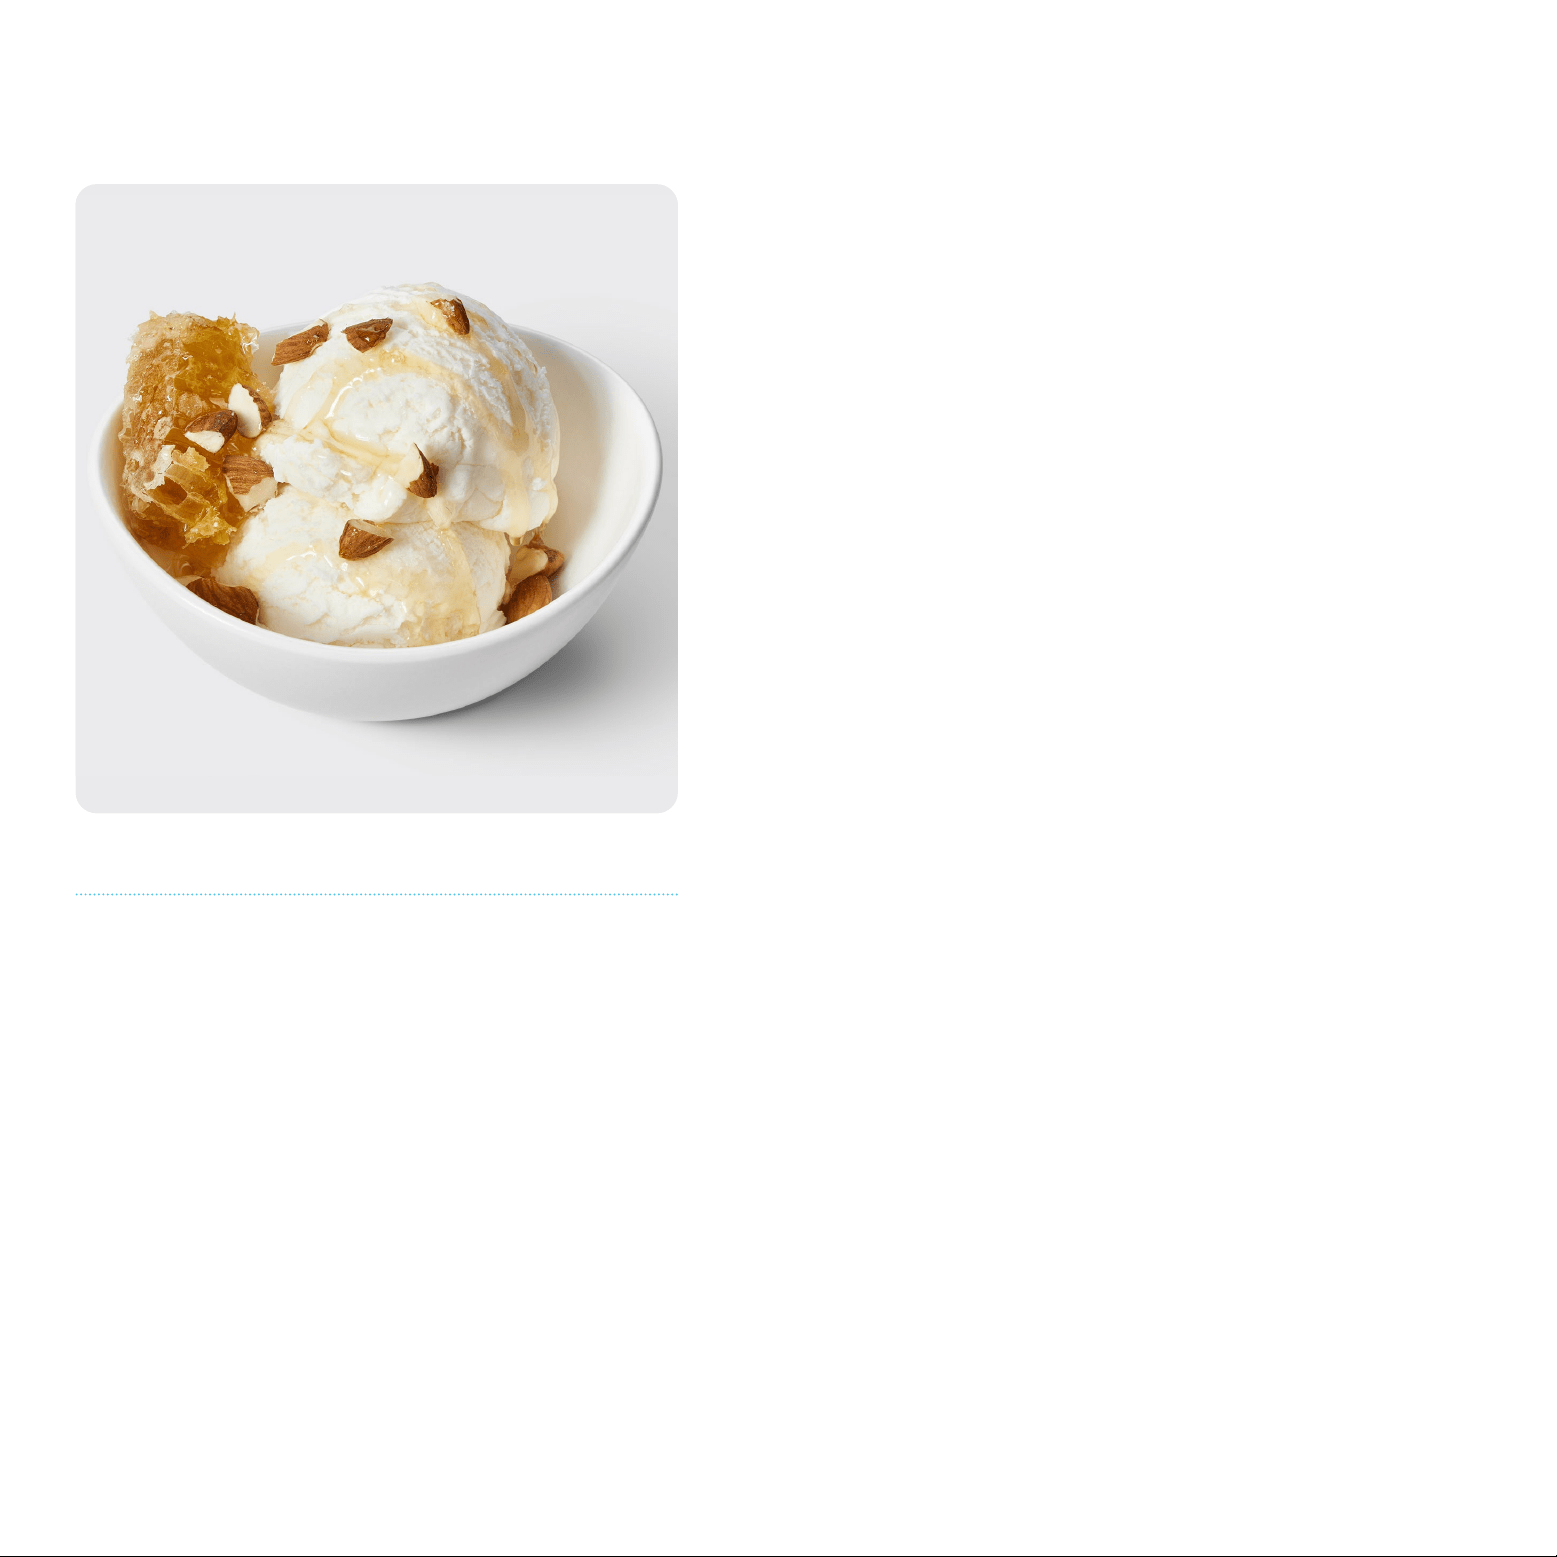
Tangy Frozen Yogurt
This isn’t that swirly stuff from the yogurt shop, smothered in sugary
toppings and priced by the ounce. This is just delightfully tangy yogurt
that’s creamy but eats much lighter than ice cream. In a nod to its Greek
origins, we like to add a touch of orange blossom or rose water to the base,
then serve topped with honey and nuts.
Ingredients
• 2 cups whole milk Greek yogurt
• 1 cup sugar
• 1/8 tsp pure vanilla extract
• 1 pinch kosher salt
1. In a medium bowl, whisk all ingredients until sugar has dissolved.
2. Pour the mixture into the bucket and place in the unit. Lower the paddle/
lid onto the unit and lock in place.
3. Select the FROZEN YOGURT preset and process until the frozen yogurt
collects around the paddle and is the consistency of soft-serve, 40 to
45 minutes.
4. For firm, scoopable frozen yogurt, seal the bucket with the included
lid and place it in the freezer for at least 3 to 4 hours. If you prefer a
soft-serve consistency, serve immediately (if left out of the freezer,
it will melt quickly).
YIELD 2 CUPS ACTIVE TIME 10 MIN TOTAL TIME 1 HR Plus Hardening Time
7
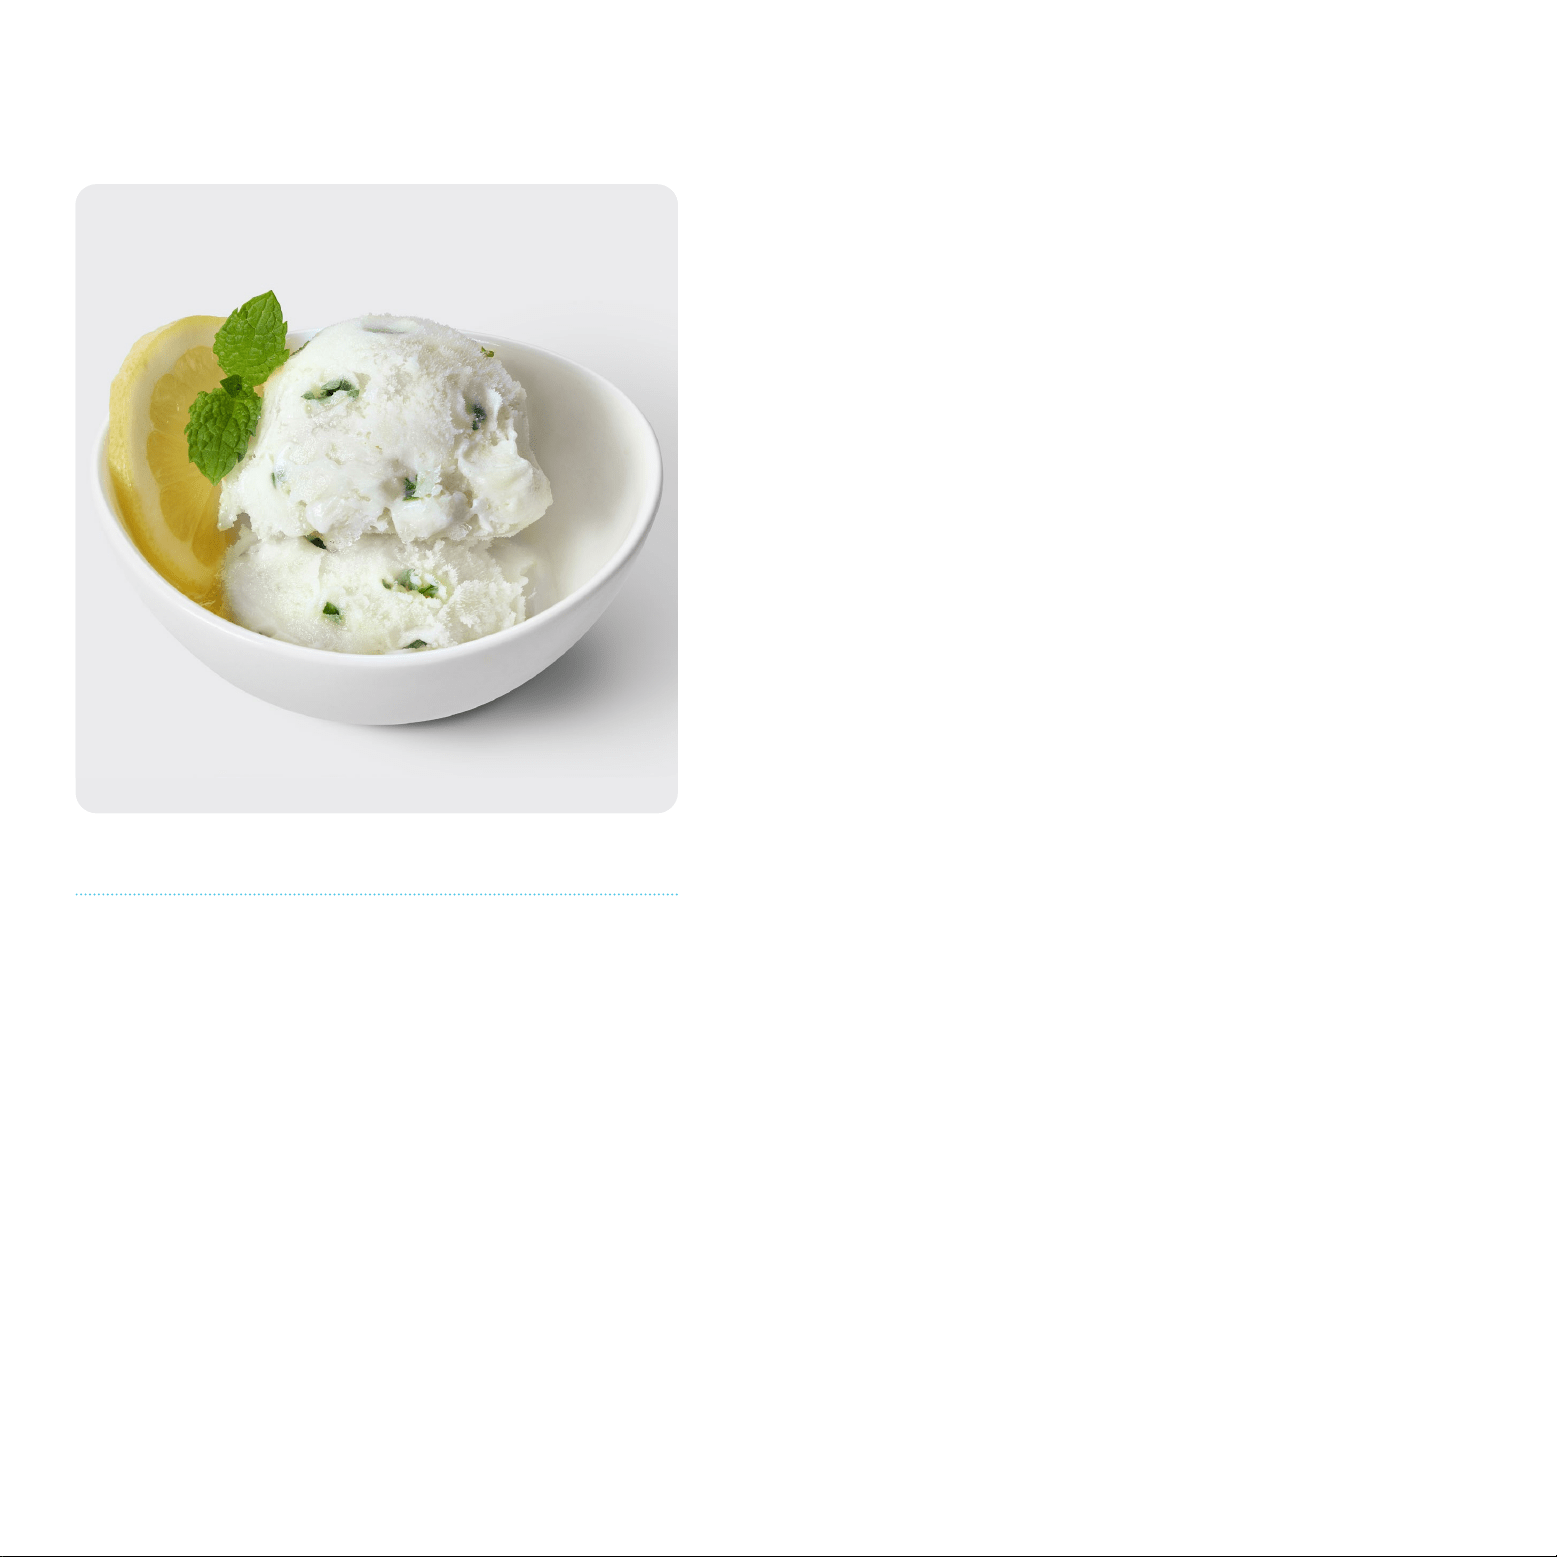
Lemon Mint Italian Ice
With a crunchy, flaky texture similar to granita, this Italian ice is one of the
most refreshing ways we can think of to cool off on a hot summer day. We
love the little flecks of green mint leaves, but if you prefer, you can strain
them out when pouring the base into the bucket.
Ingredients
• ½ cup sugar
• 2/3 cup warm water
• 15-20 mint leaves (from about 5 sprigs),
finely chopped
• 1 tsp finely grated lemon zest
• 1/3 cup + 2 Tbsp fresh squeezed lemon juice
• ½ tsp lemon extract
• ¾ cup cold water
• 1 pinch kosher salt
1. In a medium bowl, whisk the sugar in the warm water until dissolved.
Add the mint and lemon zest, then gently muddle the mint to
release flavor.
2. Add the lemon juice, extract, cold water, and salt and stir to combine.
Let sit for one hour to infuse.
3. Pour the base into the bucket and place in the unit. Lower the paddle/lid
onto the unit and lock in place.
4. Select the ITALIAN ICE preset, then adjust the time to 40 minutes.
(NOTE: this recipe takes longer to freeze than a typical Italian ice.)
5. Process until the ice is the consistency of a thick slushie and is collecting
around the paddle, 40 to 50 minutes.
6. Seal the bucket with the included lid and transfer to the freezer for at
least 3 to 4 hours; the ice will become firm and scoopable.
Variations:
Spicy lime ice: Replace the lemon juice with lime juice, substitute 1-3
slices of fresh jalapeño for the mint, and you have a ready-made chaser
for tequila.
Matcha-lemon ice: Omit the mint and whisk in 1–2 Tbsp matcha powder
with the sugar.
Arnold Palmer ice: Replace the warm water in step 1 with strong, warm tea;
omit the mint.
YIELD 2 CUPS ACTIVE TIME 10 MIN TOTAL TIME 2 HR Plus Hardening Time
8
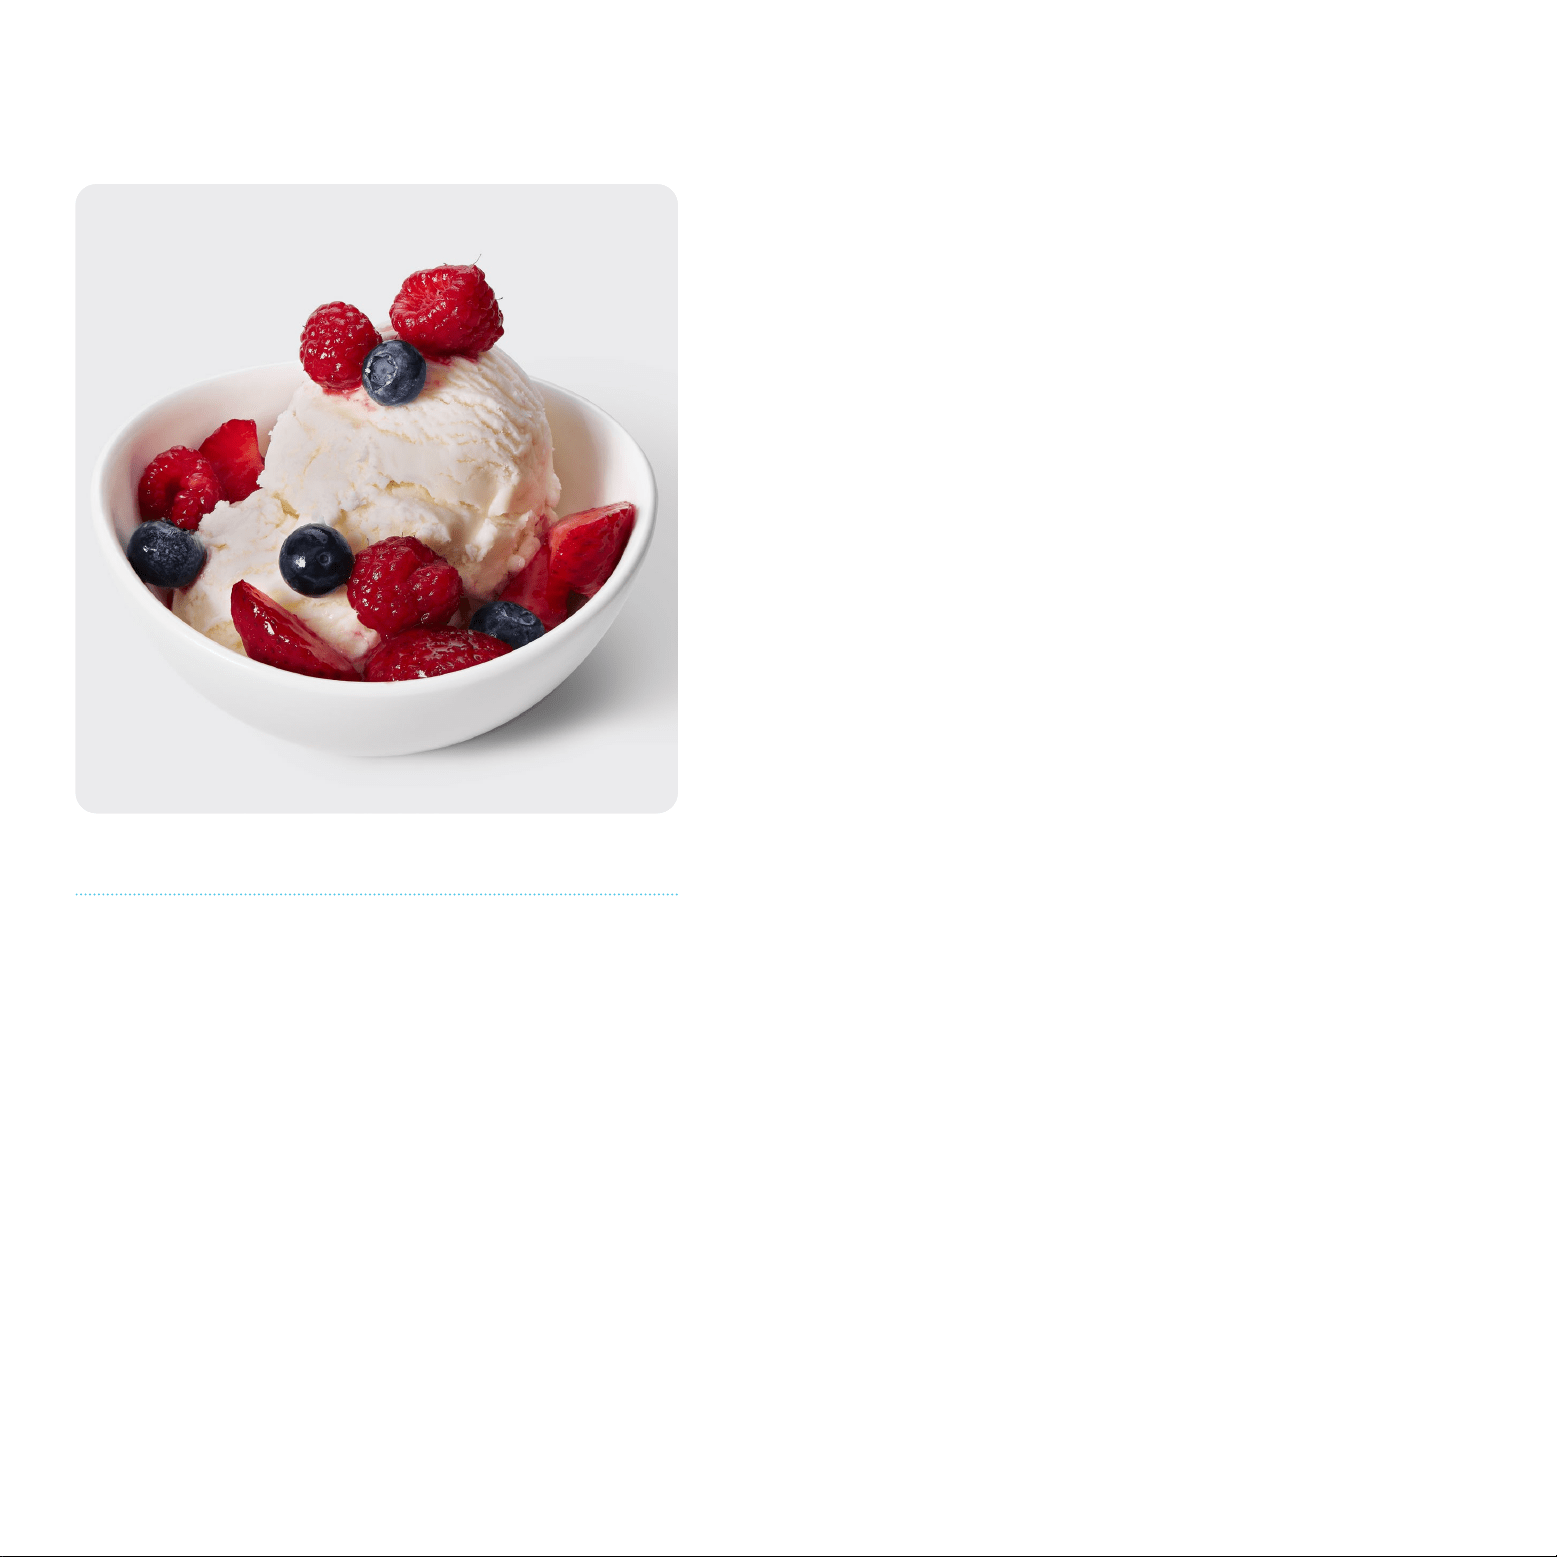
Low-Fat Vanilla Ice Cream
This ice cream uses fat-free half-and-half plus low-fat milk to produce a
lighter ice cream that’s still big on flavor. Be sure to choose a liquid egg
product that includes yolks; the ice cream does need a little fat to yield a
nice smooth texture.
Ingredients
• ½ cup granulated sugar
• ¼ cup pasteurized liquid eggs (with yolks)
• 1 pinch kosher salt
• 1 cup fat-free half-and-half
• ½ cup 1% milk
• 1 tsp pure vanilla extract
1. In a medium bowl, whisk sugar, liquid eggs, and salt until fully
combined.
2. Add the half-and-half, milk, and vanilla and whisk vigorously until sugar
has dissolved and mixture is slightly aerated.
3. Pour the ice cream base into the bucket and place in the unit. Lower the
paddle/lid onto the unit and lock in place.
4. Select the ICE CREAM preset and process until the ice cream collects
around the paddle and is the consistency of soft-serve, about 50-60
minutes.
5. For firm, scoopable ice cream, seal the bucket with the included lid and
place in the freezer for at least 3 to 4 hours. If you prefer a soft-serve
consistency, serve immediately (if left out of the freezer, it will
melt quickly).
Variations:
Chocolate low-fat ice cream: Substitute low-fat chocolate milk for the 1%
milk. For an even deeper chocolate flavor, add 3 Tbsp Dutch-process cocoa
powder, whisking it into the sugar before combining with the egg substitute
and salt.
Banana or Strawberry ice cream: Substitute banana- or strawberry-
flavored milk for the 1% milk. This swap lends the ice cream a light fruit
flavor, which can be amped up by adding fruit purees (see p. 3) or topping
with sliced fruit.
YIELD 2 CUPS ACTIVE TIME 10 MIN TOTAL TIME 1 HR Plus Hardening Time
9
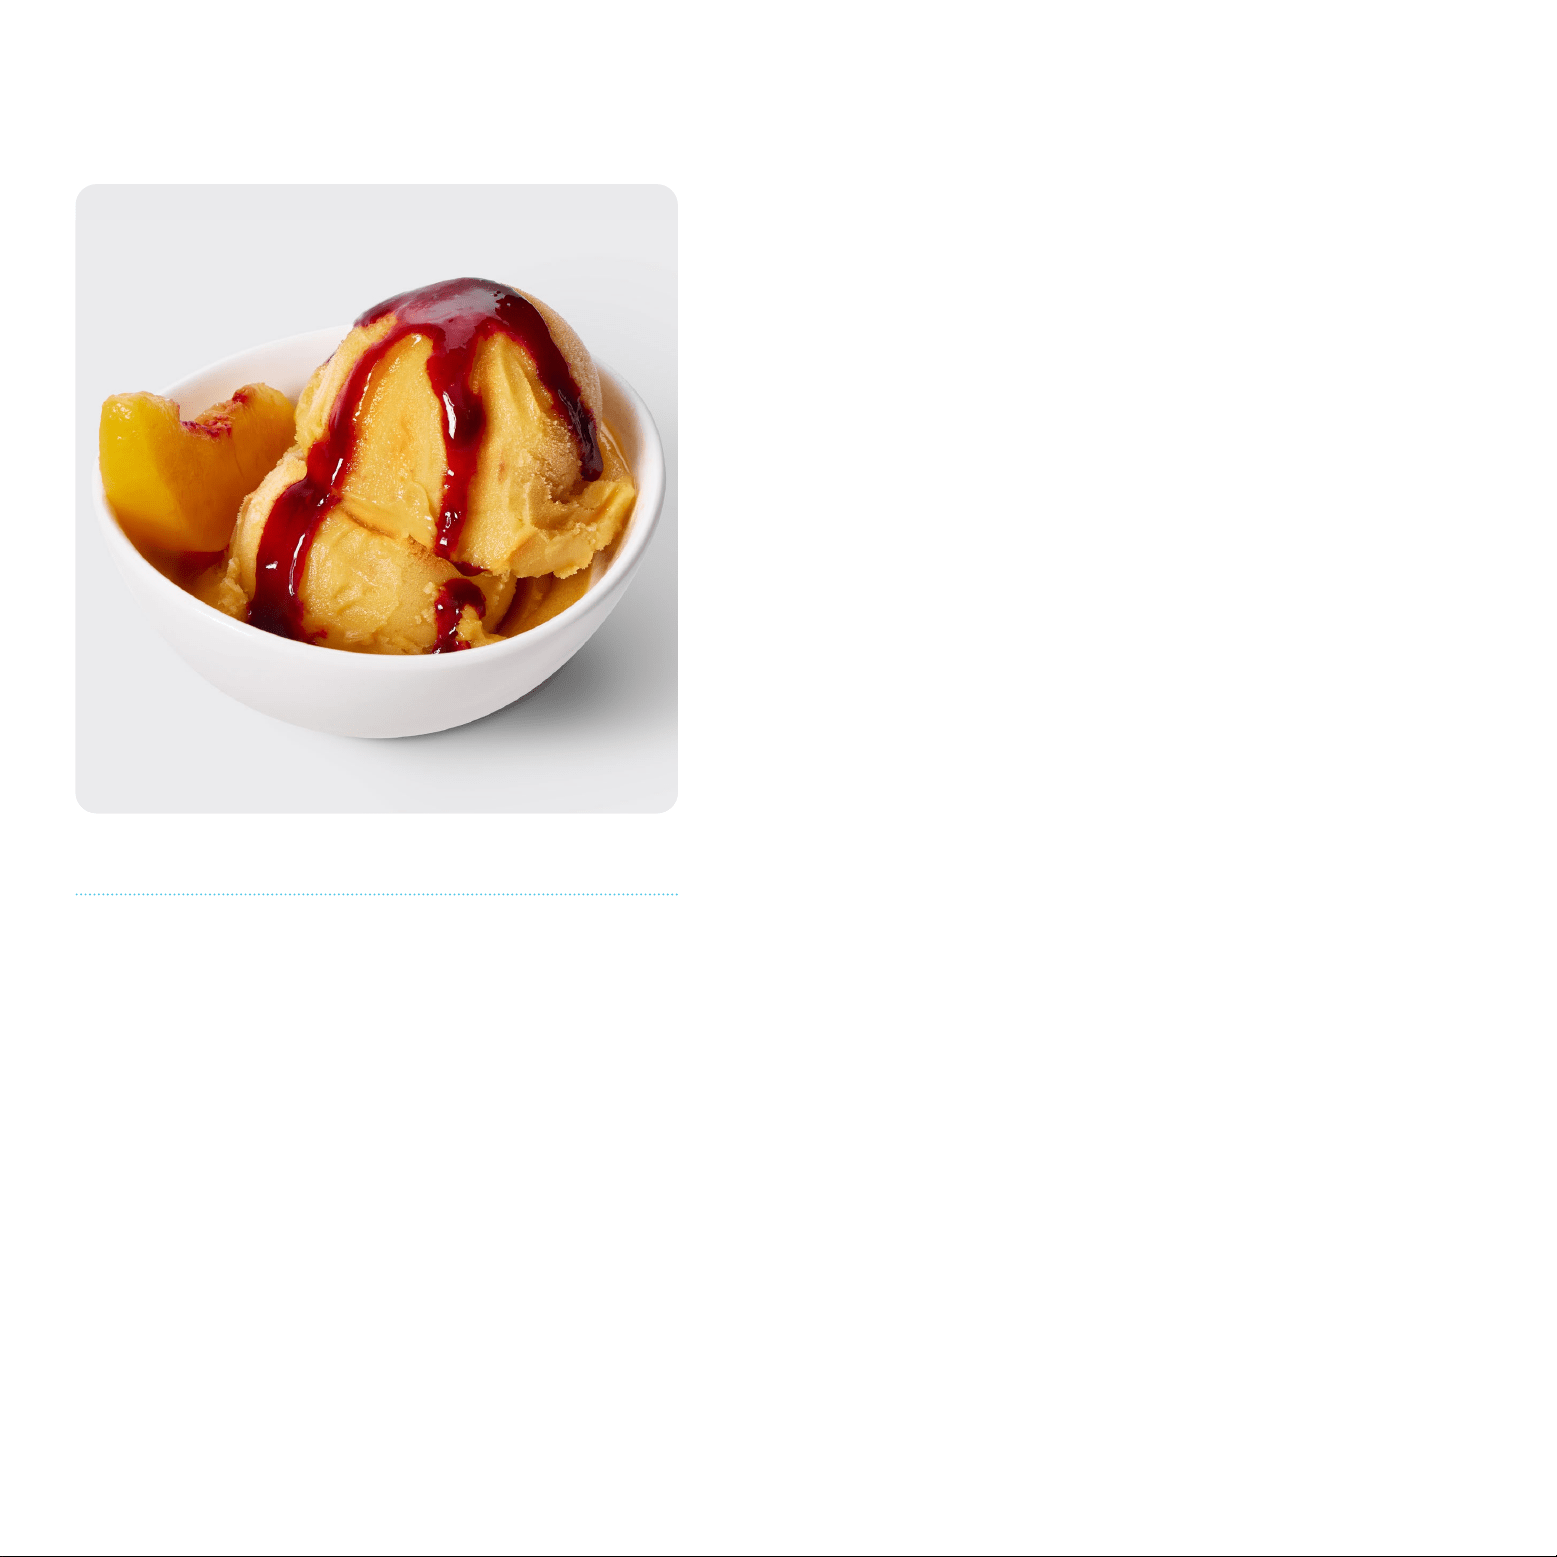
Peach Sorbet
Processing sweetened fruit puree on the Ice Cream cycle yields a finely
textured, almost creamy sorbet, minus the cream. We use peaches here,
but almost any fresh or frozen fruit puree works. (See the tip below to figure
out how much sugar to use.) Almond extract is optional but a classic
pairing with peaches that can make even the frozen variety taste like the
best part of summer.
Ingredients
• 2 cups frozen sliced peaches, thawed
• 2/3 cup sugar
• 2 tsp fresh lemon juice
• 3 drops almond extract (optional)
1. Add all ingredients to a blender and process until smooth. (Alternatively,
add to a tall container and blend with an immersion blender.) You
should have about 1¼ cups of puree.
2. Pour the sorbet base into the bucket and place in the unit. Lower the
paddle/lid onto the unit and lock in place.
3. Select the ICE CREAM preset and process until the sorbet collects
around the paddle and is the consistency of soft-serve, 50 to
60 minutes.
4. For firm, scoopable sorbet, seal the bucket with the included lid and
place in the freezer for at least 3 to 4 hours. If you prefer a soft-serve
consistency, serve immediately (if left out of the freezer, it will
melt quickly).
TIP: Sugar in sorbet isn’t just about adding sweetness—it’s crucial for giving
it a nice smooth (rather than icy or slushy) texture. So how do you know if
you’ve added enough? After mixing your base, pour it in the bucket and
place a clean, large, raw egg in the shell in the bucket. If the base has a
perfect amount of sugar, the egg will float just high enough that a nickel-
sized circle of shell will poke out above it. If it floats lower, the base needs
more sugar. If it floats higher, the base needs more fruit.
YIELD 2 CUPS ACTIVE TIME 10 MIN TOTAL TIME 1 HR Plus Hardening Time
10
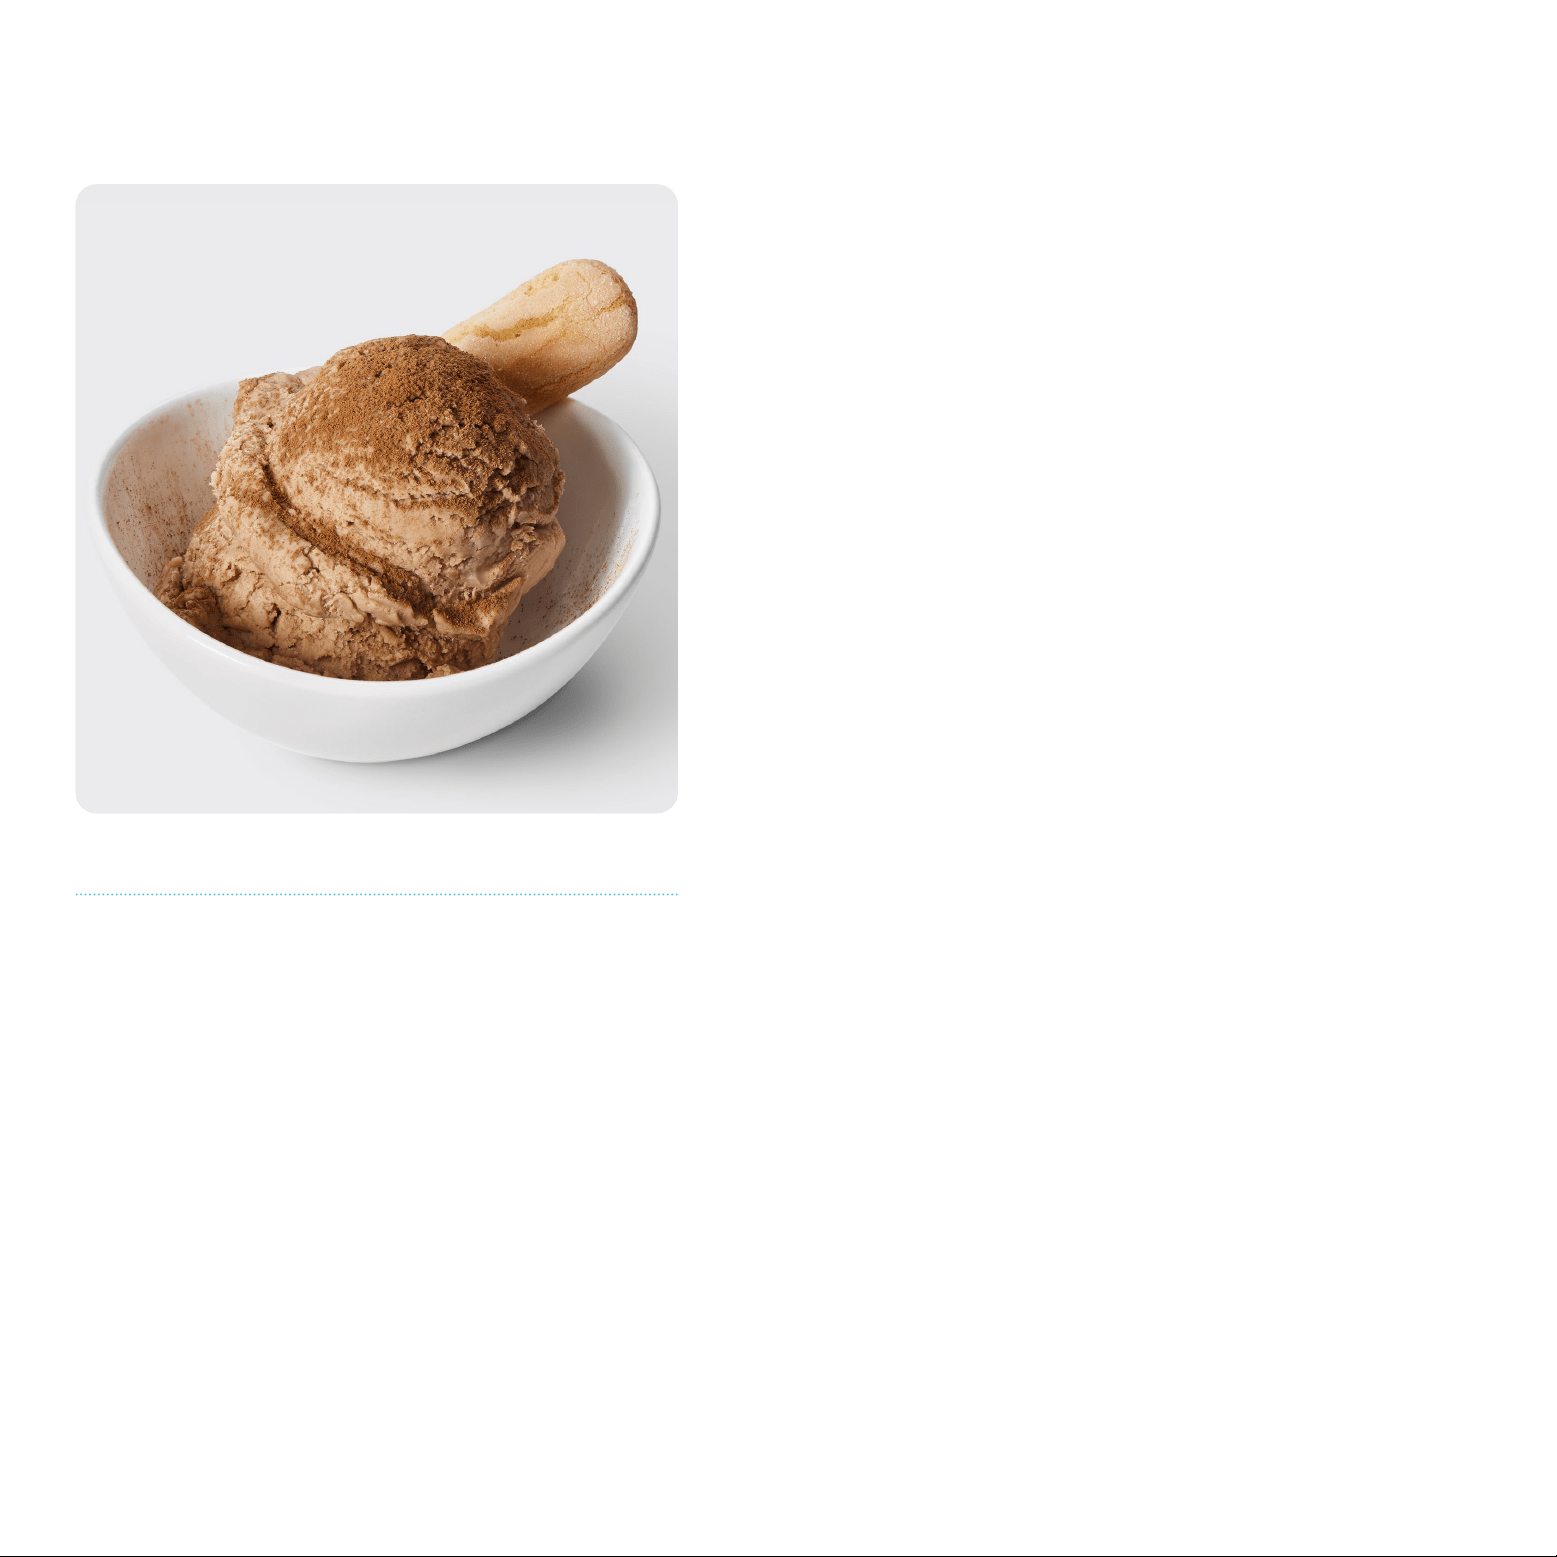
Tiramisu Ice Cream
The beloved Italian dessert is reinterpreted here as a cold, creamy treat.
Coffee and cocoa-infused ice cream is flecked with crumbled ladyfinger
cookies. Eaten right after freezing the cookies offer a crunchy contrast, or
after a few days in the freezer they soften to the typical tiramisu texture.
Ingredients
• 4 egg yolks
• 2 cups heavy cream
• 1 cup sugar
• Pinch of kosher salt
• 1 Tbsp plus 1 tsp instant espresso
• 2 tsp unsweetened cocoa powder
(either Dutch-process or natural),
plus more for serving
• 1 tsp pure vanilla extract
• 2 ladyfinger cookies, crumbled into
chunks, plus more whole cookies
for serving
1. In a medium bowl, whisk the egg yolks.
2. In a medium saucepan, whisk the cream, sugar, and salt over medium
heat until sugar is dissolved.
3. Slowly add about 1 cup of the hot cream to the egg yolks, whisking
constantly. Then whisk the egg mixture into the remaining cream in
the saucepan.
4. Whisk in the espresso and cocoa powder and cook until the mixture
reaches 165°F. (It should be thick enough to coat a spatula and hold a
line drawn through it with a finger.)
5. Transfer the mixture to the ice cream bucket. Let cool slightly, then seal
with the included lid and refrigerate overnight. (Alternatively, cool in
an ice bath, see tip on p. 6). You MUST cool the base to at least room
temperature before adding to the ice cream machine; adding it warm
can damage the unit.
6. When ready to process, place the ice cream bucket in the unit. Lower
the paddle/lid onto the unit and lock in place.
7. Select the ICE CREAM preset and process until the ice cream collects
around the paddle and is the consistency of soft-serve, 50 to
60 minutes.
8. Add the crumbled ladyfingers, then use the MIX function to mix until
they’re well distributed.
9. For firm, scoopable ice cream, seal the bucket with the included lid and
place in the freezer for at least 3 to 4 hours. If you prefer a soft-serve
consistency, serve immediately (if left out of the freezer, it will
melt quickly).
10. Serve with more ladyfingers, dusted with cocoa powder if desired.
YIELD 2 CUPS ACTIVE TIME 20 MIN TOTAL TIME 1.5 HR Plus Hardening Time
11
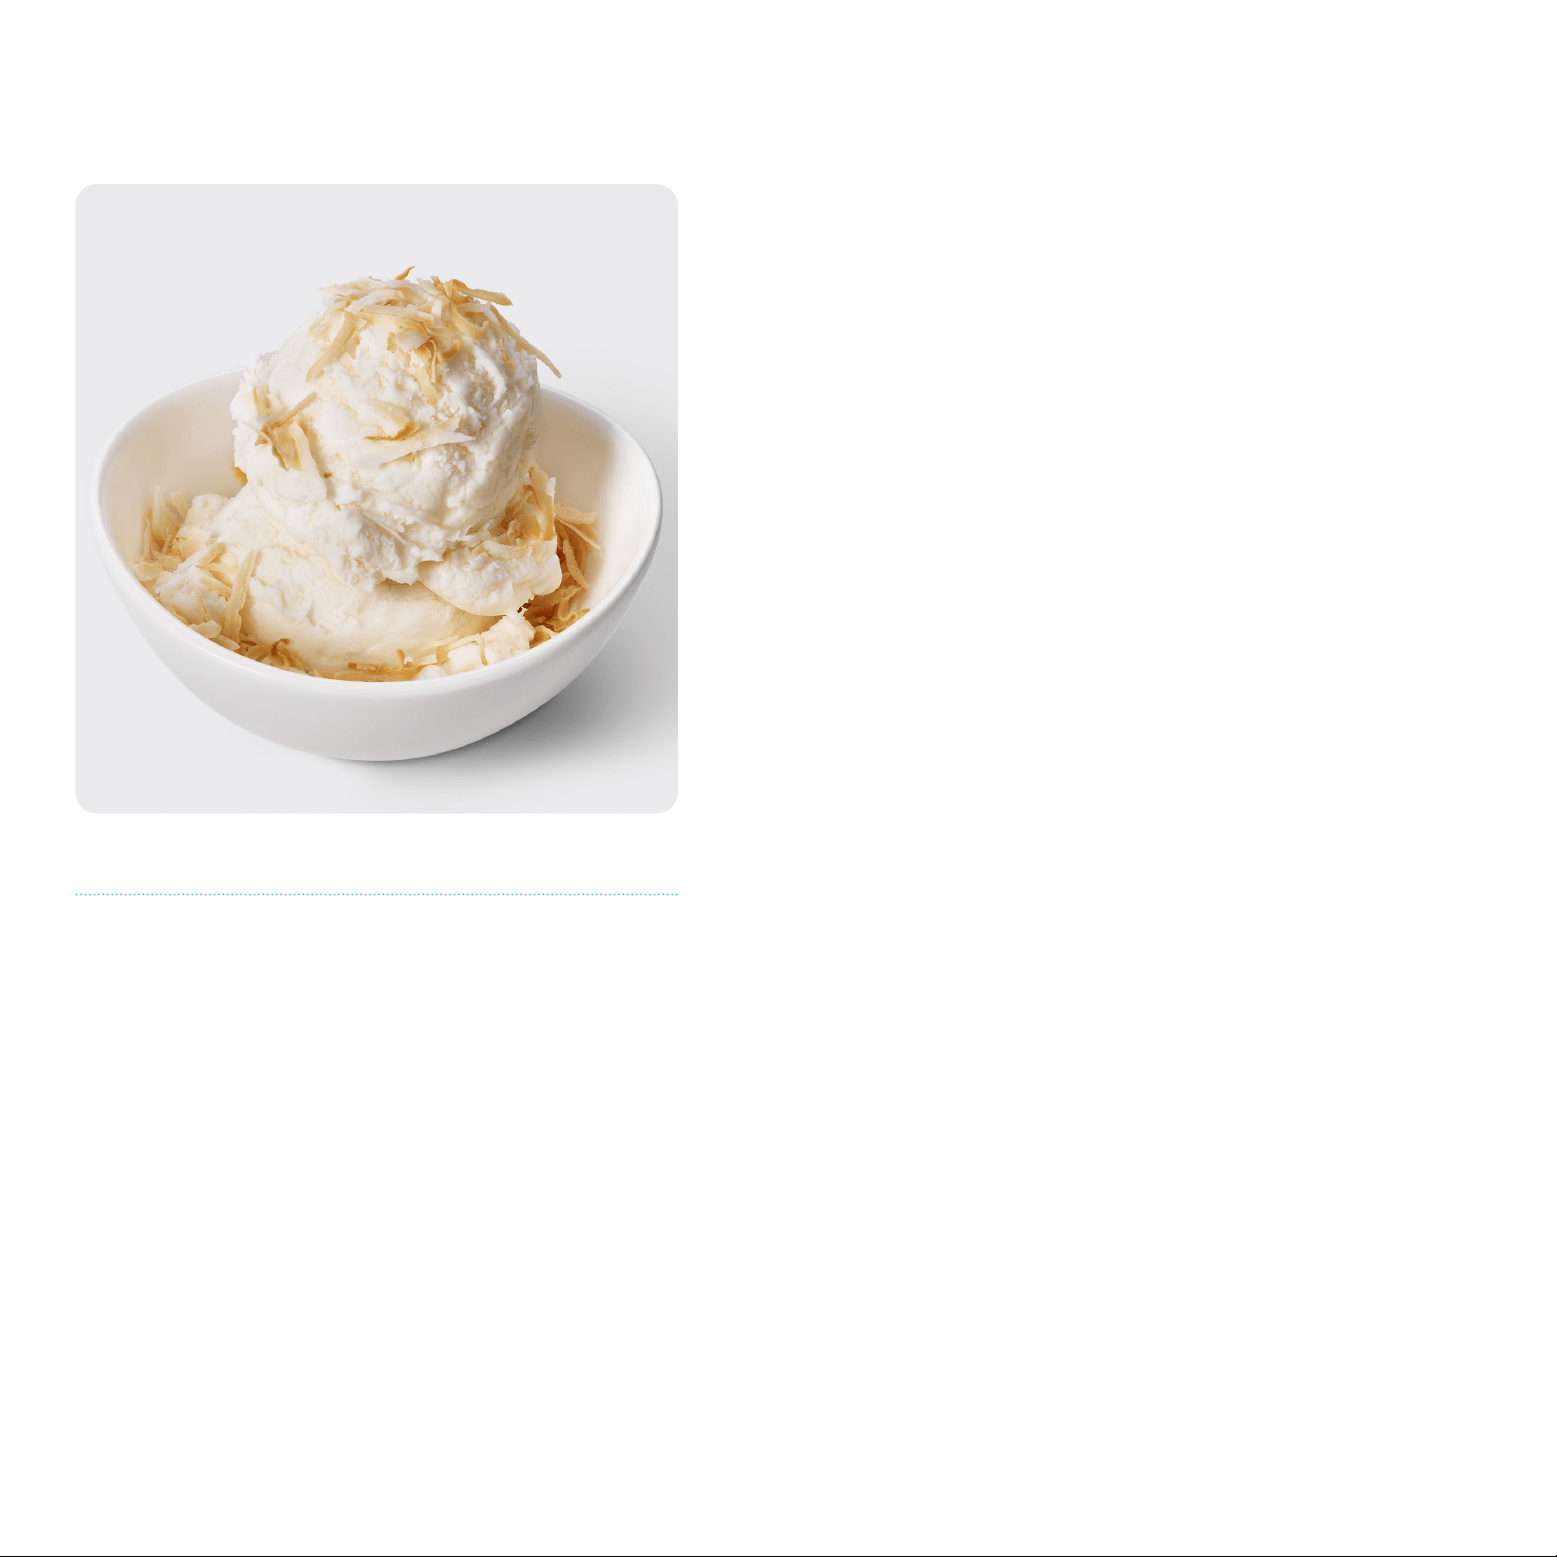
Vegan Coconut Ice Cream
Coconut milk and coconut cream give this vegan ice cream a dense,
creamy texture and decidedly coconutty flavor. In warm weather, chill the
can of coconut milk in advance, otherwise it won’t separate into the two
layers you need to make this recipe.
Ingredients
• 1 13.5-oz can coconut milk
• ¾ cup sweetened cream of coconut
(such as Coco Reál or Coco Lopez)
• ¼ tsp vanilla extract
1. Carefully open the can of coconut milk and scoop the layer of thick
“cream” from the top into a measuring cup. Add enough of the
remaining liquid in the can to yield 1 cup. (Reserve the rest of the
coconut milk for another use.)
2. In a microwave-safe medium bowl, whisk the coconut milk, sweetened
cream of coconut, and vanilla until smooth. If needed, microwave in
10-second increments to help it blend smoothly, but be careful not to
overheat it. The base must be no warmer than room temperature when
added to the ice cream maker.
3. Pour the ice cream base into the bucket and place in the unit.
Lower the paddle/lid onto the unit and lock in place.
4. Set unit to ICE CREAM and process until the ice cream is the
consistency of soft-serve and is collecting around the paddle,
about 50 to 60 minutes.
5. For firm, scoopable ice cream, seal the bucket with the included lid and
place in the freezer for at least 3 to 4 hours. If you prefer a soft-serve
consistency, serve immediately (if left out of the freezer, it will
melt quickly).
YIELD 2 CUPS ACTIVE TIME 10 MIN TOTAL TIME 1 HR Plus Hardening Time
12
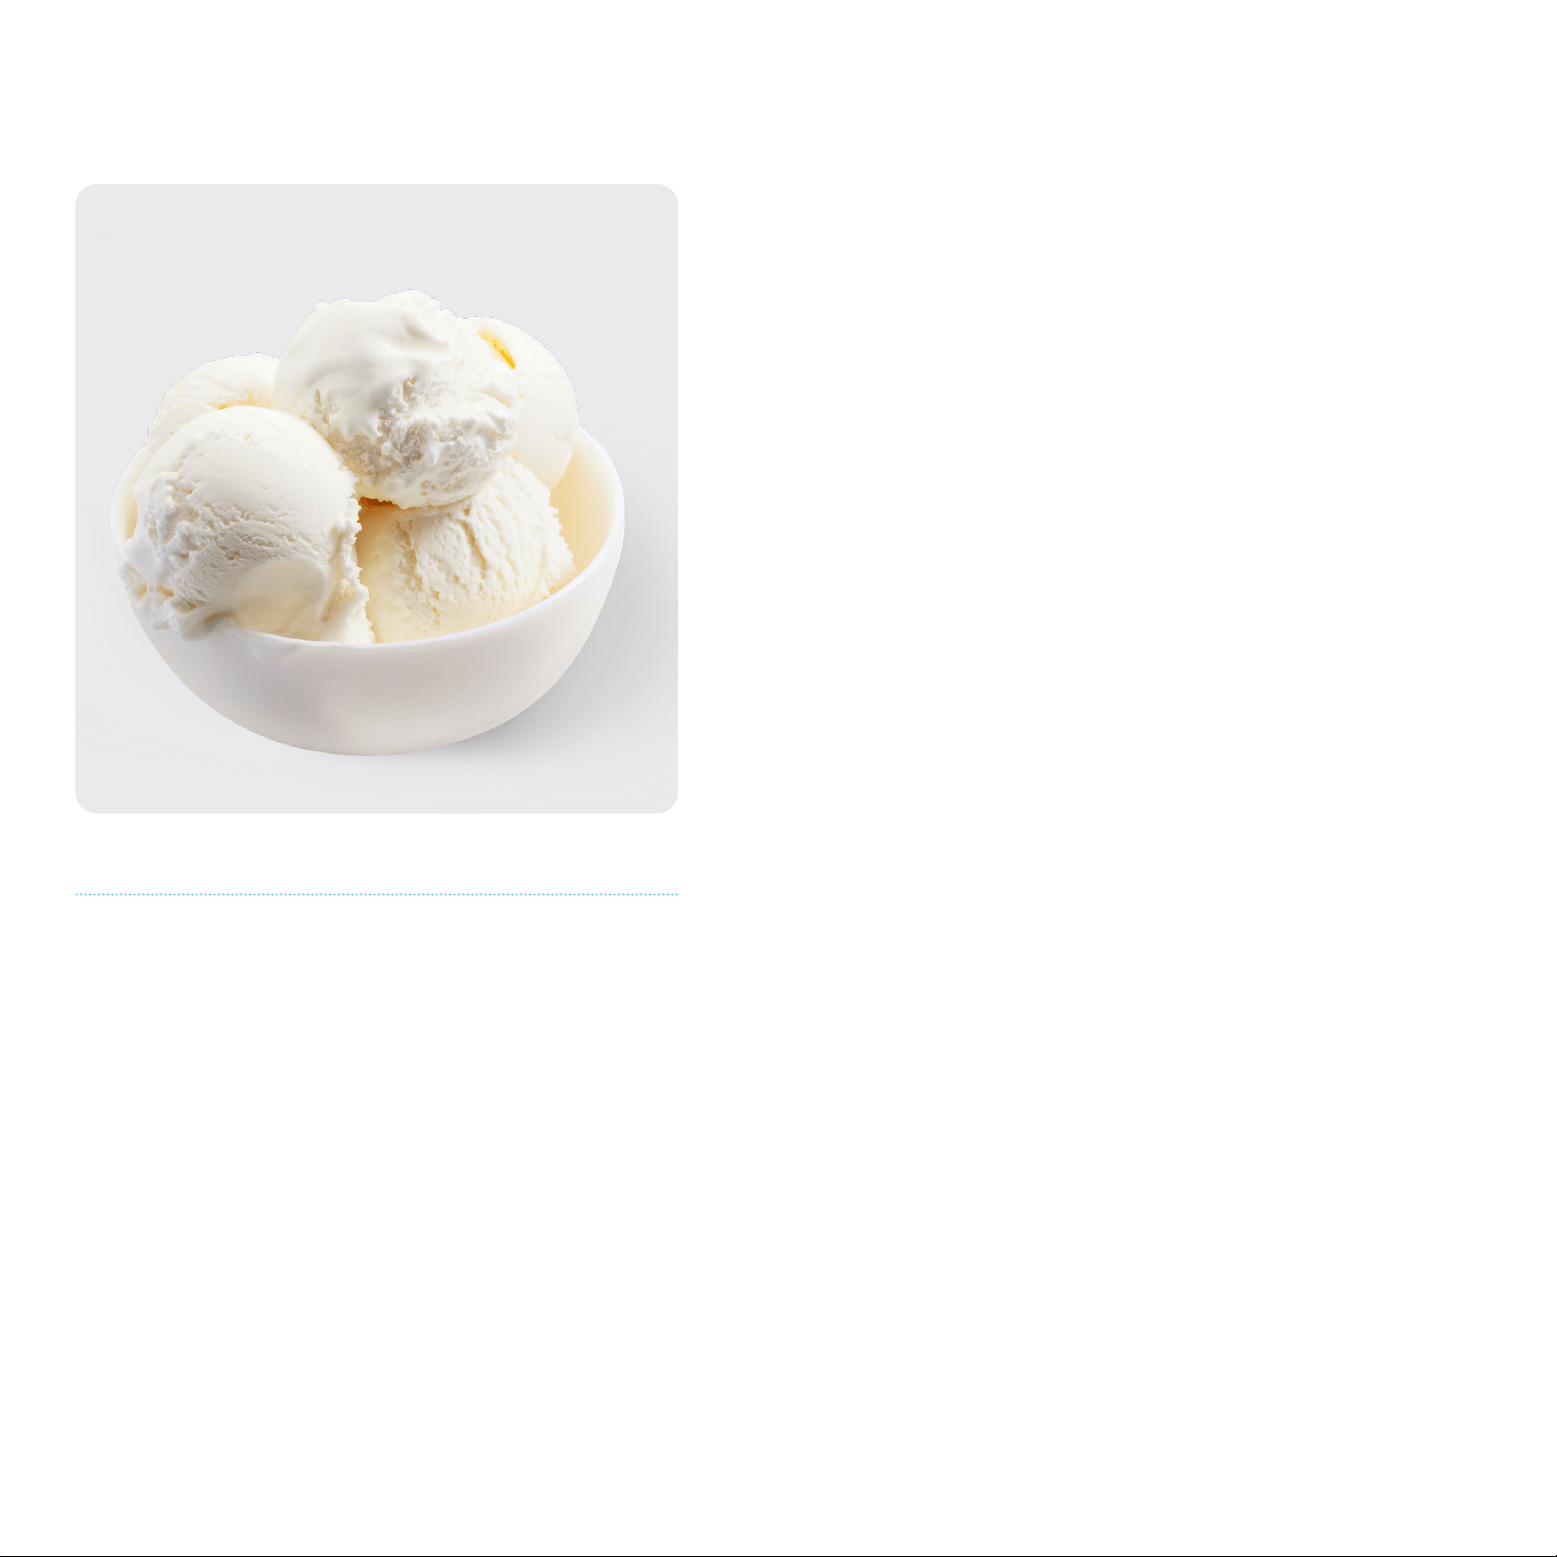
No-Sugar-Added Vanilla Ice Cream
Homemade sugar-free ice cream is a bit of a unicorn because getting the
traditional smooth texture is challenging without sugar. Enter allulose, a
naturally occurring sweetener that produces ice cream with a soft, creamy
texture and a pure, sweet flavor with no aftertaste.
Ingredients
• 1 cup heavy cream
• ¾ cup whole milk
• ½ cup granulated allulose (available in
specialty grocery stores or online)
• 1 ½ tsp pure vanilla extract
• 1 pinch kosher salt
1. In a medium bowl, whisk all ingredients until combined and allulose is
dissolved.
2. Pour the ice cream base into the bucket and place in the unit. Lower the
paddle/lid onto the unit and lock in place.
3. Set unit to ICE CREAM and process until the ice cream is the consistency
of soft-serve and is collecting around the paddle, about 55 minutes.
4. Remove the bucket, seal with the included lid, and place in the freezer
for at least 3 to 4 hours; the ice cream will become firmer. NOTE: Even
after hardening, this ice cream is a bit softer than traditional ice cream.
TIP: This ice cream will work with all the flavor ideas on p. 3. If adding a fruit
puree, be sure it has no added sugar (e.g., no fruit in light or heavy syrup),
which would make the texture too soft.
YIELD 2 CUPS ACTIVE TIME 10 MIN TOTAL TIME 1 HR Plus Hardening Time