F5 Sports, Inc. · Page
1
of
2
F5 Bowling Sensor
Installation and Setup Guide
F5 Sports, Inc.
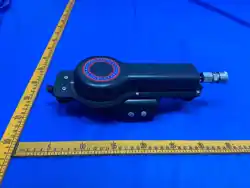
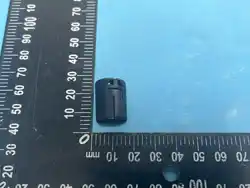
The F5 sensor installs into the middle finger hole of the bowling ball, regardless of whether the bowler is right- or left-handed.
Installation should be performed by a qualified pro shop operator using a drill press.
WHAT YOU WILL NEED
F5 sensor · inner receiving sleeve · soft outer receiving sleeve (sized to the grip) · sleeve installation tool · sensor insert/extraction
tool · drill press and bits · pitch gauges · vacuum · grip glue
1. PREPARE THE FINGER HOLE
If the ball is already drilled
1. Remove the middle finger grip.
2. Check the existing pitches with the appropriate pitch gauges, then set the drill press to match.
3. Note the outside diameter of the grip being used and select the matching bit from the table below.
4. Center the bit in the existing hole.
If the ball is undrilled
1. Set the drill press to the appropriate pitches for the bowler.
2. Select the bit that matches the grip outside diameter.
Then, in both cases
1. Drill the finger hole to a depth of 2 5/8 inches.
2. Remove the bit and vacuum all dust from the hole.
Grip outside diameter
Drill bit
Small
7/8 in.
Standard
31/32 in.
Large
1 1/32 in.
2. INSTALL THE SLEEVES
1. Select the soft outer receiving sleeve that matches the grip outside diameter.
2. Press the inner receiving sleeve into the soft outer sleeve, aligning the inner sleeve tabs with the slots in the outer sleeve.
3. Fit the combined sleeves onto the installation tool — the tool has alignment slots that mate with the receiving sleeve.
4. Press the sleeves all the way to the bottom of the hole.
3. INSTALL THE SENSOR
1. Insert the insert/extraction tool into the slot at the top of the sensor.
2. Align the slots in the sensor to the tab direction specified in the instructions supplied with the installation tool.
3. Press the sensor into the sleeves at the bottom of the hole.
4. Press down and rotate the tool clockwise until the tool and the slot are aligned, then withdraw the tool.
4. REINSTALL THE GRIP
1. Place the finger grip back into the hole above the sensor and sleeve. Trim the grip if needed so it sits flush with the surface of
the ball.
F5 Sports, Inc. · Page
2
of
2
2. Secure the grip with a small amount of glue.
WARNING Use only a small amount of glue — just enough to hold the grip in place. Excess glue can run down past
the grip and lock the sensor into the hole.
5. PAIR THE SENSOR WITH THE APP
1. Open the F5 Bowling app on your smartphone.
2. Select the “Bowl” tab.
3. Hold the phone near the bowling ball, close to the finger hole containing the sensor.
4. Wait for the connection button to show “Tap to connect.”
5. Tap the connection button.
The sensor is now paired and ready to use.
FCC COMPLIANCE STATEMENT
This device complies with part 15 of the FCC Rules. Operation is subject to the following two conditions:
(1) this device may not cause harmful interference, and (2) this device must accept any interference received, including interference
that may cause undesired operation.
CAUTION: The grantee is not responsible for any changes or modifications not expressly approved by the party responsible for
compliance. Such modifications could void the user’s authority to operate the equipment.
NOTE: This equipment has been tested and found to comply with the limits for a Class B digital device, pursuant to part 15 of the
FCC Rules. These limits are designed to provide reasonable protection against harmful interference in a residential installation. This
equipment generates, uses, and can radiate radio frequency energy, and if not installed and used in accordance with the instructions,
may cause harmful interference to radio communications. However, there is no guarantee that interference will not occur in a
particular installation. If this equipment does cause harmful interference to radio or television reception, which can be determined
by turning the equipment off and on, the user is encouraged to try to correct the interference by one or more of the following
measures:
– Reorient or relocate the receiving antenna.
– Increase the separation between the equipment and receiver.
– Connect the equipment into an outlet on a circuit different from that to which the receiver is connected.
– Consult the dealer or an experienced radio/TV technician for help.
This equipment has been tested and meets applicable limits for radio frequency (RF) exposure.
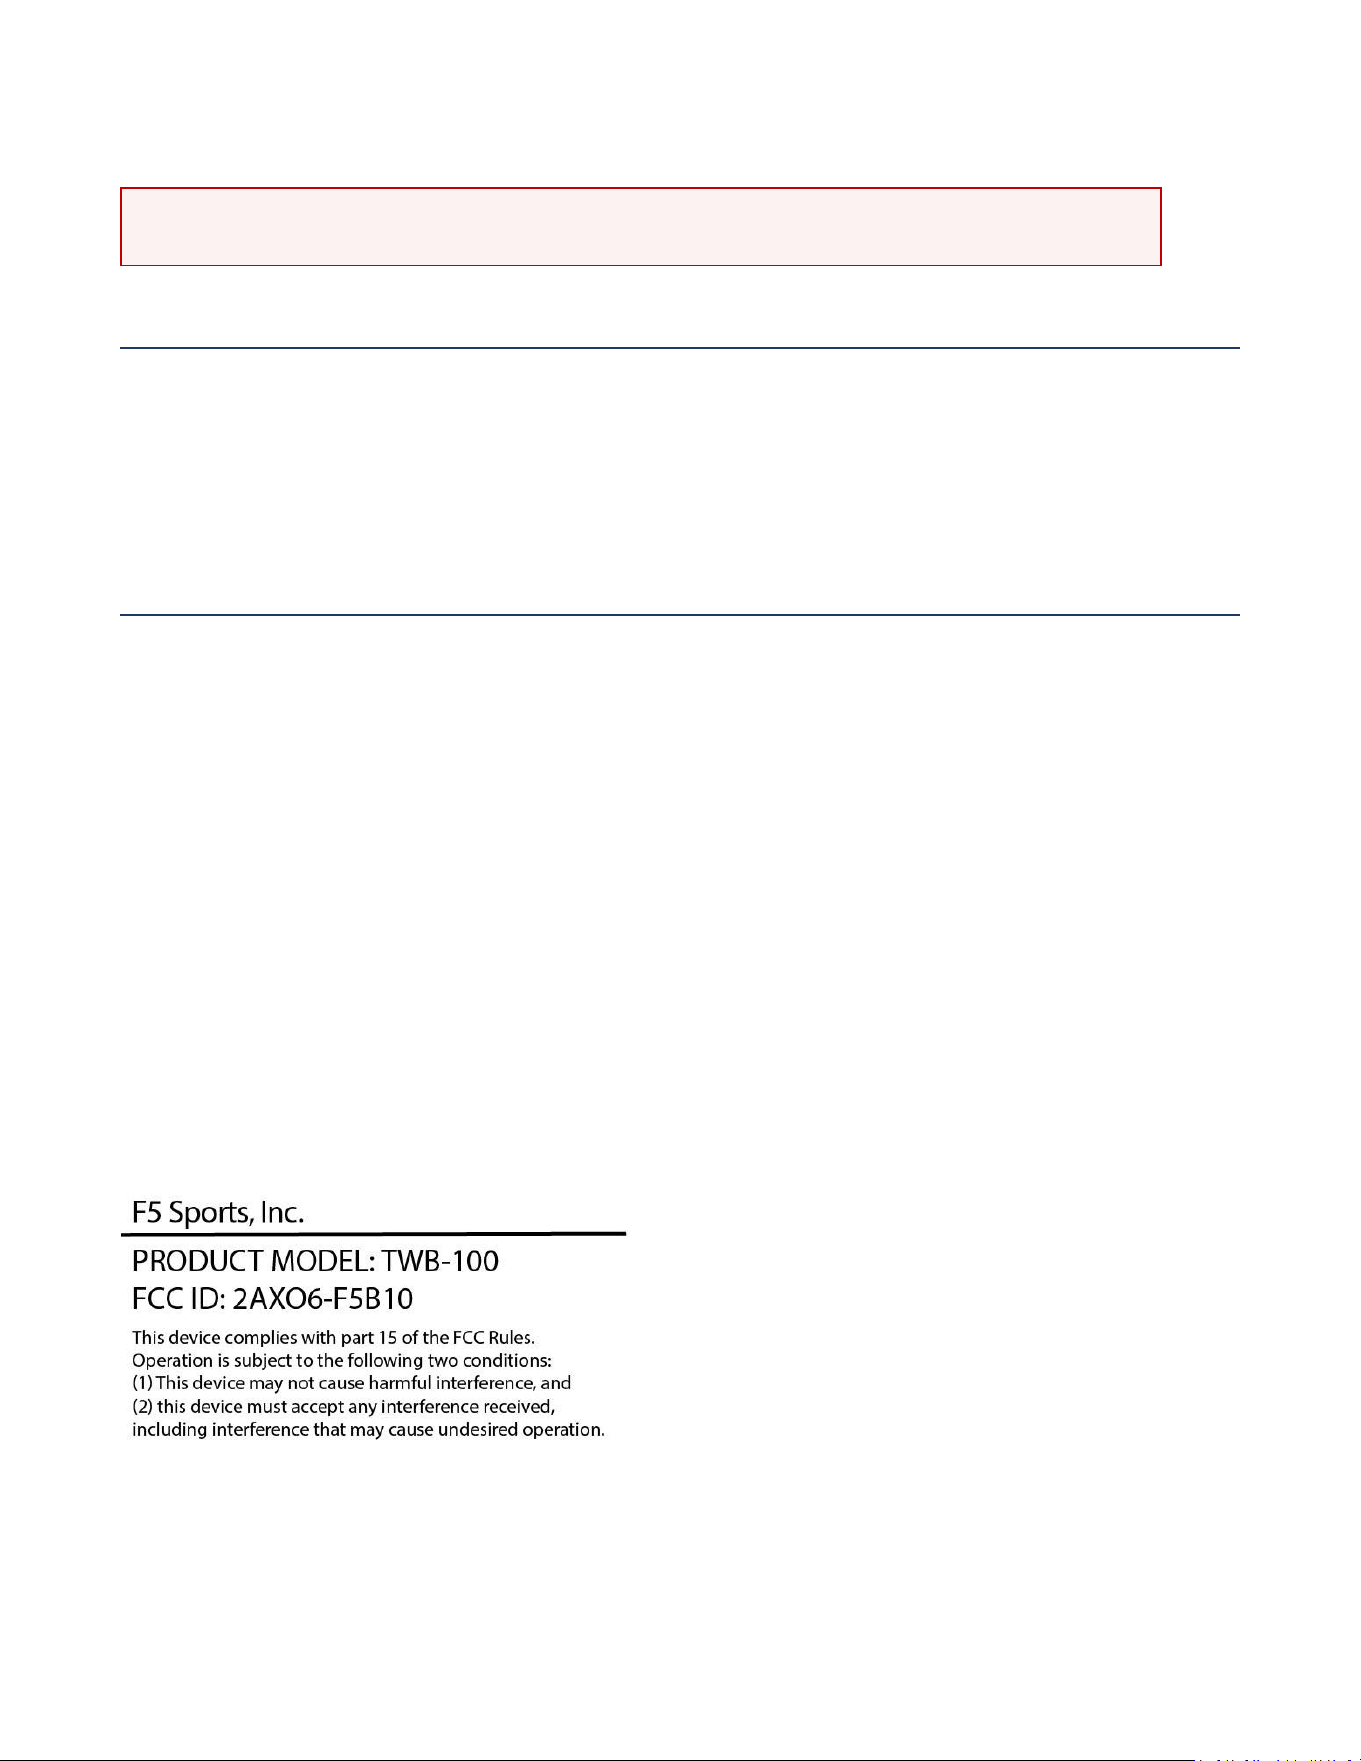
Product label