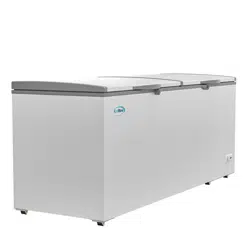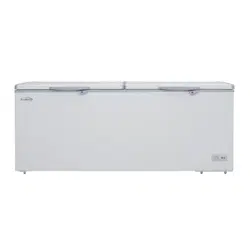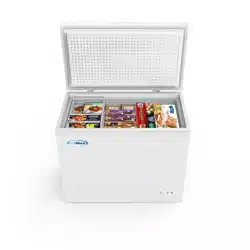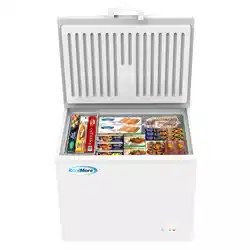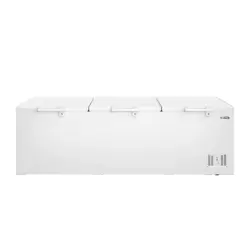
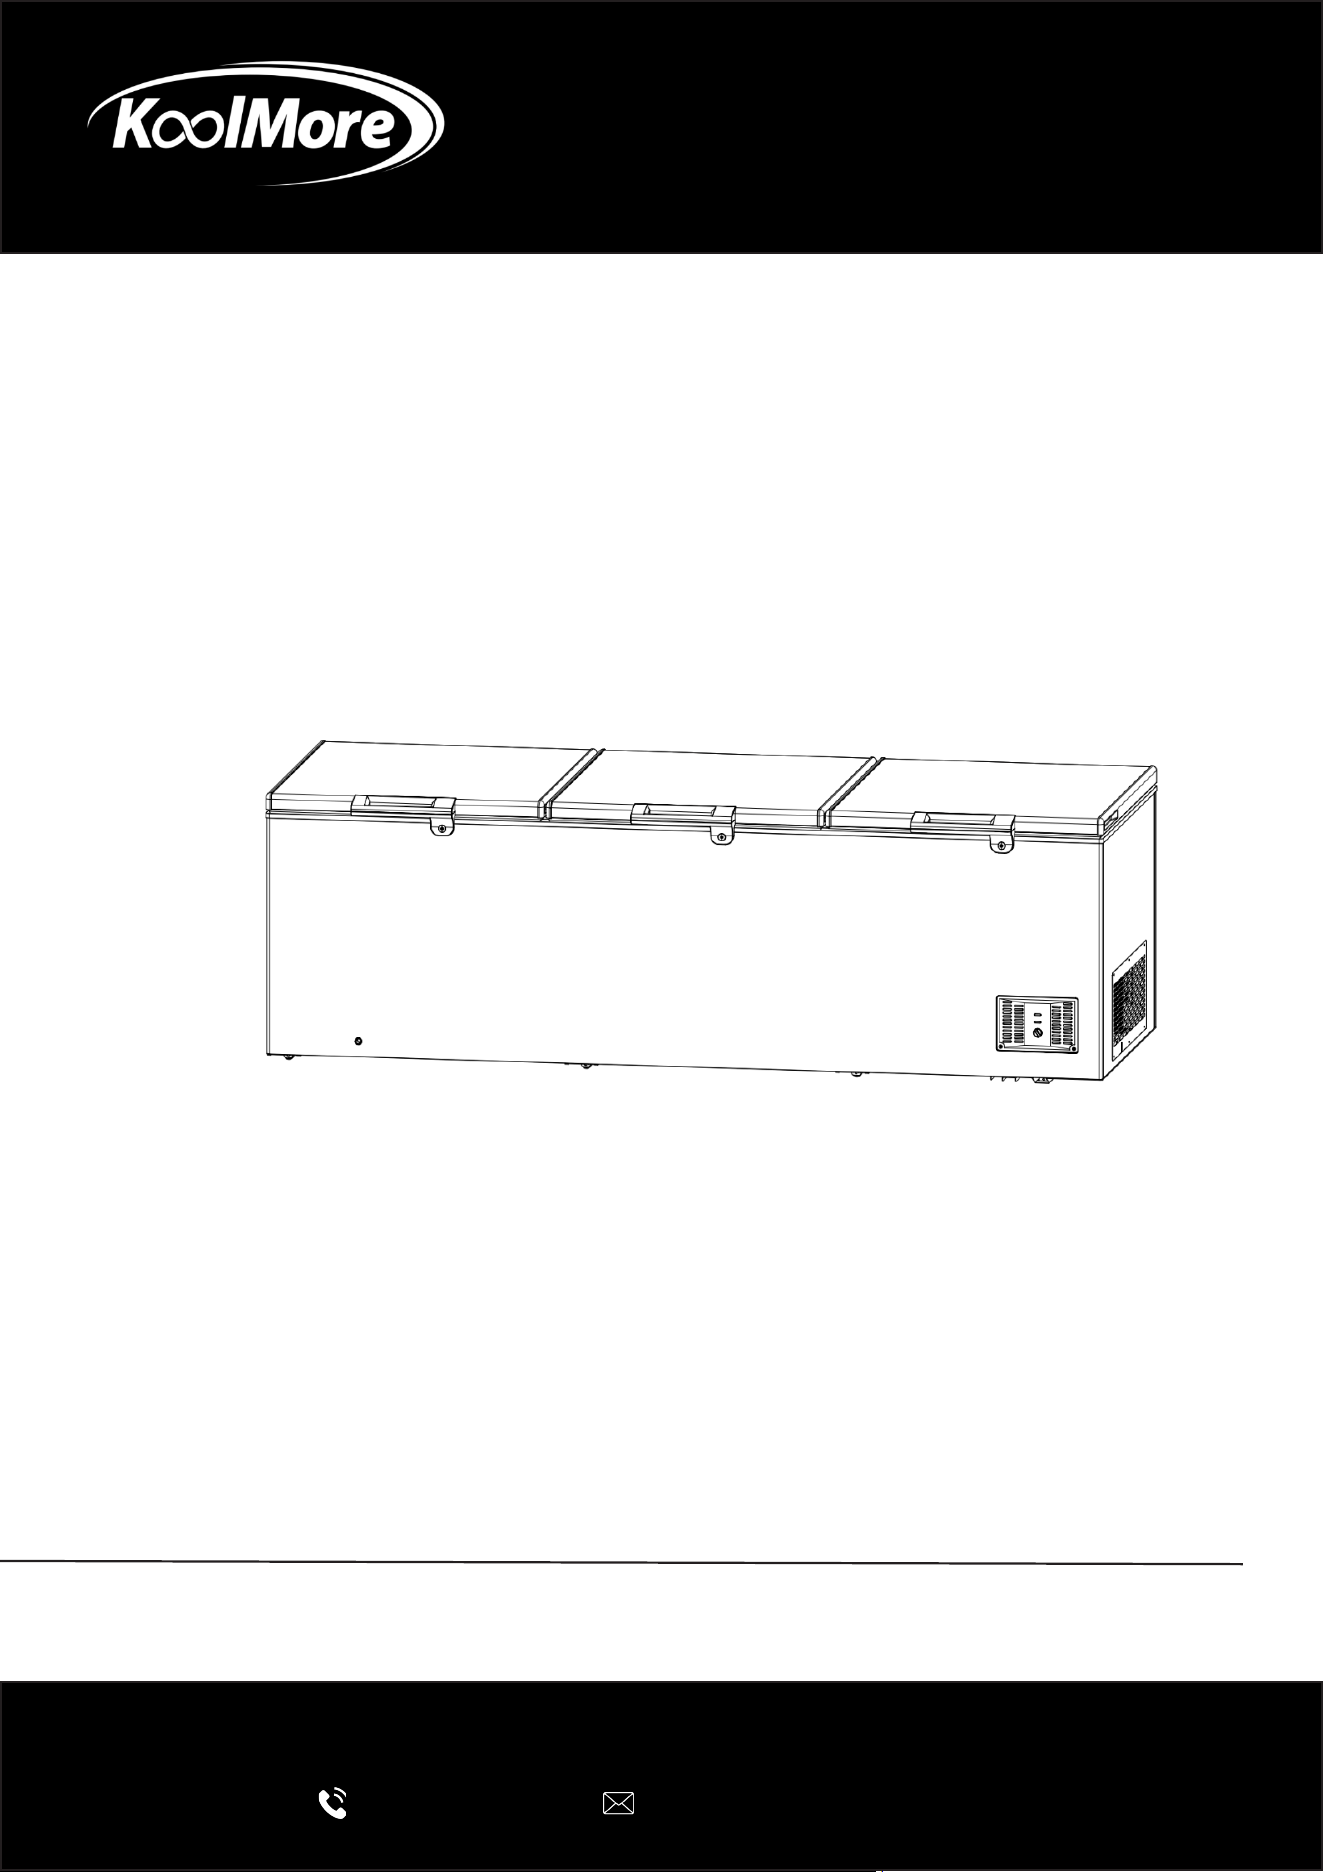
CHEST FREEZER
49 Cu. Ft. 3-Door Commercial Chest Freezer
User Manual
Please read these installation instructions carefully to ensure the
appliance is installed correctly and operates safely.
For any service related issues, please contact us:
718-576-6342
suppor[email protected]
Model: KM-SCF-50C
Stay informed with the latest information for your
KoolMore Appliance.
Scan the QR code below to access the most recent User Manual
on our website, which is constantly being updated and improved.
If you need any assistance or have questions, our customer support
team is here to help.
Phone- 718-576-6342 Email- suppor[email protected]
Please write down the model number and serial number below for future reference. Both numbers are located on the
rating label on the back of your unit or inside of the unit and are needed to obtain warranty service. You may also
want to staple your receipt to this manual as it is your proof of purchase and may also be needed for service
under warranty.
Model Number:
Serial Number:
Date of Purchase:
To better serve you, please do the following before contacting customer service:
If you received a damaged product, immediately contact the retailer or dealer that sold you the product.
Read and follow this User Manual carefully to help you install, use, and maintain your unit.
Refer to the Troubleshooting section of this manual as it will help you diagnose and solve many common issues.

3
Contents
Safety ............................................................................................ 4
Parts .............................................................................................. 6
Installation ..................................................................................... 7
Operation ....................................................................................... 8
Maintenance .................................................................................. 10
Troubleshooting ............................................................................ 11
Warranty ........................................................................................ 12

4
Safety
Warning and Attention
This appliance is not intended for use by persons (including children) with reduced physical, sen-
sory or mental capabilities, or lack of experience and knowledge, unless they have been given
supervision concerning use of the appliance by a person responsible for their safety.
If the power cord or supply cord is damaged, it must be replaced by the manufacturer, its service
agent, or a similarly qualied person.
Electrical Safety
• Use a separate, properly grounded power outlet rated at 10A or higher. Do not share the outlet
with other appliances.
• The power outlet must be properly grounded. Do not connect the grounding terminal to gas
pipes, water pipes, telephone lines, lightning rods, or other improper grounding points.
• Do not plug in or unplug the power cord with wet hands to avoid electric shock.
• If the appliance operates abnormally, unplug it immediately. Do not reconnect the power until
the issue has been resolved.
• Ensure the plug is rmly inserted into the outlet. When unplugging, pull the plug directly and do
not pull the power cord.
• Do not bend, twist, knot, or damage the power cord. If the power cord becomes damaged, it
must be replaced by a qualied service technician.
• Disconnect the power supply before performing any maintenance or cleaning to prevent elec-
tric shock.
Installation Safety
• The appliance must be installed on a stable and level surface.
• To prevent instability, install the appliance as instructed in this manual.
• Keep the surrounding area well ventilated and free from obstruction.
• The operating voltage must be 115V. Operating outside the specied voltage range may dam-
age the compressor.
• Do not install the appliance in areas where ammable gas may be present. If gas leakage is
suspected, ventilate the area immediately and avoid operating electrical switches.
Fire and Explosion Prevention
• Do not store ammable, explosive, or volatile substances inside the cabinet.
• Do not store corrosive chemicals such as acids or alkalis inside the appliance.
• Do not spray water directly onto the appliance, as this may damage electrical insulation and
cause metal components to rust.
• Keep ammable materials away from the appliance.
• The refrigerant and insulation materials may be ammable. When disposing of the appliance,
follow proper recycling procedures and keep it away from re sources.
Operational Safety
• Do not insert your hands into the appliance’s internal pipes or electrical components.
• Do not touch refrigeration pipes inside the cabinet to avoid burns.

5
• Avoid touching hot surfaces during operation or immediately after unplugging the appliance.
• Do not place bottles, cans, or other sealed containers inside the cabinet if they may crack or
break during freezing.
• Do not store medicines or materials that require strict temperature accuracy beyond the unit’s
design specication.
• Do not allow children to play with or operate the appliance.
• Supervise children to ensure they do not interact with the appliance.
Handling and Storage Safety
• Before moving the appliance, remove all stored items to prevent injury or damage.
• If the appliance will not be used for a long period, unplug it from the power supply.
• When storing the appliance unused, ensure it is placed in an area inaccessible to children.
• If the appliance is permanently discarded, remove the door seal or door to prevent suffocation
hazards.
Maintenance and Repair Safety
• Do not attempt to disassemble, repair, or modify the appliance yourself.
• Repairs must only be performed by authorized service technicians.
• Do not damage the refrigeration circuit.
• If the cooling system fails, contact the authorized service department immediately.
• Remove all packaging materials, including ammable foam protection, before operating the
appliance.
Additional Safety Warnings
WARNING
• Keep ventilation openings in the appliance enclosure or built-in structure clear of obstruction.
• Do not use mechanical devices or other methods to accelerate the defrosting process unless
recommended by the manufacturer.
• Do not use electrical appliances inside the storage compartment unless they are approved by
the manufacturer.
6
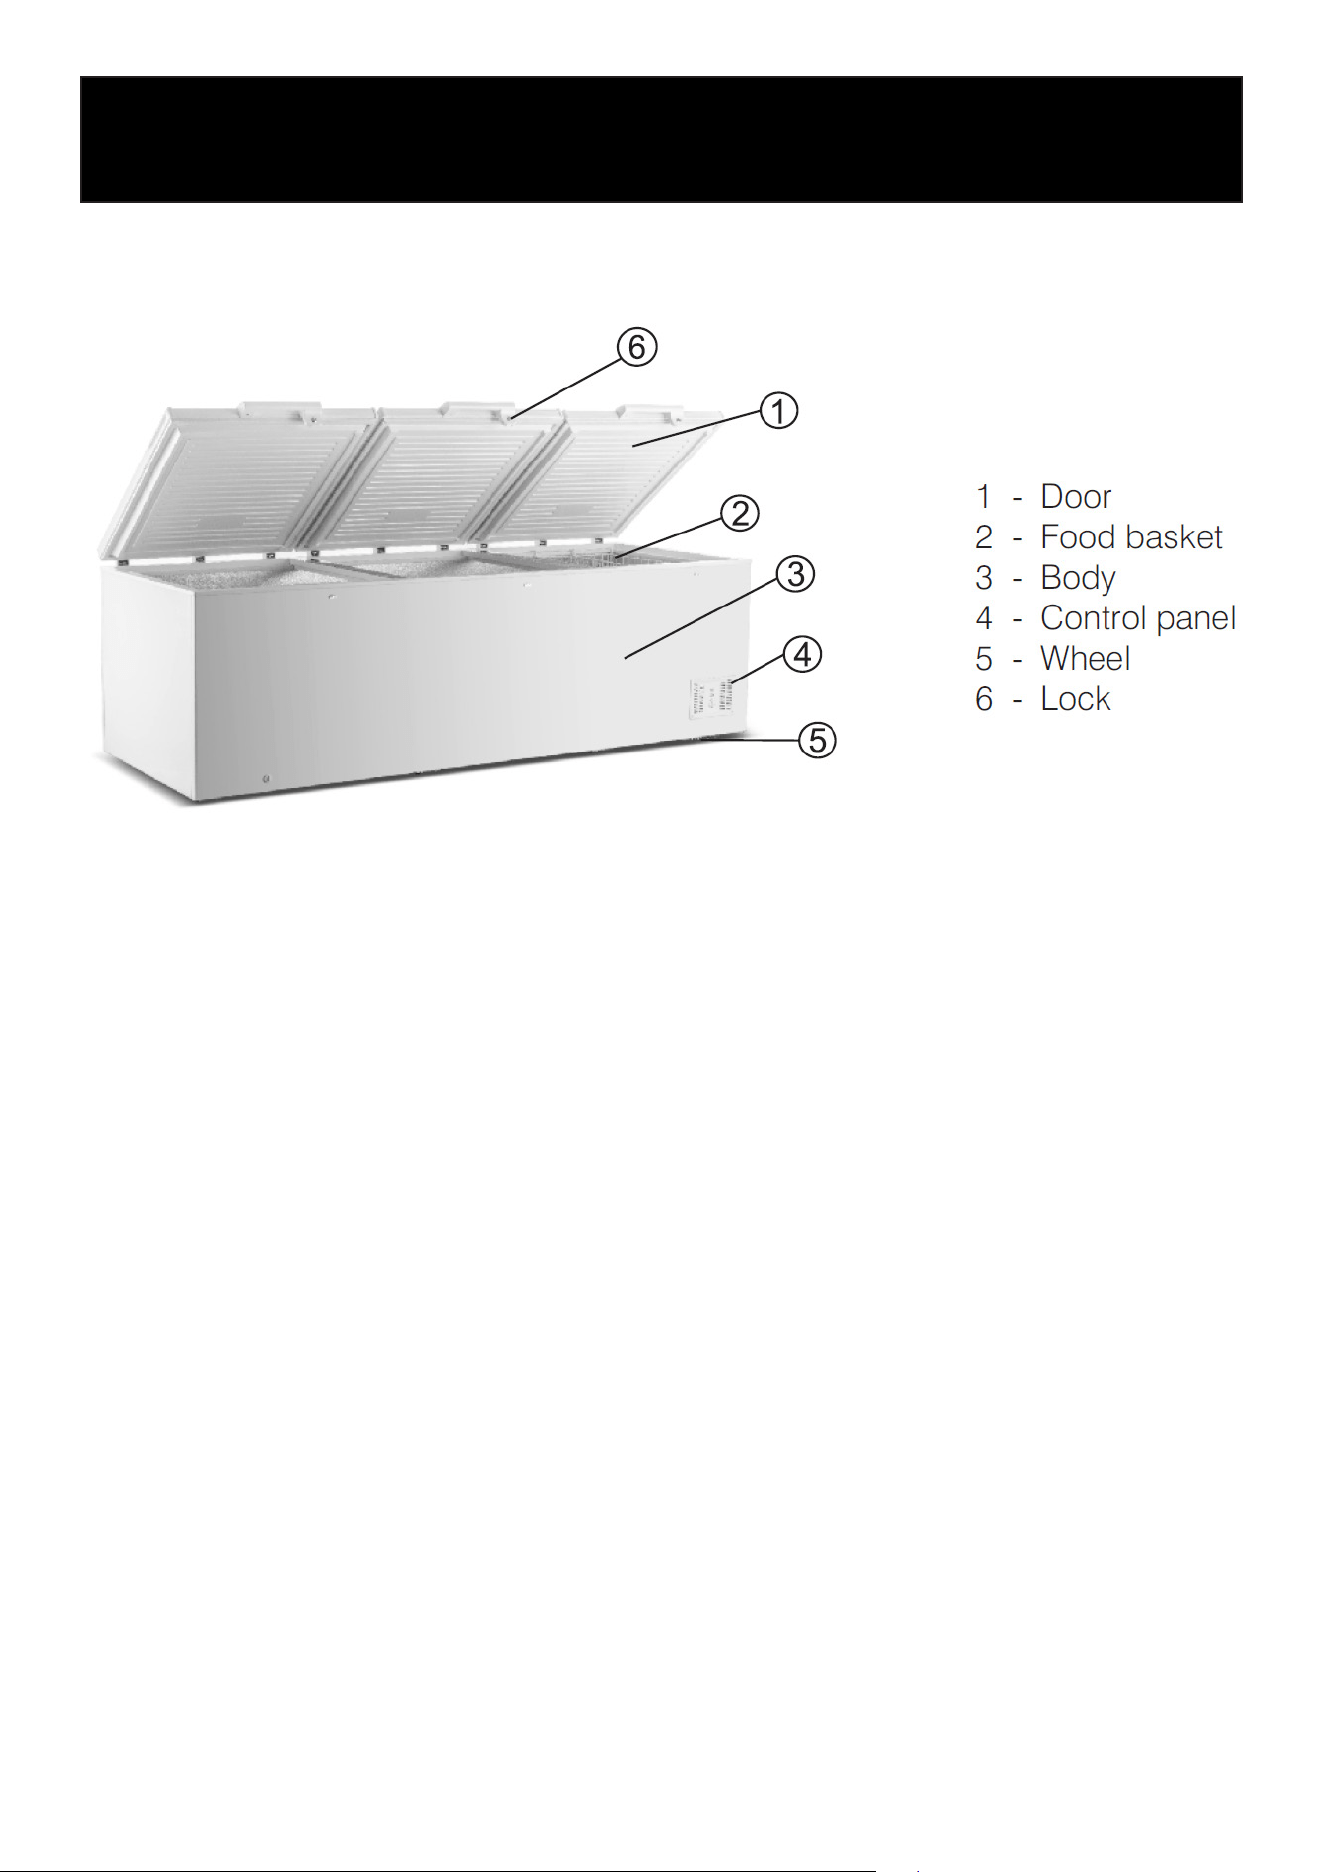
Parts
The illustration below is provided for reference only. Your appliance may differ slightly in appear-
ance or conguration.
Product Features
• High-density insulation provides excellent thermal retention and improved energy eciency.
• Deep cabinet design offers higher storage capacity while optimizing oor space usage.
• Safety door lock for added security of stored contents.
• Environmentally friendly refrigerant free of CFC and HCFC.
• Modern ergonomic design for convenient and comfortable operation.
• Fast freezing function for rapid cooling performance.
• Low-voltage control technology for stable and reliable operation.

7
Installation
• Handle the appliance carefully during transportation. Avoid impacts, drops, or strong vibra-
tions.
• Inspect the packaging and all components to ensure they are complete and undamaged.
• When transporting the appliance, keep it tilted at no more than 45° to prevent damage to the
cooling system.
• Do not place the appliance in direct sunlight or near heat sources.
• Exposure to heat may increase power consumption and shorten the lifespan of plastic parts
and surface coatings.
• Install the appliance on a rm, level, and stable surface.
• Proper leveling helps ensure safe operation and reduces vibration and noise from the compres-
sor.
• Leave sucient space around the appliance for proper ventilation: at least 4 inches on each
side and 5 inches at the back.
• Install the appliance in a dry, well-ventilated location.
• Avoid areas with excessive humidity or standing water, as this may cause rust and reduce insu-
lation performance.
• Do not install the appliance outdoors or in locations where it may be exposed to rain.
8
Operation
First-Time Operation
• Install the appliance according to the installation instructions provided in this manual.
• Open the doors briey to allow air to circulate inside the cabinet.
• Clean the cabinet interior before rst use.
• After installing the appliance, wait at least 30 minutes before powering it on. During transporta-
tion, compressor oil may have owed into the refrigeration system and needs time to settle.
• When the appliance is rst started, the cabinet temperature will initially be higher than the set
temperature. The compressor may run continuously until the desired temperature is reached.
After that, the compressor will automatically cycle on and off to maintain the set temperature.
• Load items into the cabinet only after the internal temperature has stabilized at the set tem-
perature.
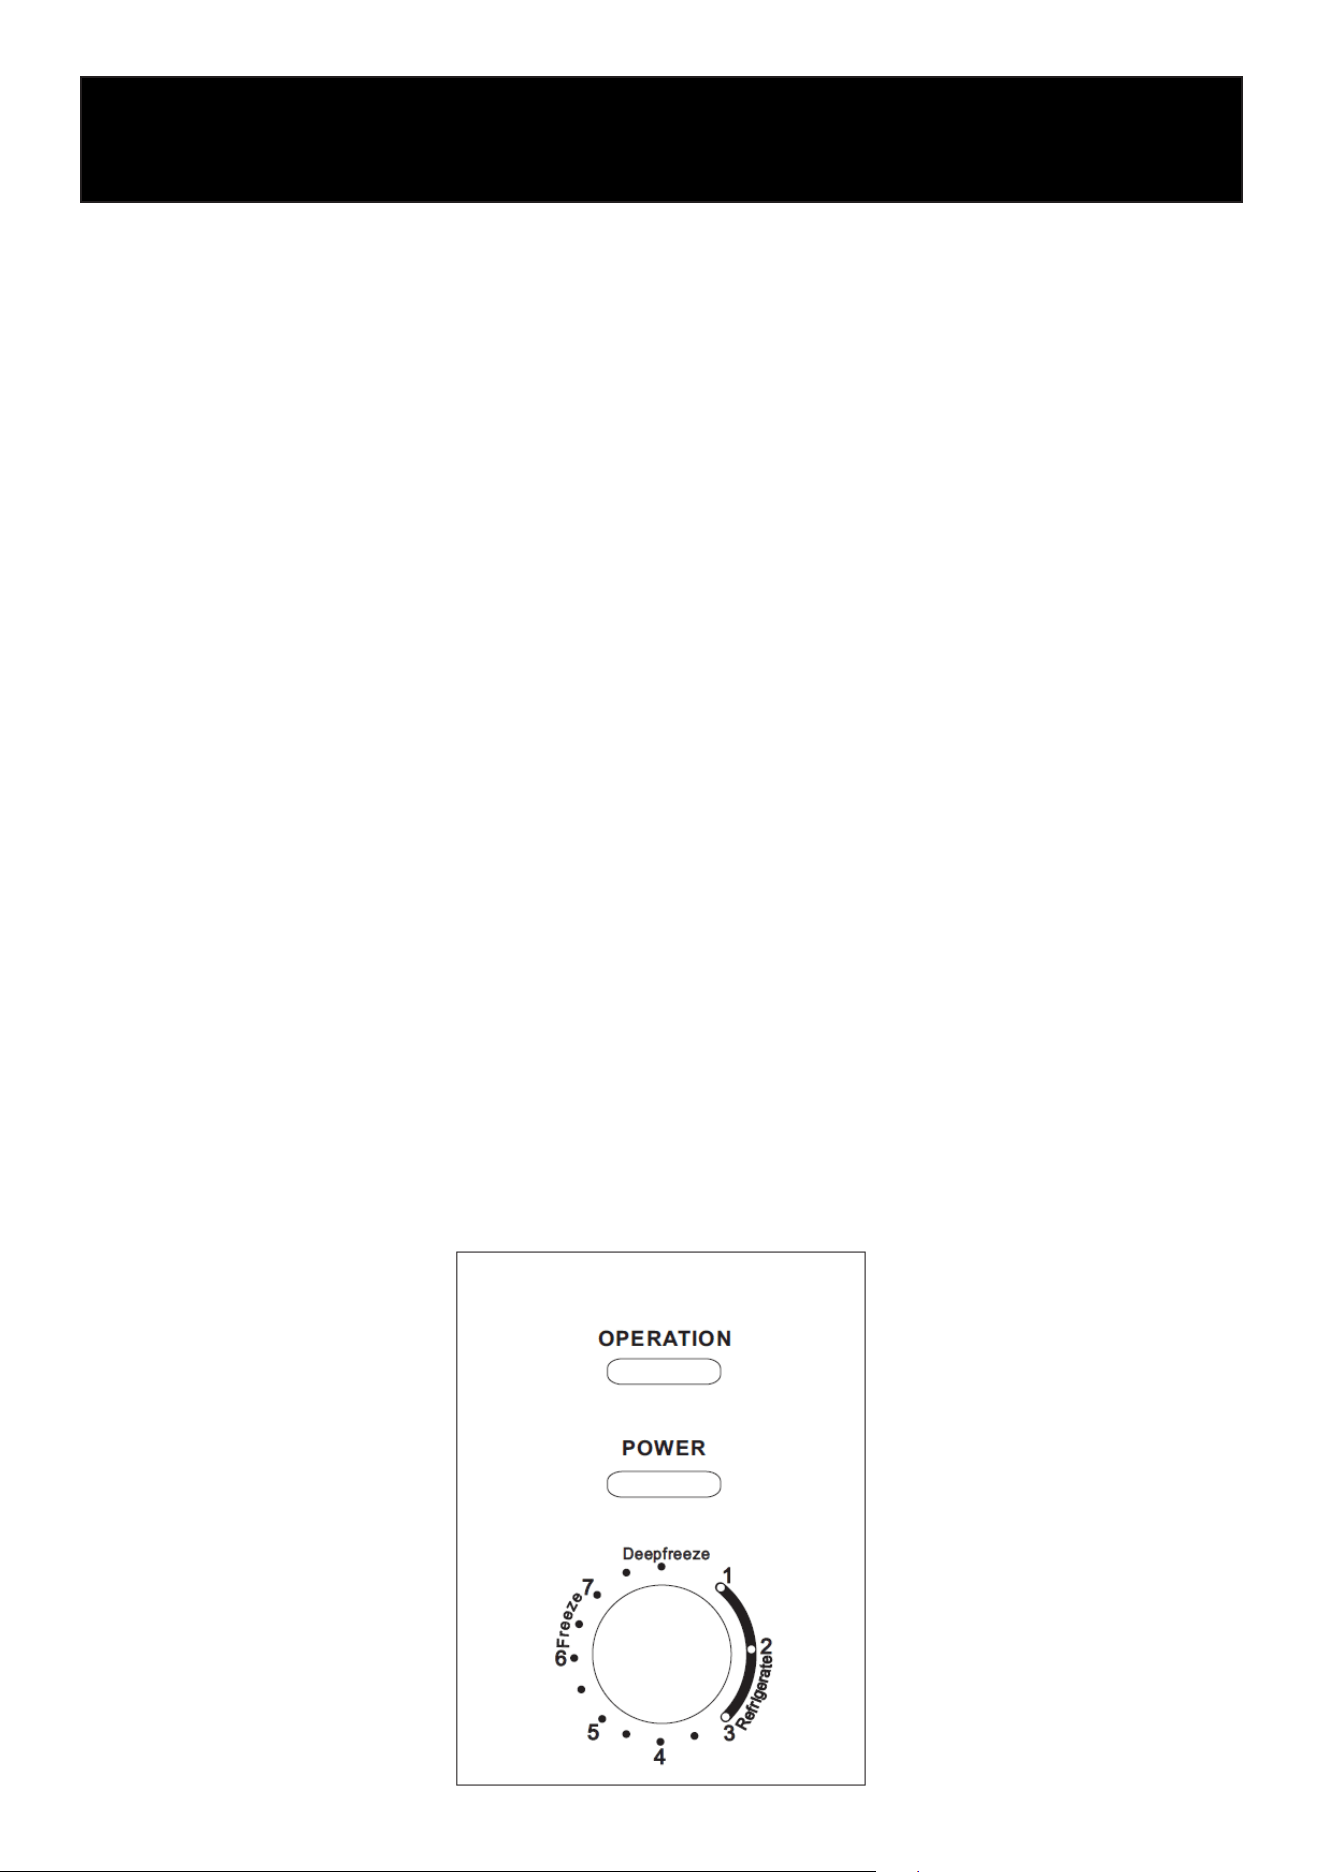
Thermostat Operation
• The cabinet temperature is controlled by the thermostat located on the control panel.
• Adjust the thermostat to an appropriate setting depending on the ambient temperature and the
type of goods stored.
• The red indicator light is the power indicator and will illuminate when the appliance is connect-
ed to the power supply.
• The green indicator light is the operation indicator and will illuminate when the compressor is
running.
• The thermostat knob can be rotated to adjust the cooling level:
• Turning the knob toward Freezer / Deep Freeze lowers the cabinet temperature.
• Turning the knob toward Refrigeration increases the cabinet temperature.
• Rotating the thermostat clockwise increases the cooling level, resulting in a lower cabinet tem-
perature.
• Rotating the thermostat counterclockwise reduces the cooling level, resulting in a higher cabi-
net temperature.
• After adjusting the thermostat, allow sucient time for the cabinet temperature to stabilize.

9
General Usage Guidelines
• Leave space between stored items to allow proper air circulation and ecient cooling.
• Store food or materials in sealed containers or bags to prevent odor mixing or drying.
• Allow hot items to cool to room temperature before placing them in the appliance. Placing hot
items inside may affect the cooling performance.
• Open the door only when necessary and keep it open for the shortest time possible.
• Always ensure the door is fully closed to reduce energy consumption.
• Label stored items with the storage date to help track storage time.
• Follow a rst-in, rst-out (FIFO) storage practice by using the oldest stored items rst.
• Adjust the temperature according to the type of goods being stored. Setting the temperature
lower than necessary will increase energy consumption.
• After switching off the appliance, wait at least 5 minutes before restarting to prevent compres-
sor damage.
• If a power outage is expected, set the thermostat to a lower temperature in advance and mini-
mize door openings to preserve the internal temperature.
• During a power outage, keep the door closed and avoid adding new items to the appliance.

10
Maintenance
Cleaning and Care
Regular cleaning and proper maintenance will help extend the life of your chest freezer and keep it
performing optimally.
• Always unplug the unit before cleaning or performing maintenance.
• Clean the interior and exterior with a soft cloth using mild detergent and warm water.
• Do not use hot water, abrasive cleaners, or corrosive chemicals.
• Clean the door gasket regularly with a mild solution (such as diluted bleach), then wipe it with
clean water afterward.
• After cleaning, dry all surfaces thoroughly before reconnecting power.
After maintenance, check the following:
1. Ensure the power plug is securely connected.
2. Conrm the power cord is not damaged or overheating.
3. Check for cracks or wear on the cord.
If the unit will not be used for an extended period, unplug it, remove all contents, clean thoroughly,
and allow it to dry completely before storing.
Defrosting
Moisture inside the freezer may cause frost to form on the interior walls during operation. Excess
frost buildup can reduce cooling eciency.
When frost reaches approximately 0.2–0.3 inches (5–7 mm) in thickness, defrosting is recom-
mended.
To defrost:
1. Turn off and unplug the freezer.
2. Remove all stored items.
3. Leave the lid open and let the frost melt naturally.
4. Use a plastic scraper (if needed) to gently remove softened frost.
5. Drain the water through the drain outlet (if equipped) and wipe the interior dry.
6. Plug the unit back in and let it reach the desired temperature before returning the items.
Important
Do not use sharp metal tools or electrical heating devices to remove frost, as this may damage the
interior surfaces or cooling system.

11
Troubleshooting
Problem Possible Causes Recommended Solutions
No Cooling
• Power outage
• Power cord not properly connected
• Blown fuse or tripped circuit breaker
• Faulty power strip or protector
• Check if power is available
• Ensure the plug is securely connected
• Check and reset or replace if needed
• Ensure the power source is functioning
properly
Poor Cooling Perfor-
mance
• Thermostat set incorrectly
• Unit exposed to direct sunlight or heat
sources
• Dust buildup on condenser or compres-
sor
• Overloaded freezer
• Poor air circulation inside
• Hot items placed inside
• Lid opened too frequently or not fully
closed
• Excessive frost buildup
• Adjust to the appropriate temperature
setting
• Move the unit to a cooler, shaded location
• Clean components regularly
• Reduce contents and allow space for
airow
• Arrange items to allow proper airow
• Allow items to cool before storing
• Minimize openings and ensure lid is
sealed
• Defrost the unit as needed
Unit Runs Continu-
ously
• Thermostat set too low
• Overloaded with items
• High ambient temperature
• Adjust to a higher temperature setting
• Reduce contents
• Move unit to a cooler environment if
possible
Excessive Noise
• Uneven or unstable surface
• Unit too close to walls
• Contact with surrounding objects
• Place unit on a at, stable surface
• Allow adequate clearance around the unit
• Ensure the unit is not touching other
items
Normal Operating Conditions
The following conditions are normal and do not indicate a malfunction:
• Frost may form on the inner walls or door seal in high humidity or when the lid is opened fre-
quently.
• You may hear sounds similar to owing water or bubbling; this is normal refrigerant movement.
• The compressor and condenser may become warm during operation.
• The compressor may run for extended periods when the freezer is heavily loaded.
• The compressor may run longer in high ambient temperatures, especially during summer.
Important:
If the issue cannot be resolved using the steps above, please contact KoolMoe Customer Service.
Do not attempt to repair the unit yourself.
Common Issues

12
WARRANTY
LIMITED WARRANTY
KoolMore Supply Inc. extends a limited warranty to the original purchaser, guaranteeing that this KoolMore product is
free from manufacturing defects in material or workmanship for one year from the date of purchase.
Should you discover any such defect within the warranty period, KoolMore Supply Inc. reserves the right to repair or re-
place the product without charge, or to cover the cost of replacement parts and repair labor needed to correct defects
present at the time of purchase or resulting from regular usage, when the appliance has been installed, operated, and
maintained as per the instructions provided.
At its sole discretion, KoolMore Supply Inc. may decide to replace the product. In such an event, your replacement
appliance will carry the warranty for the remaining term of the original unit’s warranty period.
This warranty is valid exclusively to the original purchaser of the product and only applicable within the United States.
The warranty commences from the date of original consumer purchase. Proof of the original purchase date will be
required to obtain service under this warranty.
Under this limited warranty, your sole and exclusive remedy will be product repair, as outlined above. All services must
be provided by a KoolMore designated service company.
KoolMore shall not be responsible or liable for any loss, spoilage, or damage to food, beverages, pharmaceuticals,
medical supplies, or any other contents stored in the unit resulting from failure, malfunction, defects, improper instal-
lation, improper use, power interruption, or any other cause. Any such losses are expressly excluded from coverage
under this warranty.
To claim warranty or request repair service:
Email [email protected]. Please include your name, address, phone number, warranty repair request, and a copy
of your proof of purchase receipt. Alternatively, visit koolmore.com and use the Contact Us page. A KoolMore custom-
er service representative will promptly arrange service for your appliance.
We thank you for choosing KoolMore.
WARRANTY EXCLUSIONS
This limited warranty will not cover:
1. Failure of the product to perform during power failures or interruptions, or due to inadequate electrical service.
2. Damage incurred during transportation or handling.
3. Damage caused by accidents, vermin, lightning, winds, re, oods, or acts of God.
4. Damage resulting from accidents, alterations, misuse, abuse, improper installation, repair, or maintenance. This
includes using any external device that alters or converts the voltage or frequency of electricity.
5. Unauthorized product modications, repairs by unauthorized centers, or use of non-approved replacement parts.
6. Abnormal cleaning and maintenance not aligned with the user’s manual.
7. Use of incompatible accessories or components.
8. Any costs associated with repairs or replacements under these excluded circumstances shall be the responsibility
of the consumer.