USER MANUAL
Before using, please read the operating instructions carefully to
ensure proper application and achieve satisfactory results.
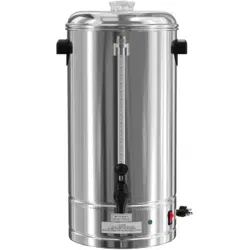
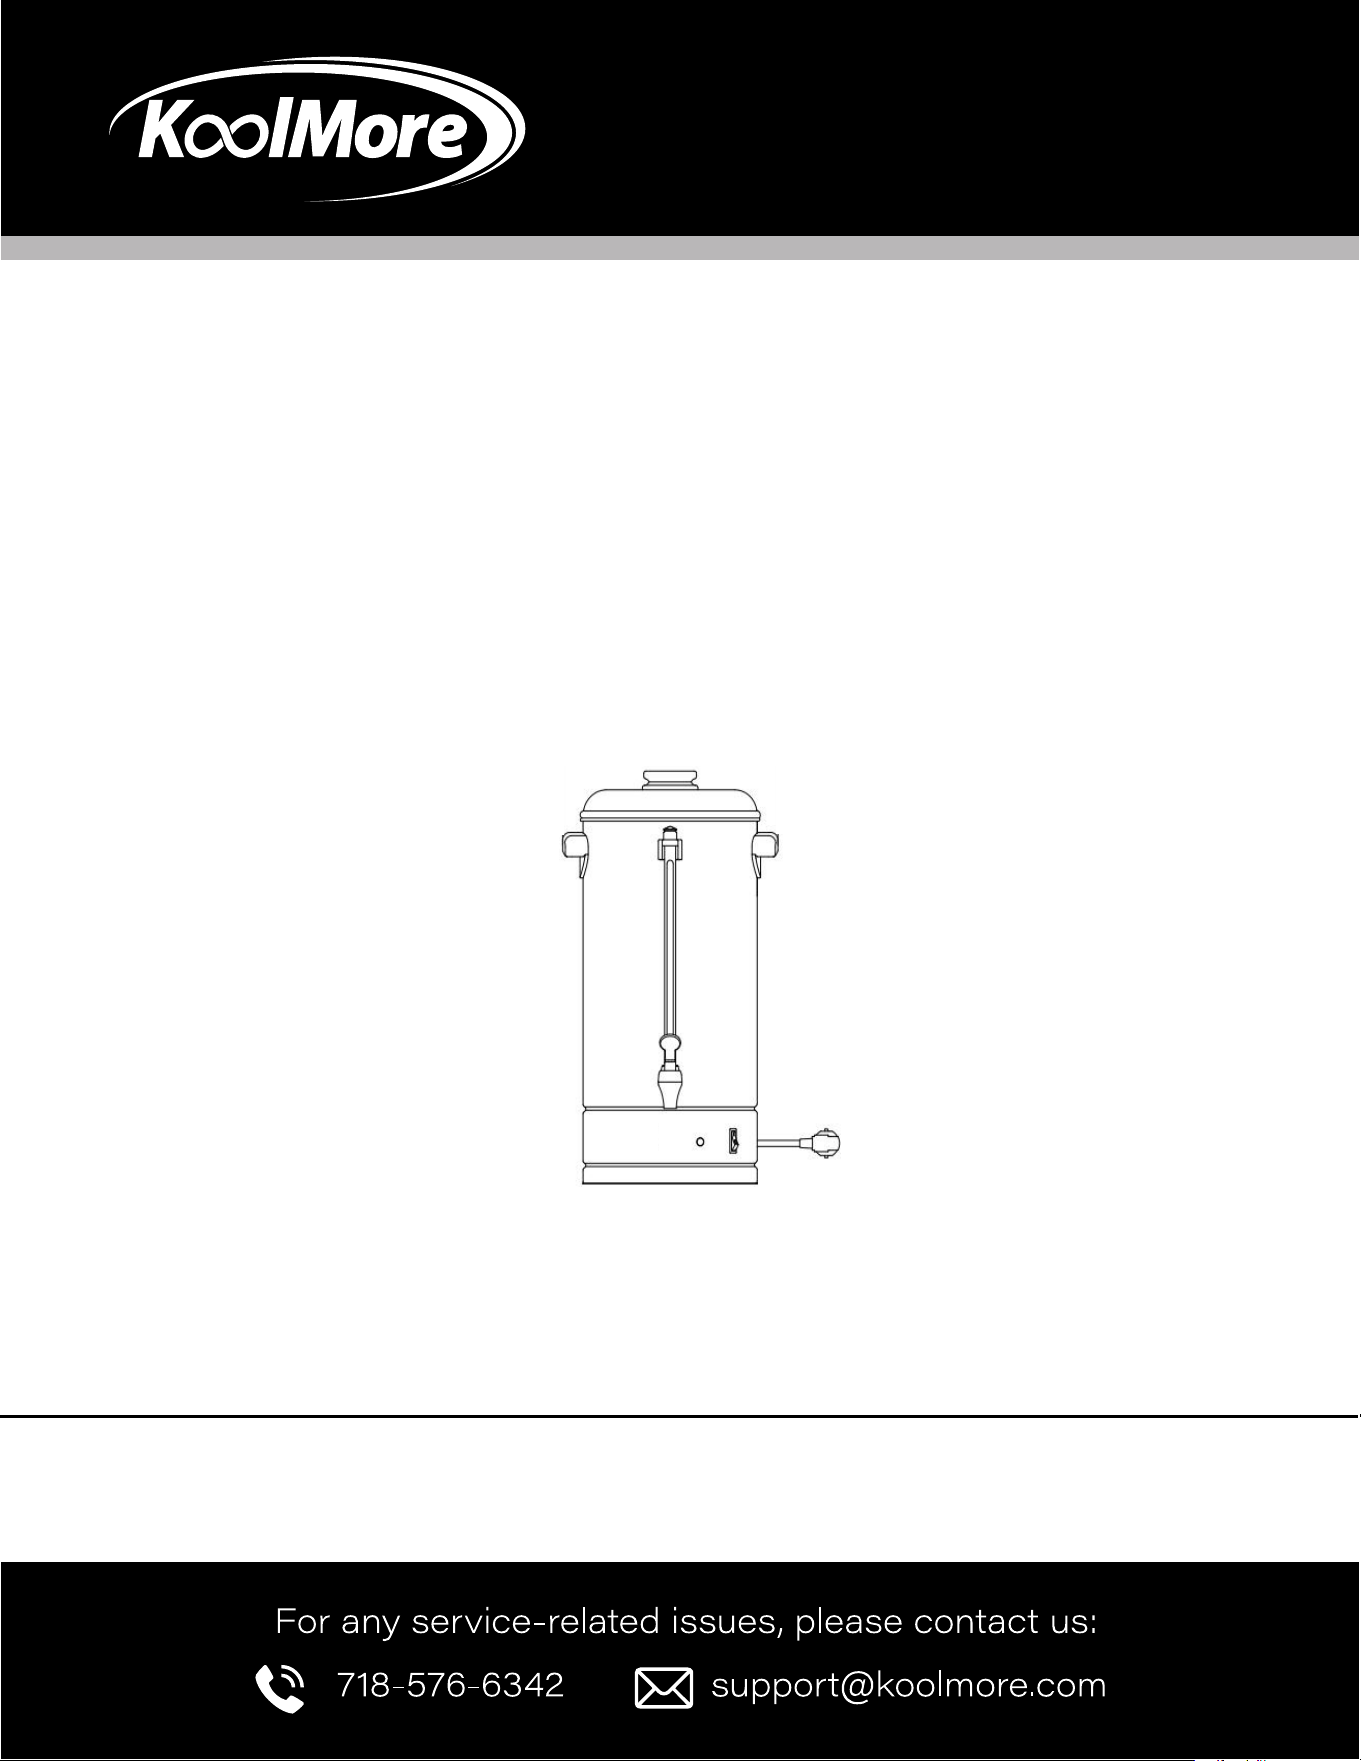
KoolMore Coffee Percolator
Model: KM-CCP100
COFFEE PERCOLATOR

General Information
Coarsely ground coffee is the most suitable for this appliance.
Do not immerse the appliance in water.
Do not switch on the appliance if the water tank is empty.
Always use the appliance on a dry, level, heat-resistant surface, away from edges. Ensure your hands are dry.
The appliance must be earthed.
Installation
1. Before using the appliance for the rst time, clean the lter basket, lter cover, percolator pipe, and inside
of the tank with a non-abrasive detergent.
2. Place the appliance upright on a rm, at surface.
3. Insert the percolator pipe into the tank.
4. Plug the appliance into a grounded socket while the appliance is switched off.
5. Insert the appliance unit into the black plastic pad at the base.
The appliance is now ready to use.
Making Coffee
Warning! The exterior of the appliance becomes very hot during use—do not touch!
When making coffee, ensure at least half of the total capacity is used.
Coarsely ground coffee is recommended.
If using a different coffee type, a paper lter is required.
Fill the tank with cold water based on the required amount of coffee.
Place ground coffee in the lter basket (6 grams per cup is a general guideline).
Seal the lter basket by attaching the lter cover.
Place the percolator pipe and lter basket into the tank, ensuring the pipe is securely positioned in the tank’s
cavity.
Replace the top cover on the appliance.
Switch on the appliance. The lamp in the switch should not light up.
When the green pilot light turns on, the coffee is ready and will be kept warm automatically.
When about three cups of coffee remain in the tank, or when no more coffee is visible in the glass gauge,
unplug the appliance and turn the switch off.
To reheat cold coffee, plug the appliance in and switch it on. Ensure the basket and percolator pipe are
installed. There must be at least 12 cups of coffee in the tank to reheat.
Heating Water for Instant Beverages
Plain water may also be heated in the appliance for use with instant drinks.
Simply ll the clean appliance with cold water to the desired level, ensuring the percolator pipe and empty
basket are installed as when making coffee.
Plug in the appliance and switch to the on position until the water begins to heat.
Warning! Never use less than 3 cups of water.
Operation

The appliance must only be used to heat water, and it should be thoroughly cleaned after each use to prevent
mineral deposits.
Cleaning After Use
• Remove the lter basket and percolator pipe from the tank. Emptying the lter basket is easier if the coffee
grounds are fully dry.
• Rinse the lter basket, lter cover, and percolator pipe under running water.
• Rinse the inside of the tank until it is clean. The appliance is now ready to use again.
Special Cleaning
Improper cleaning of the appliance, especially the heating unit “WELL,” will negatively impact performance,
leading to weak, lukewarm coffee and potentially causing the appliance to stop working. To maintain proper
functioning, follow these instructions:
If the appliance is used daily, perform a special cleaning every two weeks. If the appliance is used less
frequently or only for heating water, clean the heating unit “WELL” every week. This will ensure proper function.
If not cleaned, the appliance will not work properly.
Refer to the special cleaning instructions sheet for using the special cleaning tool for coffee percolators.
Maintenance
• Clean the lter basket, lter cover, and top cover using a non-abrasive detergent, followed by drying with a
soft, dry cloth.
• Clean the inside of the tank and percolator pipe, both made of stainless steel, using a scouring agent,
possibly with a scouring pad.
• To ensure proper function, the cavity in the middle of the base must be free of limescale and coffee
deposits. Use a descaling product if necessary.
• Clean the glass gauge with the enclosed pipe cleaner. First, unscrew the gauge cap, insert the pipe cleaner,
and brush inside the glass gauge. The cleaner can also be used on the percolator.
• Do not dismantle the glass gauge during cleaning.
• To clean the faucet:
• Unscrew the handle and move a brush up and down the faucet, then insert a brush through the opening in
the appliance to clean the faucet connection.
• Wash the faucet handle in hot soapy water, then rinse and replace it.
• Do not use baking soda to clean the appliance, as it can discolor and pit the metal.
Thermal Cut-out
• The appliance must be unplugged before it can be reset. The appliance is equipped with a thermal cut-out.
If activated, the appliance will turn off automatically, though the lamp in the switch will remain on.
• To reset the appliance, after ensuring it has cooled down, press the reset button located on the bottom of
the appliance. If the appliance fails to work after resetting, consult the user manual or your dealer.
• The cut-out may have been triggered due to overheating during transportation. If so, follow the instructions
above.


WARRANTY
LIMITED WARRANTY
Koolmore Supply, Inc. extends a limited warranty to the original purchaser, guaranteeing that this Koolmore
product is free from manufacturing defects in material or workmanship for one year from the date of
purchase.
Should you discover any such defect within the warranty period, Koolmore Supply, Inc., reserves the right to
repair or replace the product without charge, or to cover the cost of replacement parts and repair labor needed
to correct defects present at the time of purchase or resulting from regular usage, when the appliance has been
installed, operated, and maintained as per the instructions provided.
At its sole discretion, Koolmore Supply Inc. may decide to replace the product. In such an event, your replace-
ment appliance will carry the warranty for the remaining term of the original unit's warranty period.
This warranty is valid exclusively to the original purchaser of the product and only applicable within the United
States. The warranty commences from the date of original consumer purchase. Proof of the original purchase
date will be required to obtain service under this warranty.
Under this limited warranty, your sole and exclusive remedy will be product repair, as outlined above. All
services must be provided by a Koolmore-designated service company.
To claim warranty or request repair service:
Email support@koolmore.com. Please include your name, address, phone number, warranty repair request,
and a copy of your proof of purchase receipt. Alternatively, visit koolmore.com and use the contact us page. A
Koolmore customer service representative will promptly arrange service for your appliance.
We thank you for choosing Koolmore.
WARRANTY EXCLUSIONS
This limited warranty will not cover:
1. Failure of the product to perform during power failures or interruptions,
or due to inadequate electrical service.
2. Damage incurred during transportation or handling.
3. Damage caused by accidents, vermin, lightning, winds, re, oods, or acts of God.
4. Damage resulting from accidents, alterations, misuse, abuse, improper installation, repair, or maintenance.
This includes using any external device that alters or converts the voltage or frequency of
electricity.
5. Unauthorized product modications, repairs by unauthorized centers, or use of non-approved
replacement parts.
6. Abnormal cleaning and maintenance not aligned with the user's manual.
7. Use of incompatible accessories or components.
8. Any costs associated with repairs or replacements under these excluded circumstances shall be the
responsibility of the consumer.