Smartwatch User Manual
Please read carefully before use
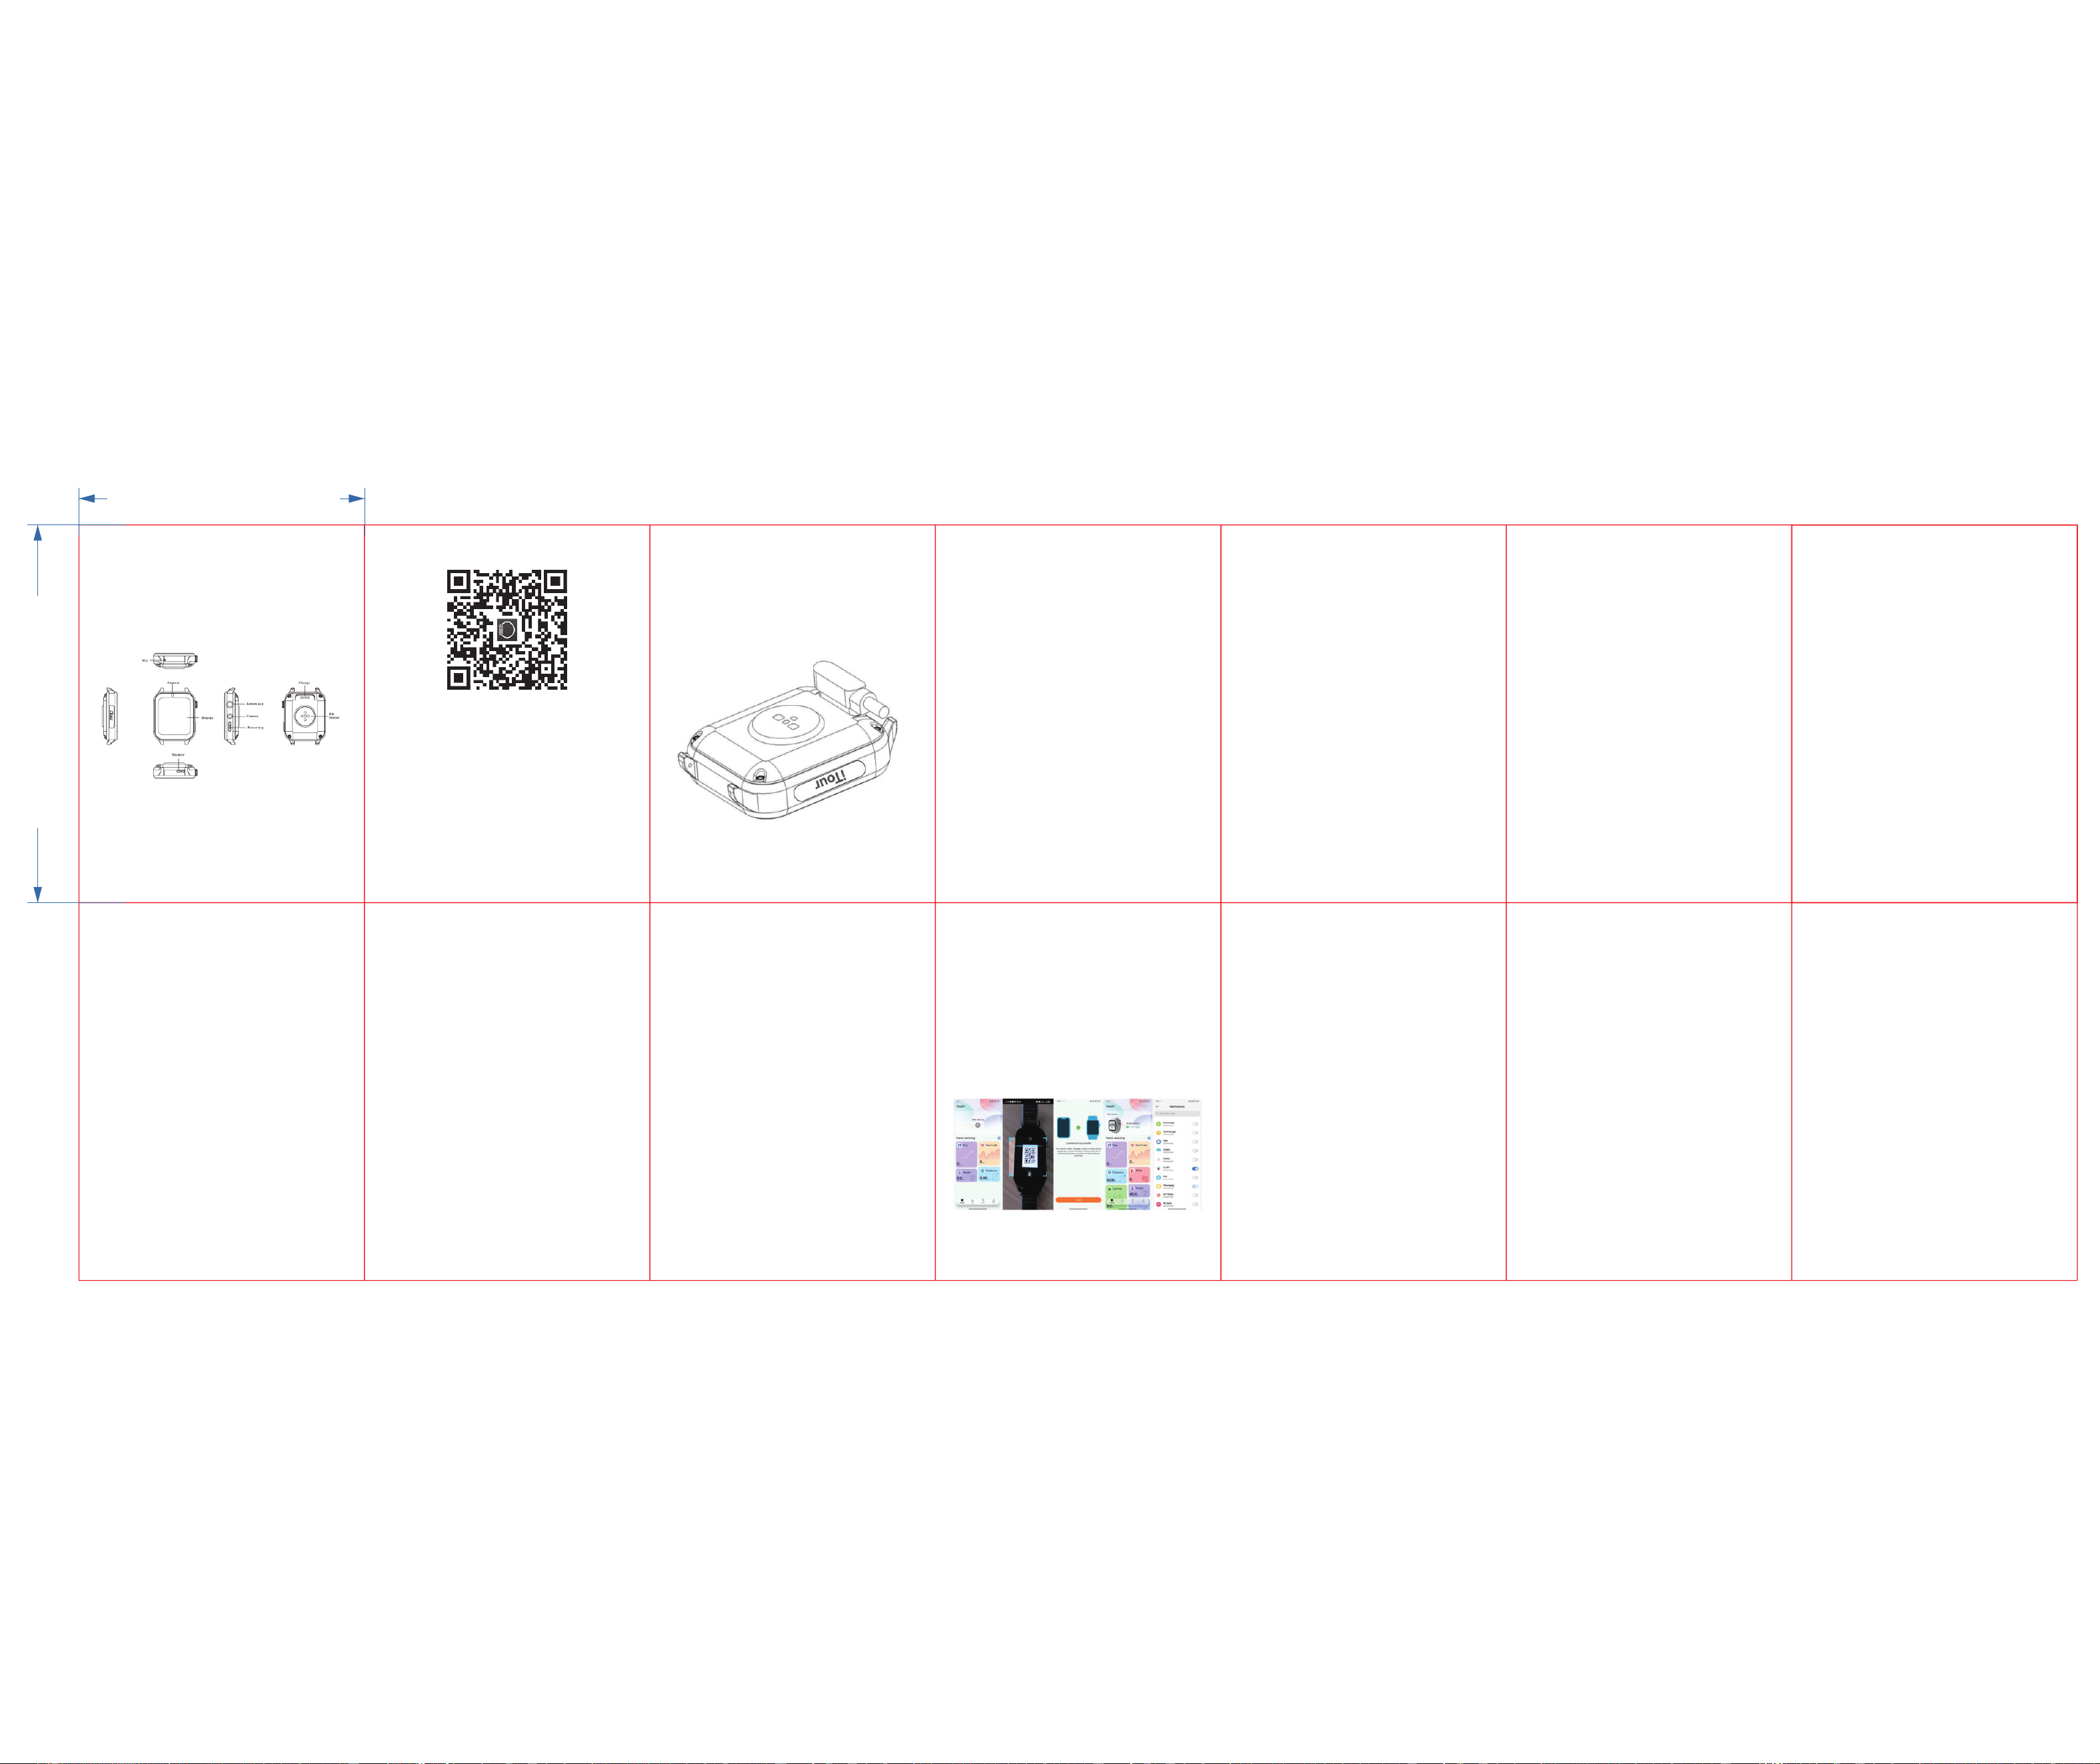
Product Overview
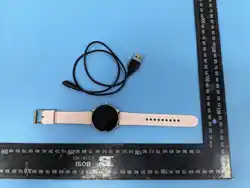
Watch charging
·For first use, please charge the watch; the watch uses magnetic charging
cable, and the charging interface automatically attaches to the watch case
before connecting to the power source. It is recommended to use a charger
with a specification of 5V-1A or higher to charge the watch. After charging is
complete, please turn off the power and remove the magnetic charging cable;
First boot
·After pressing and holding the power button for 2 seconds, the watch
displays the startup screen. The smart device needs to detect various
applications during its first startup, which may take a while. Please be
patient. After the startup is complete, set the language (choose the
language according to your needs) and enter the system operation
interface;
·If you need to change the language after booting up, you can enter
Settings - Language and Input Method - select the first item, and add or
change the system default language;
Power button and Back button
Power button
·Long press to power on;
· In the clock and main menu interface, short press to activate the
screen-saving function;
·In the secondary menu and its submenus, a short press returns to the main
menu page;
·Long press for two seconds when the device is powered on to enter the
round screen/shutdown/restart/super power-saving/recent tasks selection
interface;
·If improper operation causes the watch to freeze, you can force a restart by
long-pressing the power button for 10 seconds;
Back button
·Short press once to return to the previous menu interface;
swipe operation
·Swipe up on the clock interface to display the number of steps, distance,
and calories recorded for the current day; the number of steps, distance, and
average steps for the past week, as well as the total number of steps, total
kilometers, and total calories for the past week;
·Swipe down on the clock interface to display basic information (battery
level, time, Bluetooth connection); continue to swipe left to enter the
secondary status bar (do not disturb mode, screen brightness display, GPS,
Bluetooth, WiFi), where users can choose to enable or disable according to
their needs;
Swipe right on the clock interface to display pushed notification messages;
Swipe left on the clock interface to enter the main menu;
watch face
1. The main screen of the watch can display a gorgeous watch face, and we
have preset multiple watch faces for you;
2. Users can enter the watch face selection mode by long-pressing the
screen for 2 seconds on the watch face interface, and can slide left or right to
choose from multiple watch faces;
3. In addition to the built-in watch dial, you can, in the dial selection mode,
slide left to the bottom and click the "+" sign to add a server-based dial via
WiFi;
Main Menu
The basic applications included in the main menu are: iTour, Settings,
Desktop Settings, Camera, Gallery, Calendar, Alarm Clock, Music, Recording,
File Management, Weather, System Optimization, Watch Face Market, App
Market, Sports, Heart Rate, Blood Oxygen, Sleep, Breathing Training, Phone
Assistant, Play Store, Maps, and Google;
Introduction to main menu functions
1. Browser
·Users can access the internet quickly via WiFi;
2. Calendar
·Check the date and day of the week;
3. Alarm clock
Swipe right to enter the alarm clock interface, where you can set multiple
alarm reminders;
4. Gallery
· Click to enter the gallery, browse photos/videos, click on a photo - click
on detailed information, share, or delete.
5. Music
·Users can choose to play, pause, skip to the previous or next song; adjust
the volume by clicking the volume icon; and select shuffle/repeat playback of
songs;
· The watch supports playback through Bluetooth headphones;
·To add music, users can connect their computer via a USB cable before use,
copy their favorite songs, and place them in the "Music" folder of the detected
watch's storage drive;
6. Recorder
·The user clicks the recording icon to start recording, clicks "Finish", and a
pop-up appears with options to save or discard. Clicking "Save" will save the
recording;
Enter the list of audio files, select to play the current audio recording, long
press the selected audio file, and you can click to delete it;
7. File management
After connecting the watch to the computer using a charging cradle, the
Kind Reminder:
※ For first-time use, please charge the watch. The watch adopts
magnetic charging, with an interface type of USB-A, and the magnetic
charger automatically attaches. Then, connect it to a power source. It is
recommended to use a power adapter that meets relevant safety standards
or a locally certified power adapter, and a charger with a specification of
5V-1A to charge the watch;
※ The watch uses magnetic charging. Before charging, please confirm
that the charger is functioning properly, the contact is good, and there are
no foreign objects or dirt on the magnetic charging points. The battery of
this product is non-removable. Due to natural wear and tear, the product
may not turn on if the battery is fully drained after being idle for more than
a month. Users are advised to charge the device regularly every week to
ensure normal operation;
※ After leaving the smartwatch unused for a long time, if you charge it
using a computer USB-A port, it may take more than ten minutes for the
charging icon to appear. Please be patient and it is recommended to use a
5V-1A charger for charging;
※ Improper operation may cause the product to freeze. You can press
and hold the power button for 10 seconds to force a restart of the watch;
view the automatic measurement count, as well as the current and previous
manual measurement v
※ When using high-energy-consumption programs such as internet
browsing and video streaming via WiFi, the watch's battery consumption
will be relatively high, and there may be a slight heating or burning
sensation on the device, which is normal. If the device prompts a high
temperature warning, please reduce the use of such high-power
applications;
alues;
12. Mobile phone assistant
·Connect to phone/remote photo taking/music control/find phone
·Users can download the APK, install it, and use remote control shooting, music
control, and phone search functions after successful connection by scanning
the QR code with their connected mobile phones;
13. Settings
Settings for applications and notifications, battery, display, sound, storage,
location information, system language and time, about the watch, Bluetooth,
WLAN, GPS background data, etc.
13.1 Connected devices
· Display new device pairing, previously connected devices, and connection
preference settings;
13.2 Application and notification
· It can display the list of apps arranged by the watch and notify application
permissions;
13.3 Display
· Adjustable screen brightness, sleep time, as well as screen-on-raise and
screen-on-notification functions;
13.4 Sound
·Volume adjustment, mute, ringtone and alert tone settings;
· Various options are available, including media, alarm clock, and ringtone
volume;
13.5 System Language and Time
·You can set the language and input method of the watch. Click to enter the
language settings, add the desired language, long press the language bar and
drag it up to the first position to change the default language. This allows for
switching between multiple languages;
· Click to enter the virtual keyboard, manage keyboard options, add input
methods, support Android keyboard, Google Pinyin input method, and Google
Voice input method. These three input methods cannot be used simultaneously,
and users can choose which one to use;
When using the network or GPS, the system automatically determines the
date and time by default;
·To manually adjust the date and time, first click the "Off" option under the
"Auto Confirm Date and Time" column, slide the "Auto Determine Time Zone"
slider to the "Off" position, and then set the date and time. After completing
the settings, the clock interface will be updated synchronously;
Reset the device to its factory settings according to user needs;
13.6 About watches
·Upon entering the information about the watch, relevant details such as
wireless upgrade, developer options, status information, model number, IMEI
number, Android version, and software version are displayed;
·Wireless upgrade: Before upgrading, ensure that the battery level is above
50%. Users can perform a wireless upgrade by connecting to WiFi. During the
upgrade process, avoid operating the watch to prevent upgrade failure. After
the upgrade is complete, the watch will restart. As it is necessary to re-detect all
systems and applications, the boot screen may remain fixed for a long time.
The process takes about ten minutes, so please be patient;
14. Desktop settings
· Dial selection, menu style, and switching style;
15. Breathing exercises
· Cooperate with the corresponding breathing according to the prompts to
achieve the goal of calming the mind and relieving tension;
16. Blood oxygen
Test the oxygen concentration in the blood;
17. Sleep
Record the start and end time of sleep, the duration of deep sleep and light
sleep, and calculate sleep quality;
※APK download/installation/connection
·Android phones: Support the original operating system version 6.0 and
above (Settings - About device, check the Android version);
·Apple phone: Supports iOS 11.1 and above system versions (you can check
the version through Settings - General - About This Mac. Users with a version
lower than iOS 11.1 should upgrade first);
iOS and Android users can obtain the APK in the following way:
·Phone Assistant - Connect to Phone - Click the question mark icon at the
top of the screen, scan the QR code to download, and then click to install on
your phone after the download is complete;
Android users can obtain the APK in two ways: directly enter "GAO FIT"
in Google Play search and download;
iOS users can obtain the APK in two ways: directly enter the APP Store
and search for "GAO FIT" to download;
Operation steps for connecting to APK via phone assistant:
1.First, enable Bluetooth on both the watch and the phone;
2. Open the downloaded GAO FIT scanning mobile assistant and connect to
the Bluetooth QR code connection app; a pairing prompt will pop up, click
"confirm" and the system will automatically enter after the connection is
successful; the app interface will display that the watch has been connected to
the phone (during the Android phone connection process, an "authorization
notification permission" will pop up, which needs to be clicked "allow");
3. After successful connection, the watch can enable remote photo taking,
music control, and device search;
4. Click "Health" on the APK interface to view the current sports data, sleep,
heart rate, blood oxygen, weight, and other related data of the watch. Click
"Device Model" to set the watch functions and unbind the device. Note that
after unbinding the device, in order to protect user privacy, the data on the
watch will be cleared, and the watch will be reset to factory settings;
storage disk of the watch is displayed only after clicking "My Computer" on the
computer side. At this time, file transfer and storage can be performed;
·Click on "File Management" to view the currently available memory. Click
again to enter File Management, where you can browse, create, and edit
folders;
8. Multiple exercise modes
· The watch's sports mode includes outdoor running, outdoor walking,
indoor running, cycling, playing basketball, playing football, playing table
tennis, playing badminton, skipping rope, and other modes; enter sports data
such as settable target time, target kilometers, target calories, and click "Start"
to start exercising;
· GPS can be turned on, and after inserting the card for positioning, the
movement trajectory can be recorded;
Swipe left to view historical data and access the data deletion function;
9. Weather
To obtain weather data, the watch needs to connect to a WiFi network to
update the current regional weather.
10. Camera
· Click to enter the camera, where you can take photos and record videos.
11. Heart rate monitoring
Before turning on heart rate monitoring, make sure the watch is properly
worn on your wrist (ideally, one finger width above the carpal bone). For heart
rate detection, it's recommended to wear it slightly tight to avoid light leakage,
which can affect effective detection. Then, click to enter heart rate detection.
During the detection process, keep your wrist still. After a few seconds, the
dynamic heart rate value will be displayed. Swipe down the heart rate graph to
90.00 mm
68.00 mm
Conta ct U s
lf you have any questions, please contact the customer
support team at iTourTranslator Information Technology
Co., Ltd. You may also reach out to the official iTour store
on authorized e-commerce platforms or consultyour local
authorized service provider or distributor.
Tel: +1(425)-384-9198
Email: support@itourtranslator.com
How to use
FCC Statement
This device complies with part 15 of the FCC Rules. Operation is subject to the following two conditions:
(1) This device may not cause harmful interference, and
(2) This device must accept any interference received, including interference that may cause undesired
operation.
Any Changes or modifications not expressly approved by the party responsible for compliance could void
the user's authority to operate the equipment.
Note: This equipment has been tested and found to comply with the limits for a Class B digital device,
pursuant to part 15 of the FCC Rules. These limits are designed to provide reasonable protection against
harmful interference in a residential installation. This equipment generates uses and can radiate radio
frequency energy and, if not installed and used in accordance with the instructions, may cause harmful
interference to radio communications. However, there is no guarantee that interference will not occur in a
particular installation. If this equipment does cause harmful interference to radio or television reception,
which can be determined by turning the equipment off and on, the user is encouraged to try to correct the
interference by one or more of the following measures:
RF warning:
The device has been evaluated to meet general RF exposure
-Reorient or relocate the receiving antenna.
-Increase the separation between the equipment and receiver.
-Connect the equipment into an outlet on a circuit different from that to which the receiver is
connected.
-Consult the dealer or an experienced radio/TV technician for help.
requirement.