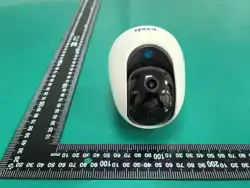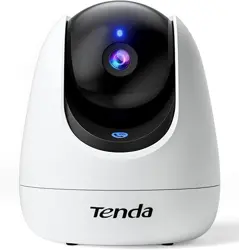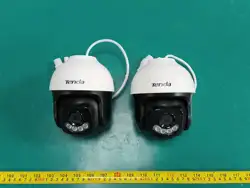
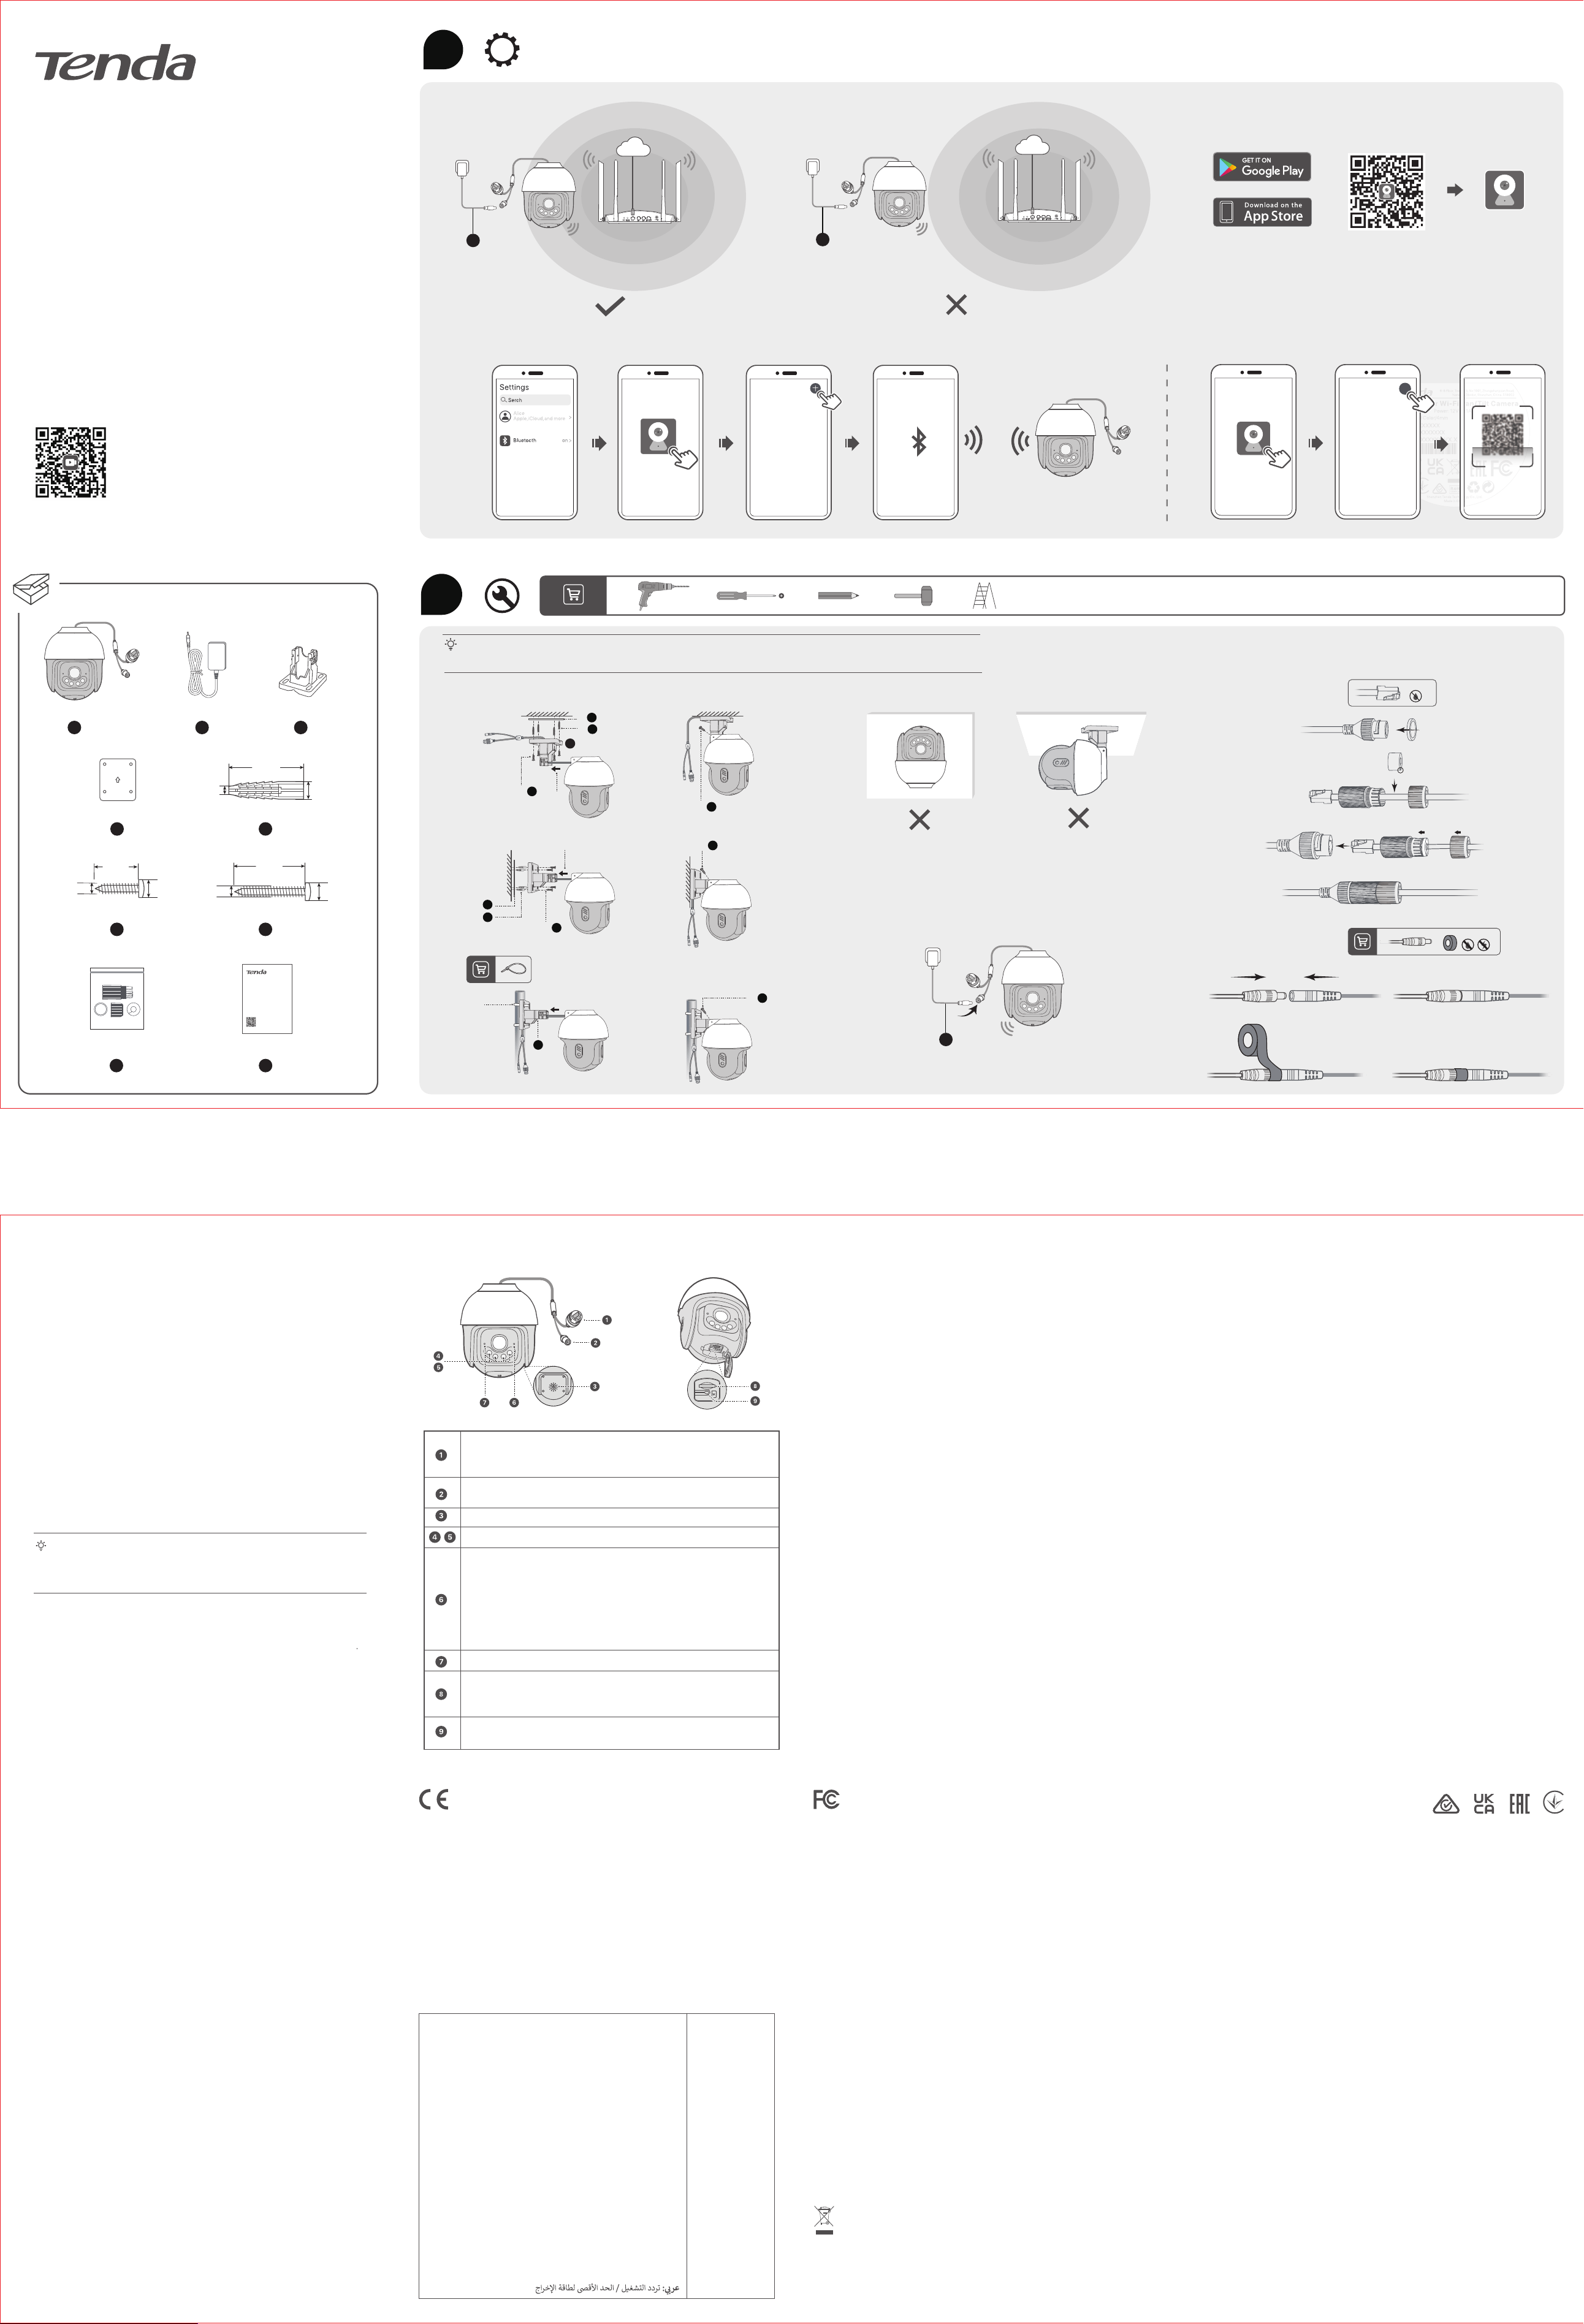
Appearance
CH3-WCA/CH3-WCAV2: 3MP Wi-Fi Pan/Tilt Camera
CH7-WCA/CH7-WCAV2: 5MP Wi-Fi Pan/Tilt Camera
Quick Installation Guide
Use a Web Browser to Access
the Camera
1. Connect the computer to the router that is connected to the camera.
2. Set the IP address of the computer to an unused one belonging to the
same network segment as the IP address of the camera but different
from the IP address of the camera.
TDSEE
Scan for TDSEE
By default, the login IP address of the camera is 192.168.1.203, and
the DHCP function is enabled. If there is a DHCP server in the
network, the IP address of the camera may be changed. Refer to the
actual IP address assigned to the camera by the DHCP server.
3. Start a browser and enter the IP address of the camera in the address
bar to access the login page. The default user name and password
are admin and admin123456.
For initial setup or after a reset, set new login password for privacy and security (The
longer the password, the stronger the protection). The character limit and composition
rules for passwords are subject to software user interface prompts.
Tips
FAQ
Q1. What should I do if I failed to add the camera
A1.
- Ensure that the router is connected to the internet successfully.
- The camera only supports 2.4 GHz Wi-Fi network. When adding the
camera, you need to connect the smartphone to a 2.4 GHz Wi-Fi
network.
- Do not hide the Wi-Fi network of the router when adding the camera
(After adding the camera successfully, you can hide the Wi-Fi network).
- Confirm whether the indicator of the camera blinks blue quickly. If not,
reset the camera and configure it again.
Reset method: Hold down the Reset button for about 5 seconds and
release it after the indicator blinks blue quickly or you hear a prompt
tone. The camera is reset.
Before operating, read and follow these precautions to prevent accidents.
- For ceiling/wall/pole mounting, the camera is suitable for mounting at
heights >2m.
- The camera is used outdoors. The power adapter is used indoors.
- Do not use the device in a place where wireless devices are not allowed.
- Please use the included power adapter.
- The mains plug is used as the disconnect device, and shall remain readily
operable.
- The power socket shall be installed near the device and easily accessible.
- Device operating environment: Temperature: -30℃ - +60℃ (-22℉ - 140℉);
Humidity: (10% - 95%) RH, non-condensing; Power adapter operating
environment: Temperature: 0℃ - 40℃ (32℉ - 104℉);
Humidity: (5% - 95%) RH, non-condensing.
- Keep the device away from fire, high electric field, high magnetic field, and
inflammable and explosive items.
- Unplug this device and disconnect all cables during lightning storms or
when the device is unused for long periods.
- Do not use the power adapter if its plug or cord is damaged.
- If such phenomena as smoke, abnormal sound or smell appear when you
use the device, immediately stop using it and disconnect its power supply,
unplug all connected cables, and contact the after-sales service personnel.
- Disassembling or modifying the device or its accessories without
authorization voids the warranty, and might cause safety hazards.
- Refer all servicing to qualified service personnel.
- Disconnect the power source during servicing.
For the latest safety precautions, see Safety and Regulatory Information
on www.tendacn.com.
- Check if the Wi-Fi network of the router is smooth.
- Take the router closer to the camera.
- When previewing the video with cellular mobile data, make sure that
the internet connection of the smartphone is smooth.
- Fluent and HD are supported for video preview. You can adjust the
video clarity according to the internet status.
If you remove the Micro SD card installed in the camera and view the
videos from your computer, it is recommended to use VLC media player
or Potplayer to play the videos.
Q2. What should I do when the video preview is not smooth
A2.
Method 1: Install the Micro SD card on the camera. The recording
mode of the Micro SD card includes Alarm Recording and
All Day Recording. By default, the recording mode is
Alarm Recording. You can modify the recording mode
according to the actual conditions.
Method 2: Subscribe to the Cloud Storage Service on TDSEE App.
Procedure: Run the TDSEE App, choose the camera on
the homepage, and then tap Cloud Storage in the lower
left corner.
Method 3: Connect the camera to the NVR. The camera supports the
ONVIF protocol and can be added to the NVR either wired
or wireless method for recording storage. The default user
name and password of the camera are admin and
admin123456 respectively, and the password can be
changed on the web UI. The specific configuration method
of the NVR is subject to the manufacturer's instructions.
Q4. How to store the videos
A4.
Q3. How to view the videos stored in the Micro SD card of the camera on
the computer
A3.
Safety Precautions
CE Mark Warning
This is a Class B product.
In a domestic environment, this product may cause radio interference, in which case the user
may be required to take adequate measures.
This equipment should be installed and operated with minimum distance 20cm between the
device and your body.
NOTE: (1) The manufacturer is not responsible for any radio or TV interference caused by
unauthorized modifications to this equipment. (2) To avoid unnecessary radiation interference,
it is recommended to use a shielded RJ45 cable.
Declaration of Conformity
Hereby, SHENZHEN TENDA TECHNOLOGY CO., LTD. declares that the device (camera) is in
compliance with Directive 2014/53/EU.
The full text of the EU Declaration of Conformity is available at the following internet address:
https://www.tendacn.com/download/list-9.html
This product bears the selective sorting symbol for Waste Electrical and Electronic Equipment
(WEEE). This means that this product must be handled pursuant to European directive
2012/19/EU in order to be recycled or dismantled to minimize its impact on the environment.
User has the choice to give his product to a competent recycling organization or to the retailer
when he buys a new electrical or electronic equipment.
FCC Statement
This equipment has been tested and found to comply with the limits for a Class B digital device,
pursuant to Part 15 of the FCC Rules. These limits are designed to provide reasonable
protection against harmful interference in a residential installation. This equipment generates,
uses and can radiate radio frequency energy and, if not installed and used in accordance with
the instructions, may cause harmful interference to radio communications. However, there is
no guarantee that interference will not occur in a particular installation. If this equipment does
cause harmful interference to radio or television reception, which can be determined by
turning the equipment off and on, the user is encouraged to try to correct the interference by
one or more of the following measures:
— Reorient or relocate the receiving antenna.
— Increase the separation between the equipment and receiver.
— Connect the equipment into an outlet on a circuit different from that to which the receiver is
connected.
— Consult the dealer or an experienced radio/TV technician for help.
Operation is subject to the following two conditions: (1) this device may not cause harmful
interference, and (2) this device must accept any interference received, including interference
that may cause undesired operation.
Radiation Exposure Statement
This device complies with FCC radiation exposure limits set forth for an uncontrolled
environment and it also complies with Part 15 of the FCC RF Rules.
This equipment should be installed and operated with minimum distance 20cm between the
device and your body.
Caution:
Any changes or modifications not expressly approved by the party responsible for compliance
could void the user's authority to operate this equipment.
This transmitter must not be co-located or operating in conjunction with any other antenna or
transmitter.
Operating frequency: 2412-2462MHz
NOTE: (1) The manufacturer is not responsible for any radio or TV interference caused by
unauthorized modifications to this equipment. (2) To avoid unnecessary radiation interference,
it is recommended to use a shielded RJ45 cable.
Operating Frequency/Max Output Power
English: Operating Frequency/Max Output Power
Italiano: Frequenza operativa/Potenza di uscita massima
Français: Fréquence de fonctionnement/Puissance de sortie maximale
Español: Frecuencia operativa/Potencia de salida máxima
Deutsch: Betriebsfrequenz/Max. Ausgangsleistung
Polski: Częstotliwość pracy /Maksymalna moc wyjściowa
Nederlands: Bedrijfsfrequentie/Maximaal uitgangsvermogen
Čeština: Provozní frekvence/maximální výstupní výkon
Română: Frecvenţa de funcţionare/Puterea maximă de ieșire
Português: Frequência de Funcionamento/Potência Máxima de Saída
Svenska: Driftsfrekvens /Max Uteffekt
Slovenčina: Prevádzková frekvencia/maximálny výstupný výkon
Ελληνικά: Συχνότητα Λειτουργίασ/Μέγιστη Ισχύσ Εξόδου
Magyar: Működési frekvencia/Maximális kimeneti teljesítmény
a : aoa oa/aaa oa oo
Eesti: Töösagedus/Max väljundvõimsus
Dansk: Driftsfrekvens/Maks. Udgangseffekt
Suomi: Toimintataajuus/maksimilähtöteho
Hrvatski: Radna frekvencija/Maksimalna izlazna snaga
Latviešu: Operējošās frekvences/Maksimālā jauda
Lietuvių: Darbinis dažnis /maksimali išjimo galia
Slovenščina: Delovna frekvenca/Največja izhodna moč
Türkçe: Çalışma Frekansı/Maks. Çıkış Gücü
u : aoa aoa/a. oa oo
2412MHz-2472MHz/
20dBm
RECYCLING
Technical Support
Shenzhen Tenda Technology Co., Ltd.
Floor 6-8, Tower E3, No.1001, Zhongshanyuan Road, Nanshan District, Shenzhen, China.
518052
Website: www.tendacn.com
E-mail: tendasecurit[email protected]
[email protected] (North America)
support.uk@tenda.cn (United Kingdom)
Copyright © 2026 Shenzhen Tenda Technology Co., Ltd. All rights reserved.
Tenda is a registered trademark legally held by Shenzhen Tenda Technology Co., Ltd. Other
brand and product names mentioned herein are trademarks or registered trademarks of
their respective holders. Specifications are subject to change without notice.
V1.0 Keep for future reference.
https://www.tendacn.com/service/default.html
Video and More Info
Scan the QR code or visit www.tendacn.com for installation videos,
technical specifications, user guides, Symbols on Products and Materials,
and more information.
You can see the product name and model on the product label.
The label can be found on the device body.
b
b
1
2
1.1 1.2
1.3
A B
Router
Internet
Router
Internet
10/100 Mbps auto-negotiation Ethernet port.
Used for connecting such devices as the router, switch and
computer.
Power jack
Used to connect to the included power adapter.
Speaker
Fill Light
Microphone
Micro SD card slot (Behind the cover)
Insert the Micro SD card (self-prepared) to store the monitoring
videos.
Reset button (Behind the cover)
Reset method: Refer to Q1 in the FAQ.
Indicator
Solid red: Initializing and starting.
Blinking red slowly: Disconnected from the network.
Blinking red quickly: Connecting to the network.
Solid blue: Connected to the network.
Blinking blue slowly: Upgrading.
Blinking blue quickly: Waiting to connect to the network.
1 × 1 ×
a b
1 ×
c
1×
d
4×
e
4×
g
2×
f
1×
h
1×
I
10 mm
2.6 mm
φ4.2 mm
30 mm
φ4 mm
φ7 mm
Outdoor WiFi Pan/Tilt Camera
CH3-WCA /CH7-WCA
Quick Installation Guide
https://www.tendacn .com/servi ce/default.h tml
Video and More Info
Scan the QR code or visit w ww.tendacn.com for installation videos,
technical specific ations, user gu ides, Symbo ls on Products a nd Materials,
and more information.
You can see the product name and m odel on the prod uct label.
The label can be found on the d evice body.
十
A.
B.
C.
1
1
1
3 4
2
2.1 2.2
2.3
2.4
2.5
d
1
1
2
d
2
2
3
4
4
e
2
e
3
g
3
g
c
5
f
5
f
3
f
b
- Make sure the ceiling is strong enough to withstand three times the weight of the camera.
- Install the camera where the router has good Wi-Fi signal.
Tips
c
Optional
Optional
30mm
φ4mm
φ6mm