User Manual
Wireless Microphone
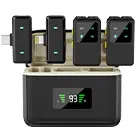
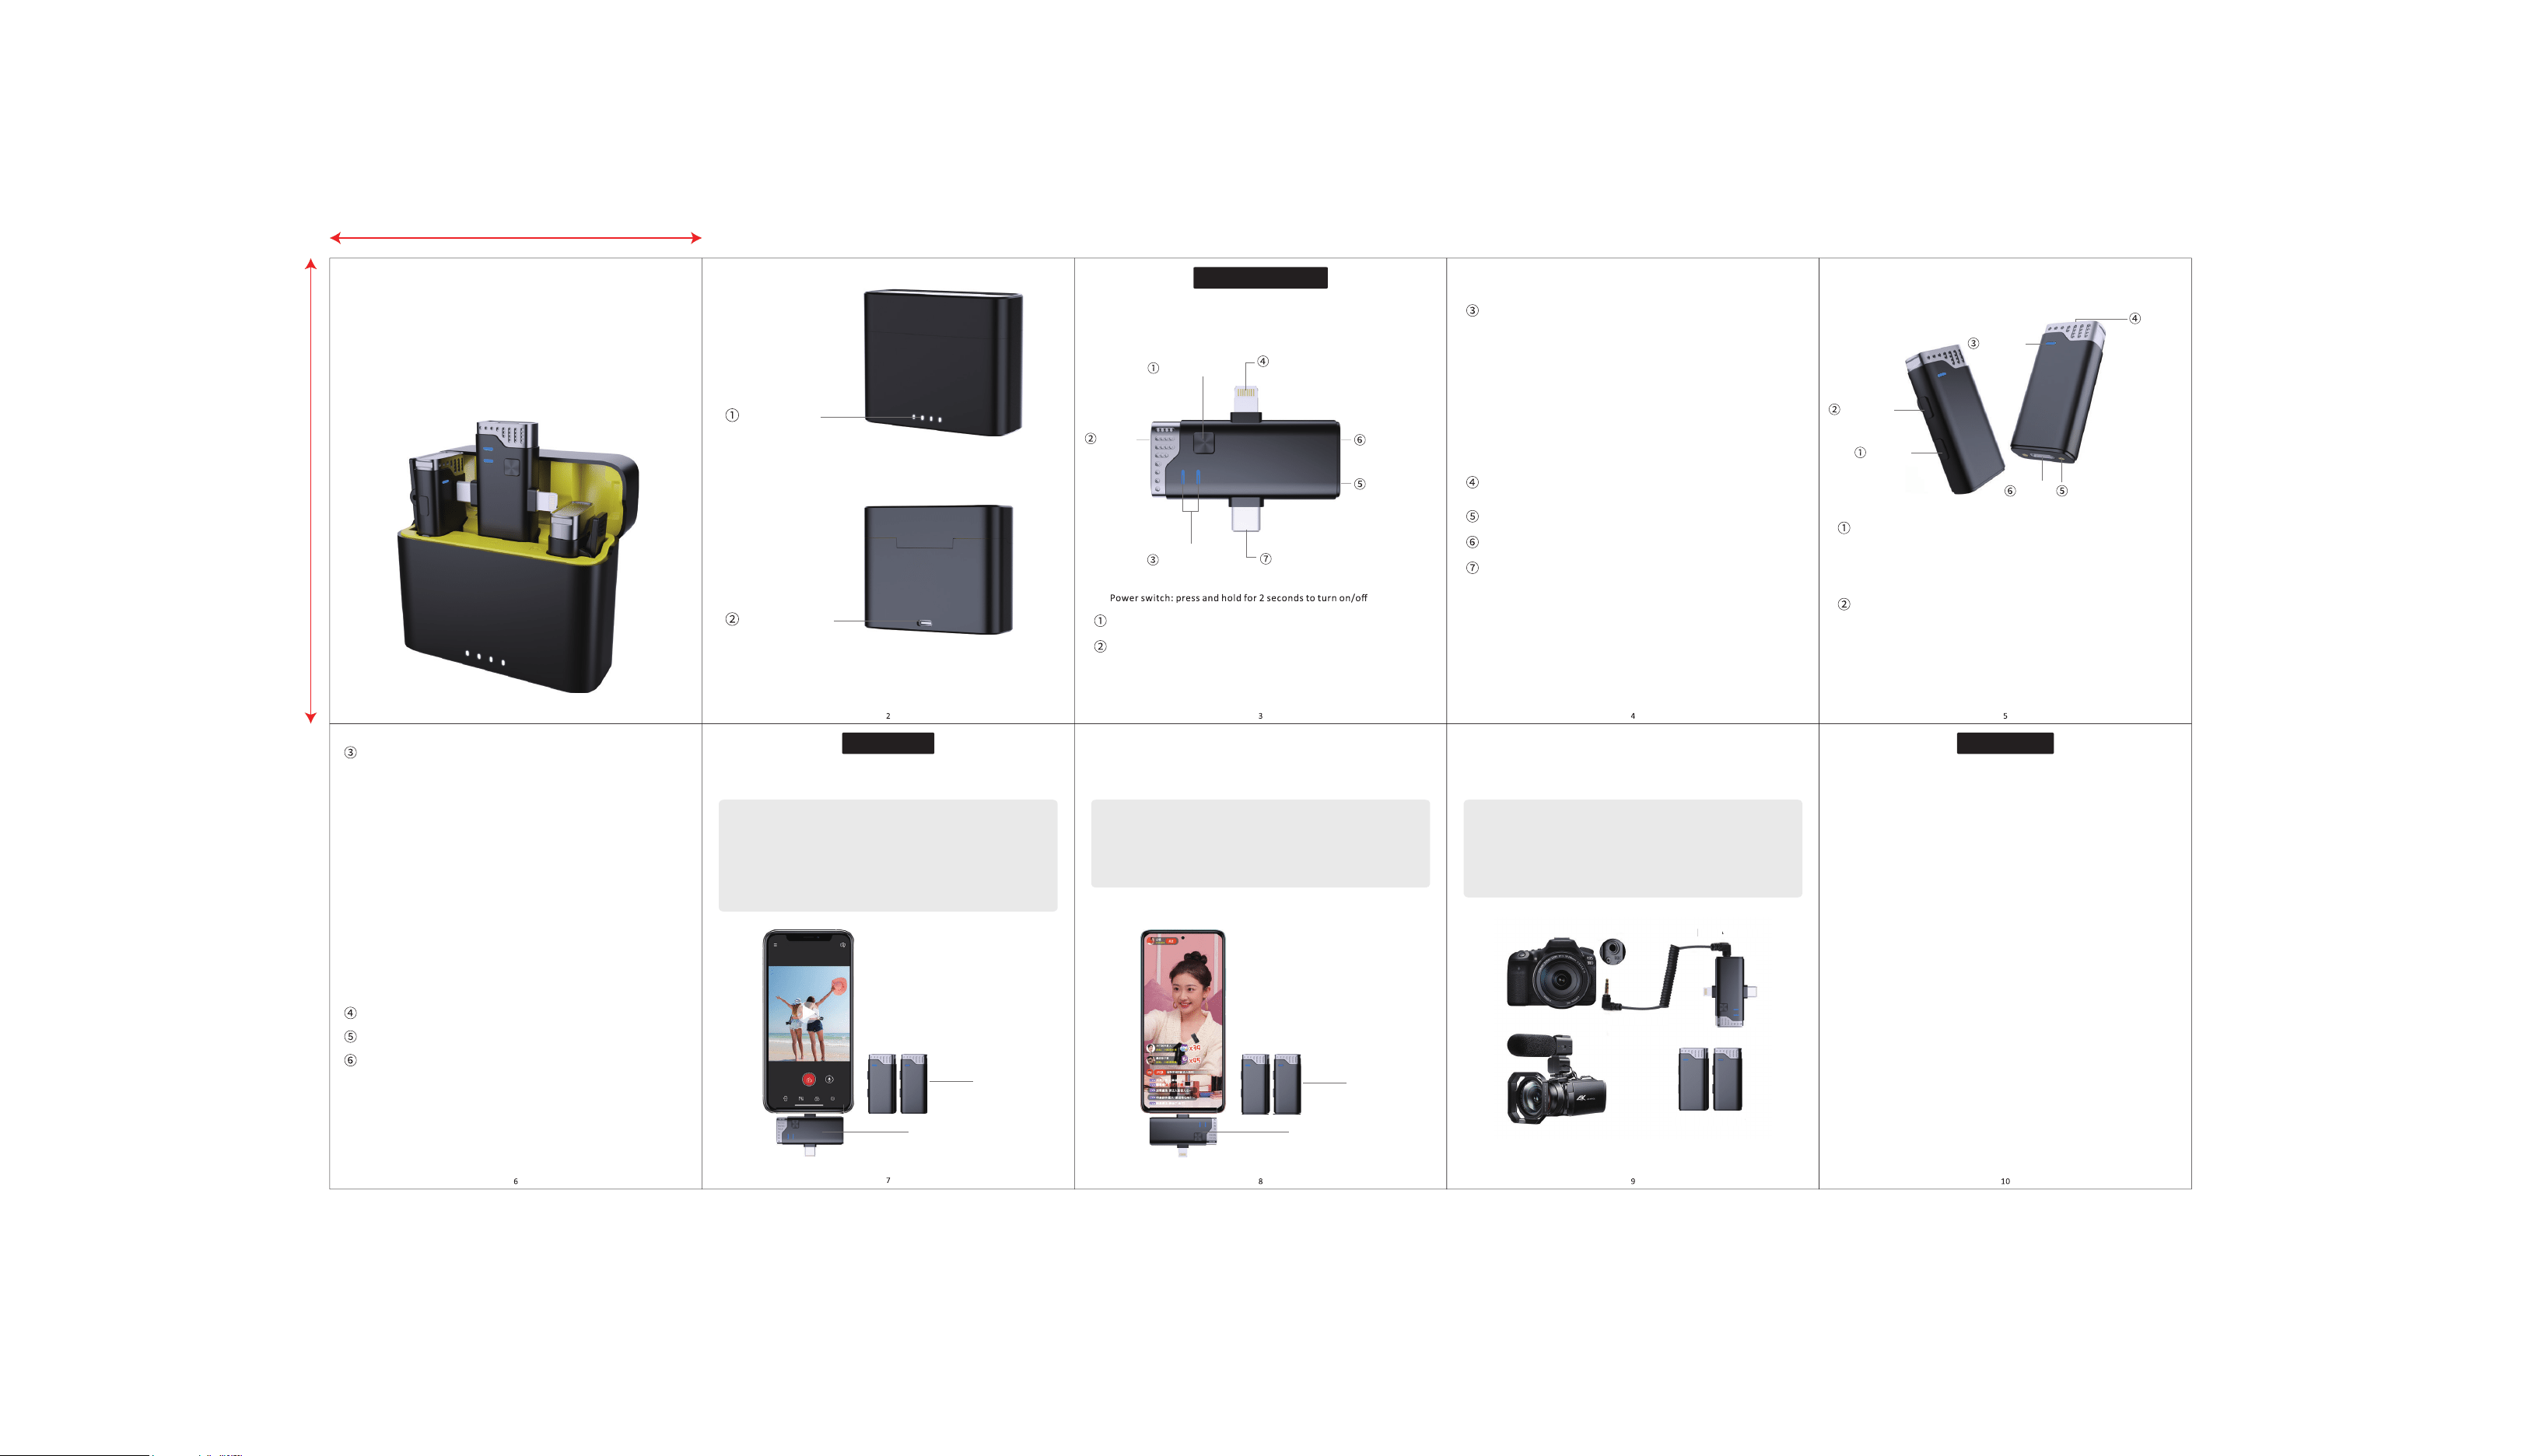
Power indicator
Power Indicator: When charging the charging case, the current power
indicator will flash (1 indicator is always on, representing 25% of the
power, 4 indicators are all on ,representing the power is 100%, and
two indicators are on when the power is half)
Charging Interface
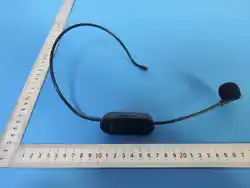
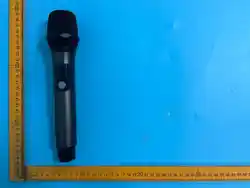
Mic transmitter
Mic Receiver
Receiver Function Introduction
(1) Connect mobile phone recording/video recording mode (2) Operation mode of connecting mobile live broadcast (3) Operation mode of connecting camera to record/record video
Mic Transmitter Function Introduction
Power Switch
Status Indicator
Power Switch: press and hold for 2 seconds to turn on/off
Charging Interface: connect Type-C charging cable for charging (the
product does not support fast charging, please use 5V 1A power adapter
to charge the product, which may cause failure if the rated power is
exceeded)
Lightning plug
Charging
electric shock
Type-C plug
3.5mm output
interface
Power key
Status light
Radio
microphone
Function key
Type-C
interface
Charging
contact
Lamp 1 Lamp 2
Charging
Interface
Charging interface: Type-C charging input
Important note: The product does not support fast charging. Please use 5V 1A
power adapter to charge the product. lf the rated power is exceeded, it will
easily cause failure.(The product does not include a power adapter)
Power key: A. Press and hold for 3 seconds to turn on/off
B. Click to switch the volume level cycle. The volume level is set to the
first,second, and third gear respectively. The default volume is the second
gear when starting.(The indicator light will flash once in the first gear, twice
in the second gear and three in the third gear according to the gear position)
Function key: A. Click to turn on and off noise reduction
B. Double-click to turn off mute
C.Long press to turn reverberation on and off
Status light: A. After turn on and in the unconnected state, the red and blue
lights flash alternately .and the red and blue lights are on at the same time
when connected. At this time, the light appears purple (the noise reduction
is enabled by default)
B. The red light is always on when charging,after fully charged,the red light
is off
C. When turned on the noise reduction, red light and blue light are on at the
same time, at this time the light is display purple color, and after turned off
the noise reduction, blue light is always on.
D.Turn on/off the reverberation, red light is flash once
E.When the volume level is switched, the indicator light will flash according
to the gear, namely, once in the first gear, twice in the second gear, and
three in the third gear
F. The blue light flashes when the mute is turned on. lf the noise reduction is
turned on at the same time, the light will flash alternately in purple and red
G.The red light flashes once every 3 seconds when the battery is low
Radio microphone: the main radio location for receiving voice
Charging contact
Type-C interface: A.Connect Type-c charging cable for charging
B.Connect Type-c headset to listen back
Power indicator
Status Indicator:A.When the machine is turned on, lamp 1 and lamp 2 flash
alternately in red and blue; The blue light of lamp 2 is always on after
connecting with the transmitter;
B.When the receiver and transmitter in the connected state,and to charge
the receiver, the red light of lamp1 and the blue light of lamp 2 are always
on ;When the receiver is turned on in an unpaired state, charge the receiver
and the red light of lamp1 and blue lights of lamp 2 alternately flash
(it will automatically shut down when it is not connected for 5 minutes);
C.The red light is always on when the machine is turned off for charging;
Lamp 1 goes out when fully charged;
D.When the power is low, the lamp 1 flashes once every 3 seconds;
Lightning plug: directly plug into the phone charging port when connecting
the lphone.
Charging electric shock: charging case contact
3.5mm output interface: Connect camera
Type-C plug: When connecting the mobile phone with the Type-C interface,
plug it directly into the mobile phone charging port (note: some Android
phone OTG functions need to be opened manually to use, and most mobile
phone OTG functions need not be opened manually by default)
Frequency:2.4Ghz Digital Frequency
Frequency response:20Hz-20kHz
Sampling frequency:48kHz
Transmission range:up to 20m(w/o any obstacle)
6LJQDOWRQRLVHUDWLRG%
Sensitivity:-38dB±3dB
Battery capacity:800mAh(Charging case)
140mAh(Transmitter)
220mAh(Receiver)
:RUNLQJGXUDWLRQXSWRK
Interface:USB-C
Usage Method
Step 1: First, press and hold the microphone receiver and microphone
transmitter to turn on, and the connection is successful;
Step 2: Connect the microphone receiver with the mobile phone;
Step 3: Press the transmitter to the non-reverberation state (no reverberation
by default when it is turned on, if reverberation has been turned on, long press
the function key to turn it off), open the mobile phone camera and other APP to
record video. Note: Most Android phones cannot record with their own camera
Step 1: First, press and hold the microphone receiver and microphone
transmitter to turn on, and the connection is successful;
Step 2: Connect the microphone receiver with the camera;
Step 3: Press the microphone transmitter to the non-reverberation state (no
reverberation by default when turning on, if reverberation has been turned on,
long press the function key to turn off), and turn on the camera to record video.
Step 1: First, press and hold the microphone receiver and microphone
transmitter to turn on, and the connection is successful;
Step 2: Connect the microphone receiver with the mobile phone;
Step 3: Switch the microphone transmitter to the desired effect, and the mobile
phone can open the live broadcast APP to carry out live broadcast with goods.
Mic transmitter
Mic transmitter
Mic Receiver
Mic Receiver
Specification
95MM
76MM
Camera line
M
i
c
tr
a
n
s
mitt
er
M
i
c
Re
R
ce
i
ver
Cam
C
era
li
ne

FCC Warnning:
This equipment has been tested and found to comply with the limits for a Class B digital device,
pursuant to part 15 of the FCC Rules. These limits are designed to provide reasonable
protection againstharmful interference in a residential installation. This equipment generates,
uses and can radiateradio frequency energy and, if not installed and used in accordance with
the instructions, maycause harmful interference to radio communications. However, there
is no guarantee thatinterference will not occur in a particular installation. If this
equipment does cause harmfulinterference to radio or television reception, which can be
determined by turning the equipmentoff and on, the user is encouraged to try to correct the
interference by one or more of thefollowing measures:
Ь Reorient or relocate the receiving antenna.
Ь Increase the separation between the equipment and receiver.
Ь Connect the equipment into an outlet on a circuit different from that to which the receiver is
connected.
• Consult the dealer or an experienced radio/TV technician for help.
Caution: Any changes or modifications to this device not explicitly approved by manufacturer
could void your authority to operate this equipment.
This device complies with part 15 of the FCC Rules. Operation is subject to the following two
conditions:
(1)This device may not cause harmful interference, and (2) this device must accept any
interference received, including interference that may cause undesired operation.
This equipment complies with FCC radiation exposure limits set forth for an uncontrolled
environment. This equipment should be installed and operated with minimum distance 0cm
between the radiator and your body.