1. Power on: Turn the power switch to “ON”.
2. Power off: Turn the power switch to “OFF”.
3. Microphone Mode / Bluetooth Mode / Outdoor Mode:
Press the M button briefly to switch.
4. Volume Control: Turn toward “ ” to increase volume;
turn toward “ ” to decrease volume.
This side faces up during use. Magnetic Clip
1.Microphone Mode
Note: The default mode is wireless microphone. When a wired
microphone is connected, the system will switch to wired
microphone automatically.
Product Name: Wireless Lavalier Voice Amplifier
Manufacturer: Shenzhen Xiaoxi Intelligent Manufacturing Co., Ltd.
Production Address:
Room 702A, Building A, Shanghe Industrial Park, Nanchang Road,
Sanwei Community, Hangcheng Street, Bao'an District, Shenzhen
City
Executive Standard: GGB 4943.1-2022
1. Disconnect the charger and turn off the device before cleaning.
2. Do not disassemble the device without professional assistance
to avoid malfunction and loss of warranty.
3. Do not place the device in direct sunlight to prevent premature
aging of electronic components.
4. Avoid using the device in dusty or dirty environments as dust
may cause malfunctions.
5. Do not place the device in extremely cold or hot environments,
as it may not operate properly.
6. Recommended operating environment: temperature -10°C–40°C,
relative humidity 10%–95%.
7. Do not insert any objects into the device to avoid short circuit or
damage to internal components. Do not spill liquid on the product.
8. Avoid friction or impact with hard objects to prevent scratches,
peeling or other hardware damage.
9. Do not expose the product to direct sunlight, fire or other
overheating environments.
10. Do not disassemble, impact, squeeze or dispose the product
into fire. Stop use if the battery is seriously damaged.
11. This manual contains important information. Please keep it
for future reference.
1.Low battery voice prompt will be activated in low battery
mode.
2.Please charge the lavalier microphone in time when the
red indicator flashes.The red indicator stays on during
charging and turns off when fully charged.
3.Connect one end of the USB charging cable to the Type-C
charging port of the amplifier, and the other end to the USB
port of a power adapter for charging.
4.When the amplifier is low on power or not used for a long
time, fully charge the battery before turning it off for storage
to extend and protect battery life.
5.The lavalier microphone will power off automatically 5
minutes after disconnection from the amplifier. Manual
power-on is required for next use.
6.This product is sold without a power adapter.If a power
adapter is used for charging, please use a matched adapter
with CCC certification that meets relevant standard
requirements.
Important Note: This product does not support fast charging.
Please use a CCC-certified 5V 2A power adapter for charging.
Exceeding the rated power may cause damage to the product.
Amplifier
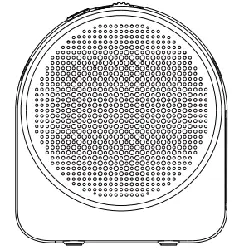
MA1
User Manual
Product Introduction
Product List
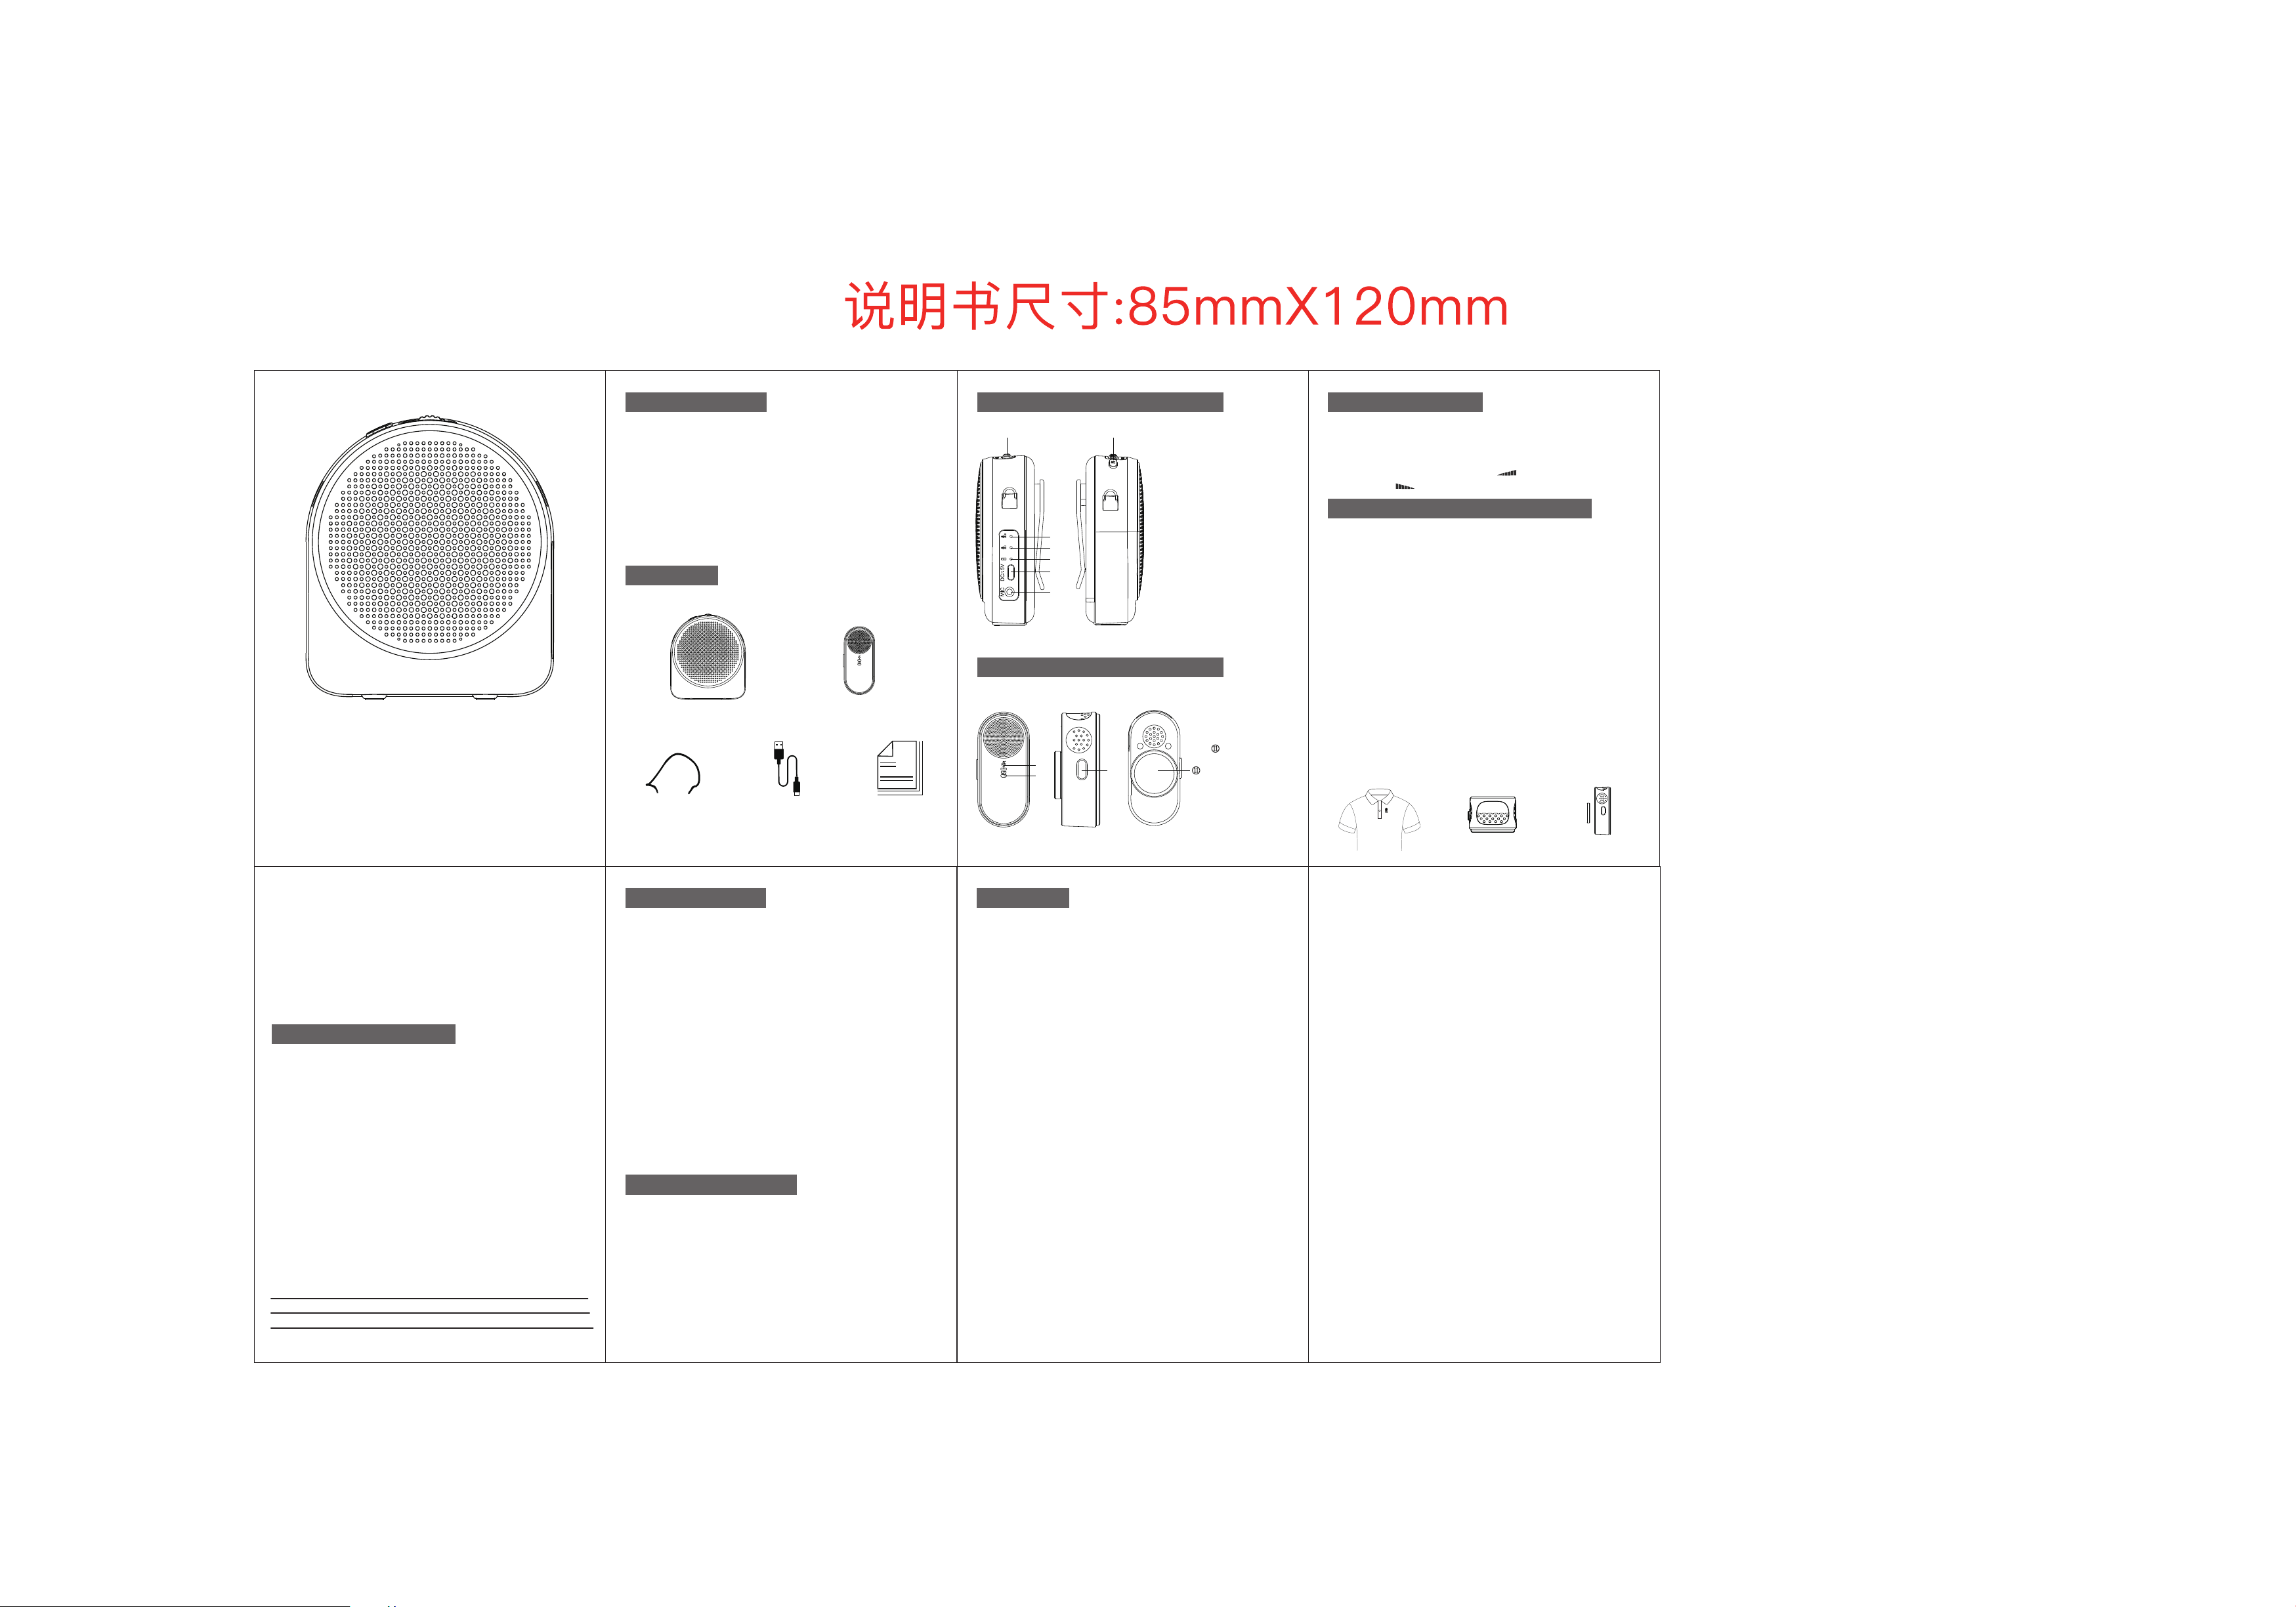
Function Buttons / Interface Description
Function Buttons / Interface Description
Operating Instructions
Operating Instructions for Voice Amplifier
Indicator Status Description
Product Parameters Precautions
Manufacturer Information
Thank you for choosing this product.
This product is specially designed for teachers, tour guides,
shopping guides and other users. It features high-fidelity
sound, low noise, extremely low distortion, stable
performance and low power consumption. With an
attractive and smooth appearance, it is portable and easy
to operate. It is an ideal helper for your teaching, outdoor
speeches, public communication and other activities.
Volume Switch / Volume Control
Mic 2 Connection Indicator
Mic 1 Connection Indicator
Power Indicator
Type-C Charging Port
Microphone Input Jack
Mode Switch Button
Mute Indicator
Connection Indicator
Power Switch
Magnetic
①
②
③
④
⑤
⑥
⑦
⑧
⑨
⑩
Voice Amplifier×1
Wireless Microphones×2
Signal-to-Noise Ratio: ≥75 dB
Bluetooth Version: 5.4
Frequency Response: 200 Hz–15 kHz
Receiving Distance: 30 m
Amplifier Dimensions: 96 mm × 44 mm × 110 mm
Lavalier Microphone Dimensions: 19 mm × 16.2 mm × 41 mm
Battery Capacity: 1800 mAh
Working Time: 5 hours
Charging Time: 2 hours
Power Adapter: 5V/2A
*Due to ongoing business development, product functions,
parameters and images are subject to change without notice.
We cannot guarantee timely updates to packaging and manuals.
The actual product features and specifications shall prevail.
Lanyard×1
Type-C Charging Cable×1
User Manual×1
V1.0.0
①
⑧
②
⑦
③
④
⑤
⑥
⑨
⑩
1.Turn the power switch of the amplifier to “ON”.
2.Take out the lavalier wireless microphone and turn it on.
It will pair with the amplifier automatically. The green indicator
stays on when connected successfully.Or manual pairing:
press the power switch three times continuously; the green
indicator flashes quickly to enter pairing mode. The green
indicator stays on after successful connection.
3.Mute mode: press the power switch once to turn mute on or
off. The blue indicator lights up when mute is on and turns off
when mute is off.
4.Clip the lavalier microphone to the user’s collar. Adjust the
amplifier volume according to the surrounding environment to
avoid howling.
5.How to wear the lavalier microphone: clip the back clip on to
the collar (as shown in the figure below).
1.Instructions for Lavalier Wireless Microphone
II. Bluetooth Mode: MA1
1. Short press the Mode switch to enter Bluetooth mode.
Use your mobile phone or other devices to search for the
Bluetooth name “MA1” and connect.When connected
successfully, a voice prompt will say “Bluetooth connected”.
When disconnected, it will prompt “Bluetooth disconnected”.
2.Play audio files from your mobile phone or other devices
with Bluetooth transmission function.
NOTE: This equipment has been tested and found to comply with the limits
for a Class B digital device, pursuant to part 15 of the FCC Rules. These
limits are designed to provide reasonable protection against harmful
interference in a residential installation. This equipment generates, uses
and can radiate radio
frequency energy and, if not installed and used in accordance with the
instructions, may cause harmful interference to radio communications.
However, there is no guarantee that interference will not occur in a
particular installation. If this equipment does cause harmful interference to
radio or television reception, which can be determined by turning the
equipment off and on, the user is encouraged to try to correct the
interference by one or more of the following measures:
- Reorient or relocate the receiving antenna.
- Increase the separation between the equipment and receiver.
-Connect the equipment into an outlet on a circuit different from that to
which the receiver is connected.
-Consult the dealer or an experienced radio/TV technician for help
Changes or modifications not expressly approved by the party responsible
for compliance could void the user's authority to operate the equipment.
This device complies with Part 15 of the FCC Rules. Operation is subject to
the following two conditions:
(1) this device may not cause harmful interference, and (2) this device must
accept any interference received, including interference that may cause
undesired operation.
FCC RF Exposure Warning Statement:
This equipment complies with FCC radiation exposure limits set forth for an
uncontrolled environment. This equipment can be used in portable
exposure conditions.
HIPPO